A trip to the
Dark SideAs a way to practice and to see what I am up against, I have built a miniature of my speaker cabinet the way I plan to build it. I have not yet glued it together, but it has been fully dry fit will success. I have learned a lot from this...
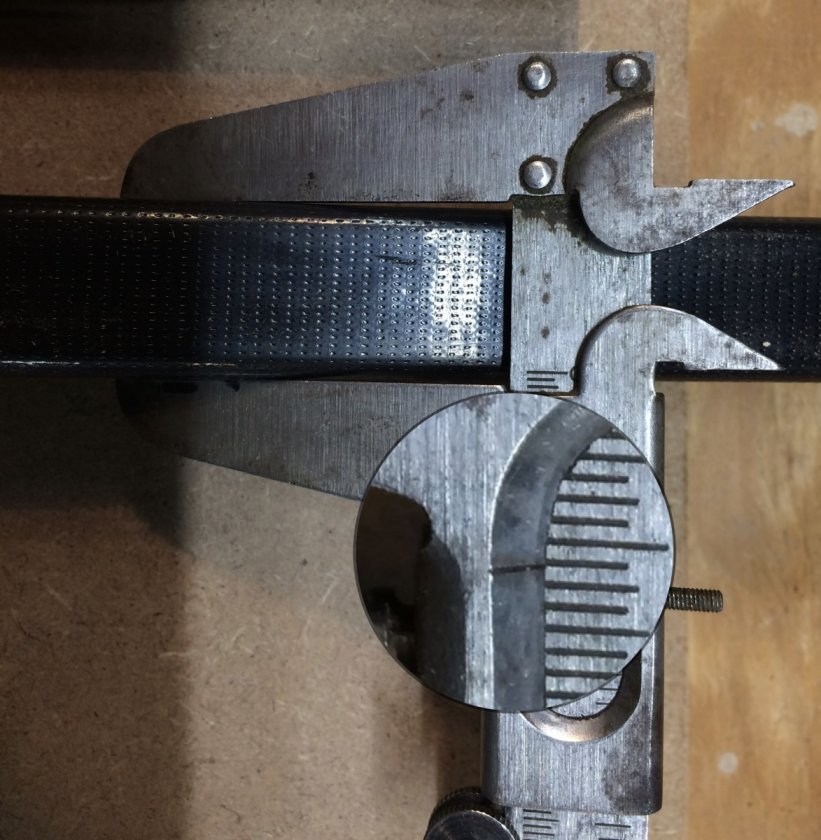
I tried to cut external pieces oversized and internal pieces undersized. I achieved only moderate success with this. What I found in the dry assembly was that a 1/32nd over and 1/32nd under seems to come out pretty much dead on... So I need to be careful with this and to get enough difference so I don’t have a net underage.
I want the sides and top and bottom to be the “controlling” pieces so all of those joints are tight. Then I want the inner recess of the front panel to just fit into the “box” formed by those other pieces. Same with the back panel. This may mean that some of the panels may need to be trimmed a bit to make this all happen. This will be done based on the way it looks in the dry assembly.
Overall the test cabinet took less time and effort than I thought it would. Overall, it is quite tolerant of little imprecisions. So, I can relax a bit and not sweat the small stuff.
I did some more routing and then trimming of the relief using the table saw. This continues to work well.
I need to do better at marking the panels as to what goes where and orientation.
I should have made this test box before I cut any of the full size panels...

I expect they are all OK. Mostly I hope the ones that are intended to have overage, have enough overage. Otherwise, the cabinet may be a “hair” smaller than planned...
The trip to the Dark Side seems to be working out...
Here are the side panels with the layout started for the addition of the quarter rounds.
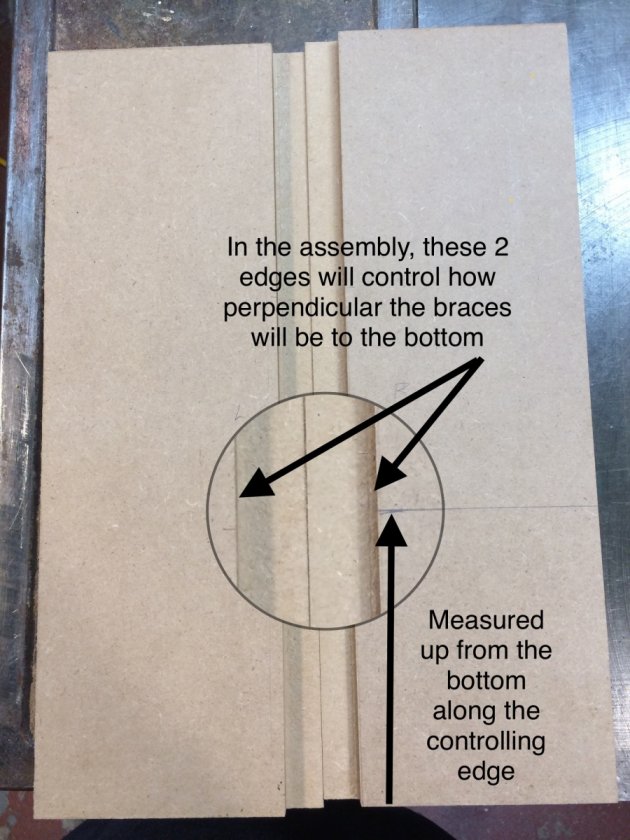
One thing I figured was that the location of the braces will be controlled by the recess lip and where it meets up with the back panel. So I did the location mark measurement along that edge and used a square to draw the location line for the quarter round.
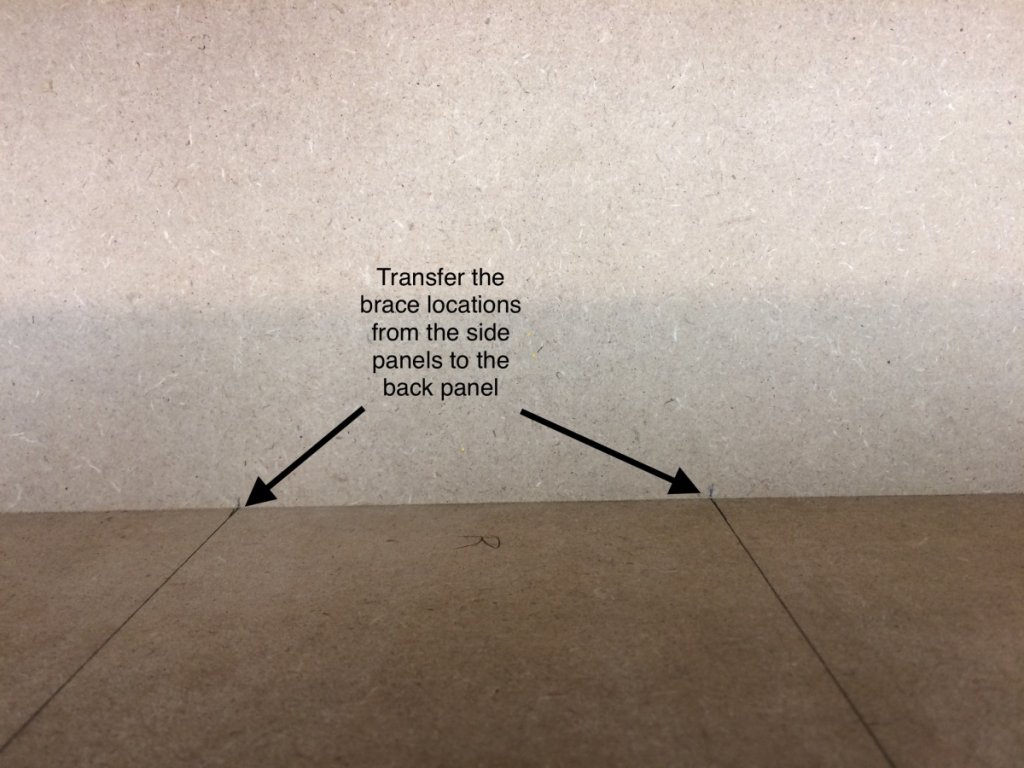
I then transferred the layout from each side panel to the back panel and then drew a line on the back panel using those transfer marks. I hope to use these for reference to locate the braces while gluing but before the sides are in place.
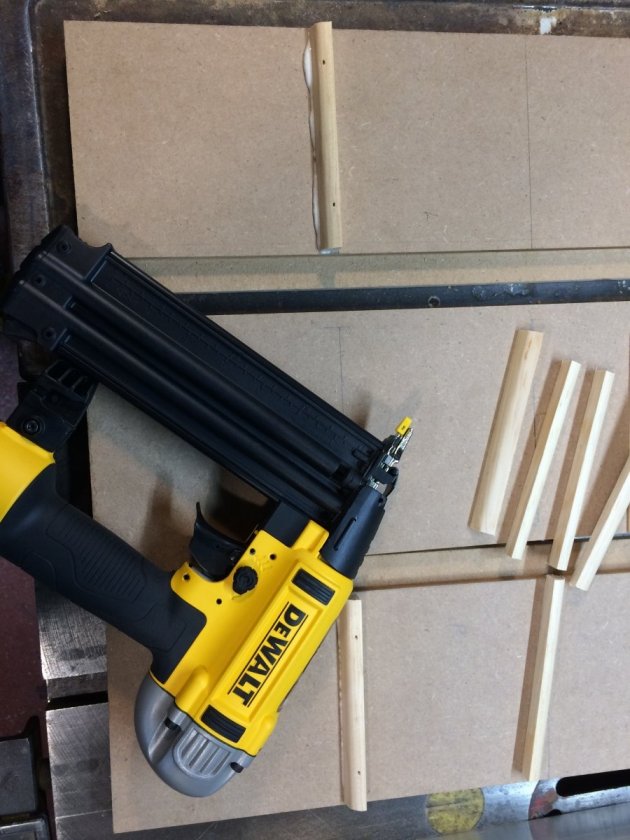
The 3 panels with layout lines and the quarter round all cut.

I used Titebond III to glue the quarter round to the panel and then used a brad nailer to hold the quarter round in place while the glue dried.
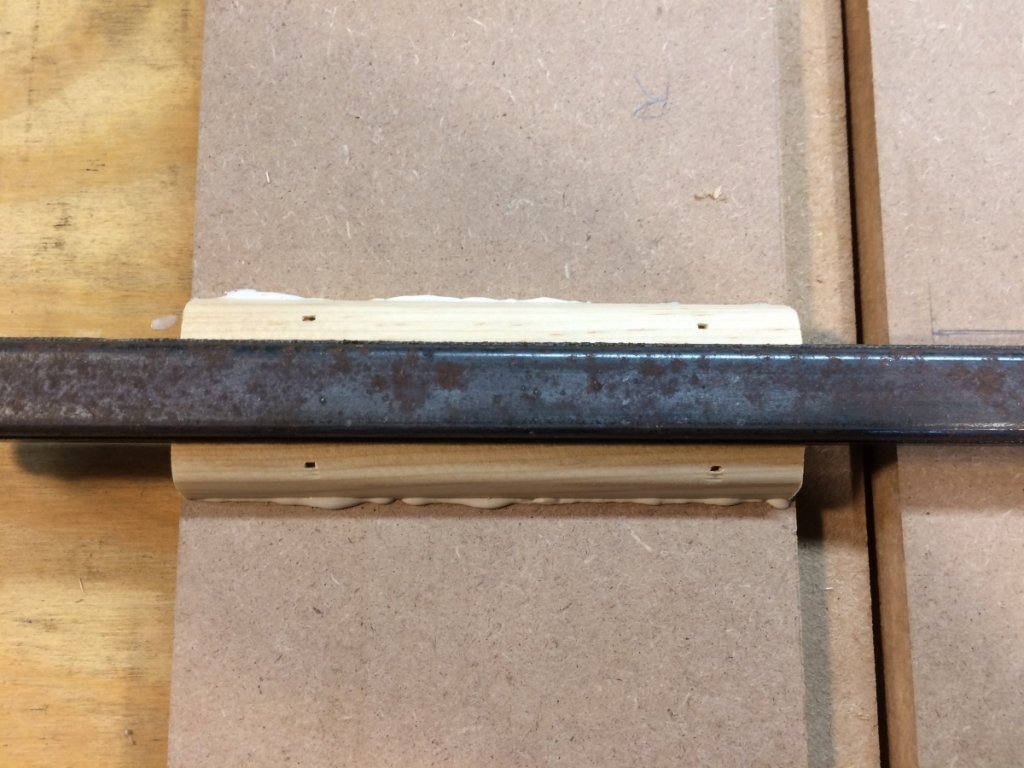
I then used a spacer to locate the opposing quarter round. I happen to have a piece of 3/4” square tube that I used. This could have been anything that was 3/4” in size. I wrapped a piece of thick tape on the bottom and the sides. This was to ensure some small clearance between the quarter round and the brace that will later be fit within.
Spacer with tape:
Fitting quarter round with spacer. Again, these are glued and tacked in place with the brad nailer.
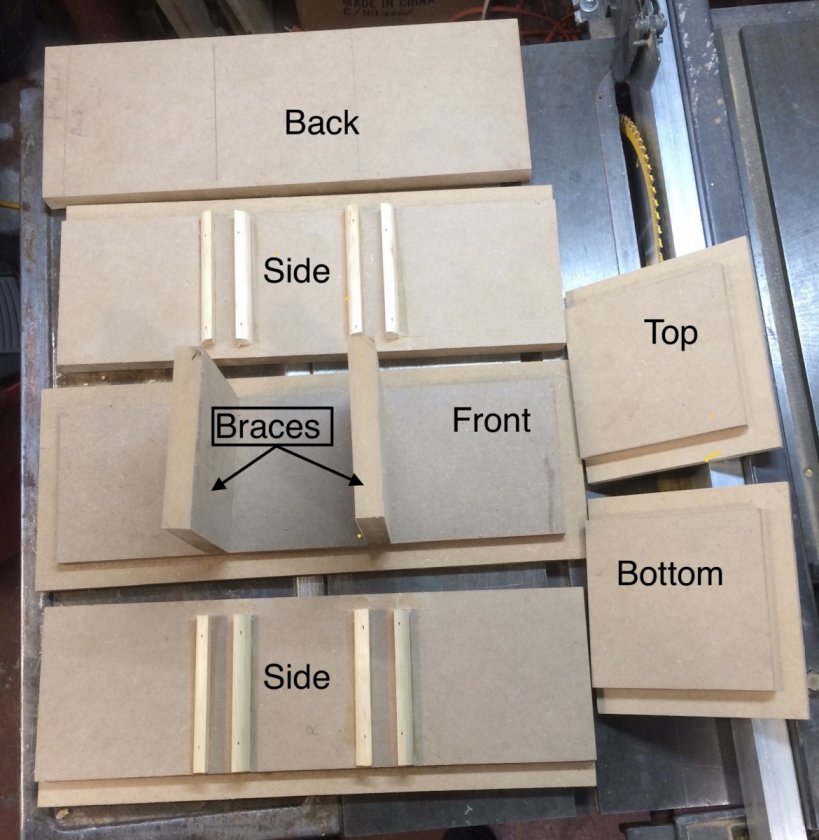
All of the pieces before the dry fitup:
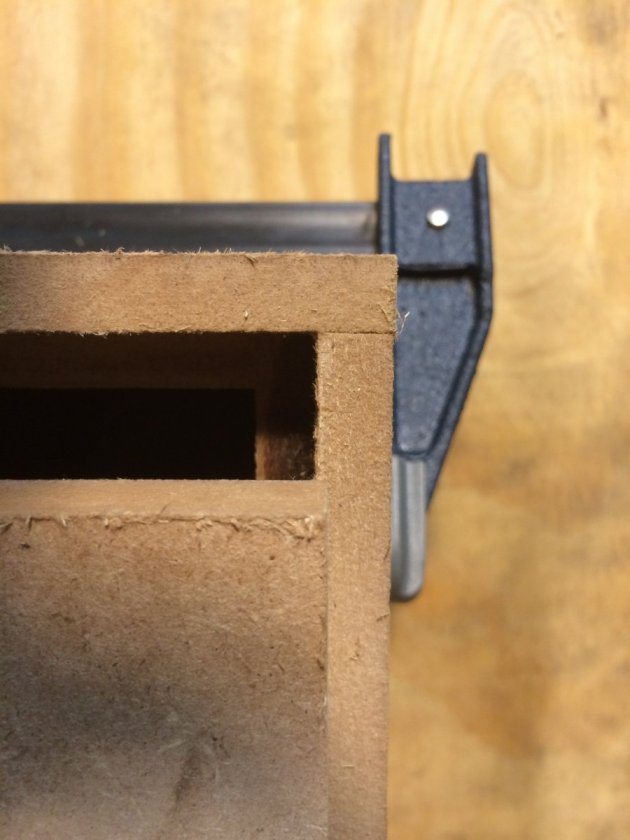
The assembly looking in from the backside:
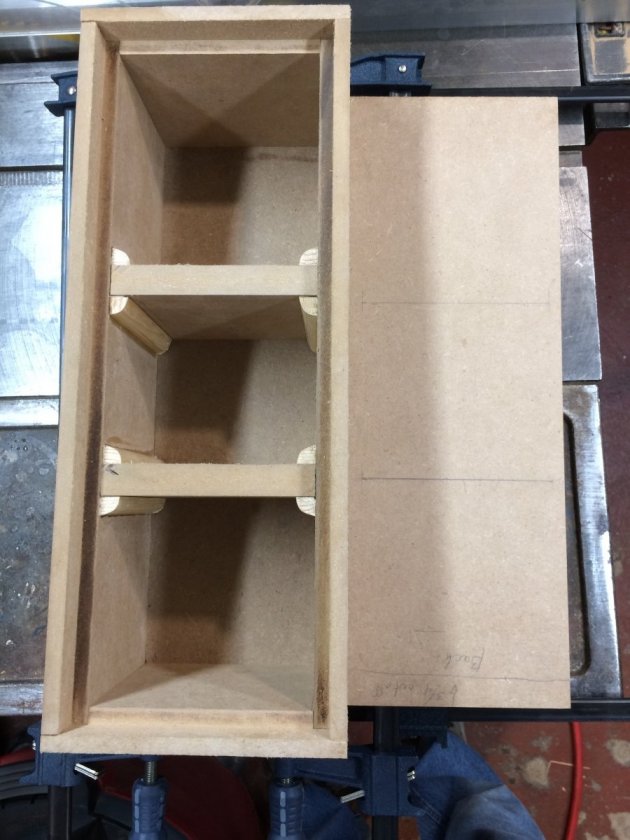
One of the things I found in an earlier dry fitup was that the back panel was oversized, even though I cut it to what I thought was undersized. Here is the back panel placed on the sides/top/bottom assembly. What you see is about 1/32nd overage. But, this was enough to cause gaps in the fitup of the sides/top/bottom pieces that would not press out with the clamps. This was correctable with a small trim on the table saw. But it was a heads up for me that there may be pieces that will need to be customized to fit correctly.