These are finally all finished up now so a few final pics, possibly some ideas for folks who are building these from packs or who want finished cabs.
Here you can see we mounted both the tube connectors as well as a female Speekon conector for the subs at the rear edge of the side panels. On the inside , I peeled back the foam of the norez so the wiring could be tucked away nice and neat. After wiring, some spray adhesive sticks the foam down and it's all hidden away.
Crossovers are built on some 3/8" Medex and painted with bed liner to match the Duratex'd rear sub cabinets. We glued a sheet of 1/4" Sorbathane to the botom of each board and trimmed to match the boards. We used Clarity CMR caps for the high pas filter bypassed with Milflex Cu and a Gortz Alpha Core foil inductor.
Low pass filter consists of a Gortz Alpha Core foil inductor and a soniccap G1 bypased with the Milflex Cu. The notch filter was left as is.
Wiring from the tube connectors to the networks and then on to the drivers is all Neotech UPOCC solid 16 in Teflon. The input wires to the networks come up through the top of the rear sub cabinet and enter through the bottom of the c/o board right at the high pass cap and low pass inductor.. Boards are secured via 4 hex driver screws ( had some kicking around for the SW12's)

Found some cool little wiring clips on Amazon to route wiring up right against the wing. they come with some 3M PSA on the back of each one so easy to install. I could only use them on the tweeter and top 2 Neo10's, they were a touch small for fitting the entire bundle in the lower Neo10's. Need to find some larger ones for those
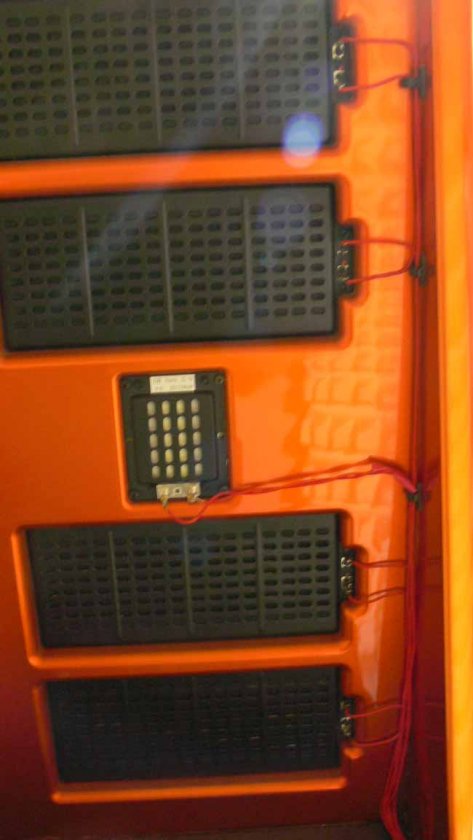
All the Neo10 screw holes were tapped (M3.5 non-bottoming tap) before mounting each Neo10 & gasket with some hex drive M3.5 x 12mmmachine screws
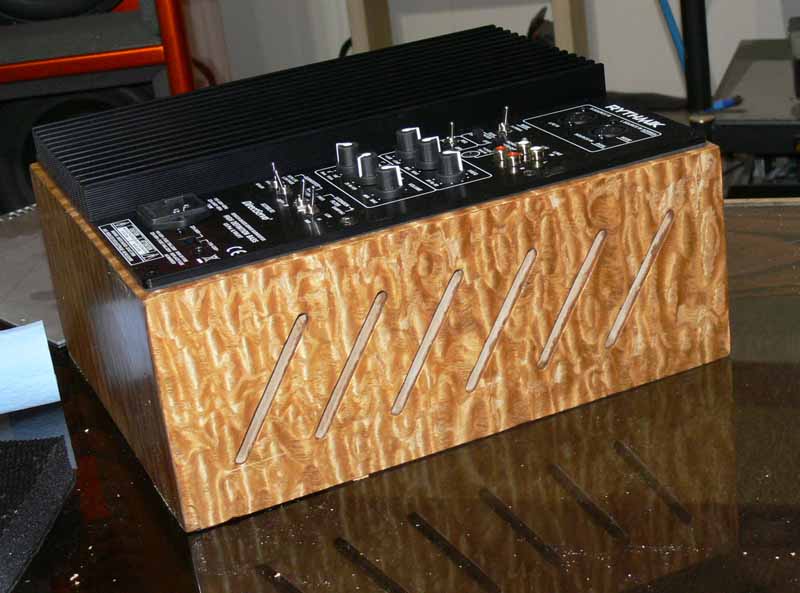
The amp boxes were wrapped in some Tamo Ash veneer to match a custom Uber bus from Dave over at PI Audio. the boxes are also fitted with femaile Speekon Connectors. A patch cable was made for each speaker with a male Speekon Connector on each end , you can see it above in the first pic. The boxes were finished in danish oil topped with Satin Arm R Seal
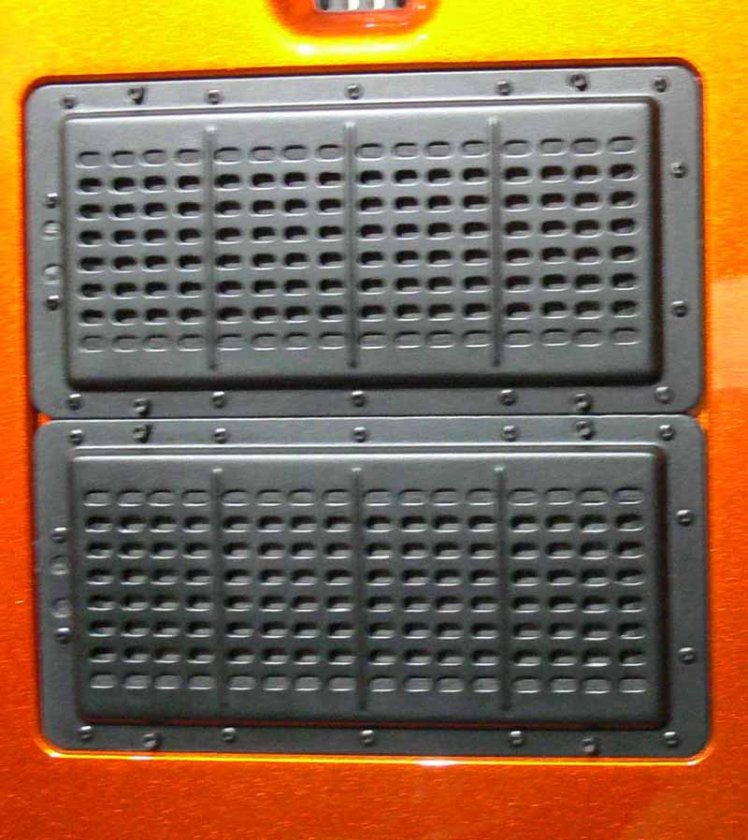
We finally got to the grills, well , Don did. He got the hang of it pretty quick, he's even got the rear side nice and neat. He cut the cloth slightly oversized then sprayed the entire rear side of the grill frame with spray adhesive. Stick the cloth all the way down one side before stretching it across the front and up and over the other edge. Once the 2 sides were stuck, he repeated for the ends. trim the excess from the corners with a sharp razor and then work the corners until you get them tight with no bunching. Last but not least, trim all the way around the inside edge of the grill frame with the razor.
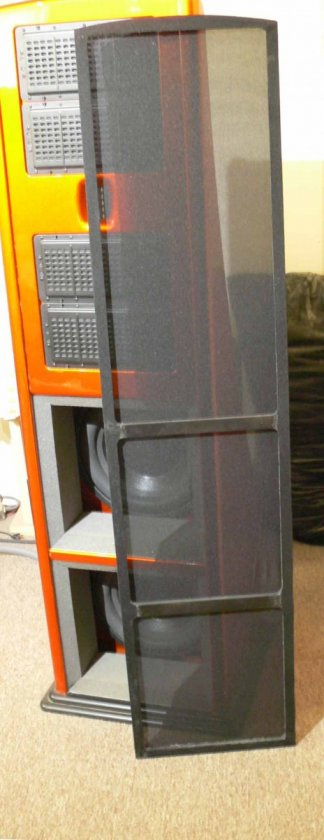
The 6 N52 3/8 x 3/8 cylinder magnets do a great job of holding them in place... in fact, you need to be a little careful when removing them as you don't want to snap a grill frame !
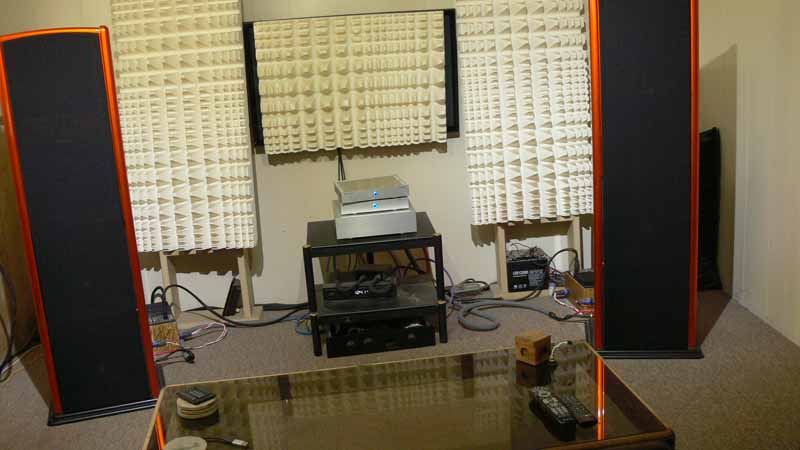
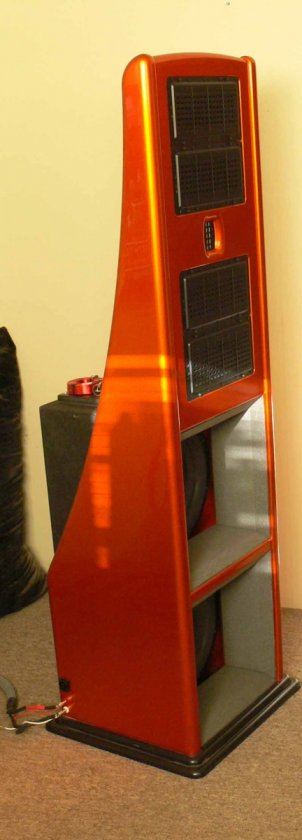
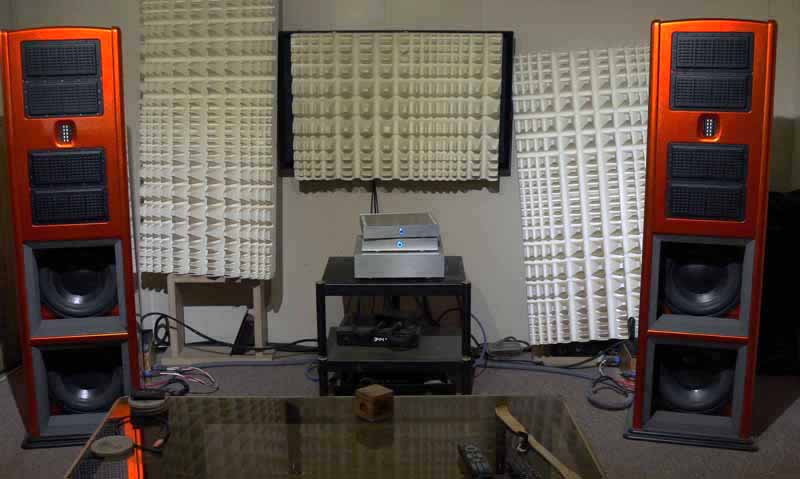
And one without the grills
And yes, I know.. promised a bit of a write up in regards to the S7's / Otica's....keep meaing to do it ....
jay