Tyson's V2 Venuette DIY Build

0 Members and 1 Guest are viewing this topic. Read 31377 times.

Tyson

  • Full Member
  • Posts: 11142
  • Audio - It's all a big fake.
Tyson's V2 Venuette DIY Build
« on: 2 Sep 2010, 06:46 pm »
I took advantage of the $1k sale price for the V2 kit from Danny this month.  Everything arrived today, it all looks well packed and everything appears OK.  I'll be starting to build the cabinets this afternoon, hopefully will have them done in about a week.

EDIT - Here's the PICS!

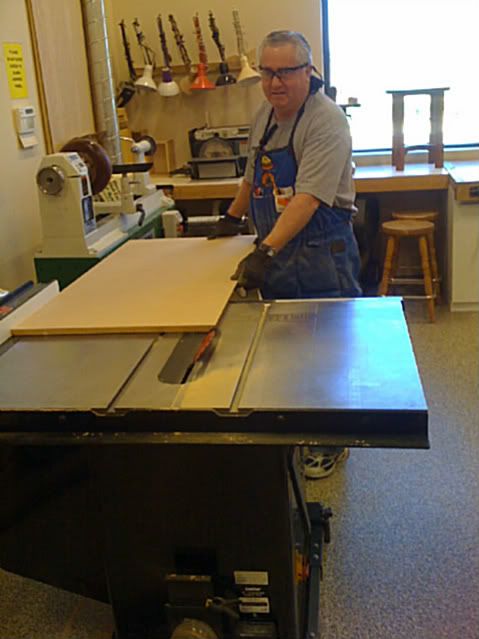
Getting the basic rips and routing done.  This is Chuck, my helper at the woodshop:


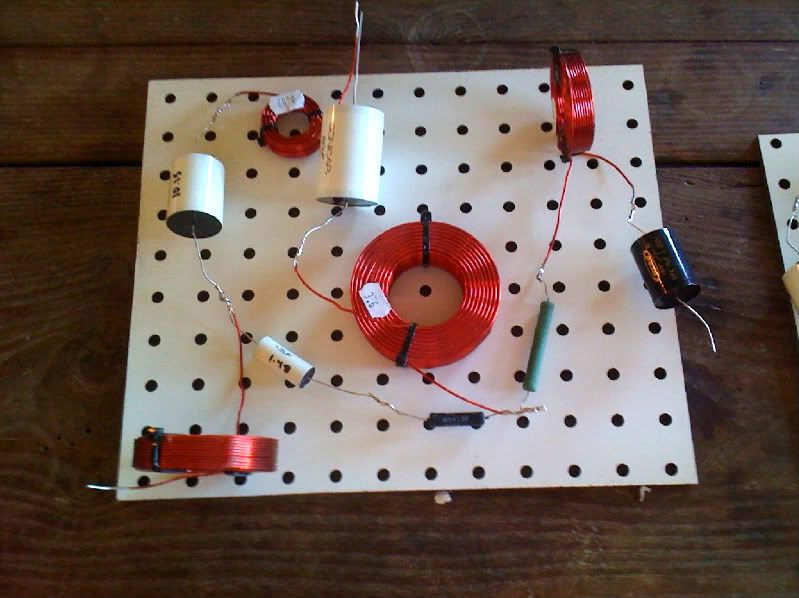
Crossovers assembled (but I lost my Zip Ties, so these will be tied down as soon as I find them).  Thanks to PEZ for his help:


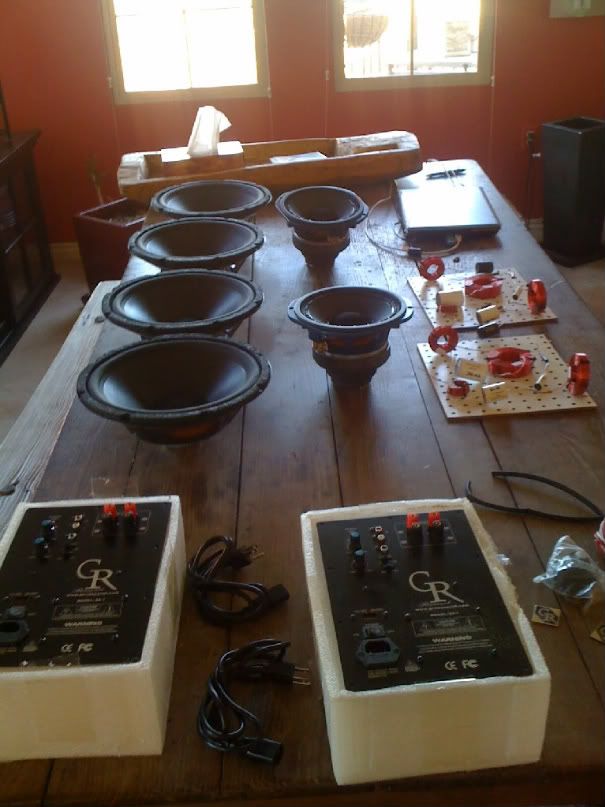
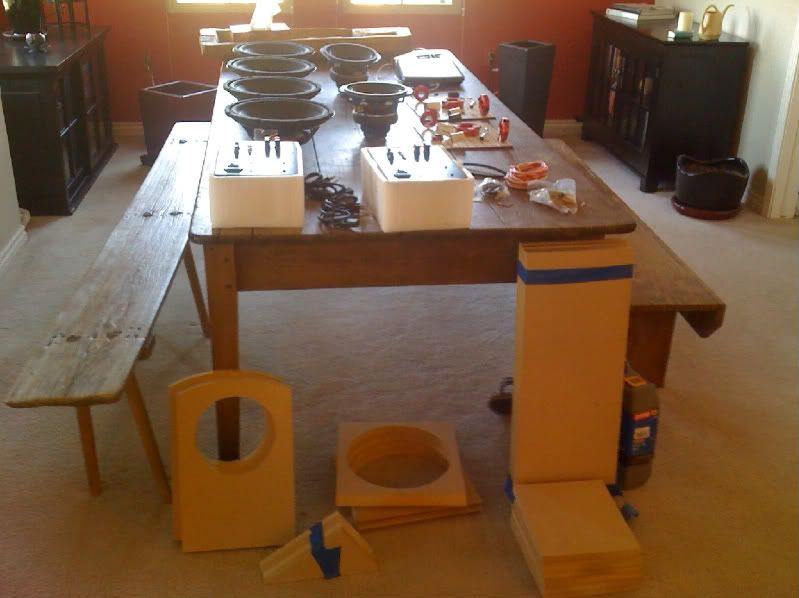
Everything on the table:


My daughter Kira helping with assembly!


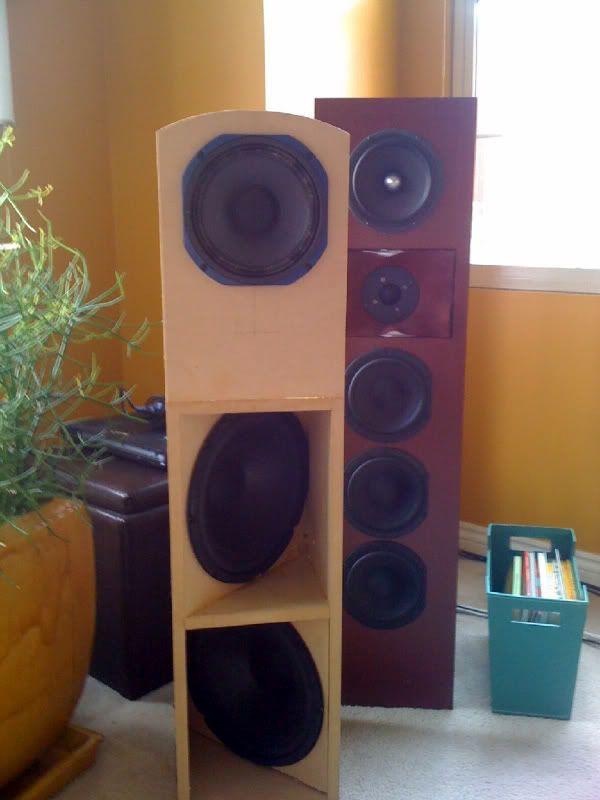
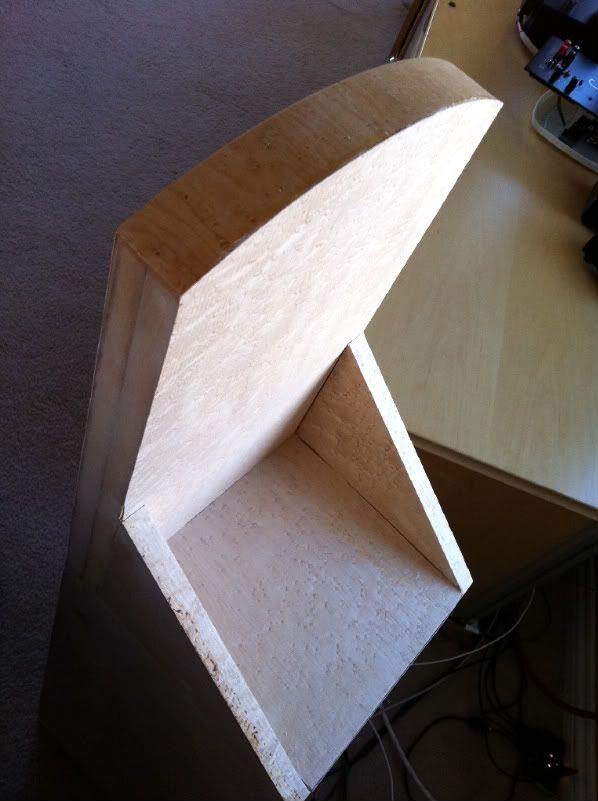
Open Baffle vs. Closed Box:


Who really is dominant here?


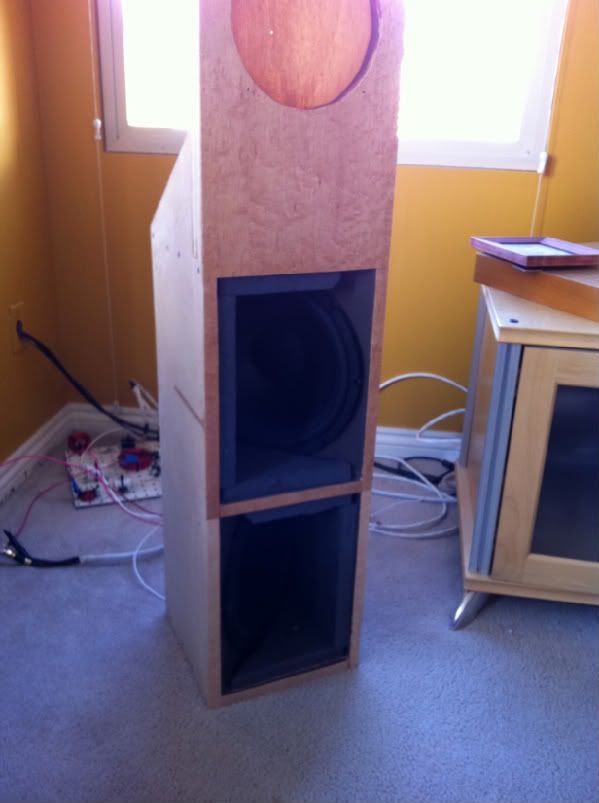
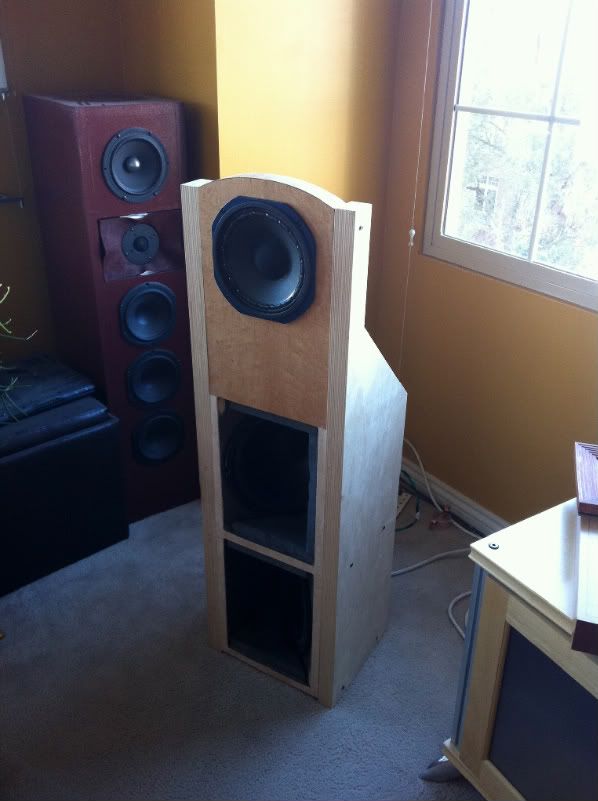
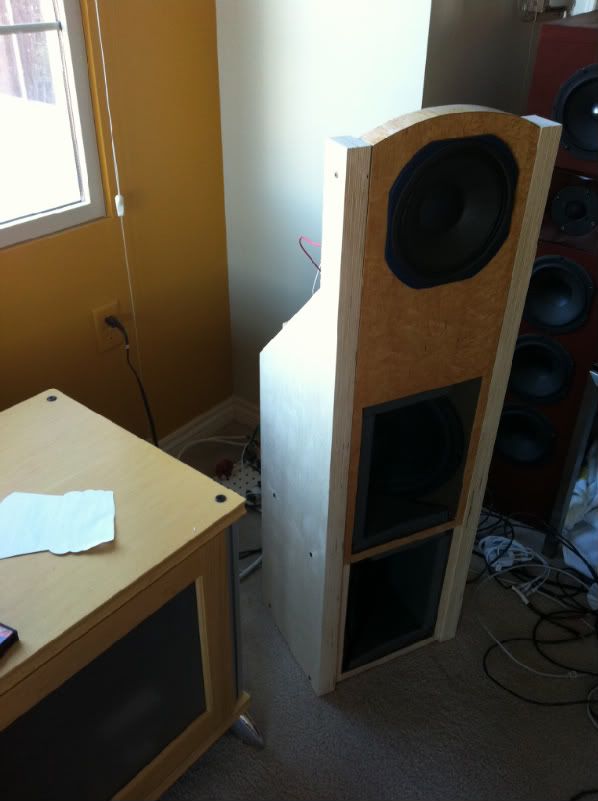
OK, one speaker done, one more to go!  Unfortunately, I have in-laws visiting, so no more building out for several days, unless I can convince my brother-in-law that helping me out would be fun ;)


UPDATE

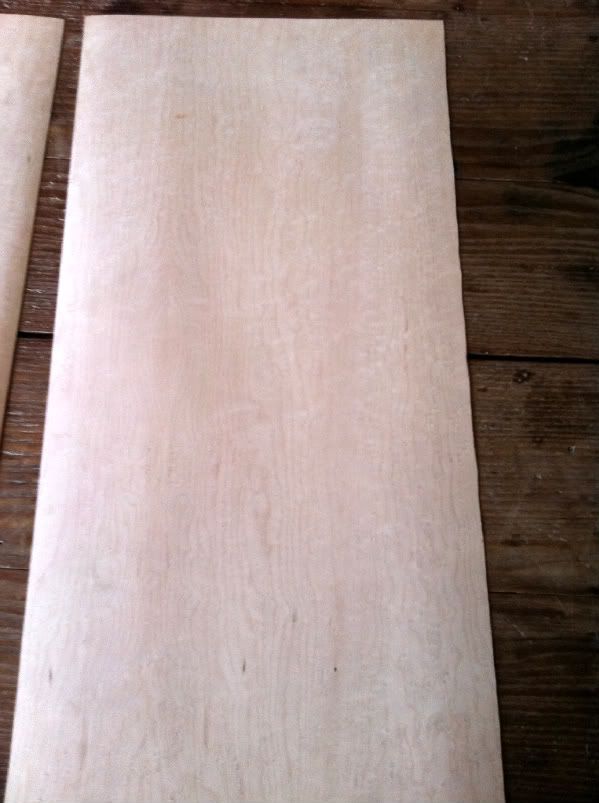
I veneered the front of the V2's with some paper backed Birdseye Maple first, which I obtained from a local lumber yard on close out.  I quickly ran out.  Looking around online I found some raw Birdseye maple veneer for super cheap.  Bought it and did the back.  Paper backed is the way to go.  The raw stuff is really hard to work with.  Translation?  This step took me a long time.

Veneer Sheet of Birdseye Maple:


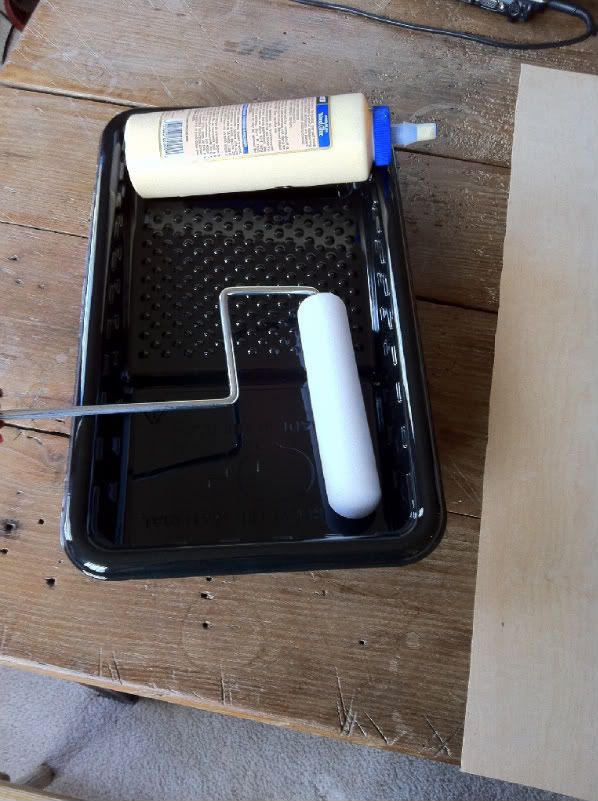
The glue for the iron on method of attaching the veneer:


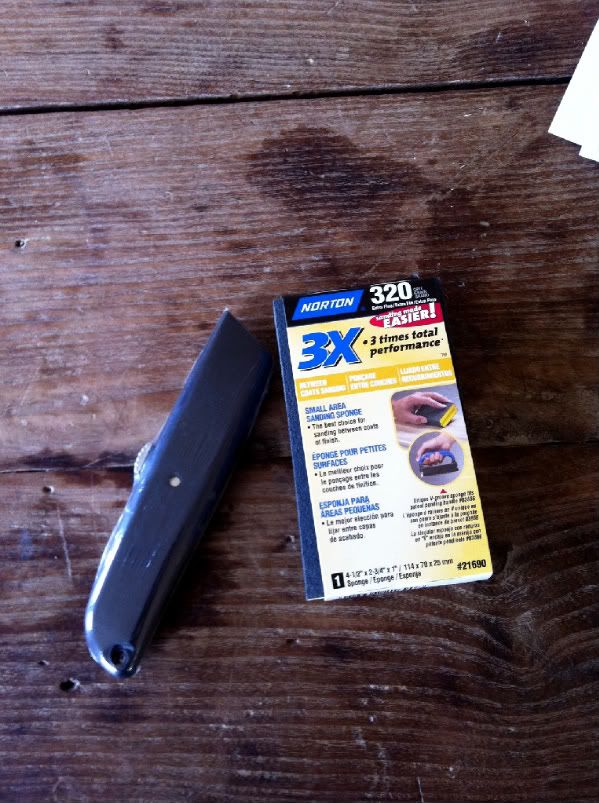
Other tools I will be using:


The veneer with the yellow glue applied:


The MDF with the yellow glue applied:


Veneer applied to the front and top:


Veneer applied to the back:


Getting close to being done w/the Birdseye:


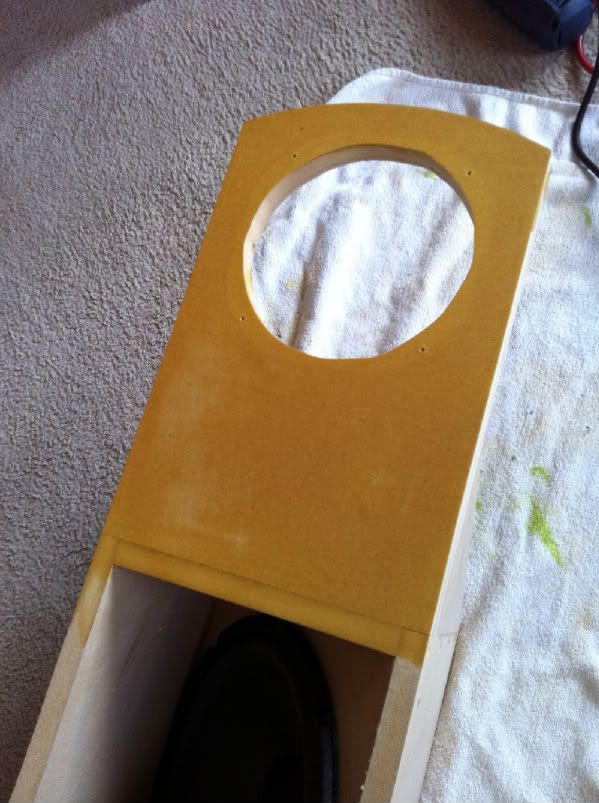
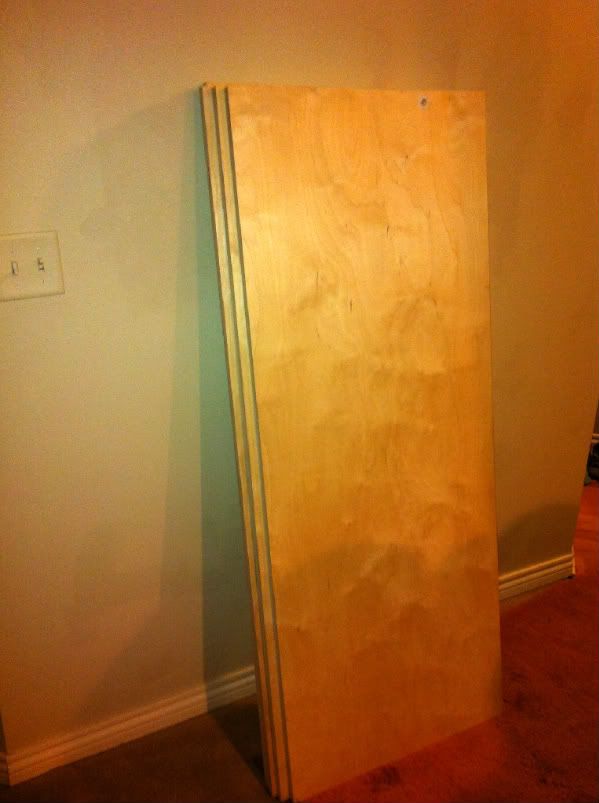
Time to build the side panels - here are the 1.5 inch thick Baltic Birch Panels I glued together:


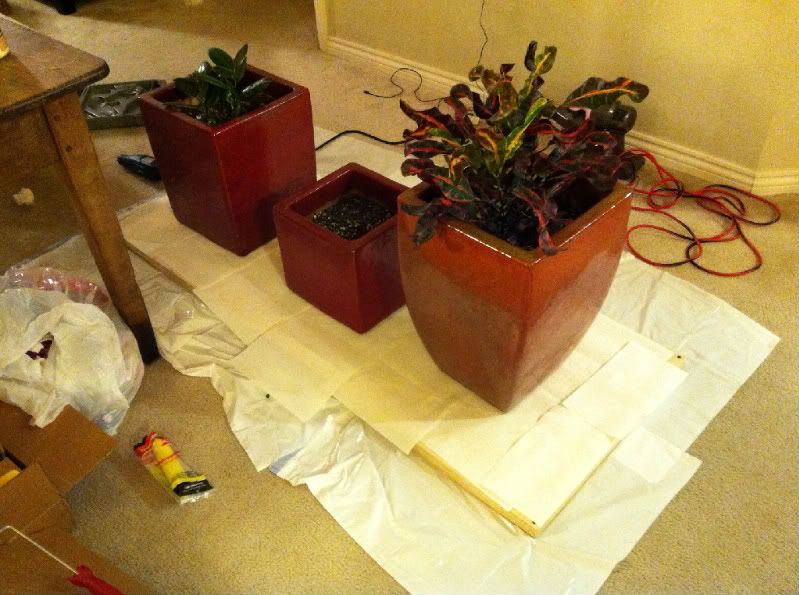
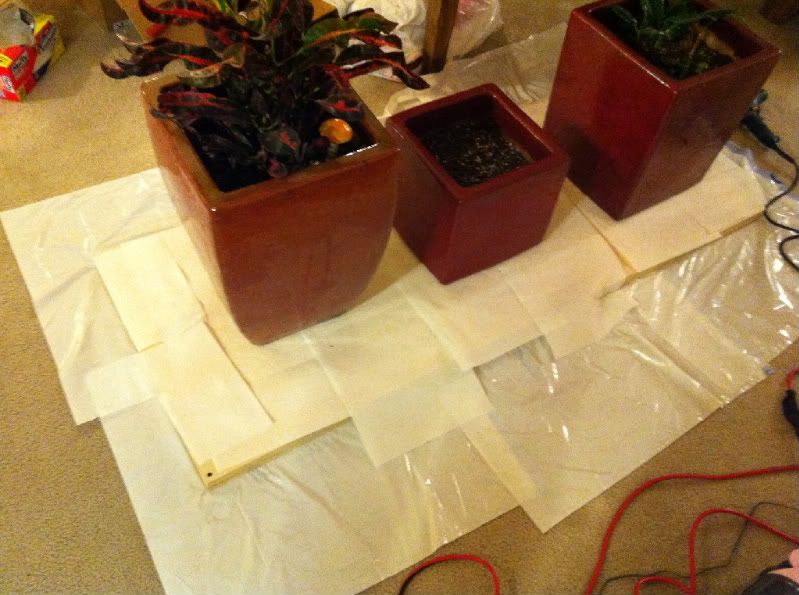
Not enough clamps, so I pre-drilled screw holes on all the corners, glued them together, and then set the screws.  Finally, I put some VERY heavy pots on top of them to act as the "clamps":


After a trip to the wood show, here are the side panels cut out:


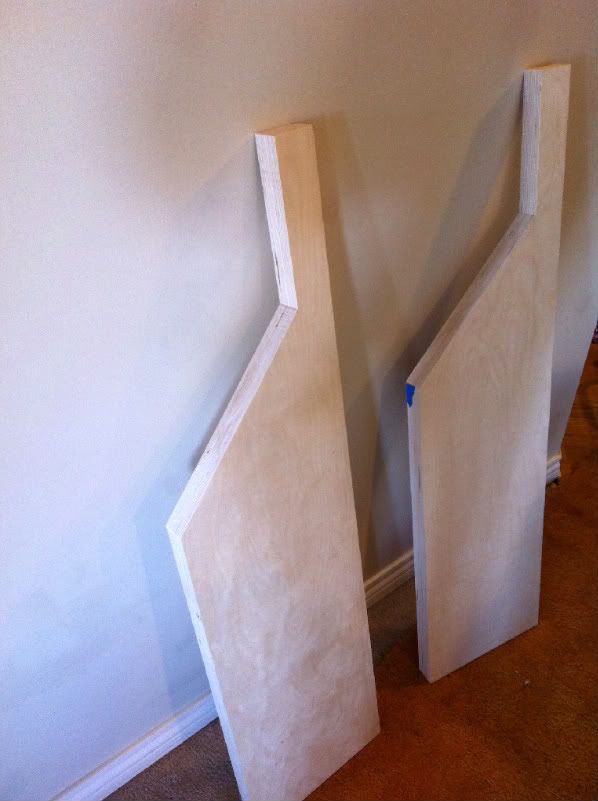
And here they are attached via screws to my speakers:


The build is not yet done, I will sand the sides down, and do a half inch round over on the side panels.  I will also stain them a walnut color, and I have some walnut veneer to put on the side panels as well. 

« Last Edit: 28 Oct 2010, 07:31 am by Tyson »

johnzm

Re: Tyson's V2 Venuette DIY Build
« Reply #1 on: 2 Sep 2010, 07:05 pm »
terrific. please , if you can, let us know what your gear is, and what speakers you have available to compare them to.


chip

  • Full Member
  • Posts: 868
Re: Tyson's V2 Venuette DIY Build
« Reply #2 on: 3 Sep 2010, 04:07 am »
Also post pics of your build! can't wait to see them.

Tyson

  • Full Member
  • Posts: 11142
  • Audio - It's all a big fake.
Re: Tyson's V2 Venuette DIY Build
« Reply #3 on: 3 Sep 2010, 04:47 am »
I'll take pics tomorrow!  I live in a condo, so I have to rent space/time at the local woodshop.  Forgot my camera this morning, but I'll bring it tomorrow.  It's amazing, things move VERY quickly when you have a really well stocked shop to work in....

JohnR

Re: Tyson's V2 Venuette DIY Build
« Reply #4 on: 3 Sep 2010, 09:42 am »
Fast work! Will you be trying the DEQx with them?

jimdgoulding

Re: Tyson's V2 Venuette DIY Build
« Reply #5 on: 3 Sep 2010, 12:26 pm »
Impressed with the V2's at LSAF.  Let us know how you have them set up in your room, too.  Thanks.

Tyson

  • Full Member
  • Posts: 11142
  • Audio - It's all a big fake.
Re: Tyson's V2 Venuette DIY Build
« Reply #6 on: 3 Sep 2010, 07:28 pm »
Cuts are now all done, except for the woofer holes, those still need to be routed out.  And the top baffle 12" radius.  After that all I need to do is assemble everything.  Took some pics this morning and will take more this evening.  I think I will have these done by tomorrow. 

Oh, one thing I will not be doing right away is building the hardwood decorative side panels right away.  My wife and I need to agree on a shape for them, as well as what veneer to use on the speakers.  So, they will be bare MDF for a while.  I know they won't be quite as inert without these side pieces, but at least I'll be able to have them up and running & burning in while deciding about the aesthetics that we want.

Danny Richie

Re: Tyson's V2 Venuette DIY Build
« Reply #7 on: 3 Sep 2010, 08:17 pm »
Quote
I know they won't be quite as inert without these side pieces, but at least I'll be able to have them up and running & burning in while deciding about the aesthetics that we want.

Without the side panels for additional support, that inner MDF section around those woofers is really going to be singing.

Tyson

  • Full Member
  • Posts: 11142
  • Audio - It's all a big fake.
Re: Tyson's V2 Venuette DIY Build
« Reply #8 on: 3 Sep 2010, 08:35 pm »
Understood.

But I figure they'll sound pretty awful at first anyway due to needing to break in (the drivers and crossover components.  While that is happening, my wife and I can come to an agreement on the aesthetics and the side panels will not take long to build or to attach at that point.  Total time, probably less that 7 days.

Tyson

  • Full Member
  • Posts: 11142
  • Audio - It's all a big fake.
Re: Tyson's V2 Venuette DIY Build
« Reply #9 on: 3 Sep 2010, 08:36 pm »
Oh, one other question - do the side panels have to be hard wood?  I think I have enough left over MDF to make the side panels out of that.  Or, the other option is a plywood, maybe oak, or something along those lines?

Danny Richie

Re: Tyson's V2 Venuette DIY Build
« Reply #10 on: 3 Sep 2010, 09:23 pm »
You can build the sides out of anything you like.

chip

  • Full Member
  • Posts: 868
Re: Tyson's V2 Venuette DIY Build
« Reply #11 on: 3 Sep 2010, 10:30 pm »
If you want some color combo Ideas take a look at the Orion 3 pics  -
http://www.linkwitzlab.com/orion-photos.htm

Tyson

  • Full Member
  • Posts: 11142
  • Audio - It's all a big fake.
Re: Tyson's V2 Venuette DIY Build
« Reply #12 on: 4 Sep 2010, 03:40 am »
Hey Danny, one question - on the side panels, why do they extend about a half inch in front of the plane of the front baffle?  Shouldn't they be flush with the front baffle, to avoid diffraction?

Danny Richie

Re: Tyson's V2 Venuette DIY Build
« Reply #13 on: 4 Sep 2010, 03:54 pm »
Hey Danny, one question - on the side panels, why do they extend about a half inch in front of the plane of the front baffle?  Shouldn't they be flush with the front baffle, to avoid diffraction?

Depends, is the frame for your grill 1/2" thick?

Tyson

  • Full Member
  • Posts: 11142
  • Audio - It's all a big fake.
Re: Tyson's V2 Venuette DIY Build
« Reply #14 on: 4 Sep 2010, 06:13 pm »
I won't have a grill up top for the Coax driver, I'll only have grills for the bass woofers on bottom.

Danny Richie

Re: Tyson's V2 Venuette DIY Build
« Reply #15 on: 4 Sep 2010, 06:59 pm »
I won't have a grill up top for the Coax driver, I'll only have grills for the bass woofers on bottom.

Then you may not want the side panels to protrude as much past the front of the baffle.

Because of the coaxial design the surface reflection in the upper region will not be an issue. So it matters far less with this driver than with others.

Tyson

  • Full Member
  • Posts: 11142
  • Audio - It's all a big fake.
Re: Tyson's V2 Venuette DIY Build
« Reply #16 on: 4 Sep 2010, 11:57 pm »
Well, one cabinet and woofers completely assembled.  Word of warning to other builders - make sure you install your 12" woofers in the angled MDF pieces BEFORE you assemble the speaker.  If you wait till after, you will NOT be able to get screws into the recessed back portion of the woofer.  I had to pull mine apart and re-assemble them when I realized my mistake.

Also, looking inside the coax driver, the way they integrated the tweeter and waveguide in this speaker is VERY clever, much better than most coax configurations I've seen.  Can't wait to get the other one assembled and start listening!

Danny Richie

Re: Tyson's V2 Venuette DIY Build
« Reply #17 on: 5 Sep 2010, 12:20 am »
Quote
Well, one cabinet and woofers completely assembled.  Word of warning to other builders - make sure you install your 12" woofers in the angled MDF pieces BEFORE you assemble the speaker.  If you wait till after, you will NOT be able to get screws into the recessed back portion of the woofer.  I had to pull mine apart and re-assemble them when I realized my mistake.

You can use bolts on the back two screw holes and hold the nut from the front side with needle nose pliers while turning the bolt with a wrench on the other side. That way you can remove the woofers later if you want to.

I used Allen head bolts and recessed the head on the back side so you don't see any bolt heads.

I should have outlined that but forgot all about it.

Tyson

  • Full Member
  • Posts: 11142
  • Audio - It's all a big fake.
Re: Tyson's V2 Venuette DIY Build
« Reply #18 on: 5 Sep 2010, 01:02 am »
Yes, probably a good idea to include those bolts in the kit also.

Tyson

  • Full Member
  • Posts: 11142
  • Audio - It's all a big fake.
Re: Tyson's V2 Venuette DIY Build
« Reply #19 on: 5 Sep 2010, 05:35 am »
Pics added to first post.