Allen NX-Treme Build

0 Members and 6 Guests are viewing this topic. Read 14228 times.

allensound

Re: Allen NX-Treme Build
« Reply #60 on: 11 Jul 2025, 01:32 am »
KTS thank you very much for that!  I'm hoping this lengthy journey will help others!

BIG Update!

I've made what now feels like pretty significant progress!  Let's get started with some photos! 

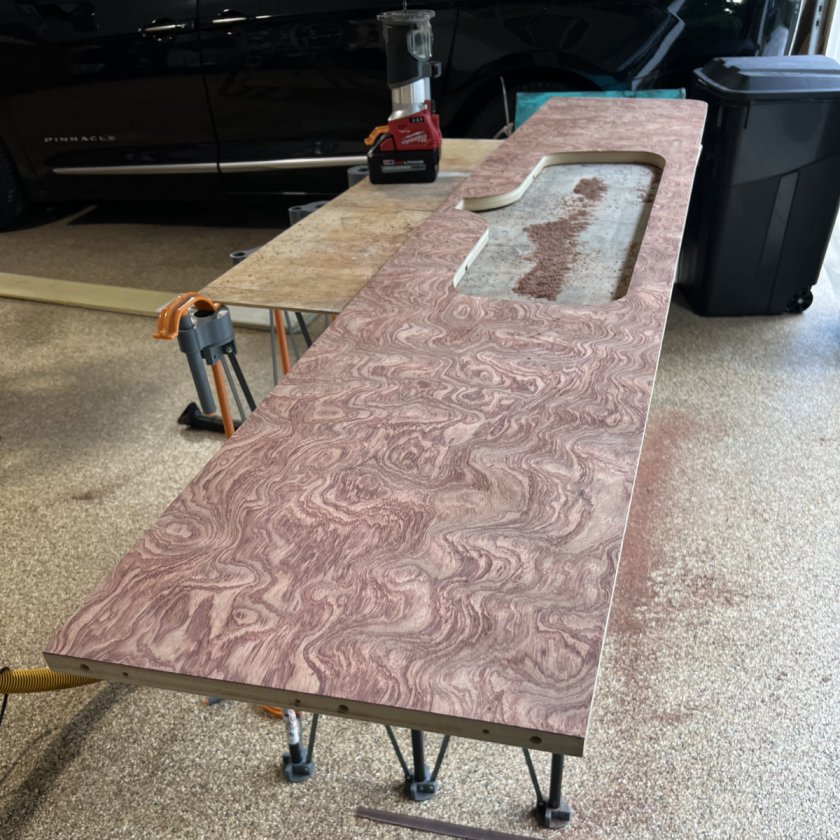
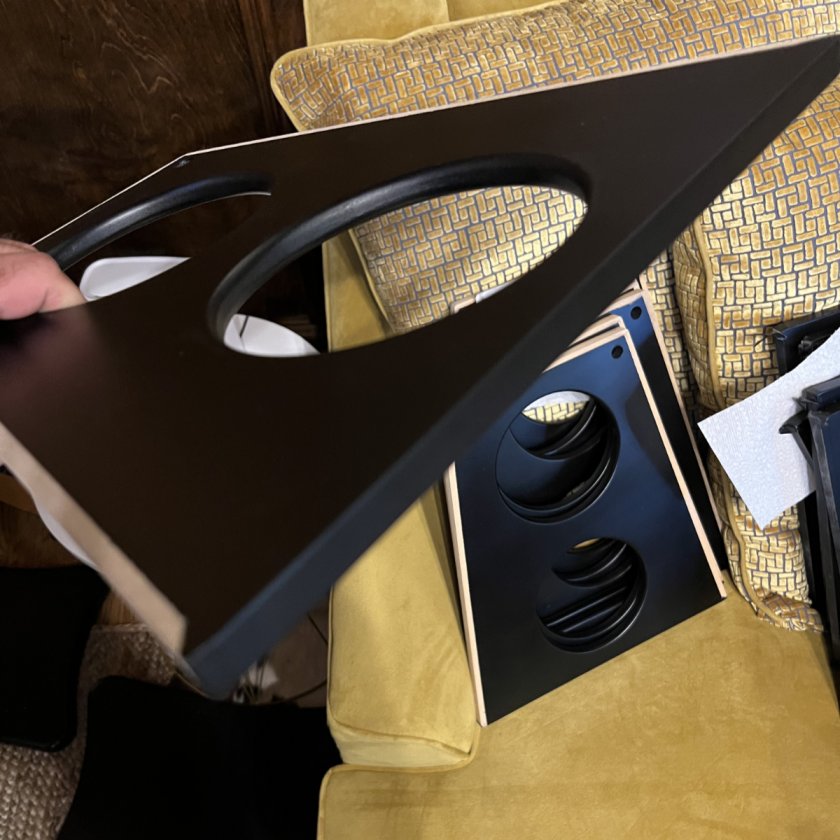
Last images I posted were of the veneer applied to the speaker sides.  This time, I've got them routed out!


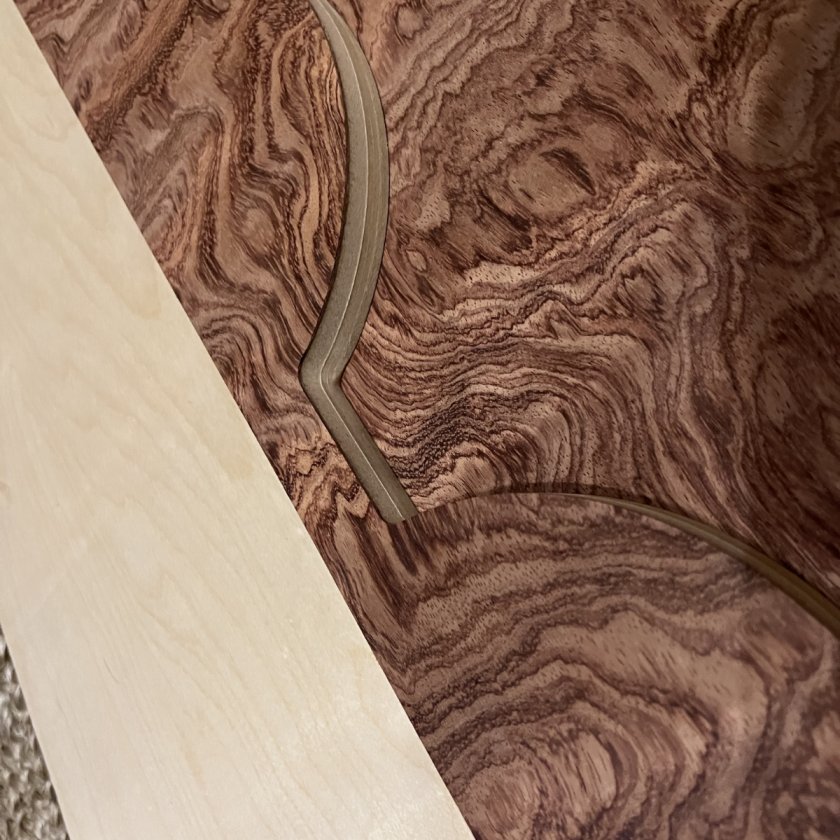
Here's a closeup of the cutout for open side next to the tweeter...to run your finger along the edge, you wouldn't know the veneer wasn't originally a part of the MDF!  I used a Milwaukee trim router with a spiral down flush trim bit. I think I'd mentioned previously that I'm using the Heat-Lock glue from veneersupplies.com and that stuff is absolutely amazing.


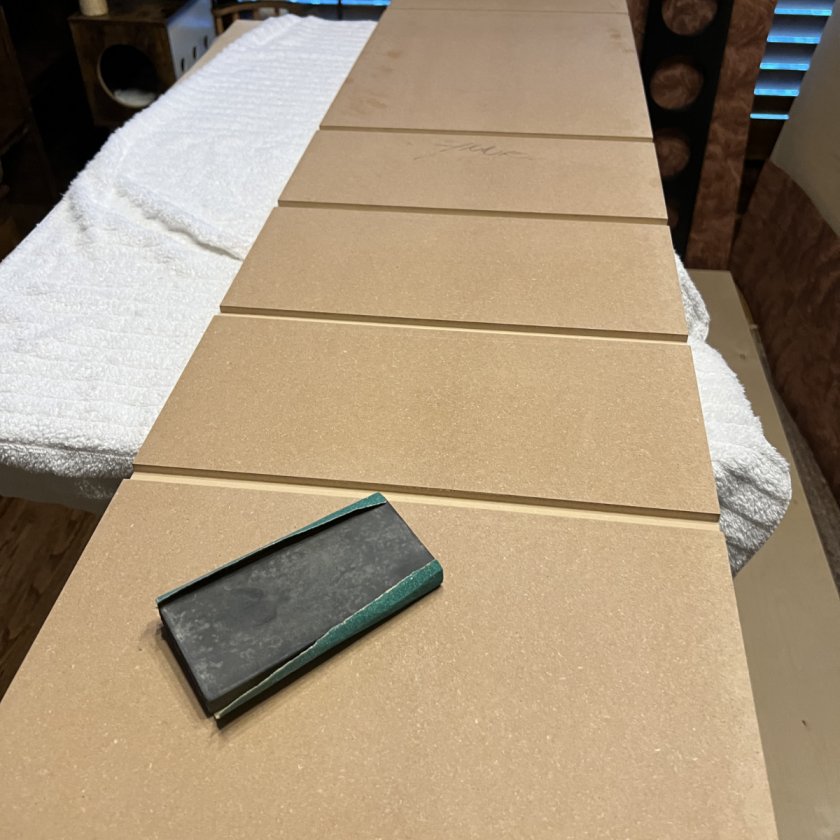
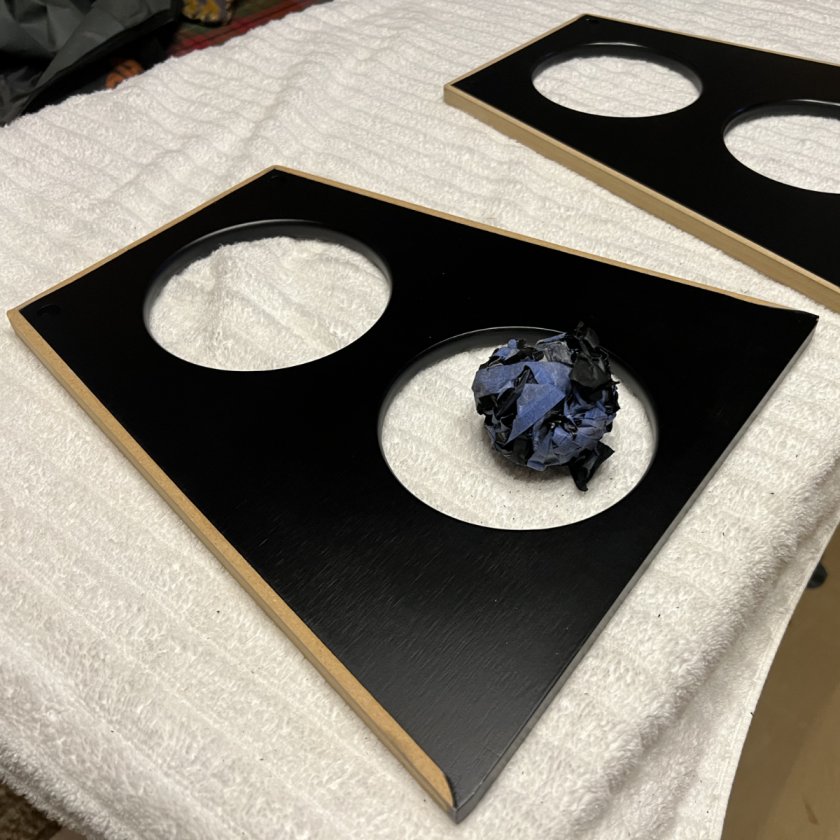
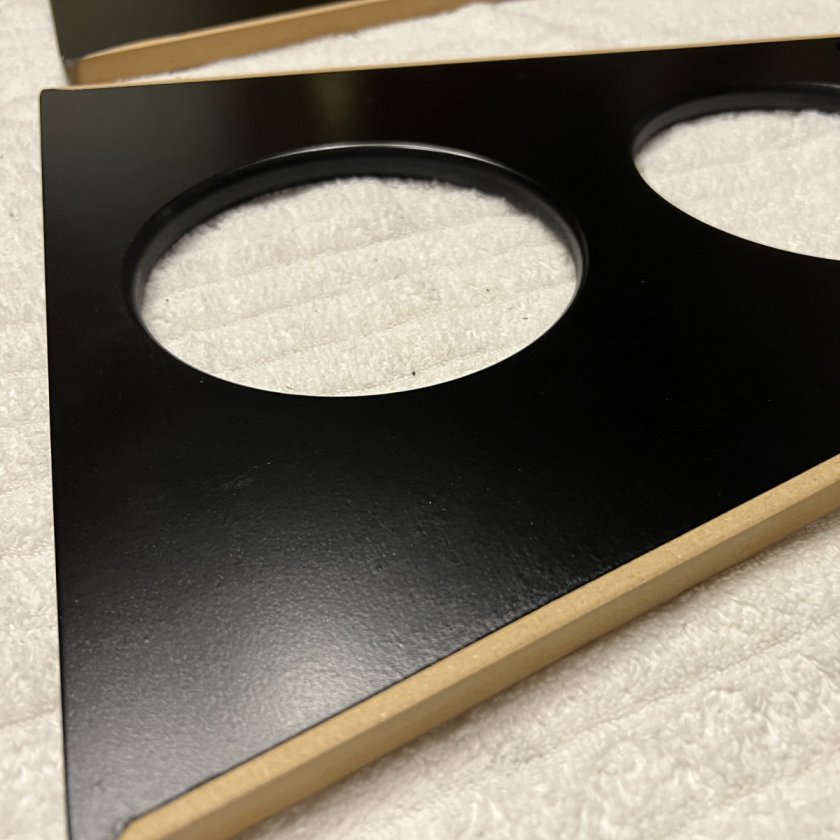
After I got done with that, I realized I still had a little bit of sanding to do.  Using 80 grit sandpaper, I "gently" sanded the back of the MDF where the NoRez will be installed, and I attempted to sand off a decent amount of the spray paint on the back beveled parts of the baffle that will be glued to the sides.


Then, I needed to move on to removing the masking tape I put on all the bracing I painted to ensure there would be good surfaces for the wood glue to adhere to when it was all installed.  Notice that I masked all he edges EXCEPT the "wide" part of the braces as those will be visible from the back of the speaker.


Here's a couple of them after I removed the painters tape - the tape came off pretty easily even though it was a bit tedious.  I just made sure I pulled away from the paint and not down towards it, just in case the paint would try to lift off with the tape (anyone who's painted latex paint on a wall and left painters tape on too long will know what I'm talking about).  Fortunately it never felt like it was going to try and lift the spray paint from the MDF. 


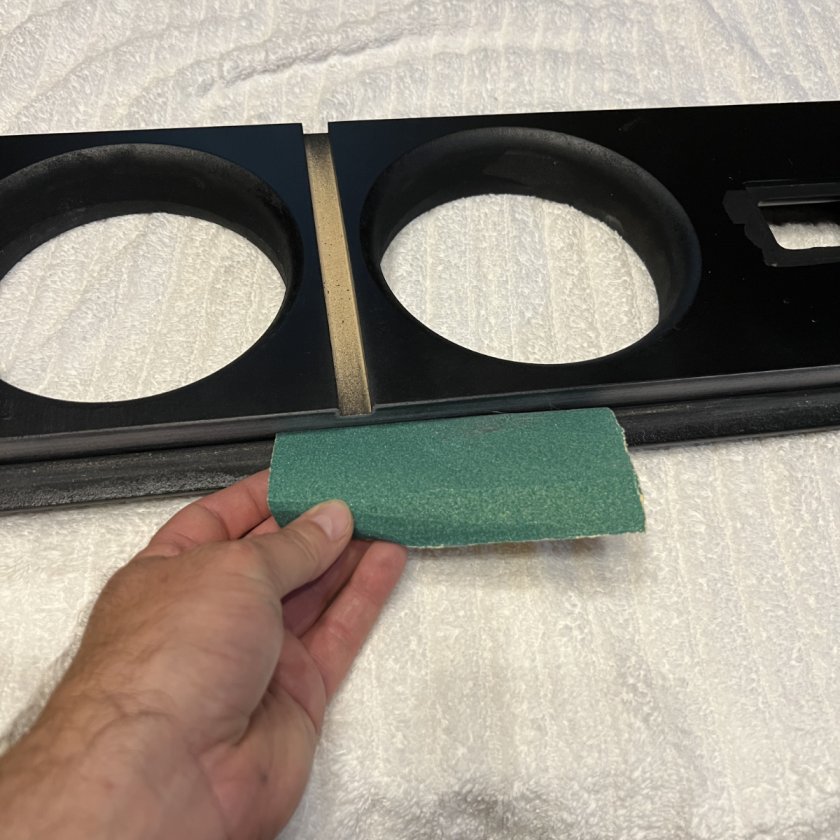
I also wanted to show a closeup of the painted brace - keep in mind that ALL the bracing and anything that wasn't the front of the baffles I used pretty inexpensive Rustoleum paint for the finish.  Considering I didn't spend a crazy amount of time trying to make these perfect, I am very impressed with how they turned out. 


A couple of notes on the Rustoleum vs SprayMax and why choose one or the other and if it even matters...
I chose to use the Rustoleum on the parts that would rarely be touched or seen for two reasons
1. Rustoleum was about $6/can whereas the SprayMax was about $30/can (and they both have similar coverage)
2. Rustoleum is not nearly as scratch / scuff resistant as the SprayMax
Because those parts were never going to be touched, I figured putting a cheaper/less durable finish on those was perfectly fine. 

What I will say is this - the Rustoleum painted pieces do look very nice.  Considering I didn't spend near as much time prepping the surfaces of the braces compared to the baffles, I am very impressed with the outcome.  That said, the Rustoleum sprays SOOOOO very differently than the SprayMax.  The Rustoleum paints need to be sprayed in very thin layers using very fast motions to avoid runs.  When I post the videos of spraying with the SprayMax, you'll see I sprayed smoothly - not too fast or too slow and I continued layering until I reached the thickness I desired before moving on.  So there are VERY different techniques to spraying the two paints in order to get the results you'd want.

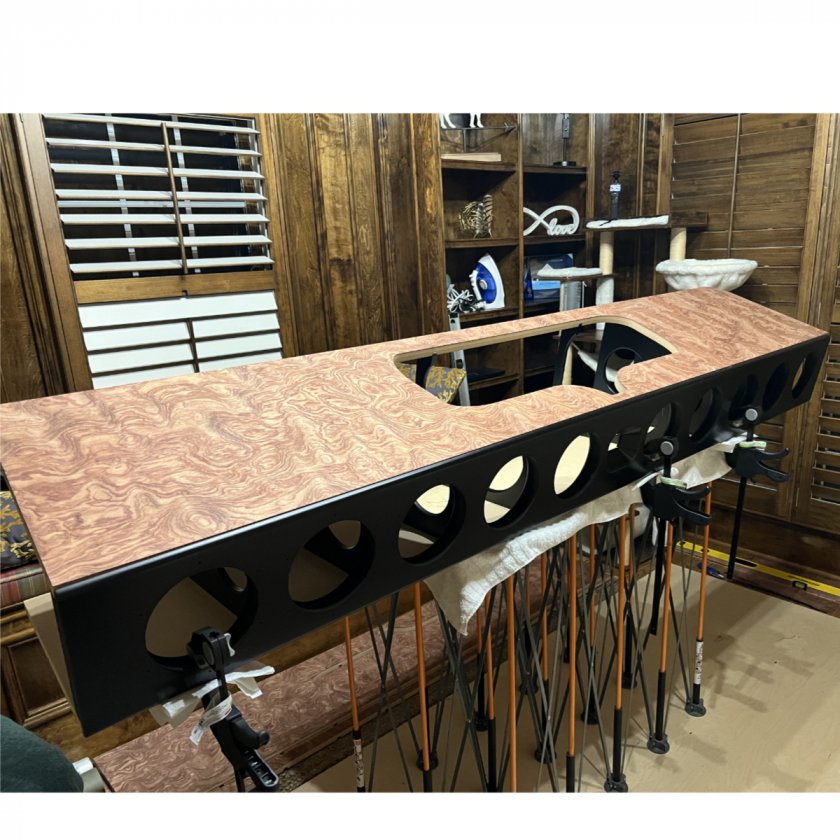
And finally....how about some pictures of what it looks like put together?!

First is a shot where I just started dry-fitting the pieces.  I followed the directions posted by Jay (CaptainHemo) on this thread - if you follow those directions to a T, it's nearly impossible to mess up...
https://www.audiocircle.com/index.php?topic=169138.msg1792762#msg1792762

I used some paper towels on the veneer surface to keep the clamp from marring the surface up, and I just put three of those on the baffle-to-side to keep things in place.


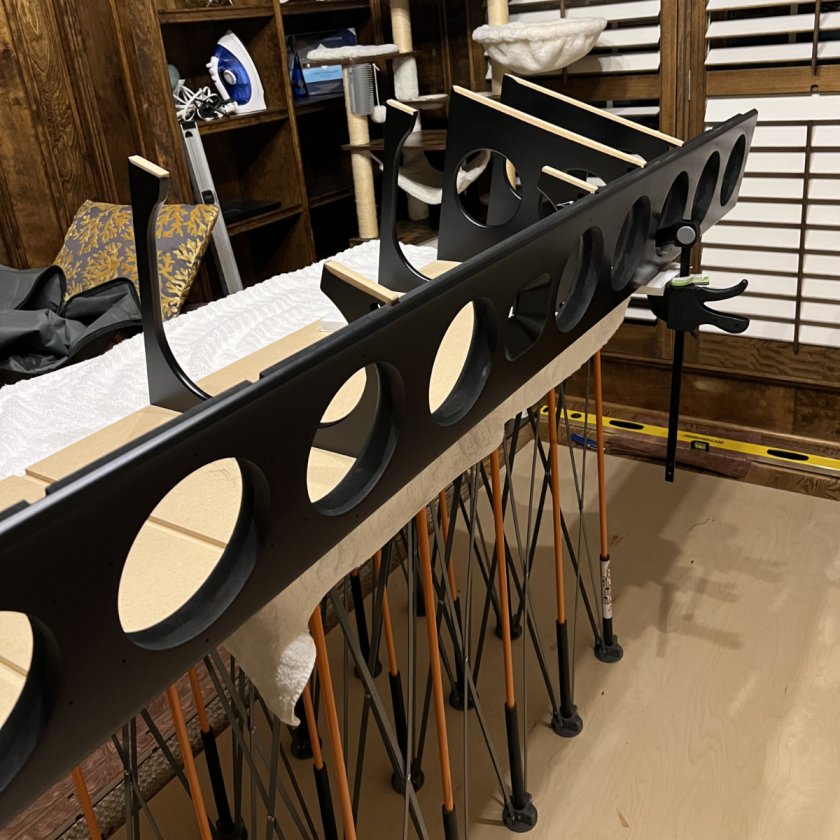
After that, I just continued to drop pieces in place, tap things around to where the BACK of the braces lined up smoothly with the back of the side dados, and then I dropped the other side of the speaker on top and just tapped it into place.  The fit of everything is pretty amazing.  It all fits together perfectly/snuggly!  So here's a shot of it all dry fit together!


Today I went and picked up some TiteBond III as it has the longest "working time".  I already had some TiteBond I & II but after reading several threads, it feels like having more working time is better.  Also, the only reason I didn't start gluing tonight is I have some silicone glue brushes arriving tomorrow to help me spread the glue evenly and reduce any squeeze out. 

When I go to do the glue-up (hopefully tomorrow night), I'll be placing some painters tape over the veneer to make sure none gets on the surface of that.  I'm not too worried about the painted baffle as it should be easy to wipe off....but maybe...just maybe I should put some painters tape on there too just to make life easier.

Due to the space and number of clamps needed, when I go to do this it'll be one speaker at a time.  So it'll likely end up being a two to three day process overall. 

I've also been researching the best finishing for the veneer and I've found some pretty cool information I'll share in a post when I get to doing that.  Pretty excited about what's coming.  I really do think these things are going to look killer when they're all done!

NXSTUDIO-DRUMMER

  • Jr. Member
  • Posts: 202
Re: Allen NX-Treme Build
« Reply #61 on: 11 Jul 2025, 02:13 am »
Allen,
Your Extremes are turning out very nice! As far as tag logo's, just let me know if your interested, I'll be glad to provide the information to assist you with them.

For a basic visualization, I added the logo's on one of your existing photo's. A possible location could be at the bottom of your speakers to ad  the GR-Research Tag Logo. Granted, the scale you prefer is up to you design wise.


AlexH

Re: Allen NX-Treme Build
« Reply #62 on: 11 Jul 2025, 11:12 am »
Looking Good. I have done a few speakers in Waterfall Bubinga. You are correct it is  going to look gorgeous.

BrandonB

  • Full Member
  • Posts: 471
Re: Allen NX-Treme Build
« Reply #63 on: 11 Jul 2025, 07:14 pm »
These are looking really nice!

Danny Richie

Re: Allen NX-Treme Build
« Reply #64 on: 20 Jul 2025, 11:52 pm »
Wow, looking good!

allensound

Re: Allen NX-Treme Build
« Reply #65 on: 21 Jul 2025, 12:46 am »
More Progress!

I’ve now assembled (glued/clamped) both speakers! 

Here’s the first speaker (the left one).  Things were going well….except, just don’t make the mistake I did and think that you’re doing good by taping / masking off the separate sections during glue-up.  The problem is if you get ANY tape stuck in the glue, it’s REALLY difficult to get out.  Another thing that the tape did was pull up some of the fibers from my veneer   :x


Here’s some photos after I took all the clamps off and it was standing on its own!


One really bad thing that happened as I was trying to extract the pieces of painters tape that got stuck inbetween the baffle and the side is I accidentally scratched the baffle (with a knife) - yeah, I know I should have known better…sooooooooo frustrated about that.  I’m currently trying several ways to touch it up.  I got it not looking terrible by using some touch up paint for a car, however the paint is too glossy.  I tried to tame it down with some eggshell clear, but it doesn’t tone it down enough.  I think the right move is to get some flat paint and then put a touch up of clear over it.  I’ll update once I’ve found the right pattern.  Again, so frustrated I made that mistake.


So, to take a break from being irritated by my bone-headed mistake, I decided to put the right speaker together.  I did things a little different this time because I learned a lot on the first one.

First - NO TAPE
Second - rather than trying to glue everything up in one shot, this time I glued the front baffle to the solid side (the side without the cutout) - then let that dry over night
- Also, this time around, I used four 24” clamps to pull the front baffles as tight to the side as possible - so clamped from the front of the baffles to the back edge of the side - I tried to space these down the speakers to apply that pressure from top to bottom as best as possible
- I also put clamps inside the driver holes and applied pressure from the side into the edge of the baffle to keep things nice and tight

This approach was way better than what I did on the first speaker where I felt like I was rushed to try and get everything done and clamped up.  This approach let me ensure the baffle was very secure to the solid side before proceeding with the bracing and the side with the cutout.

I apparently forgot to take a picture of this (but I have video)…

So, where I have photos is where I had already clamped the entire thing together after standing it up.  BTW - the tips that Jay provide on attaching the foot, standing it up and then apply strap clamps is money.  You COULD do a very good job clamping everything together with standard pistol clamps, but you’d need probably 8 or more 24” clamps to apply enough pressure in enough spots to make it work well, plus you’d still need another 10 or more 6”-12” clamps.  With a speaker this big, the more clamps the better.  In reality, the strap clamps are best because it really does apply pressure all the way around the enclosure which is the best possible scenario.

You’ll notice on the front of the baffle I’m not using any of the strap clamp “corner” plastic pieces because I didn’t want to dent up or mar up the front of the speaker. 


On the back of the speaker though, I did use those corner plastic pieces to pull everything snug together.  Works really well with the strap clamps.  Also, worth noting - on the second speaker, I used the pistol grip clamps and the cheapo Harbor Freight strap clamps - I think they’re like $6/each.  Once you learn how to use them effectively, they are excellent for this particular task.  I took some video to show the easiest way to use them on this.


Then there’s just some additional shots.


A couple other things…

I realized that after I assembled these things, it was going to be way harder to get a template for cutting the NoRez….so, before I glued this one up, on my wife’s suggestion, I used the butcher paper, rolled it  down the length of the side and marked out where the cuts were.  I also traced (from underneath) around the curve on the top and the different angle along the bottom.  This worked out really well and was super easy to do.

Another thing I realized (that I’m annoyed by), is I thought I was doing great by being proactive and cutting out the edge trim early on…the problem is, now I’ve got to put the glue on it, and I’ve got to individually tape each one of these things down - man what a pain that’s going to be…and talk about a lot of tape.  This isn’t something you can skimp on either because if you don’t glue down along the edges, glue will get onto the veneer itself, which you definitely don’t want.  So yeah…that’s another annoying thing I did.  I think at some point, I’ll go back through all my notes and create another thread that will be something like “The definitive guide to building the NX-Tremes, as frustration free as possible”.  :D

So, next up will be sanding down the edges of the sides (both the outside edges and the inside cutout edges).  Then apply some glue to the edges and edge banding, and get to melting those things together.  I have a feeling that’s going to be a little frustrating too :-p

Hope to be back soon with some more!

allensound

Re: Allen NX-Treme Build
« Reply #66 on: 21 Jul 2025, 12:49 am »
Wow, looking good!

Woohoo!  Thank you Danny!  I’m so excited about these things.  The hardest part is the time it’s taking…I want to hear them already!


allensound

Re: Allen NX-Treme Build
« Reply #67 on: 21 Jul 2025, 12:50 am »
These are looking really nice!

Thank you Brandon!  Hopefully the end product is going to be as pretty as I envisioned them at the beginning of this process!

allensound

Re: Allen NX-Treme Build
« Reply #68 on: 21 Jul 2025, 12:51 am »
Looking Good. I have done a few speakers in Waterfall Bubinga. You are correct it is  going to look gorgeous.

I looked through your galleries - yours absolutely turned out beautiful!

jmimac351

  • Full Member
  • Posts: 706
  • Chief Instructor - ChinTrackDays.com
Re: Allen NX-Treme Build
« Reply #69 on: 21 Jul 2025, 02:09 am »
Allen, these are turning out one of a kind great.  Maybe I can drop some gear off when I come up that way to visit my parents in Gainesville, GA.  The First Watt SIT-3 amp is NOT a good fit for them - but I've got some other stuff I'd like to hear on them and maybe you would too.  My Pass XA30.8 may sound really nice on them and I am looking to pickup an XA25.  The XA25 may be the best yet, for just that kind of speaker.

nlitworld

  • Full Member
  • Posts: 2526
  • Strange things are afoot at the Circle K
Re: Allen NX-Treme Build
« Reply #70 on: 21 Jul 2025, 03:22 am »
Hey Allen,
For touchup of the booboo, head to the mall and find a Sephora or other makeup store and see if they have any flat black nail polish. That'd probably be your best option. Second best and kind of a genius little hack, sharpie marker. Won't be perfect, but 2' away you won't ever notice it. All in all, those are looking fantastic. I bet they'll sound even better too!

allensound

Re: Allen NX-Treme Build
« Reply #71 on: 21 Jul 2025, 10:39 am »
Hey Allen,
For touchup of the booboo, head to the mall and find a Sephora or other makeup store and see if they have any flat black nail polish. That'd probably be your best option. Second best and kind of a genius little hack, sharpie marker. Won't be perfect, but 2' away you won't ever notice it. All in all, those are looking fantastic. I bet they'll sound even better too!

That’s great advice…thank you again man!

allensound

Re: Allen NX-Treme Build
« Reply #72 on: 21 Jul 2025, 10:40 am »
Allen, these are turning out one of a kind great.  Maybe I can drop some gear off when I come up that way to visit my parents in Gainesville, GA.  The First Watt SIT-3 amp is NOT a good fit for them - but I've got some other stuff I'd like to hear on them and maybe you would too.  My Pass XA30.8 may sound really nice on them and I am looking to pickup an XA25.  The XA25 may be the best yet, for just that kind of speaker.

Definitely stay in touch…at my current pace they’ll be ready to listen to by 2028.  :-p

oskar

  • Full Member
  • Posts: 426
Re: Allen NX-Treme Build
« Reply #73 on: 21 Jul 2025, 01:14 pm »
Nice build.
Have you thought of using a spray adhesive to apply the edge banding?
There would be a bit of masking involved.

allensound

Re: Allen NX-Treme Build
« Reply #74 on: 21 Jul 2025, 01:48 pm »
Nice build.
Have you thought of using a spray adhesive to apply the edge banding?
There would be a bit of masking involved.

I hadn’t considered it…any you would recommend?  My biggest requirement would be a really good, permanent bond.

I have considered doing the contact cement stuff - I’d be a little nervous on that one though because once it touches, you’re not moving it.  The heatlock stuff makes it very easy to position things perfectly before going permanent.

oskar

  • Full Member
  • Posts: 426
Re: Allen NX-Treme Build
« Reply #75 on: 22 Jul 2025, 02:01 pm »
You are correct about getting the alignment. It does bond on contact.
Now I realize that its quite a long edge on those speakers. Depending on how wide your edge strips are you might try it.
I put wax paper on the surface and then as I apply the banding I peel away the wax paper.
I'd lay the speaker down horizontally and stand it off from the surface an inch or so then lay a straight edge on the banding on that surface and start applying.

But of course you should do what you are comfortable with.

mzbrahce

  • Jr. Member
  • Posts: 80
Re: Allen NX-Treme Build
« Reply #76 on: 22 Jul 2025, 03:27 pm »
I had a similar problem where the black painted baffle edge meets the veneered side edge when finishing my Superminis. This is what I used for touch-up: https://www.amazon.com/Drawing-Mogyann-Waterproof-Artists-Sketching/dp/B0991XTC5F?ref_=ast_sto_dp

These markers worked well and were easy to use with several tip shapes and sizes.

Tyson

  • Full Member
  • Posts: 11554
  • Without music, life would be a mistake.
Re: Allen NX-Treme Build
« Reply #77 on: 22 Jul 2025, 03:32 pm »
My advice when trying out a new technique like this, practice on some scrap first.  Lots of scrap and lots of practice.  Then you'll be a lot more confident when working on the main speakers.

oskar

  • Full Member
  • Posts: 426
Re: Allen NX-Treme Build
« Reply #78 on: 22 Jul 2025, 04:09 pm »
Most certainly do a test.

allensound

Re: Allen NX-Treme Build
« Reply #79 on: 22 Jul 2025, 04:11 pm »
You are correct about getting the alignment. It does bond on contact.
Now I realize that its quite a long edge on those speakers. Depending on how wide your edge strips are you might try it.
I put wax paper on the surface and then as I apply the banding I peel away the wax paper.
I'd lay the speaker down horizontally and stand it off from the surface an inch or so then lay a straight edge on the banding on that surface and start applying.

But of course you should do what you are comfortable with.

Yeah, because the strip is so long and narrow, I may stick with the heatlock - unless I can employ a number of extra hands!