Pursuit of Perfection - a Better FinishAlright...it was really that last picture I shared where I compared a purchased speaker's finish with the finish I currently had that made me just want to go a step further. I mean, I've already invested several hours in this and I just don't ever want to think "I wish I'd gone ahead and done it better". Now's the time before I put all this stuff together.
So, that said, I decided I was going to go ahead and get rid of the orange peel. I don't believe I have a ton of photos here because I was mostly recording the process. So, because I don't have a ton of photos, I'll share what I did, what went right, what went wrong, and the next steps (plus a few photos of the aftermath).
I started out sanding by hand with 800 because it's about the safest thing you can do - it'd be nearly impossible to burn through any clear with just that. Turns out I couldn't do more than about 3 square inches before needing a new piece of sandpaper so I moved up to a lower grit (more aggressive sanding). Let's just say I did this several times - I worked my way from 800, to 600, to 400, to 320. Also, note that most 600's and 800's can be wet or dry sanded. I opted for dry sanding so I could easily see what was happening as I worked. Well, with 800 and 600, they couldn't do much before the sandpaper was completely clogged and I'd have to get another piece. 400 got quite a bit better but it still took quite a bit of effort to get down to where a spot I was working on wouldn't have any shiny spots. So, I opted to drop down to 320 grit and that seemed to be the right starting point at least for the flat surfaces.
I spent a LOT of time trying to do the tweeter wave guide by hand and really being careful about all the edges. Unfortunately, I didn't realize that I was using a few inch long piece of sandpaper and while I was sanding the middle of the wave guide, I was hitting the inside most part of it and ended up sanding down to the primer!!!
Frustrated 


I chalked that up to learning, folded the sandpaper down to a smaller piece so I didn't inadvertently hit areas I wasn't trying to hit. That worked out well for the rest of the inside of the wave guide. I then moved up to the flat surface and was making slow but steady progress - the clear coat really fills up the sheets of sandpaper quickly.
It was about this time I got brave and decided to switch from hand sanding to using my random orbit sander -
this'll go much faster....
HUGE MISTAKE - I don't know that I had that thing on for more than a minute and I'd already burned down to the primer along a couple of spots in next to the round-overs on the side of the baffle. I think the real problem is you can't ensure you have consistently, perfectly flat downward force to the sander so it can (and will) apply more aggressive sanding at spots on the surface, which is REALLY a problem when you get next to the round-overs. Basically any edges or not completely flat surfaces just won't have as much clear on them because the clear will settle as it's drying, and it works its way to the nearest flat spot - so just by that very nature, the clear will always be thinner on edges and non-flat surfaces. So...lesson learned. I put the power sander down and went back to doing things by hand. Really, I just continued on to finish the entire baffle so I could learn more by doing. I mean, I already knew I was going to have to go back and paint and clear in some spots so I might as well gain as much knowledge as possible while there.
SOOOOOooooo.....here are the photos. Like I said, I was/am very frustrated I tried to speed things along because I can PROMISE you it's going to set me back days now as I'll need to paint and clear again and I'll only be able to do those things in the evenings
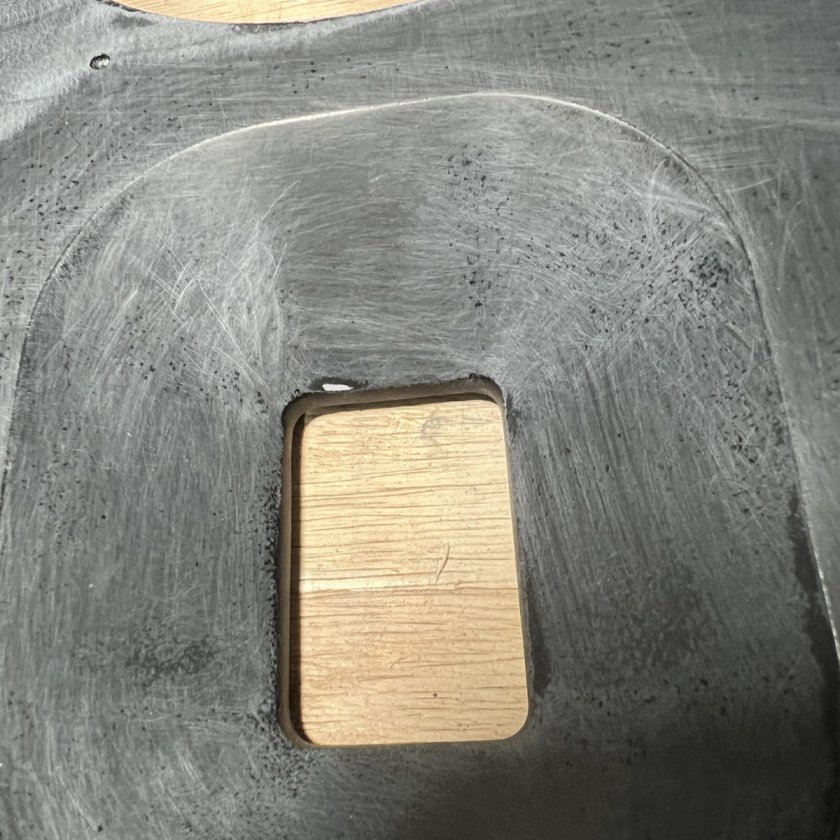
Here's the wave guide where I hand sanded mostly with 600 and then some 400 and had some burn through to the primer
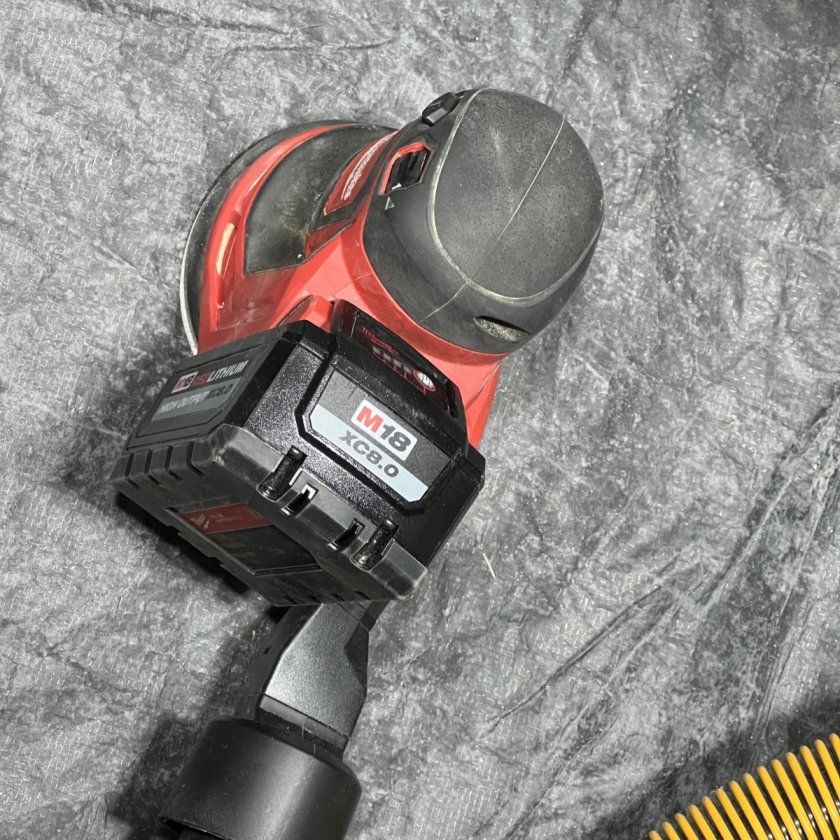
Here's the devil - the random orbit sander - I had put 320 grit on there - I screwed up:
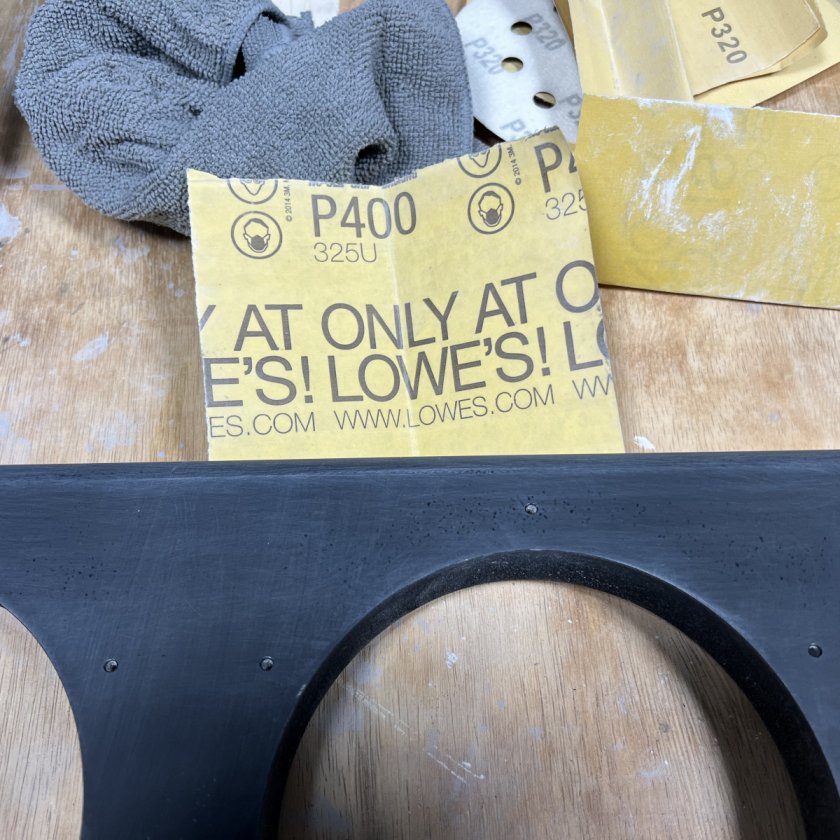
Here's where I showed I was hand sanding using 400 grit for the roundover just to be safe:
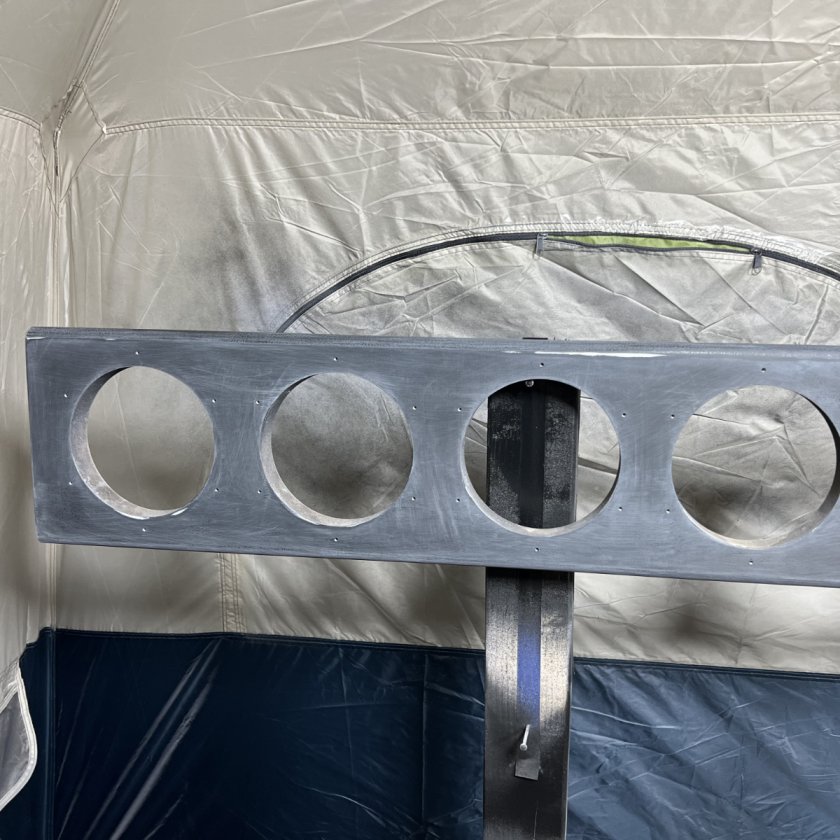
Here's where I show the part of the baffle where I used the random orbit sander and 320. You might say - "Why didn't stop when you saw you burned through?!" - well, the random orbit throws out so much more dust that you can't really see that you burned through it until you take a break and wipe everything down - EVEN WITH the vacuum on for dust collection!
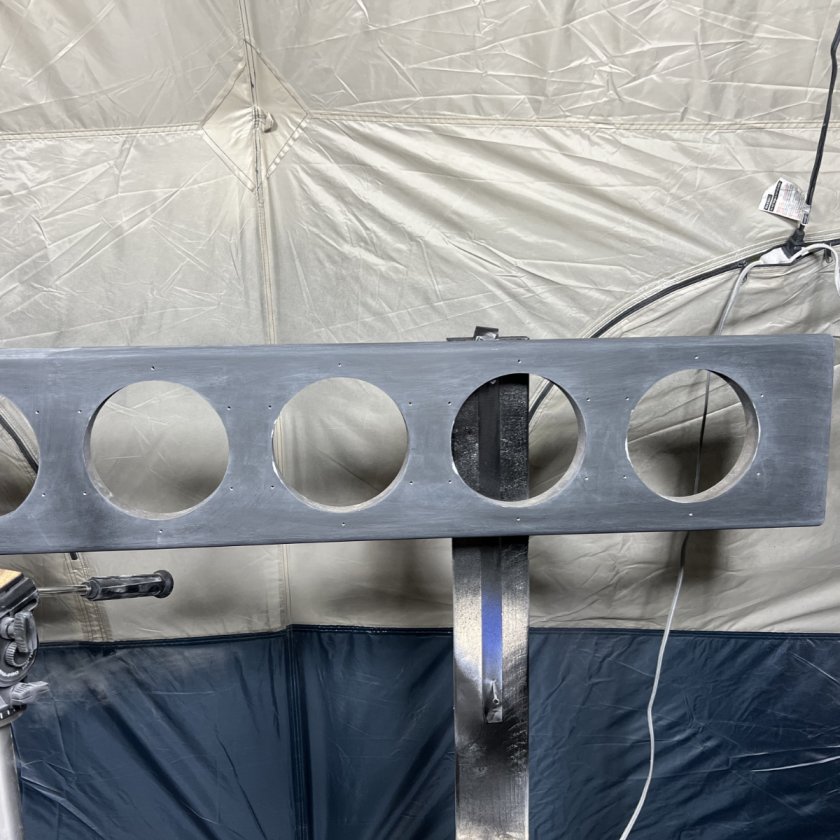
Here's the middle of the baffle that I hand sanded with 320 and mostly did just fine:
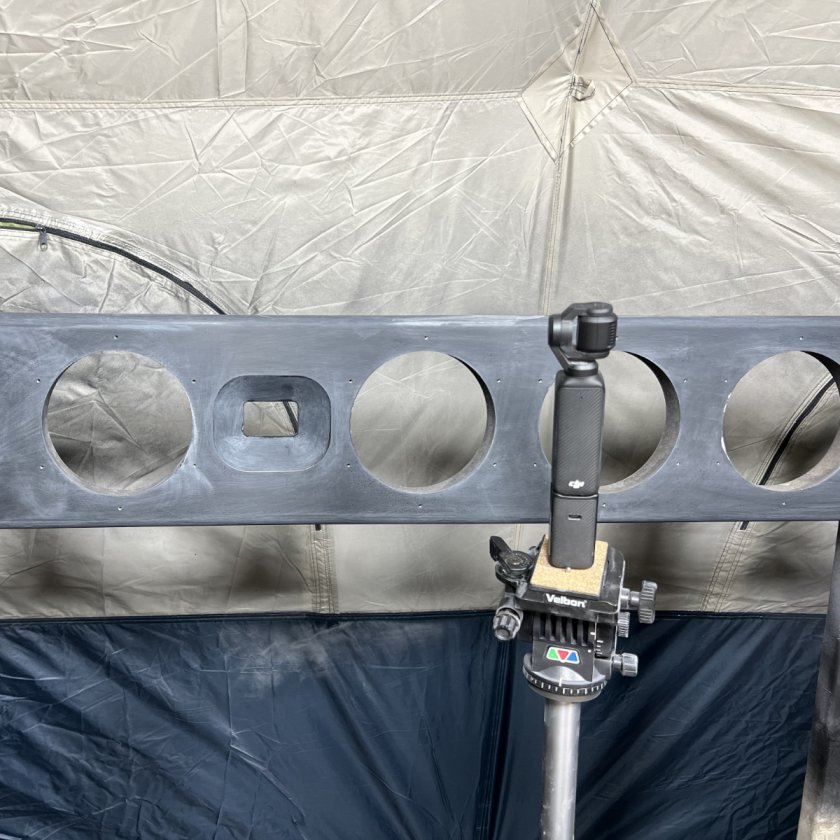
And the same for the other end of the baffle - mostly did just fine when hand sanding with 320:
If you look closely at any of those three baffle pictures, you will notice that there are several spots right on the speaker openings where it looks like I got down to the primer, even in the hand-sanded sections. That's a lesson learned for sure - I don't even need to get that close to those edges as they'll be covered up by the speaker drivers themselves. So...I'll probably go ahead and touch these up because I have so much touch up to do anyways, but on the other baffle I'm going to steer clear of those areas - again, the edges will ALWAYS have less clear on them than the rest so any time you get close to it you run the risk of burning through the finishes. Live n' learn I suppose
You're now caught up with where I am so the next updates will be a little slower coming. I was so bummed after those sanding mistakes that I called it a day on this. I'll likely try to do the other baffle tomorrow and probably both the bases as well. Like I said, this has probably set me back many days to a week. I'm going to wait to get everything sanded down before doing the touchups because I only have one more bottle of the spraymax and I'll need to do all those coatings roughly at the same time knowing they're only good for 48 hours.
Oh, one other thing worth noting - it is SUPER annoying to burn through sand paper so quickly. I saw this on a guitar finishing video on YouTube and I may buy some of this to give it a shot. The reviews of these products are just amazing - apparently they don't clog up like regular sandpaper which saves time and money (maybe - they're not cheap). BUT, I'll take saving time any day of the week so I may be purchasing some of this tonight.
Super Assilix sandpaper:
https://amzn.to/4b3SDkpLike I said, there will be a pause in posts, so I'll be back after some more progress, positive or negative as it may be :-p