It's been a relatively slow couple weeks on this build between a job getting busy, assisting aging parents, springtime projects, the house next door burning down, etc. You know, the usual.
But I did make some steady slow progress over that time.
After getting the parts a couple weeks back I made the crossover networks my after work project during the week.
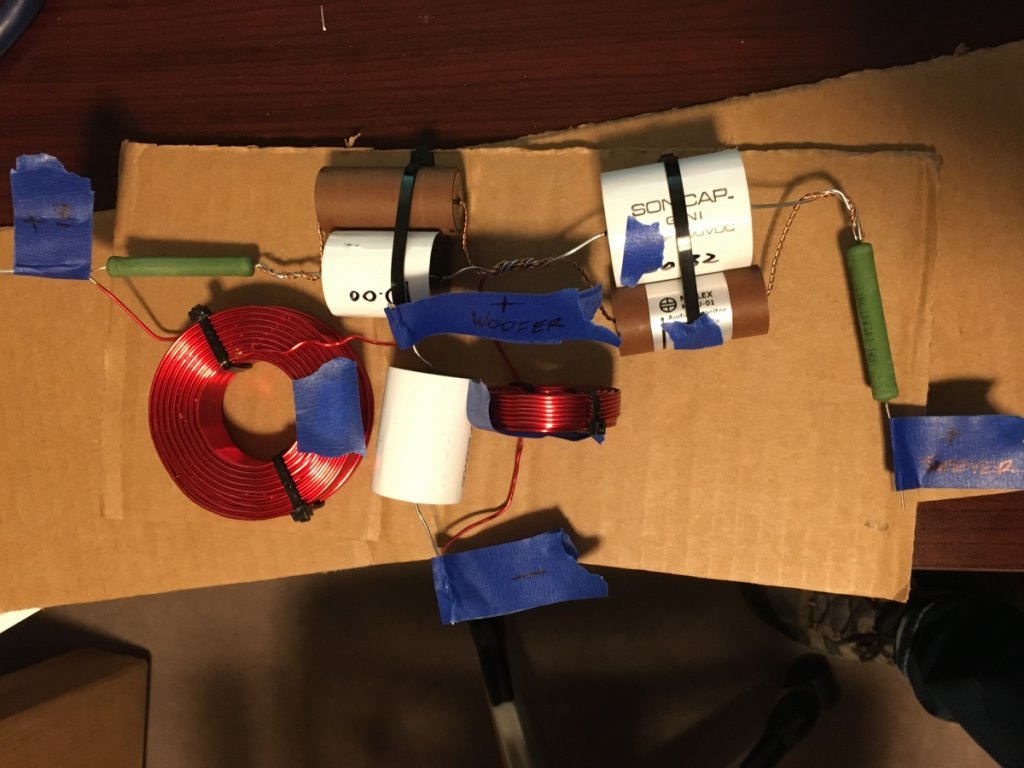
Many people on this forum have already mentioned this, but Danny's video on crossovers was immensely helpful in both how to approach it and some basic soldering techniques. I have soldered things before, but never felt proficient at it. I was able to test the crossovers last weekend and everything seemed to be working fine. The woofers were playing woofer-ish frequencies and the tweeters were playing tweeter-ish frequencies. It all sounded pretty good considering they were just sitting on my workbench.
Got to mounting the crossover and installing no-rez in the X-CS last weekend, but that's about it as much of the weekend was spent hoping our house didn't catch on fire.

This weekend was spent entirely on getting the crossovers installed in the MTM's, connecting the wiring, and installing no-rez.
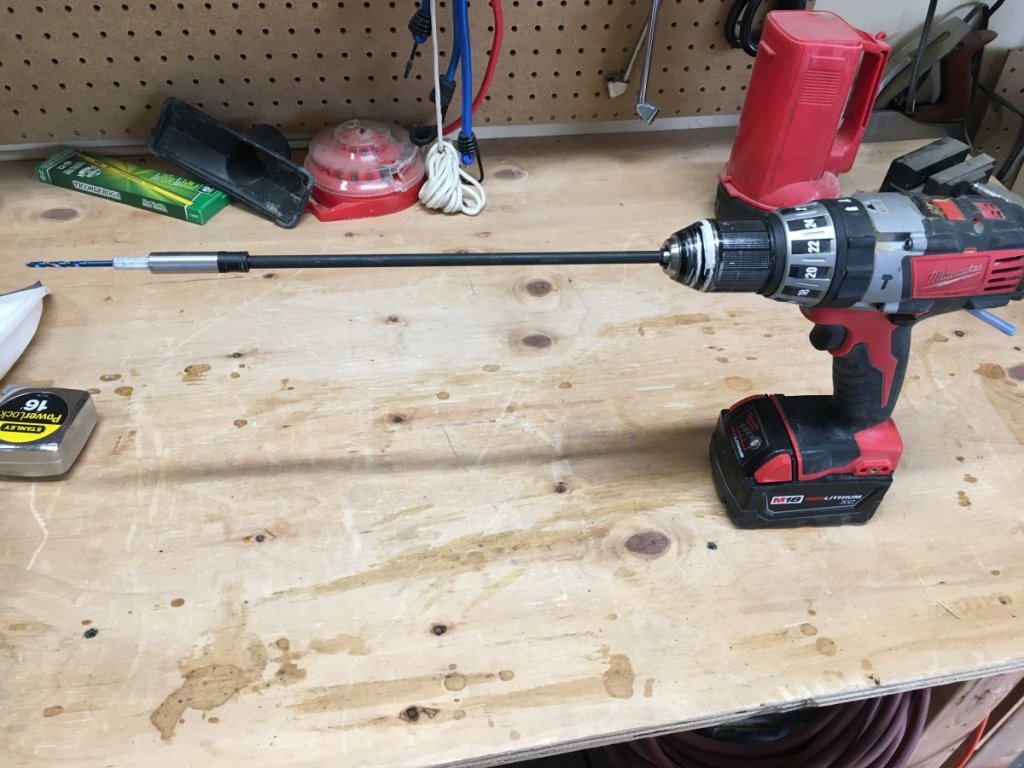
I found that actually attaching the crossovers to the back of the cabinet was harder than anticipated. Enter another tool purchase.
Installing no-rez was quite the process, and I'll be the first to admit that I probably overdid it and took a somewhat inefficient route. I pretty much covered every inch of cabinet that I could in at least the base layer (not sure what it's called, but it's the actual resonance mitigating material). And kept as much of the foam as possible. I cut the foam at the corners where necessary to allow pieces to join together without compressing any foam. I also prioritized using full pieces at almost every spot rather than several small pieces to cover a surface. Unnecessary, I know, but it just felt more correct to do it that way. What that meant is that I went through 7 pieces of no-rez, but have about 1.5 sheets in off-cuts that I can use for future projects.
Again, it's inefficient.
The other reasonably challenging aspect was getting the input and speaker wires measured, cut, stripped, and soldered, all while being deeply fearful that I was going to break off one of the thin resistor wires on the crossover board. I ended up using a fair amount of hot glue under the soldered joint as a strain relief which greatly eased my mind. I also used some hot glue to tack the wire runs to the braces to secure them and keep them from vibrating against a hard surface. Has anyone done a deep dive into the sonic impact of hot glue around wire insulation? It's probably fine.
I made the mistake of installing the X-CS crossover prior to connecting the input and speaker wires. Twisting that solid core wire tightly enough in that tight space was challenging. I did connect everything on the MTM's before installing the crossovers to the back of the cabinet, so I am learning from my mistakes.

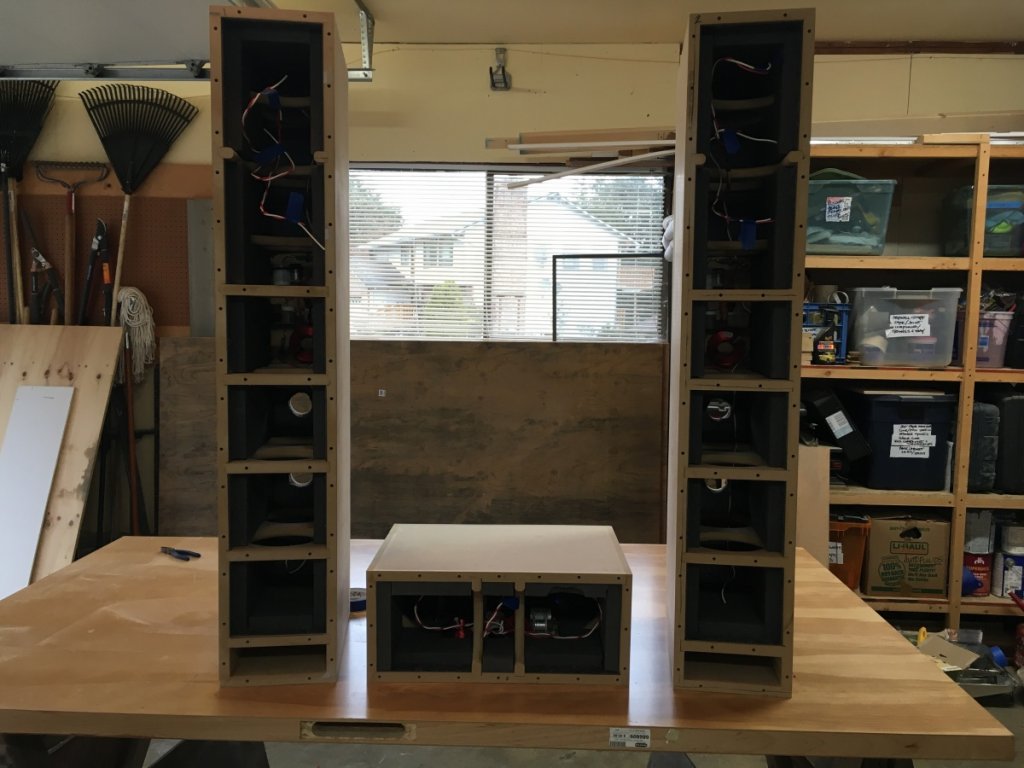
Interiors done, ready for final assembly and finishing;
Next steps:
At this point I have everything I need to finish including the drivers, walnut veneer, acrylic, and finishing products (danish oil and shellac). I even got my speaker spikes this past week from Dayton.
I'm still pursuing the acrylic idea even though the CNC quote came back higher than the price I'm willing to pay, so I'm scheming how to mill the pieces myself. Luckily, I found a source for 1/2" cast acrylic for much cheaper than my original quote, so I feel much more confident trying this out given the lower cost. The order of operations getting the pieces milled for both the speaker holes and the exterior dimensions of the cabinets is turning out to be a complex process. I'll need to take my time with it and not get ahead of myself.
Things I learned/opportunities for improvement/screw ups:
- I wrote this in jonsk's thread, but I soldered the crossover of my X-CS before mounting it onto the board. I ended up with a couple parts slightly off the board as a result. NBD as I just carved out the foam to make room, but a little embarrassing.
- The insulation on the wire Danny provides is tough stuff. I need to invest in a better stripper/crimper tool if I'm going to do more of these builds. I kept saying to myself "Don't nick the copper" all while trying to get a knife through that stuff. Taking insulating out of the middle of the wire is harder than Danny makes it sound. Thankfully, in the end I only had one end I had to recut due to damaging the copper with the stripper tool and all the wire stripping I did in the middle of wires looked pretty good.
- I think I'm going to have enough slack in the wire for one of the woofers, but it's going to be tight. I mis-measured a positive lead and didn't notice it until it had been fully soldered and heat shrinked (heat shrunk?). I don't see why I needed to be so stingy on that one.