A lot of progress this weekend as I was able to spend quite a bit of time in the garage.
First off, I redid the acrylic baffles from last weekend. Compressed air did the trick with keeping the guide bushing clear, but we'll be cleaning acrylic shavings out of the nooks and crannies of the garage for years now as a result. I also revised the painting order which should work better. I'm not going to paint the black until just before mounting them on the speakers in order to leave the protective film on longer. So far everything looks good, but I won't know for sure until the final unveiling.
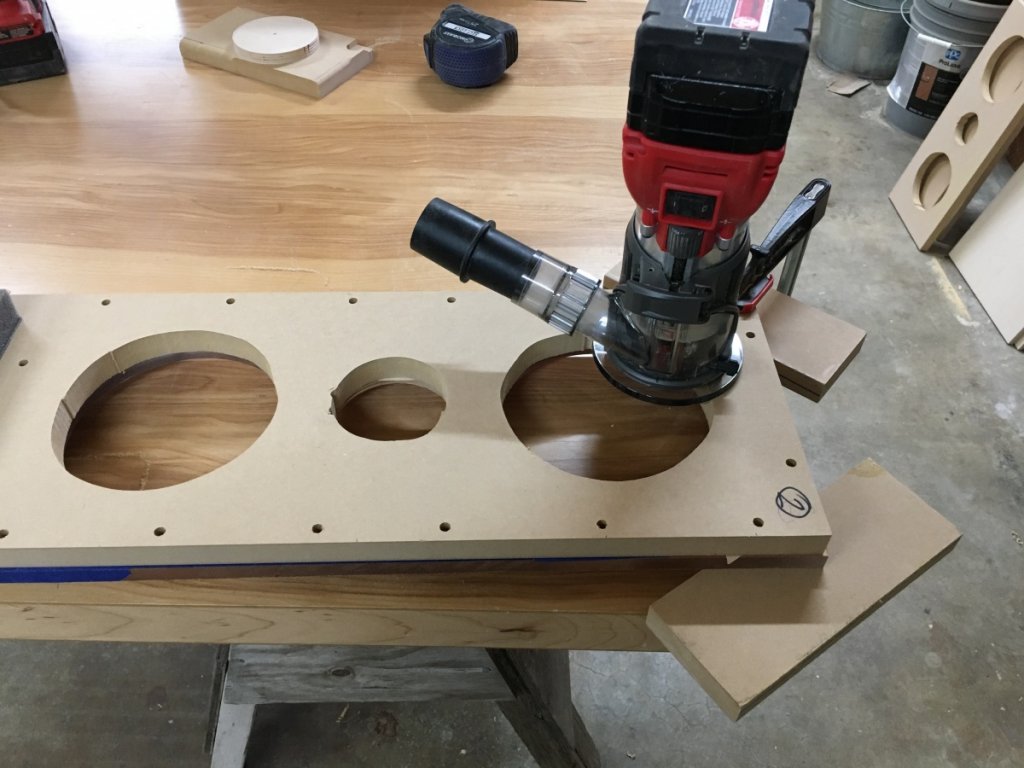
Rather than try to counterbore the tweeter hole in acrylic as described in Danny's plans, I cut the hole to the full dimension of the tweeter chassis and made some spacers to mount underneath the tweeter out of 9mm birch ply which I then had to plane down to the right thickness with my router in a rudimentary surfacing jig. I wish I had thought to take a picture, it was...not professional. However, they ended up being the perfect size.
Once the acrylic and spacers were done I used them as a template to route out the holes in the mdf which the acrylic will be mounted onto. Once complete, I was able to round off the inside driver holes and even did the tweeter hole even though tt's completely unnecessary.
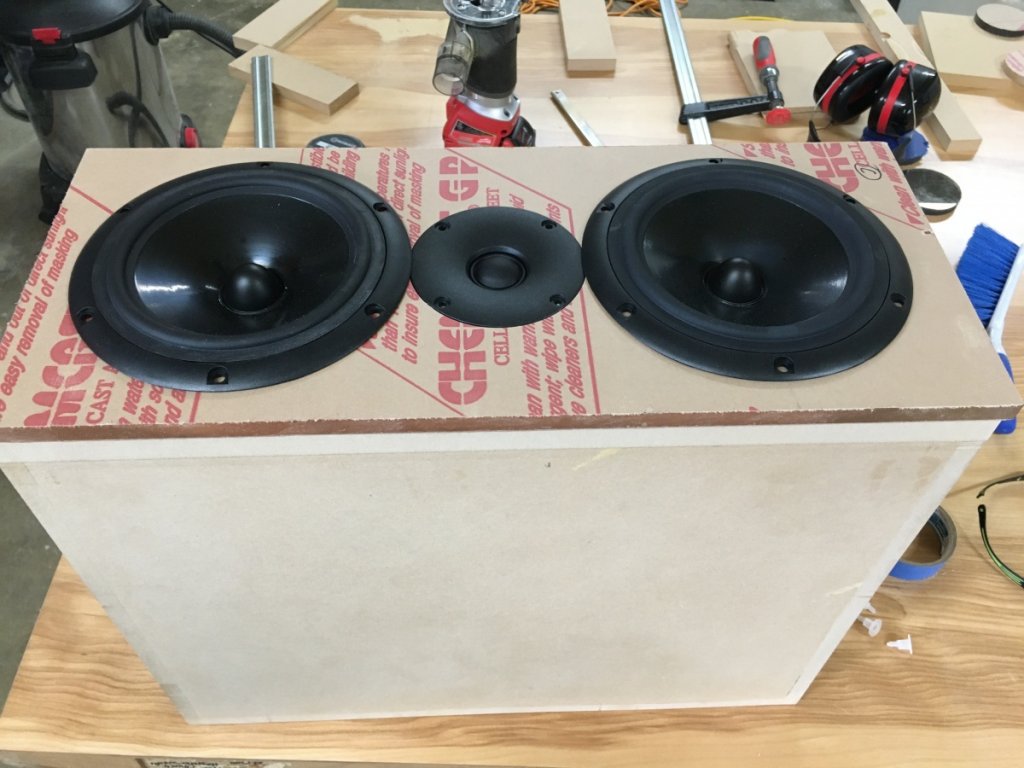
I then did a dry fit of the drivers and everything seems to fit great.
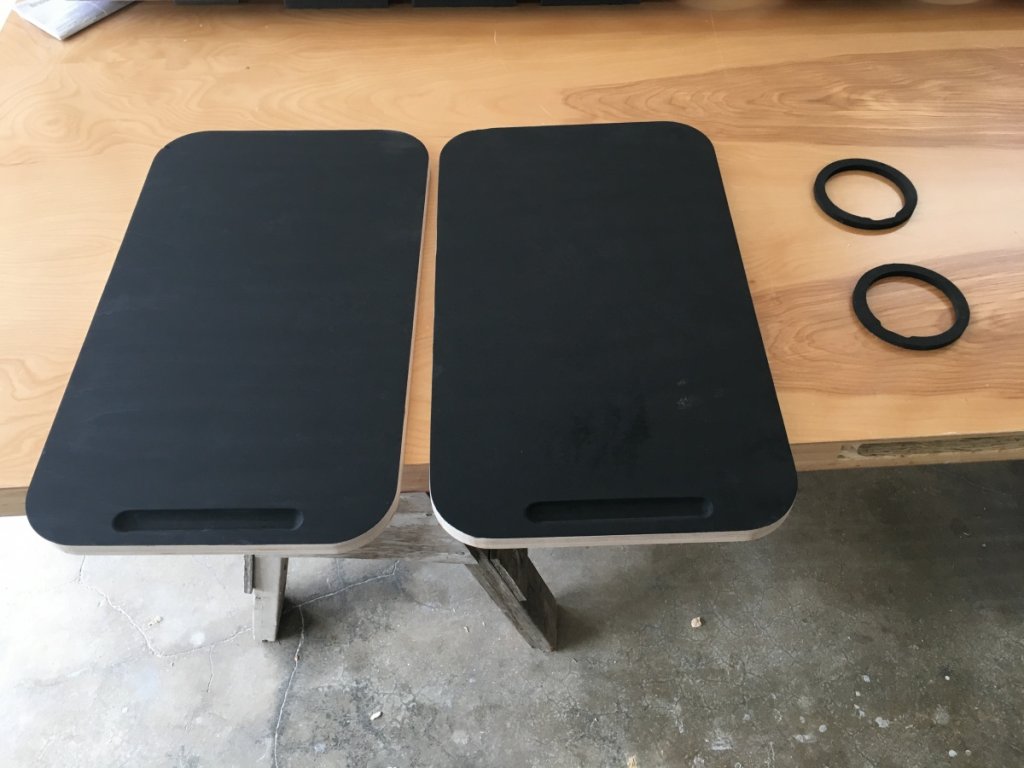
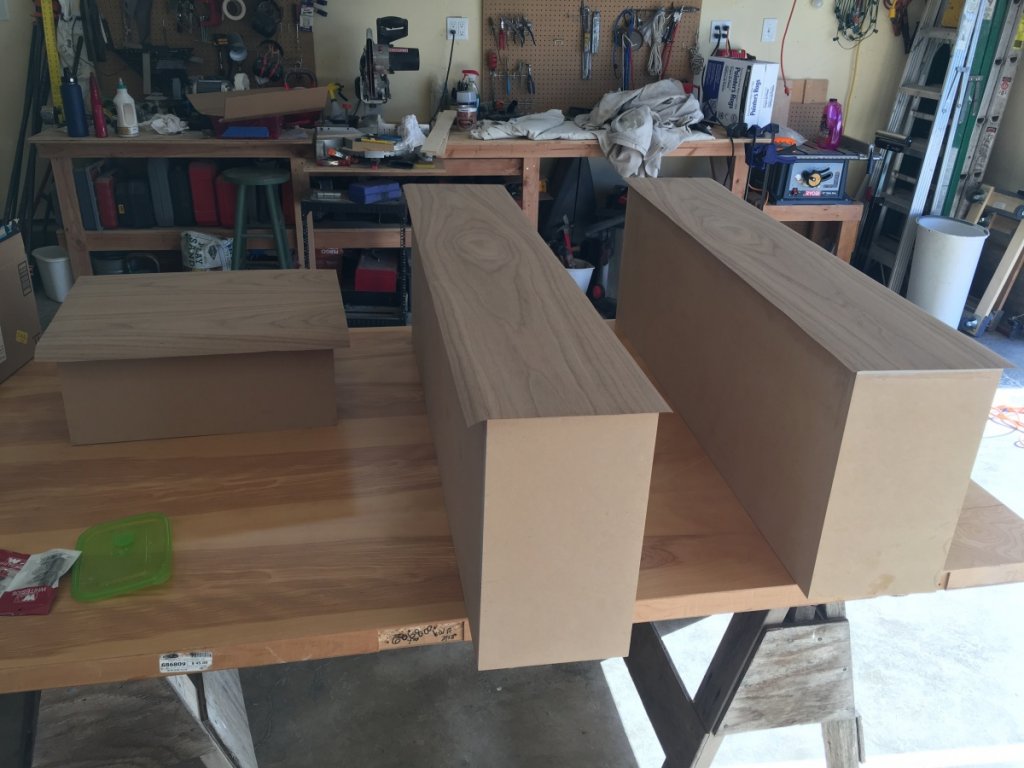
I cut two wide bases for the MTM's and routed fingerholds into the bottom with a round nose router bit to help with picking them up. I painted the bottom of those black as along with the tweeter spacers.
I then spent several hours laying out the veneer cuts and cutting the individual panels.
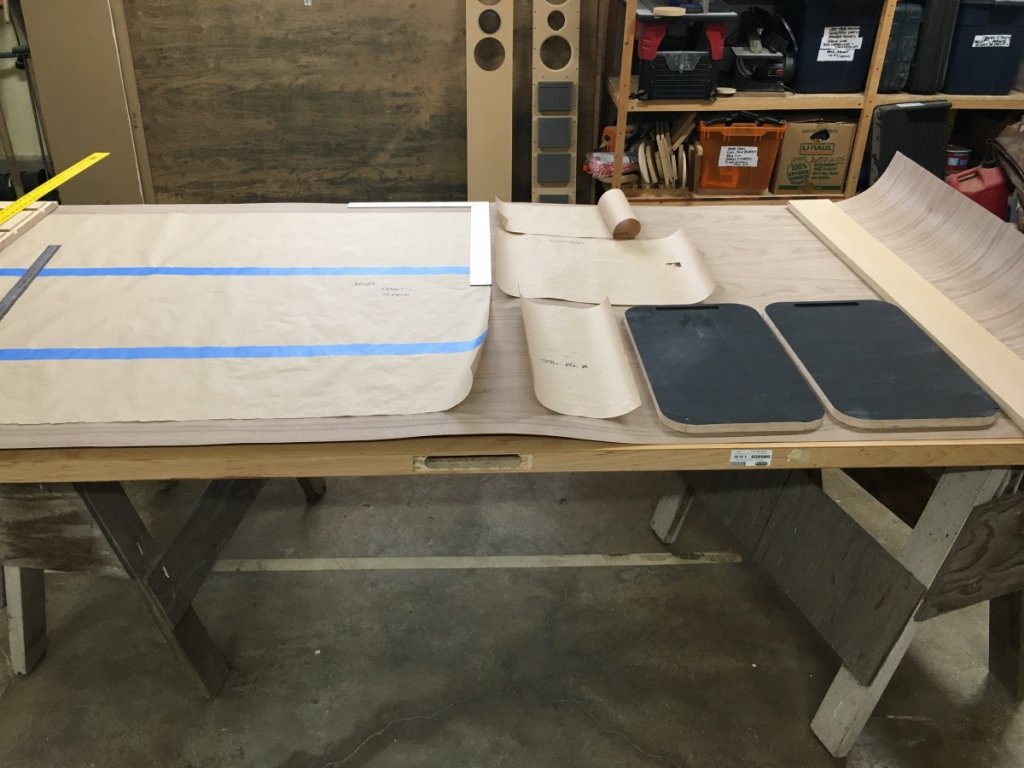
Then came gluing. I followed Peter's tutorial and got my veneer and Heat Lock glue from Veneer Supplies. Peter seems to only use one layer of heat lock on each surface, but the instructions say two and I think I read someone else on here saying that made a difference for them. I tried both methods on the back panels of the speakers and really didn't notice any difference in the ease of getting a good bond. The only real difference is in the time it takes waiting for the second coat to dry and I can imagine on a surface that is less than ideal a second coat could really help make sure there are no voids. For the most part the MDF surfaces are in great shape. On any birch ply surface I may go with two coats depending on how the first coat dries. If anyone has other experiences with this, please let me know since I still have the highly visible pieces ahead of me.
Mike Lundy's advice to pick up a carbide spiral down cut bit for trimming works very well, though the glue is starting to gum up the bit already. I'll have to spend some time cleaning it occasionally.
While waiting for the veneer glue to dry, I mounted a piece of 12mm birch ply to the front baffles below where the acrylic will be in order to create a seamless front surface (well, as seamless as I can make it). Since the acrylic is actually 12mm rather than a true 1/2", birch ply seemed to be the most logical choice to keep the thickness consistent. Once glued on, I trimmed it to size and put a 1/2" roundover on it.
Finally, I drilled out the tube connector holes in the backs of all three speakers and pulled the leads through the holes. I wanted to make sure this part was done before the front baffles went on. I have no idea how I would have done that through a woofer hole.
Next steps:
- I'll need to glue up the front baffles on the MTM's to prep them for the next veneer step which will be the fronts and sides.
- Finish the veneer
- Affix the mounting hardware for the MTM bases and drill a hole to install the plug for the sand chamber in the bottom.
- Start the finish process (danish oil, grain filler, wax free shellac, then perhaps a satin poly depending on how it looks)
- Only when the veneer is on and finished can I trim the outer edges of the acrylic to size, round over the corners, and polish.
Thing I learned/Opportunities for improvement/Screw ups:
- You MUST wait until heat lock glue is completely brown before touching it to the other surface. If there is any pink left, it acts like contact cement. I ruined the original bottom piece of the X-CS and damaged the MDF a little in the process. Lesson learned.
At least nobody will see it.
- I need a better glue drying setup than my cold garage. I'll need to carve out some interior space for glue drying next weekend, otherwise it will take far too long.
- All the moving around of the various pieces has damaged a couple MDF corners. I've repaired them, but it's a hassle not having a space to be completely dedicated to shop work. I need to completely clear the garage every night so we can bring our cars inside, which greatly increases the chances of something getting dinged.