Hi all. I tend to lurk around here more than post, but I thought I’d share some pics and details from my latest build: two pair of X-MTM Encores....one for myself and one for a friend. I started this project with some of the lessons learned from previous X-SLS Classic project which I posted here about two years ago:
https://www.audiocircle.com/index.php?topic=151895.msg1624159#msg1624159 Hopefully I can share a few more tips I picked up throughout this one.
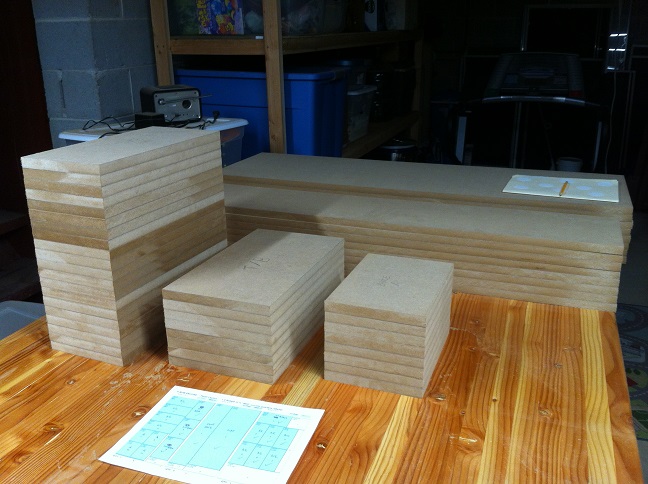
Of course, these projects start by covering the entire basement in a fine layer of MDF dust, courtesy of the table saw [still haven’t installed that dust collection system…].
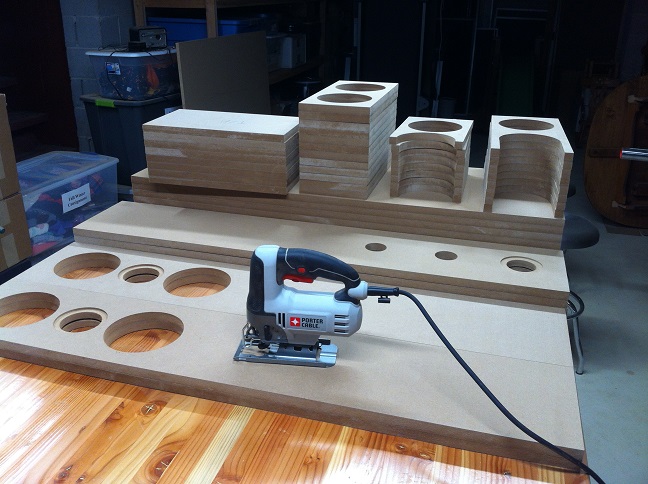
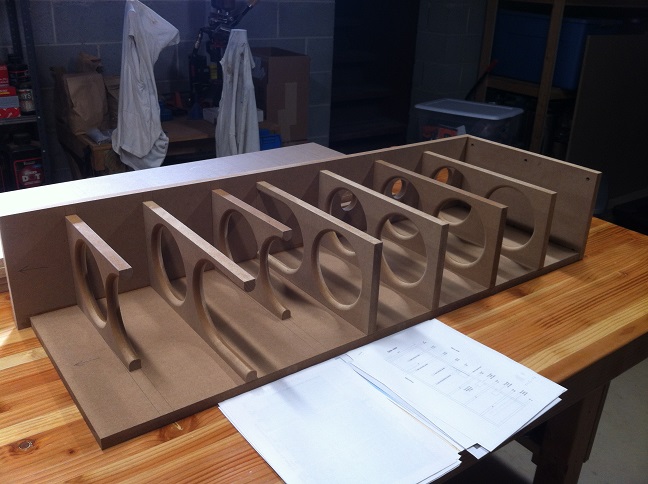
A bit of time spent with the router + circle jig and the jigsaw and all the driver holes and brace holes were cut out. The back of the woofer holes and all brace holes were given a generous roundover.
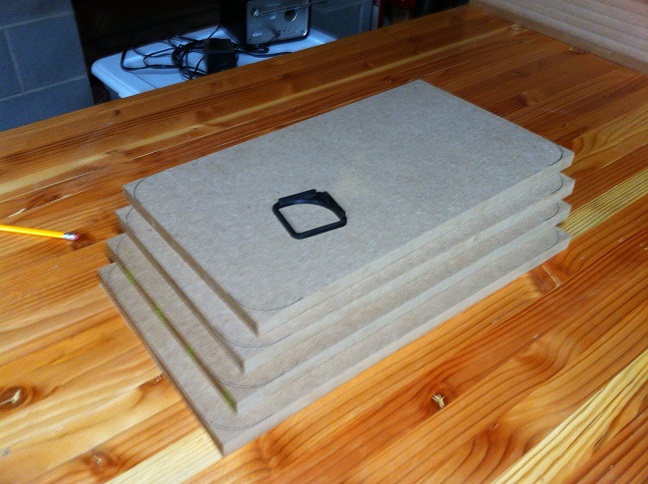
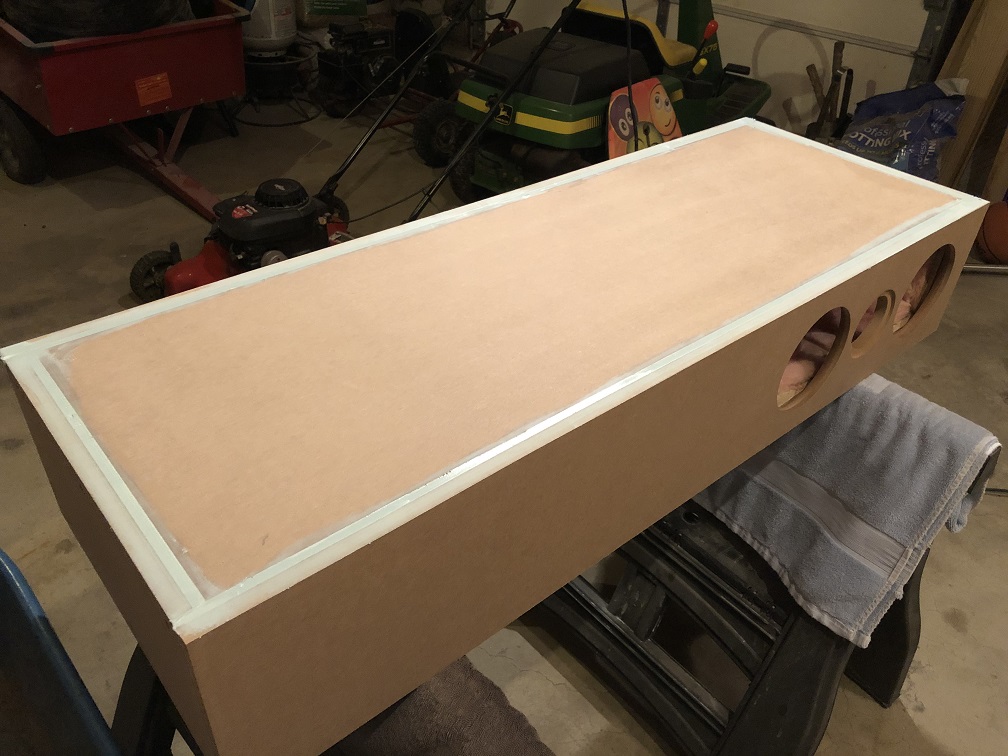
Next I cut out some base plates to widen the footprint of these cabinets. Note the 3D printed corner radius template. Of course, this was by no means the most practical way to draw matching radii on all the corners, but a good excuse to use the 3D printer.
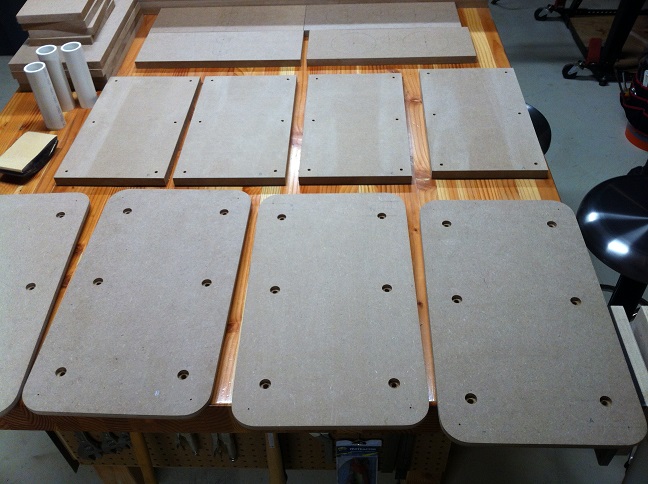
Then I put ¼-20 threaded inserts in the bottoms of the cabinets, and matching clearance holes with counterbores for pan head screws in the base plates.
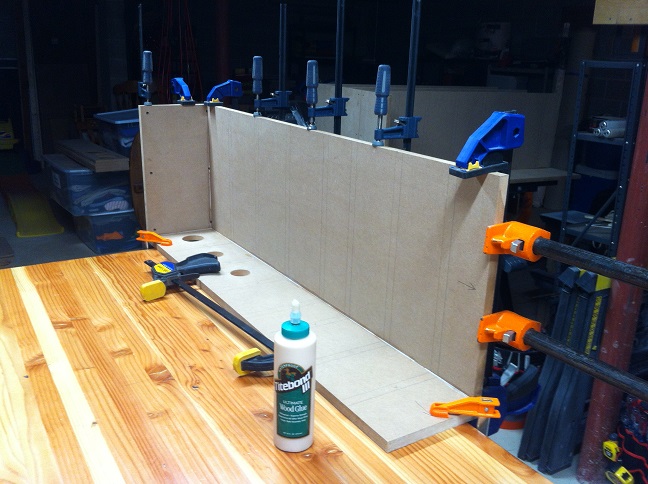
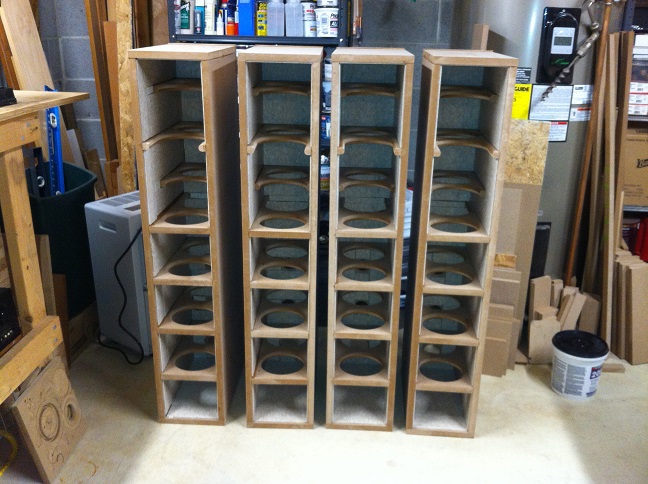
Time for glue. I decided the best place to start was with the bottom, back, and 1 side of the cabinets. When these were complete, I glued up the rest. The 23ga pin nailer was very helpful keeping all the braces in place while getting everything clamped up.
As I was taught by some wise folks here, I left the front and back of the cabinets slightly oversized and hit with a flush trim bit. This saved a ton of sanding with the 80 grit. Since these cabinets were getting an automotive finish, I hid the seams with body filler like I did on the previous project. The channels were routed with a ½”R round nose bit set to a depth of about 0.080” The difference this time was the use of Rage Ultra filler instead of Bondo. In my opinion it was so much easier to work with, and sand in particular, that it was worth the extra $. Everything was then sanded with 150 grit.
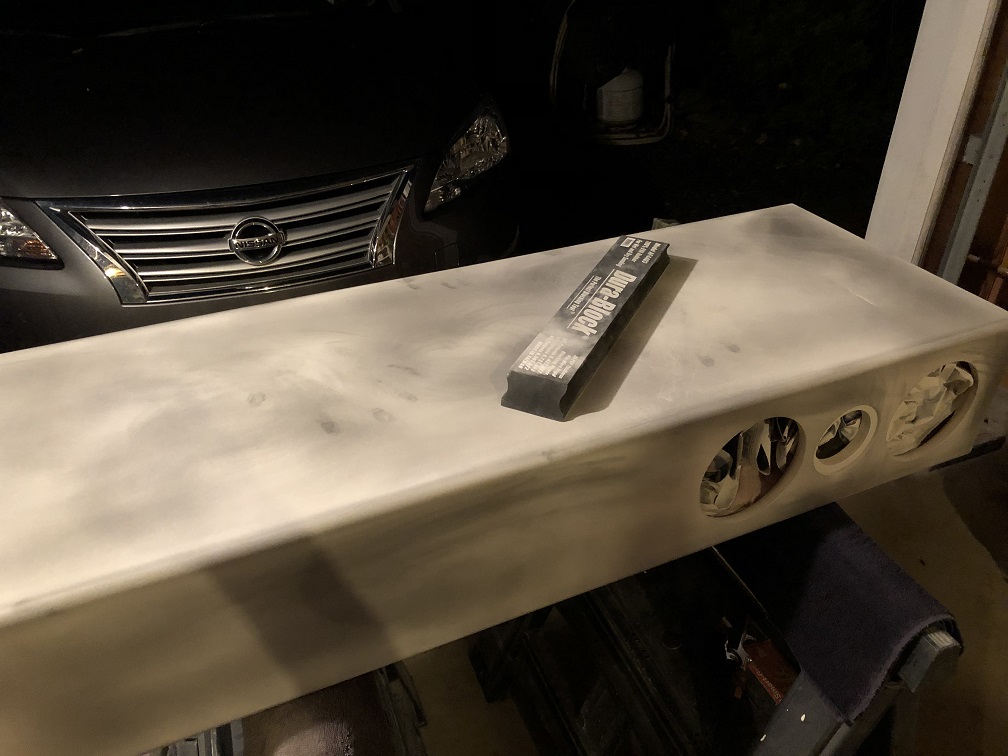
As before, I sealed the cabinets with Zinsser BIN shellac pimer. The huge improvement this time was to sand everything using a powder guide coat and a 16” long block. This is essential to highlight any defects, waviness, or low spots in the cabinets. Despite my best efforts to get everything as flat as possible prior to sealing, it still took 3 applications of shellac, blocking in between, until I could remove all the guide coat with 320 grit and not sand through the BIN
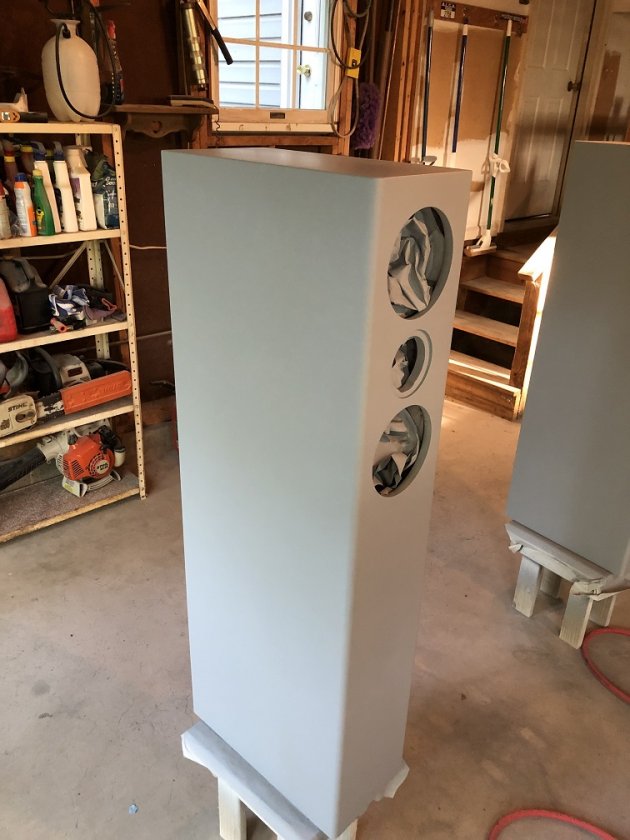
This was followed up with 2 medium coats of gray 2K primer. At this point I didn’t bother with more guide coat because I knew they were flat, but I still block sanded them with 600 grit.
Fortunately, the weather was great last weekend and I got the opportunity to spray the base and clear coat on one of the pairs. The first pair is for a friend of mine, and he chose House of Kolor Orion Silver (S2-BC02) for the base coat. I’ve heard metallics can be fussy, so I was extra careful with my pattern overlaps. 3 medium coats 5 minutes apart and I had a nice even silver base. Per instructions, I waited 30 minutes before applying 3 coats of 2K clear.
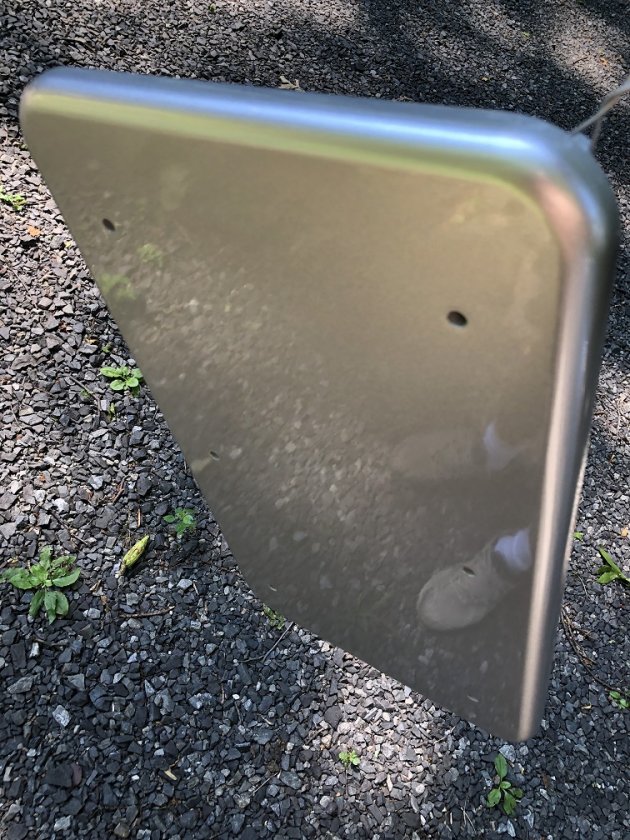
I am absolutely thrilled with the results, particularly because for the first time I can see no defects or seams in the cabinets. Every other time I thought I did solid surface prep until the reflections in the clearcoat demonstrated otherwise. Practice and patience, I suppose.
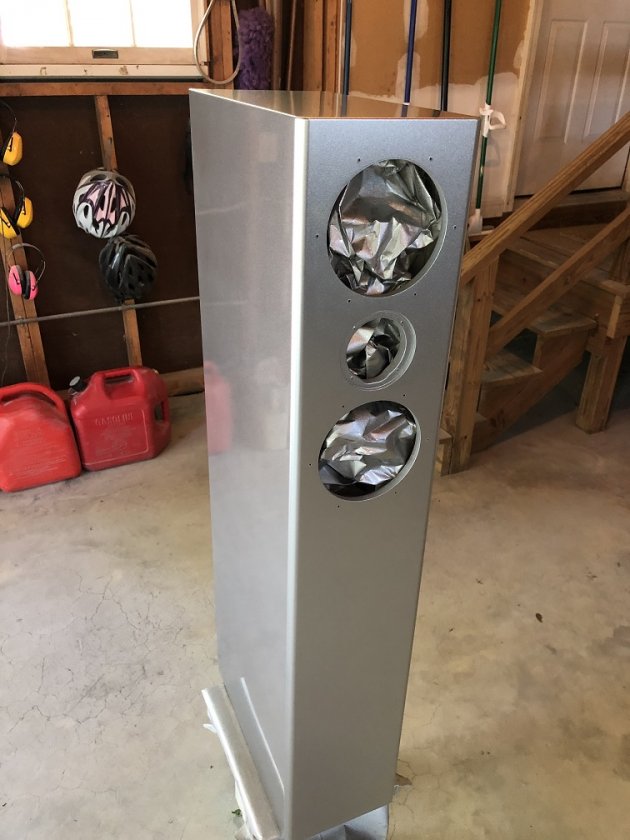
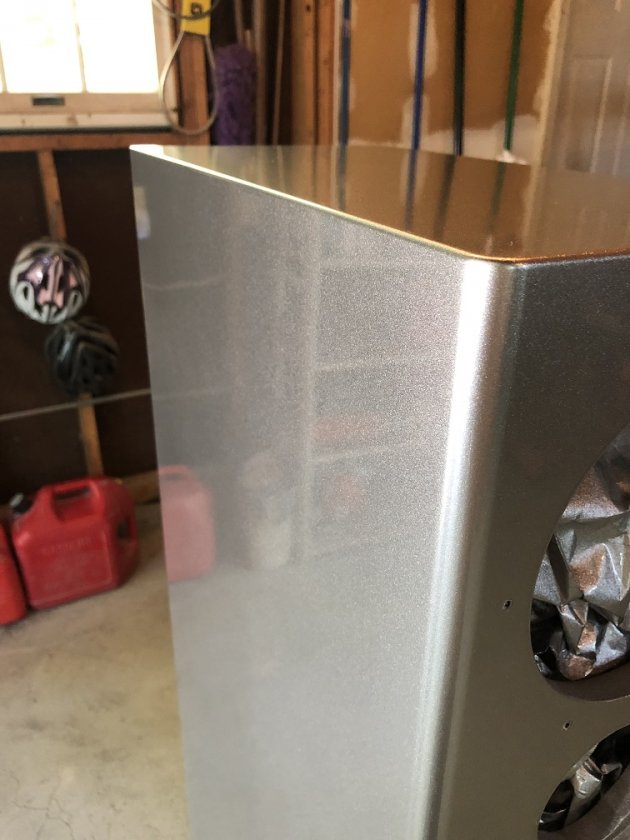
As can be seen in the background of the pics I’m just painting in my garage (with doors open for ventilation) so I got the inevitable dust nib here or there, but you have to look pretty hard for them. The HOK silver looks ridiculously awesome in the sun…it’s almost a shame they’ll be relegated to my buddy’s media room with little to no natural light.
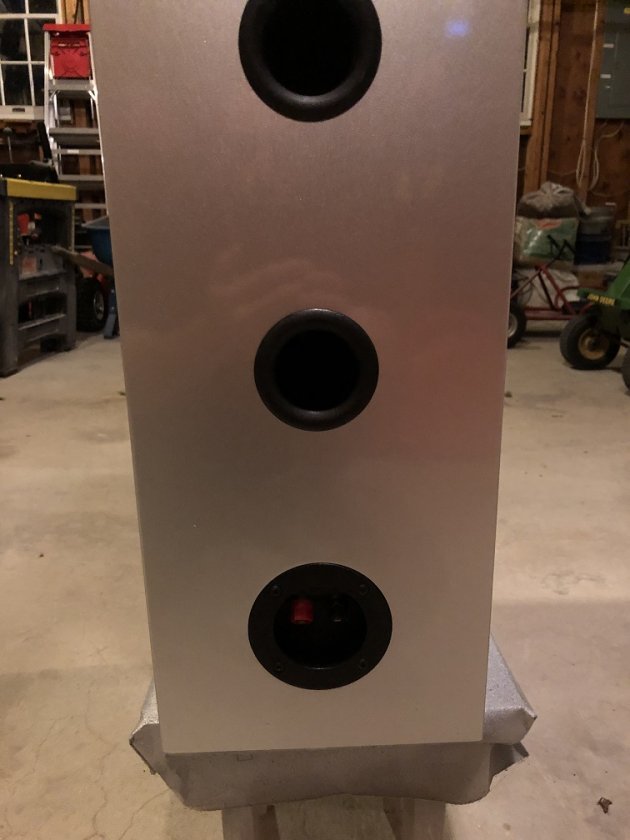
So more importantly, after giving the finish a few days to cure, I got to assemble the speakers yesterday. This time all the drivers fit perfectly (owing to the previous lesson learned about oversizing the counterbores slightly to allow for paint film build up! Oh yes, and breaking all the sharp edges to help prevent chipping the paint).
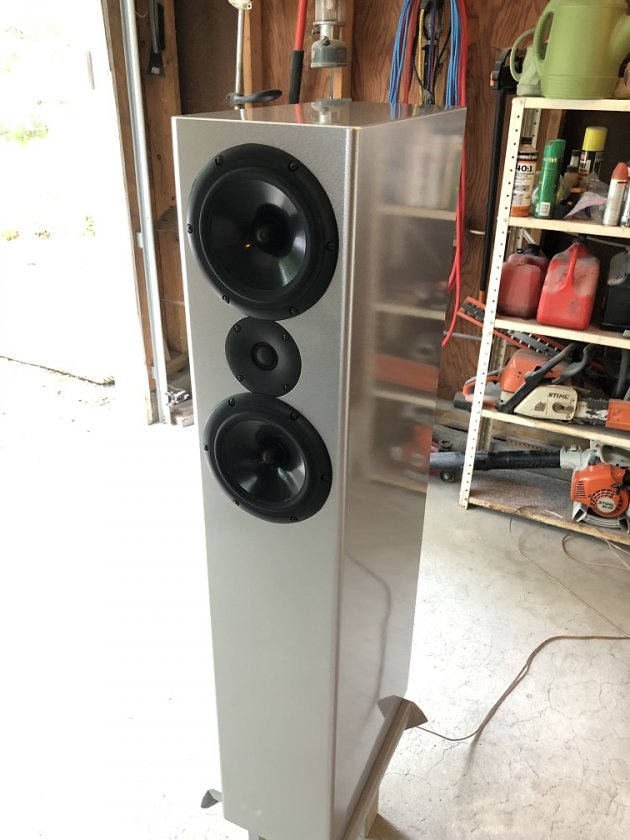
So I have them breaking in, treating the whole neighborhood to a righteous mix of tunes from my garage….ZZ Top’s First Album right now. Compared to the X-LS and X-SLS Classics I’ve built before, these tweeters are clearly a step up to my rookie ears. I can’t wait to finish the 2nd pair for my own use as this pair will be delivered to my friend this weekend. Anyway, thanks for reading, thanks to Danny for sharing the design, and also thanks to all the craftsmen around here who have shared their builds over the years. I never would’ve considered a rewarding DIY project like this if it wasn’t for the inspiration I found when I stumbled across this site.
Let me know if you have any questions or comments. Thanks.
- Jeff