Hole cutting 101
First rule of hole cutting is Don’t Over Think It!
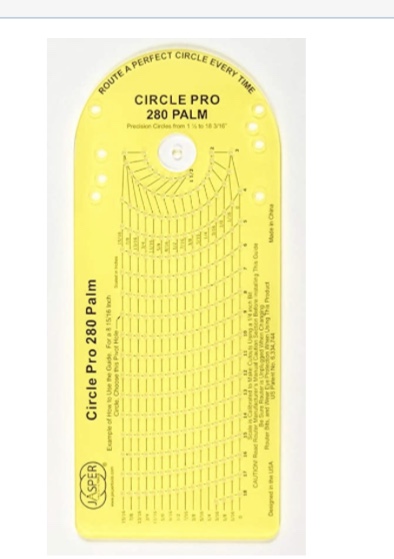
So what have I been doing? Over thinking it. And this is after having bought the really nice Jasper hole cutting jig.

It should have been a no-brainer; just mount it to the router base and go. But, no. What if this; what if that...
Finally a Nike commercial hit - just do it! - and I did. Ugh, that was way too easy. Just follow the directions.
I had purchased an 1/8” up spiral bit for the router. The down spiral one worked really well for cutting the panels from the sheet of MDF. I thought the up spiral cutter would work for the hole cutting. In using the down spiral cutter, I made the cuts in a single pass so the down cut bit made sense for dust collection. For the hole cutting I thought that I would do the cutting in multiple passes so the up spiral would be better for clearing the cuttings. These cutters have been da bomb for this...

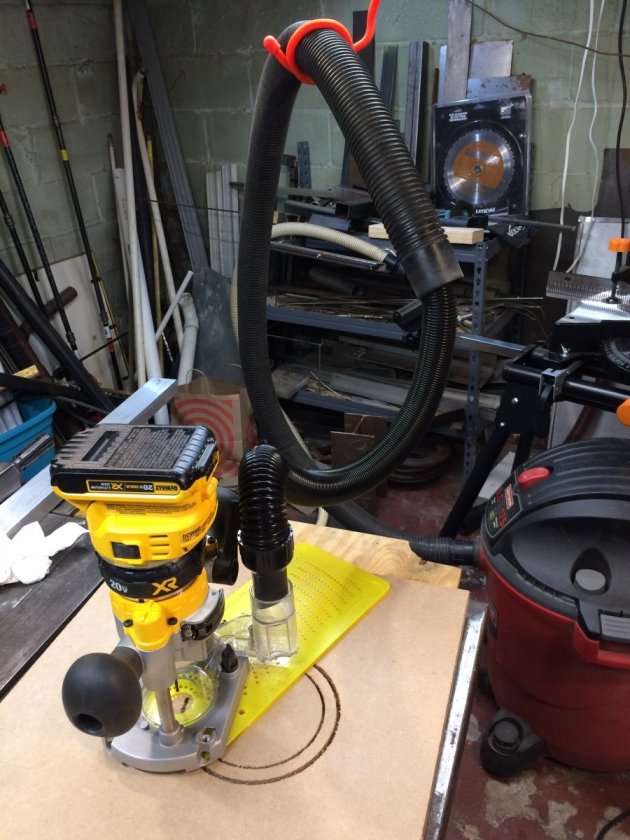
I have the Dewalt cordless 20v router and really like it for this work (as in - no freakin’ cords to deal with

). Plenty of power with the 1/8” bits. The thing I don’t like about Dewalt is they nickel and dime you for every add on. So I have had to purchased the plunge base and dust collector for it separately... The dust collector connects perfectly to the Dewalt hose for their cordless 20v shop vac... go figure.
Another thing I really like are the Nite Ize gear tie products (
https://www.niteize.com/product/Gear-Tie-Mega.asp). These are super big twist ties that actually do something. I used one of these to suspend the vacuum hose from the basement ceiling and up above the router.

The only issue I had was getting the center peg for the hole cutting jig into the correct hole in the jig and then into the center hole of the piece I was cutting. This is all done blind and the pin want to drop out of the jig. I found that it worked best to place the pin into the proper jig hole for the size I want to cut, hold it in place with a finger, turn it over and the put the whole assembly over and into the centering hole in the piece to be cut.
BTW - the multiple cuts shown in the picture, included a mistake and several checks on the hole diameter I was getting with the 1/8” bit. The jig is sized for use with a 1/4” bit. In this case a 1/8” correction is needed to the printed hole size vs the cut hole size.
Otherwise, cutting holes with this jig is no harder that reading the instructions on the package...
