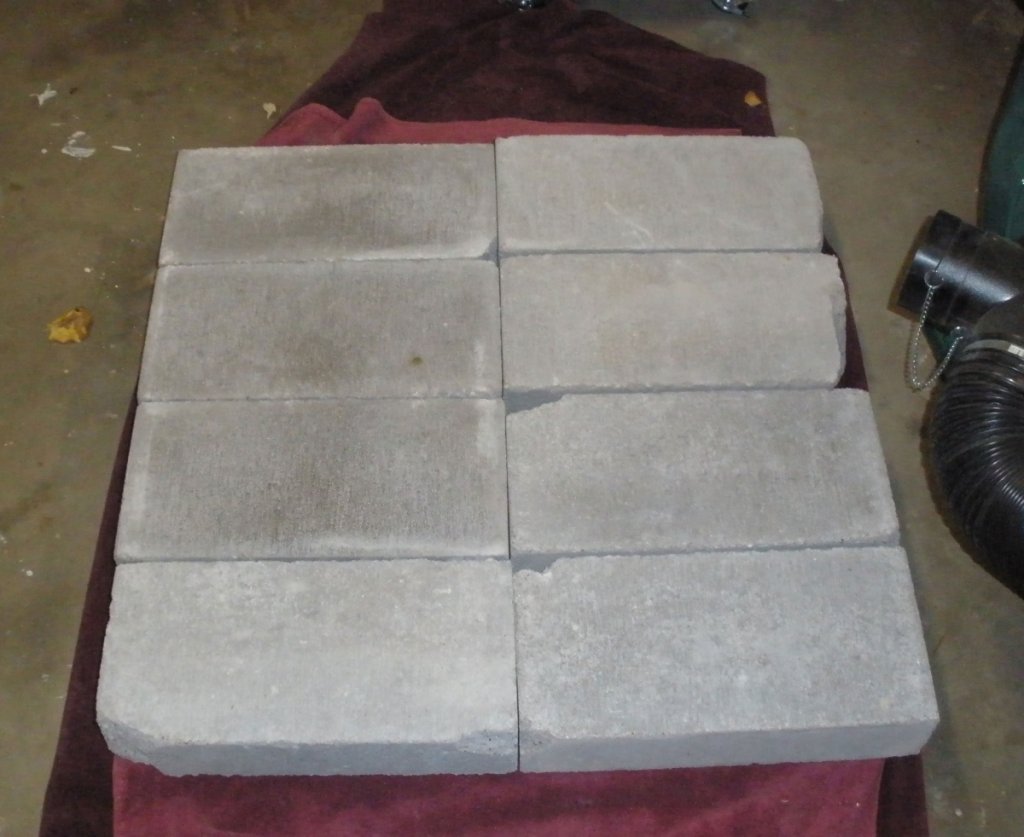
I have some more pics ready. I started working on the bases. first I glued up two pieces of 3/4" Baltic birch plywood to make the bases 1 1/2" thick. I don't have a vacuum bag or other type of press so I resorted to the block method. If I do this again I'll secure the pieces with a couple of screws in the waste area to prevent movement while the glue dries. Even though the pieces were lined up after I placed the blocks, by the time the glue dried the pieces had shifted 1 1/2" in directions.
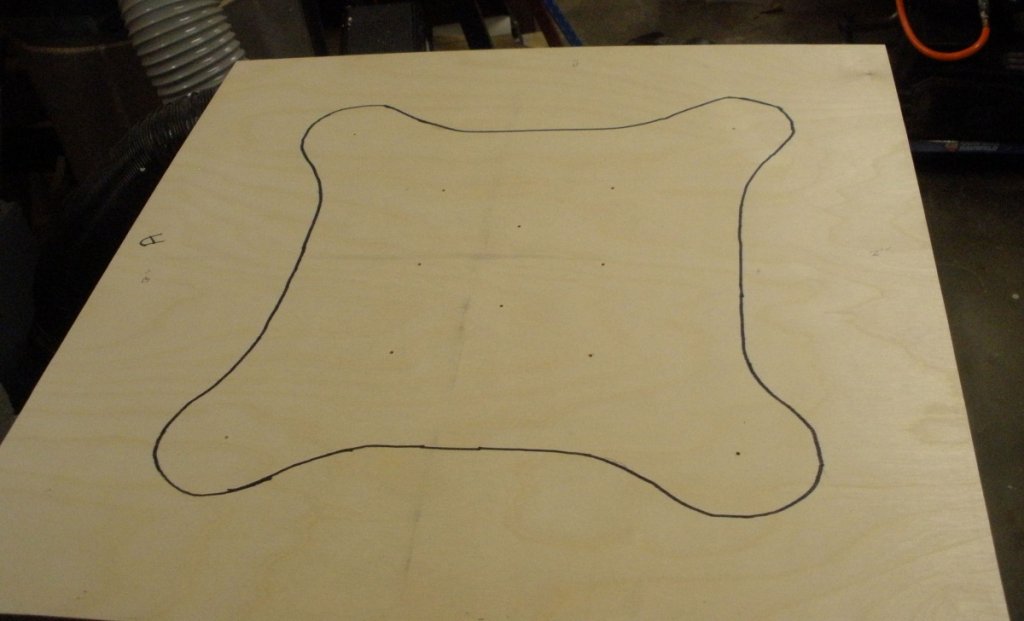
After the glue had dried I trimmed them into 24" x 24" squares. Then I taped craft paper to the bases and marked the center lines and tower position. then I lined one of the tower bottoms up on the base and marked where the threaded inserts would go.

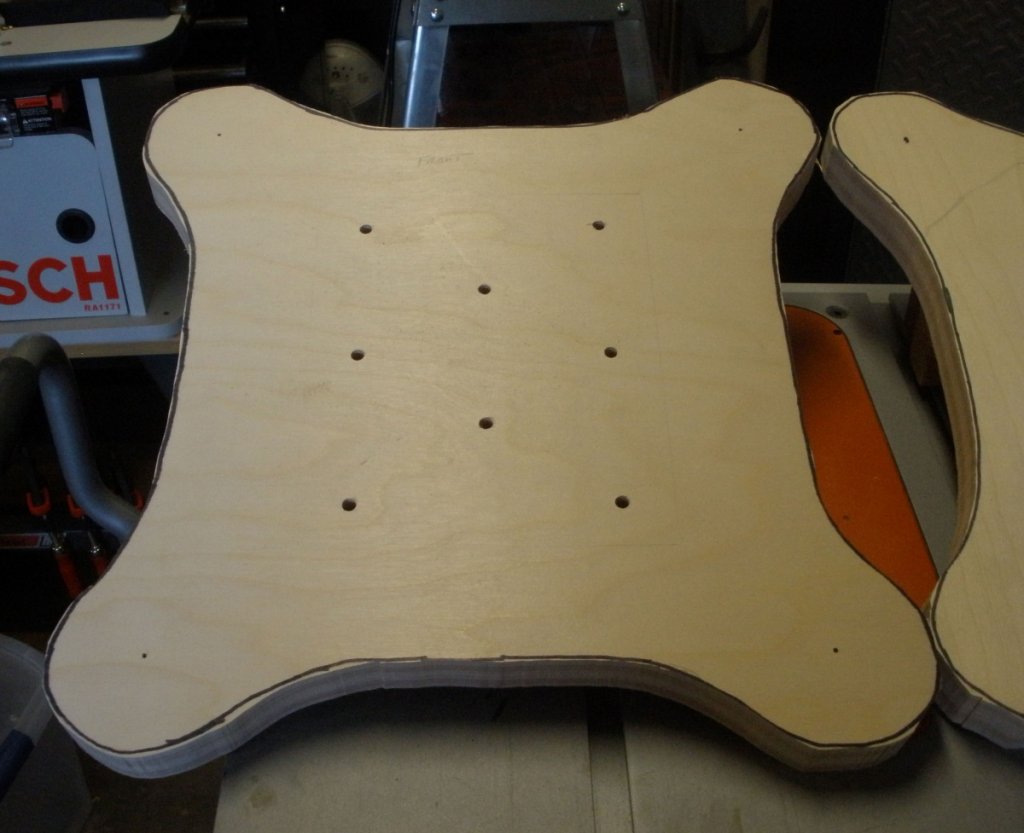
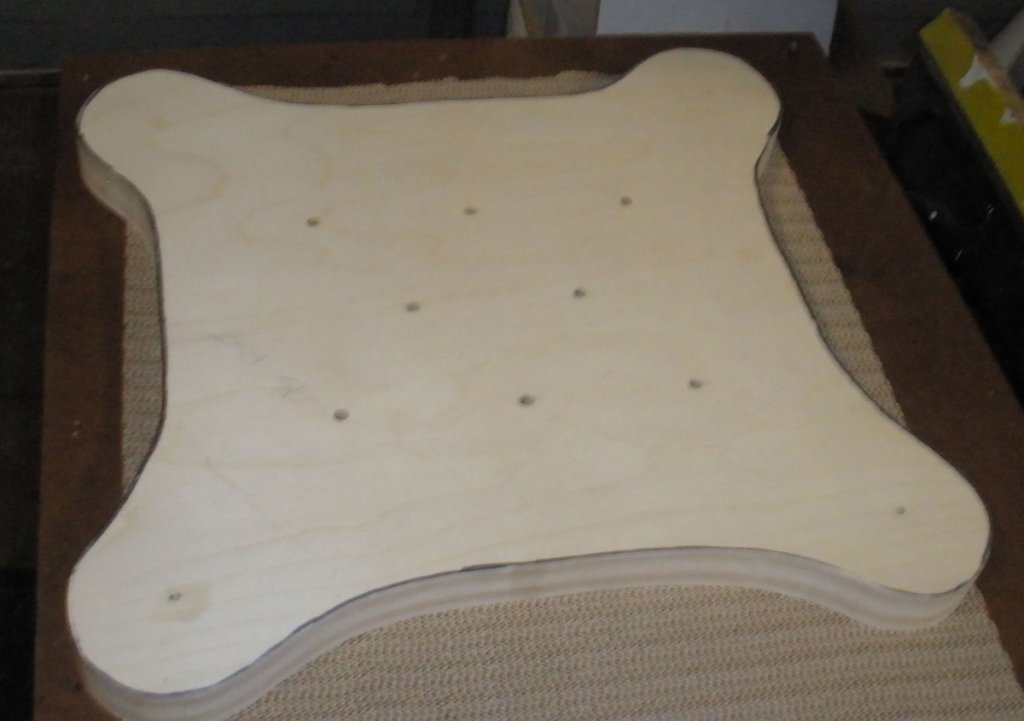
Next I clamped the bottom to the base and drilled pilot holes through both pieces for the mounting bolts and inserts. Then I transferred the shape from the craft paper to the base.
The next step was to cut out the base. I did this on the band saw staying just outside the layout lines.
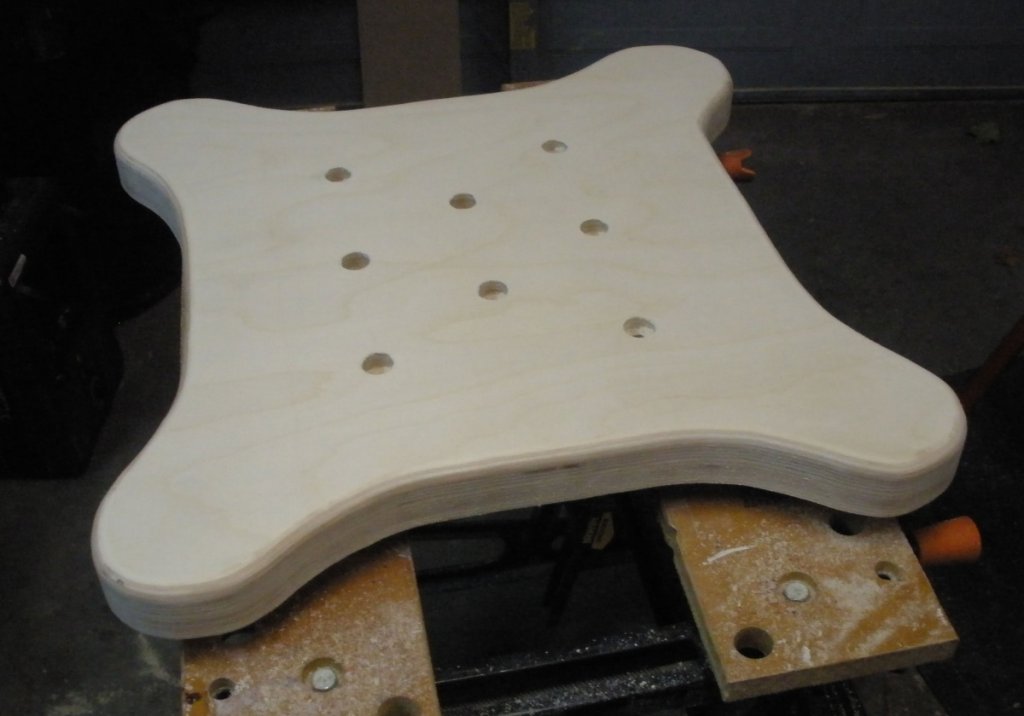
Then I used a Forestner bit to cut countersink holes on the bottom for the mounting bolts and washers.
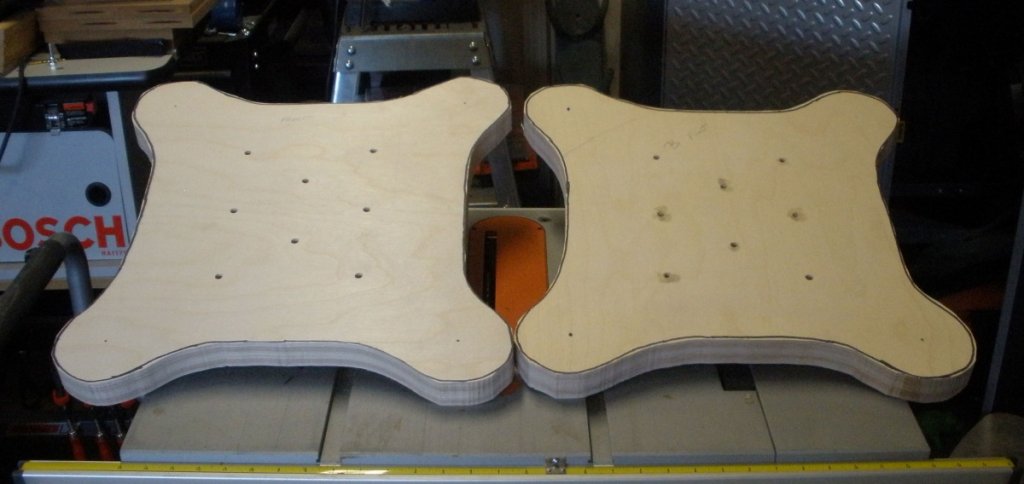
Then I used a oscillating spindle sander to finish shaping and smoothing the edges up to the layout line.
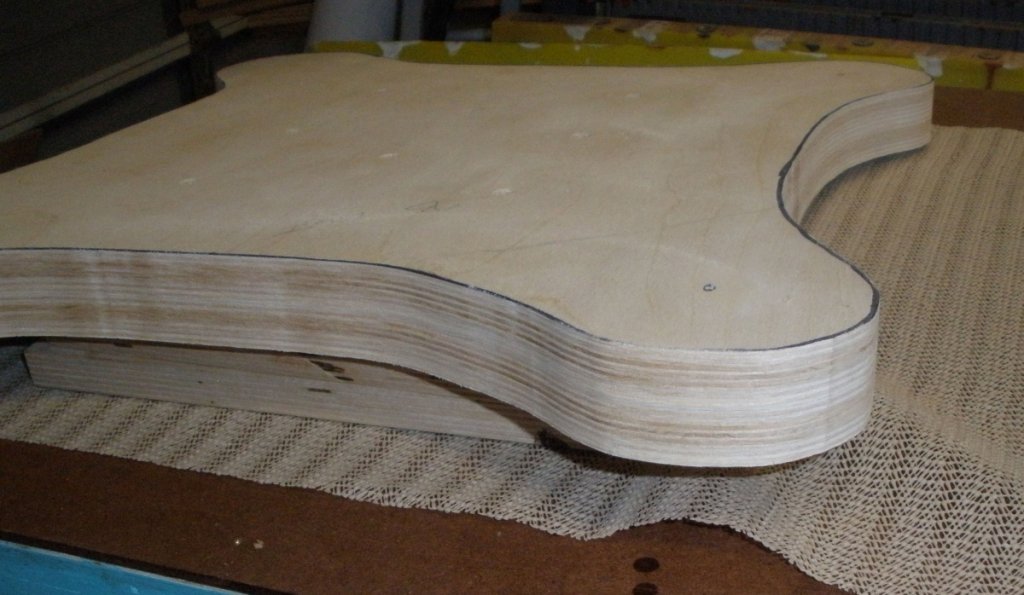
After experimenting with different sizes of roundovers an champhers on scrap I decided to use a 3/8" roundover on both the top and bottom to soften the edges. This picture is of the bottom and shows the countersinks also.
Mike