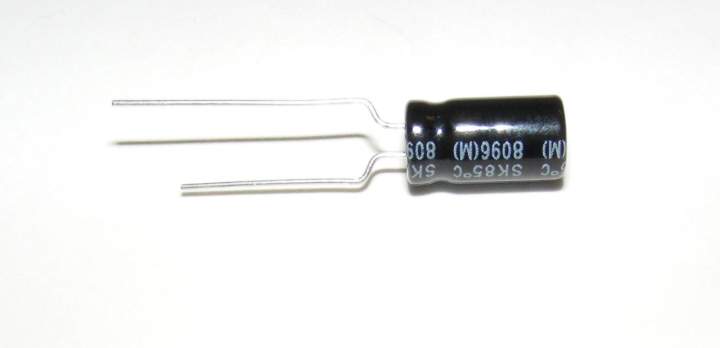
Here are details for the capacitor upgrade:
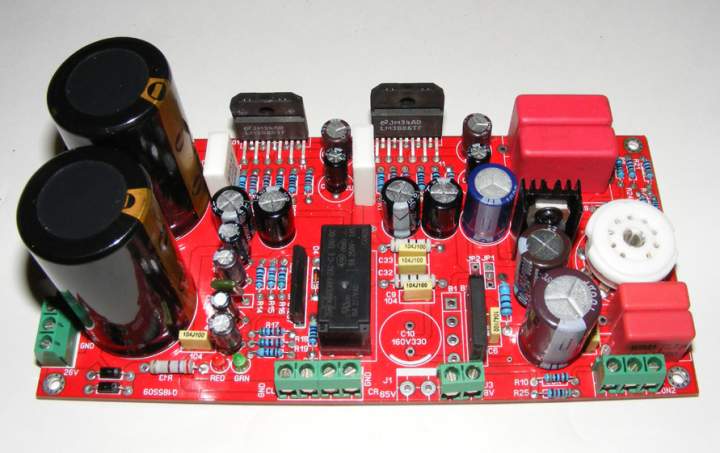
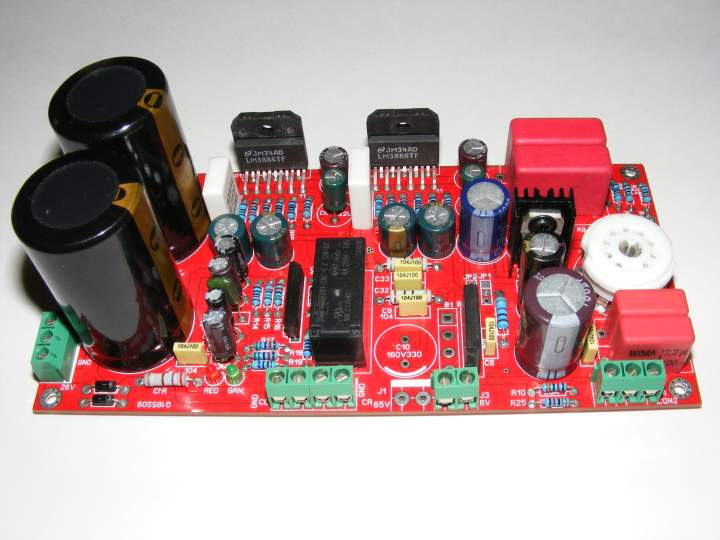
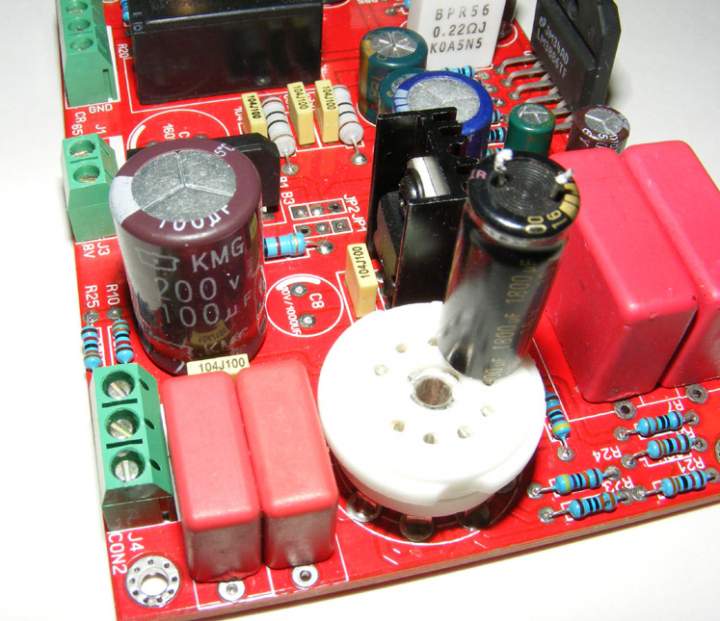
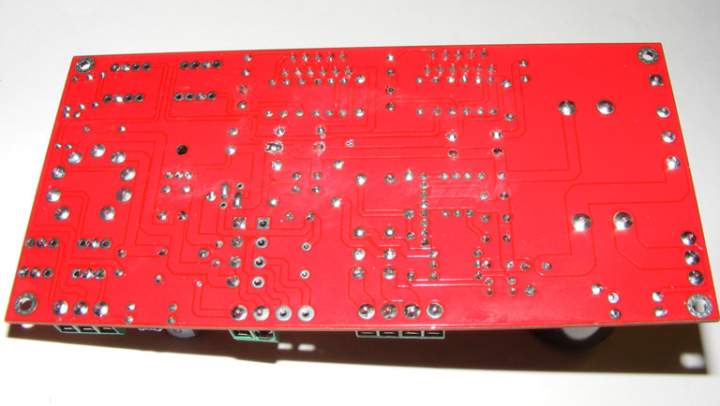
Stock board photos:
Top of board:
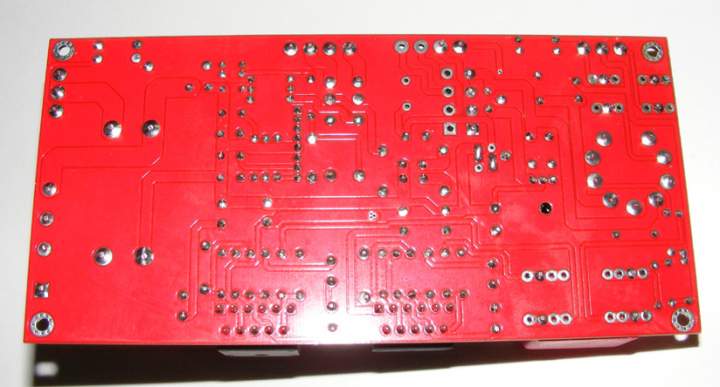
Bottom of board:
A lesson on removing components on plated-through hole boards:
Reduce the temperature of your iron from full to about 70-80%. Make sure the iron's tip is tinned and clean of debris.
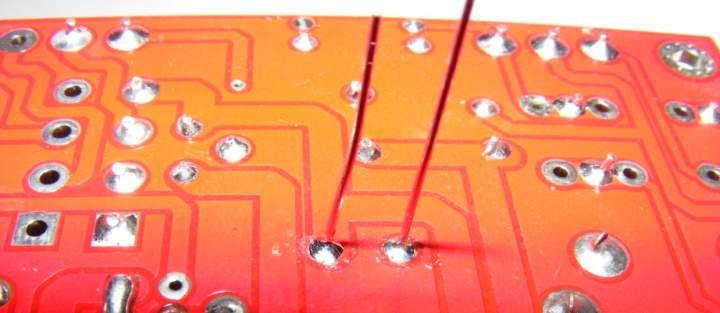
Heat one solder pad at a time. Gently pull up, from the component side, the side of the capacitor corresponding to the pad you're heating up. The iron is to remain on the pad while you're pulling up. To be more clear, push on the side of the cap that corresponds to the pad you're heating:
Notice how one side has been lifted. Do the same thing for the other side. You may have to repeat this step until the capacitor is clear of the board and can be freely removed.
Removed capacitor:
Now you have to clean the holes with a solder sucker:
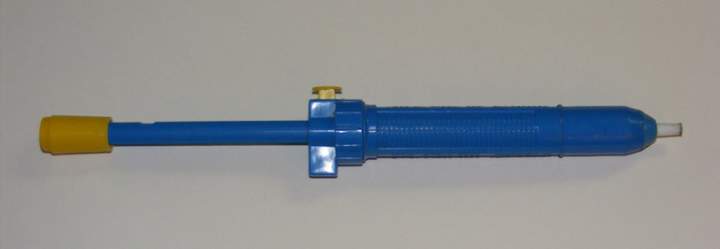
The iron might have to be turned up a little to make the residual solder liquid enough to be sucked out.
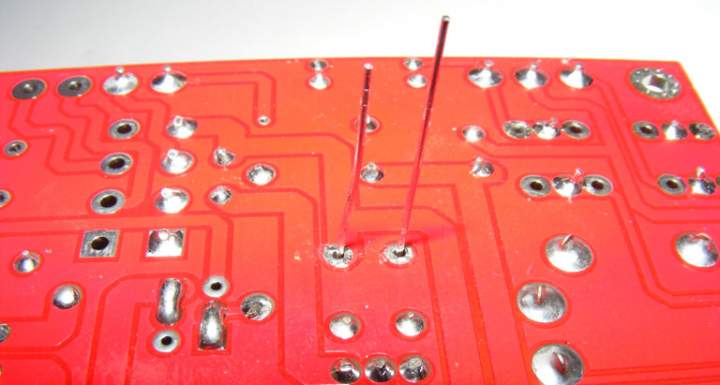
Clean holes w/ capacitor leads showing:
Soldering the capacitor in place:
After soldering, clip the leads.
Do not clip the leads before soldering.
These steps have to be repeated for every capacitor. Sometimes removing solder form the holes is difficult. Do not grind the tip of your iron on to the pad. Make sure the iron tip remains clean. You might have to apply some solder to the pad and then attemp to remove it all again. This takes practice! Good news: This board is rugged! I like it!
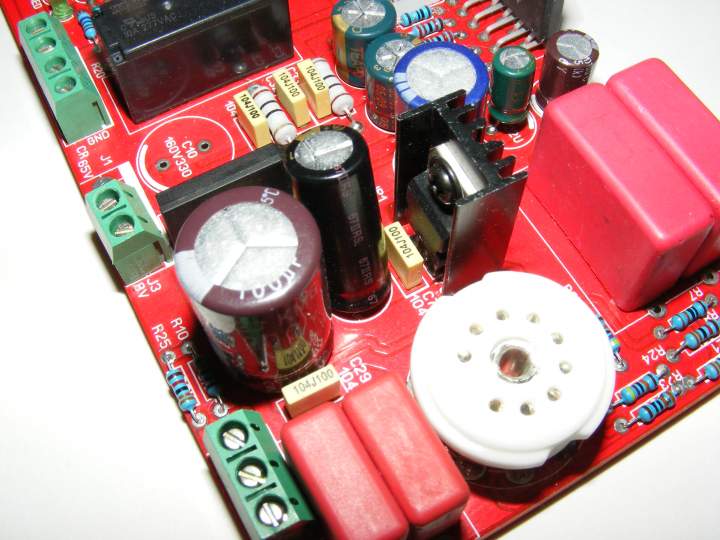
NOTE: Sometimes hole spacing is not perfect. I bent the capacitor leads to fit the holes with the small caps:
Completed upgrades, form the bottom:
Clean the completed board with isopropyl alcohol, high alcohol content. I blew the access alcohol off with an air gun.
Completed board from the top: