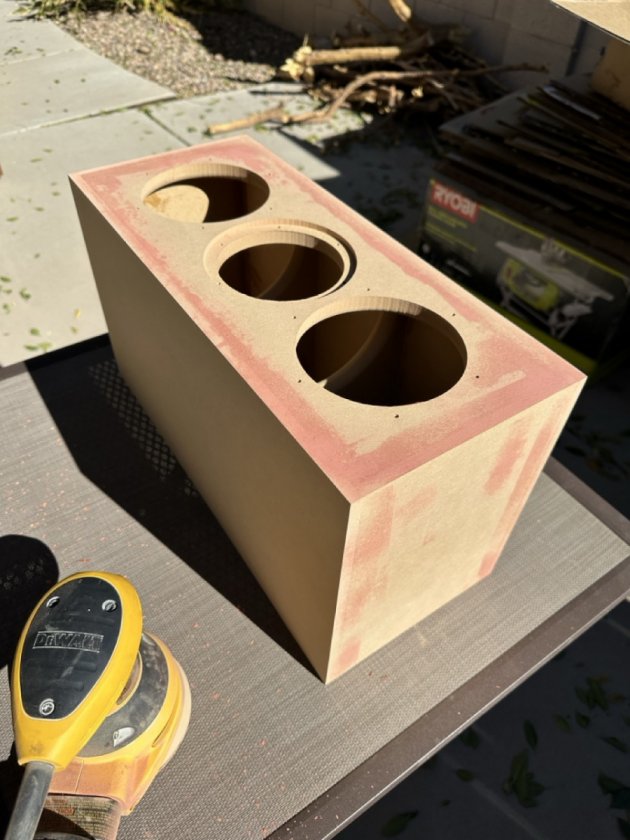
Hi all. I wanted to share my NX-3S Bravo Center build (Editing post, as I just learned the official name today). This will compliment the NX-Otica's and NX-Studio's I finished in Nov 2023. I really thought I was going to get the NX-Otica Center, but my space is too small, and I sit 7 feet away from the mains which would be <6 feet away from the Center. Im grateful that Danny and Hobb's made this NX-Bravo Center available as I've been running a phantom center which is normally quite good, but has it's drawbacks. Interestingly also found the some native DTS 5.1 tracks simply do not know what to do with a 4.2 setup with a phantom center on my Anthem AVR, it ends up defaulting to Stereo. I end up having to upmix it for the audio to be relatively accurate on those mixes so the center channel will be very much welcomed in my Home Theater. On to the progress. The painter has had them since Jan 22nd and I'm hoping they can wrap it up this week so I can finish the build. Shout out to Frederick, who I again commissioned to complete the crossover, I appreciate his attention to detail and craftsmanship.
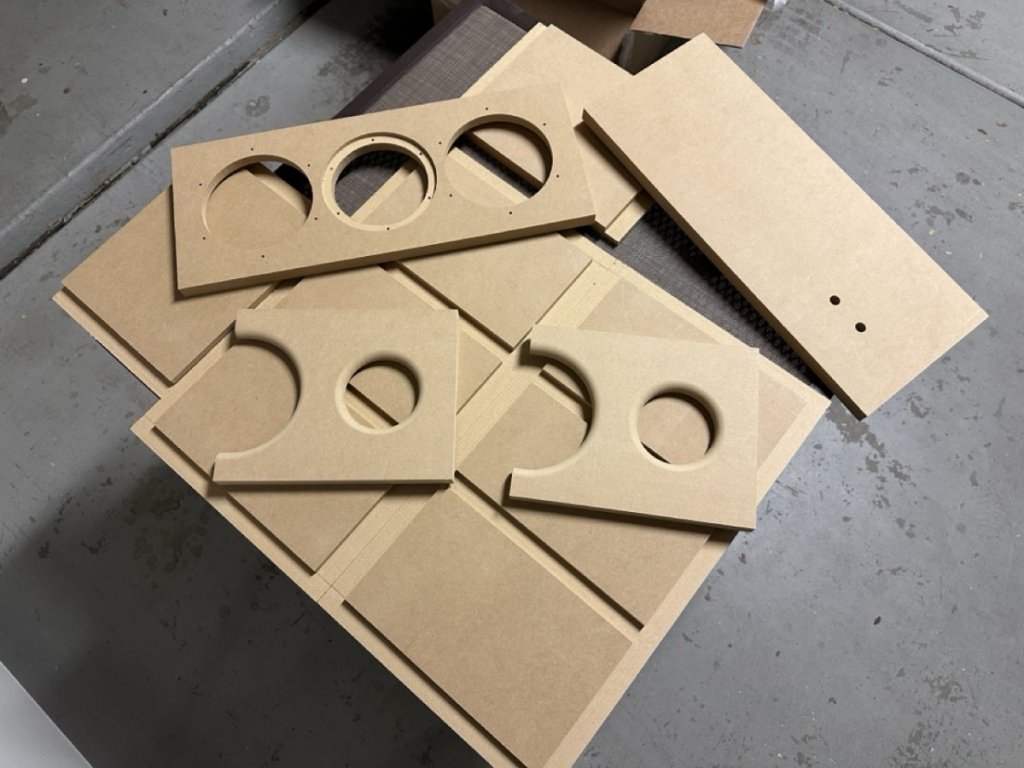
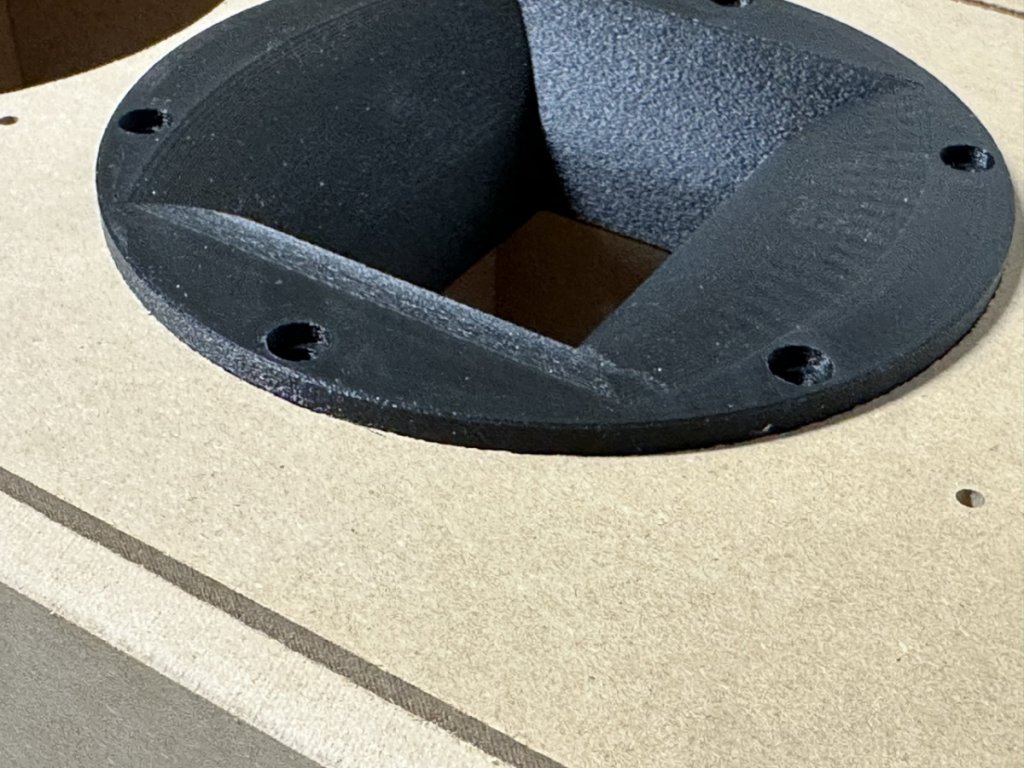
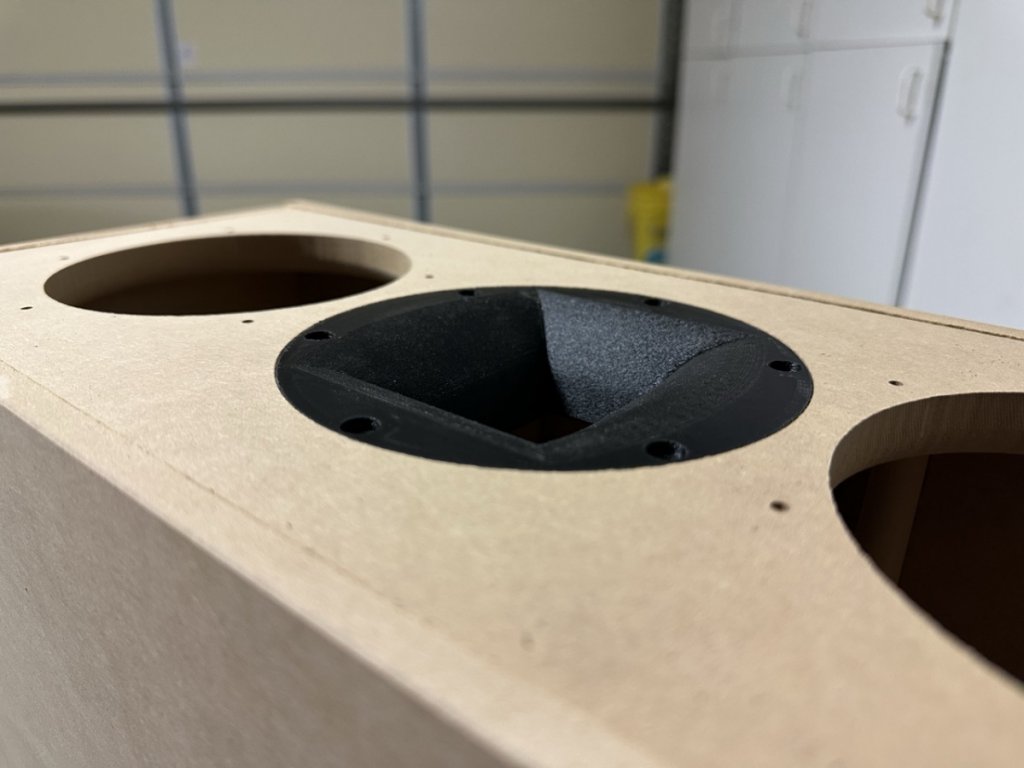
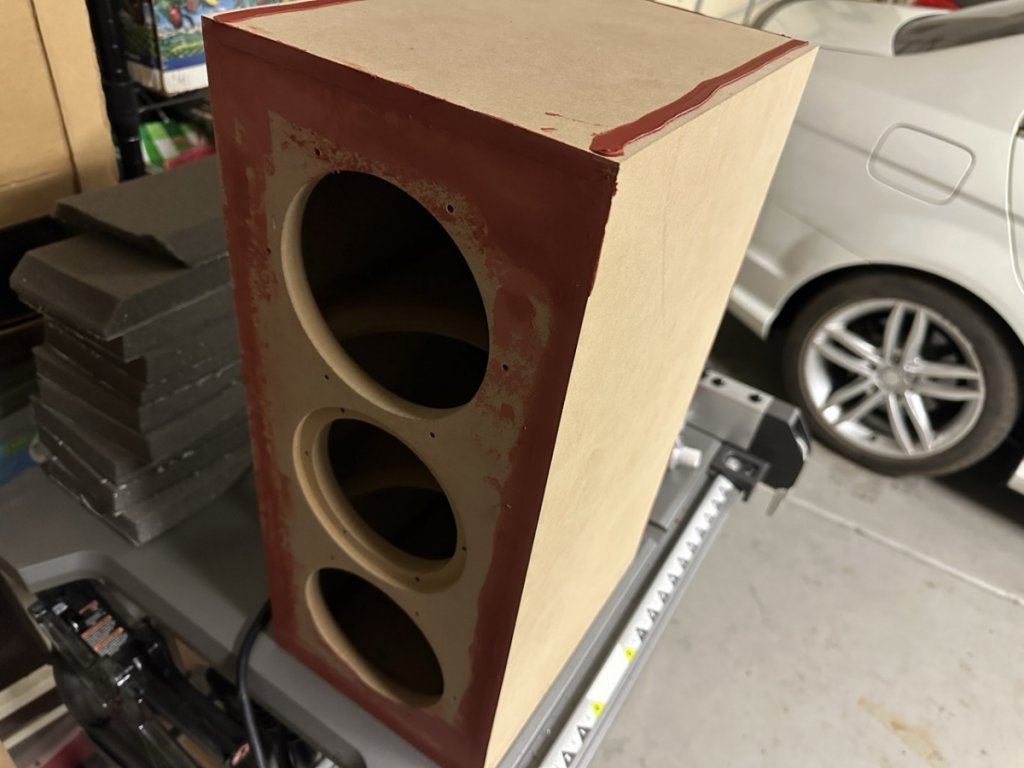
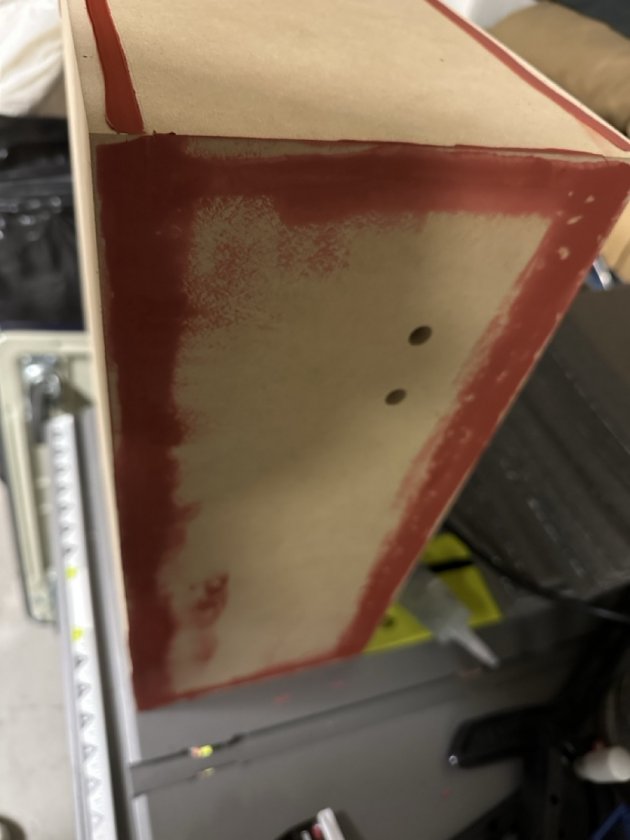
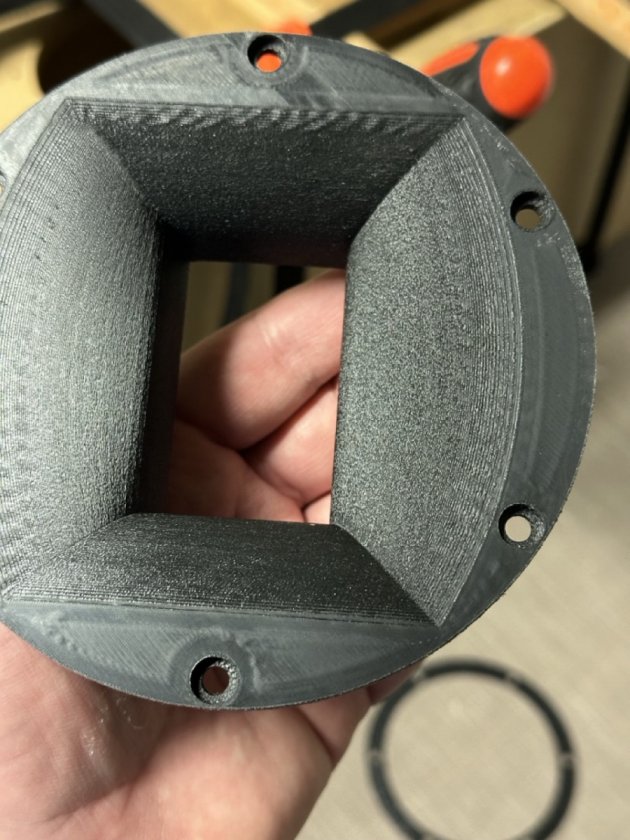
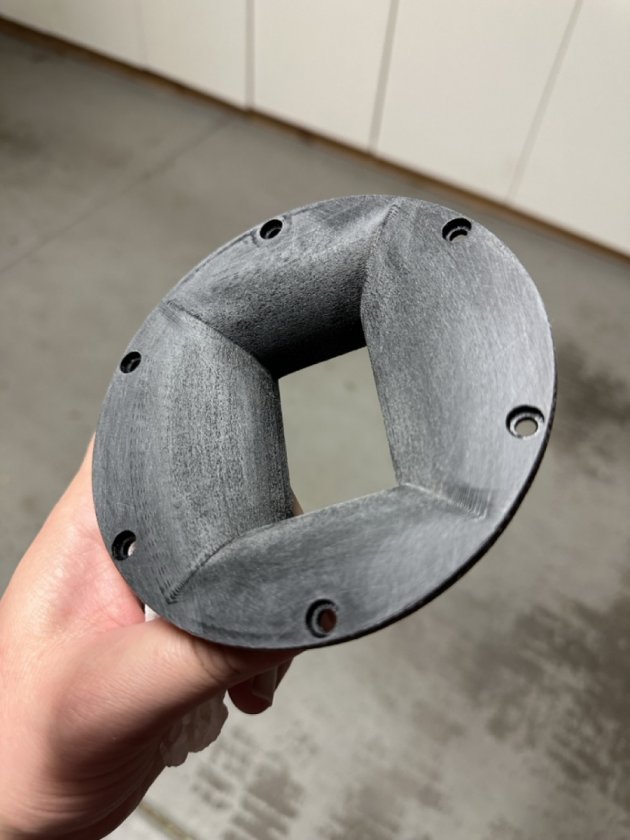
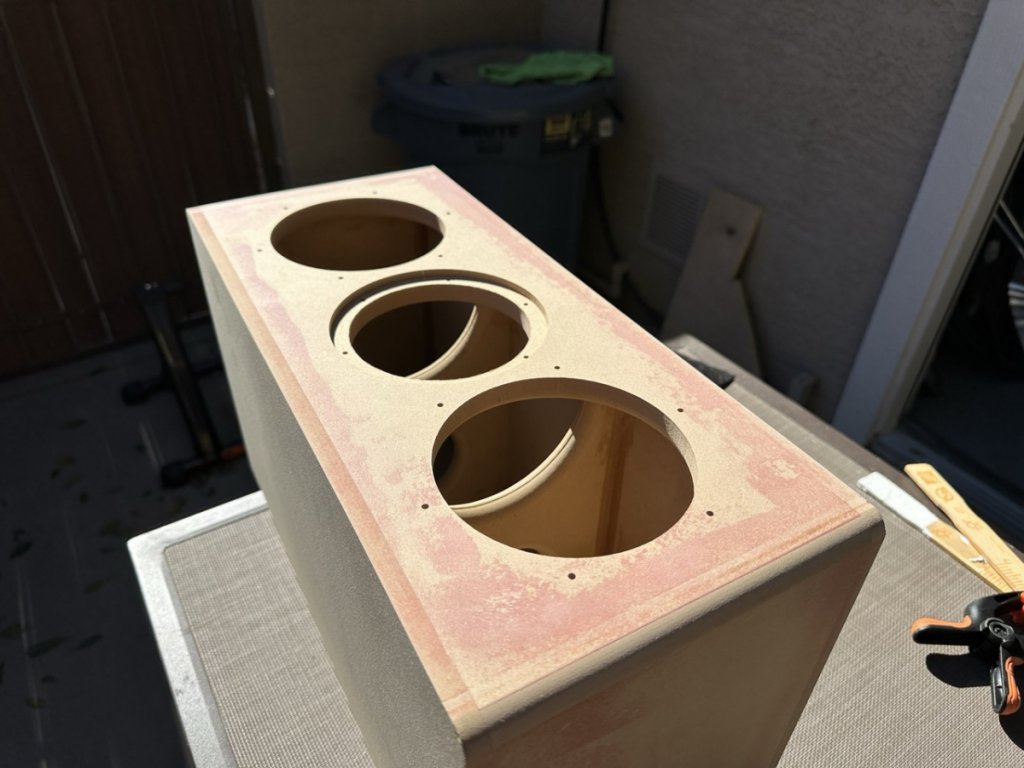
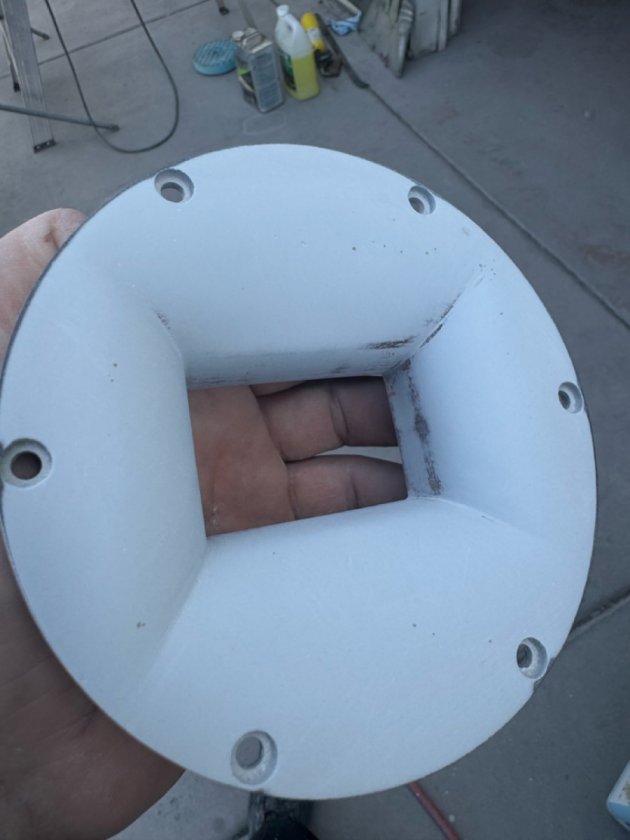
A note about my flatpack and waveguide. The flatpack center hole was a bit too small to fit the waveguide. I ended up sanding about 1mm or so around the waveguide. I sanded as much as I could to preserve the integrity of the screw holes. Keeping in mind I would be painting it and wanted the waveguide to fit after prime and paint I took as much off as I felt was needed to allow it to accept paint, and remain flush. You can see the before and after below.
I used Bondo glazing and spot putty to fill in the seams.
Sanded the 3D print lines down with some elbow grease and 180 grit sandpaper
Also tested the Bondo on the plastic to ensure it wouldn't have a negative reaction - there was no issue.
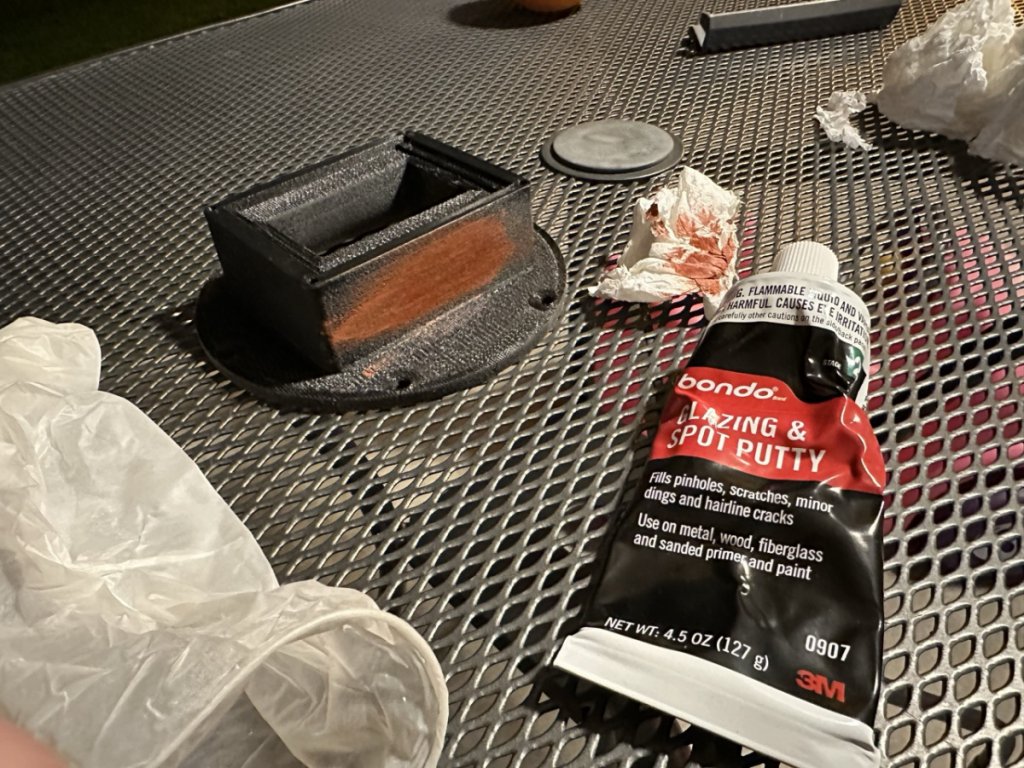
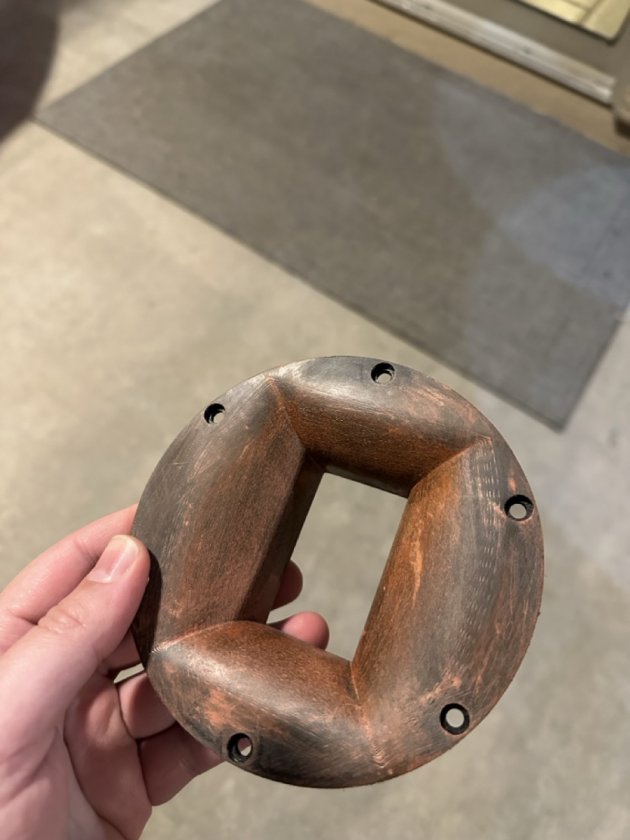
Filled in the final grooves in the 3D printed waveguide with the Bondo - I just smeared it on with a paper towel - no need to sand after as it was applied ultra thin. Actually looked a bit like wood after this and was ready from primer.
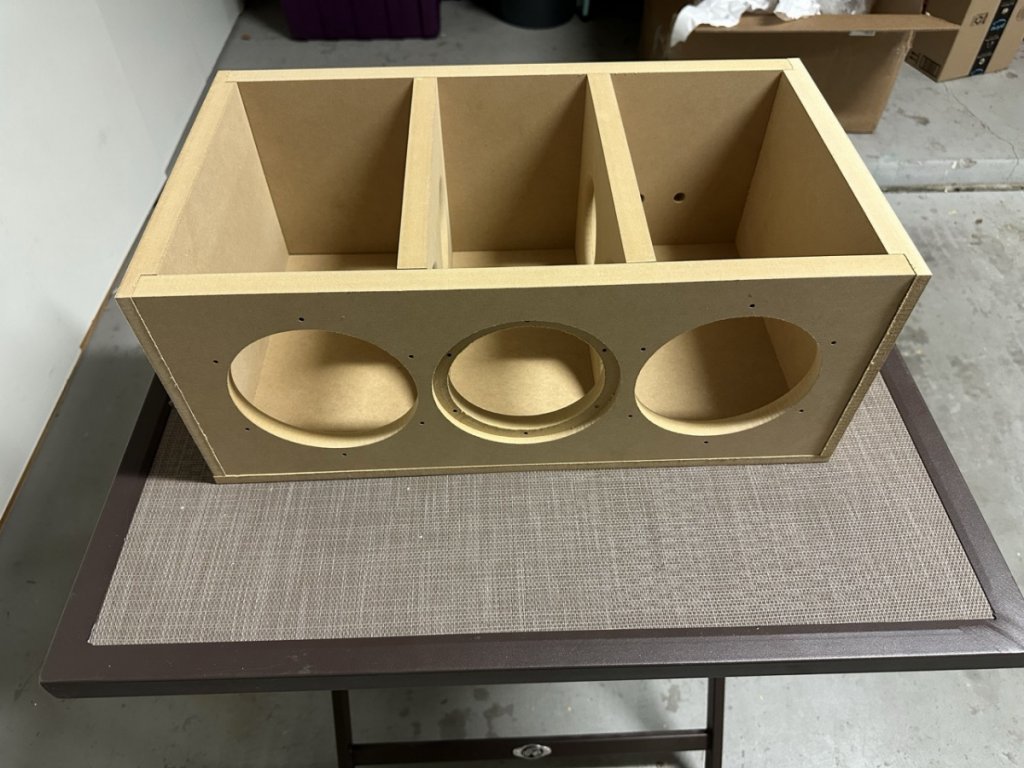
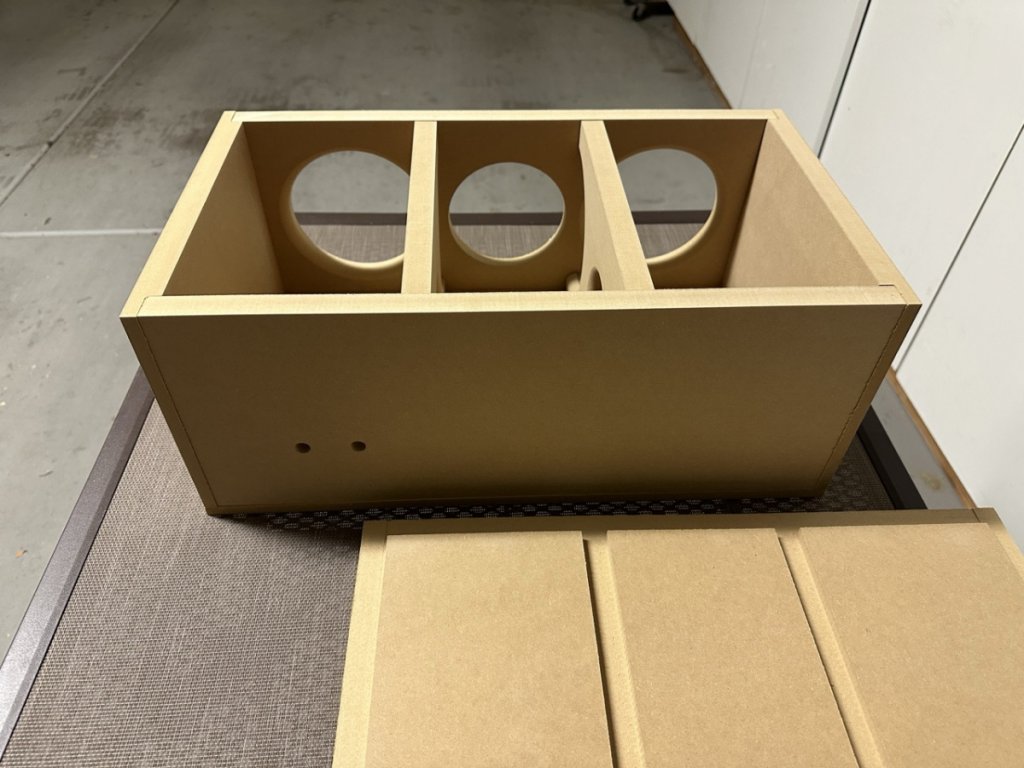
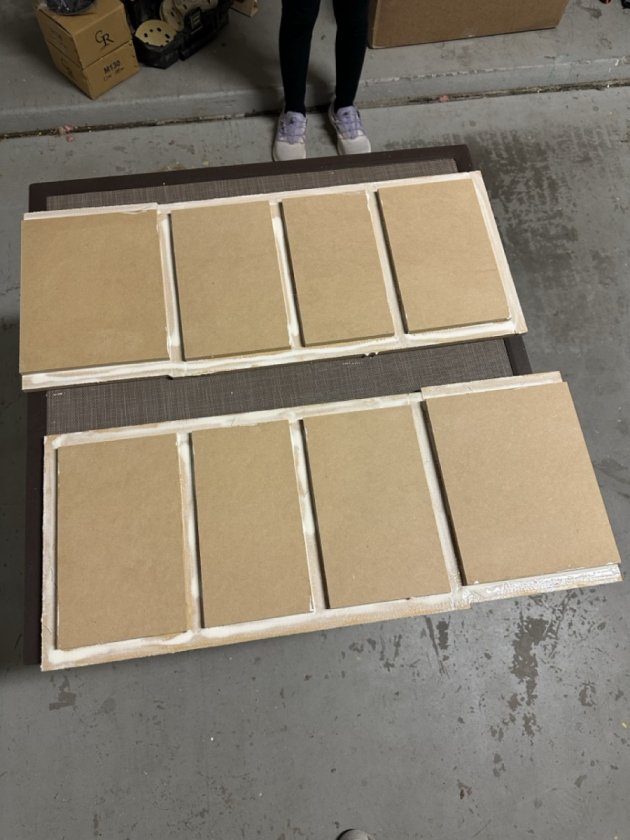
I purchased a router for this and gave it a go (first time routing anything). I wanted it to match my NX-Otica's which are straight on top and rounded on the sides, so I just routed the L/R sides 1/2" on the Bravo Center
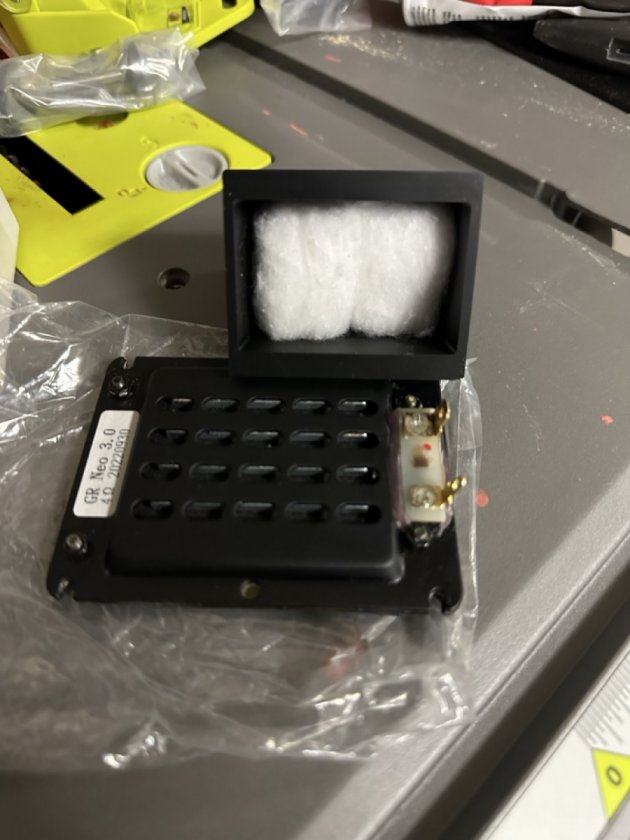
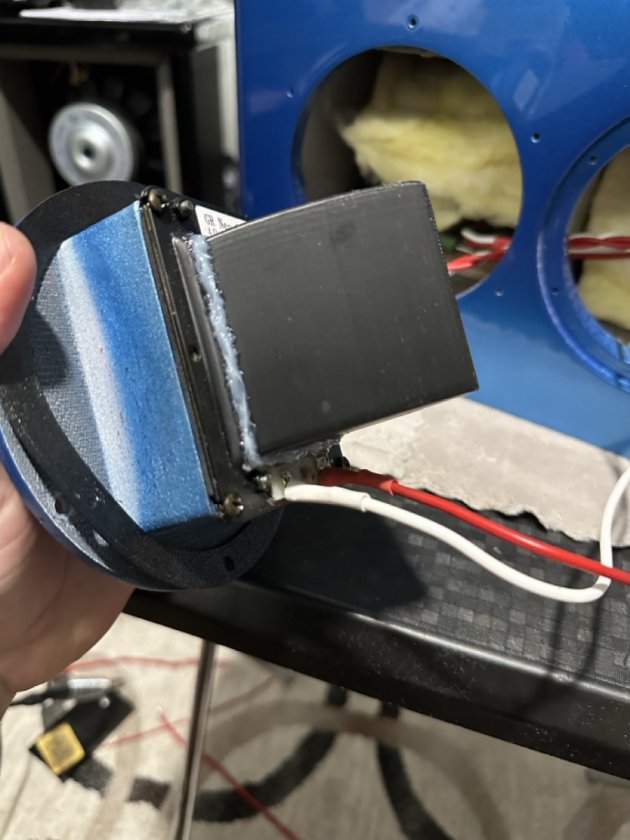
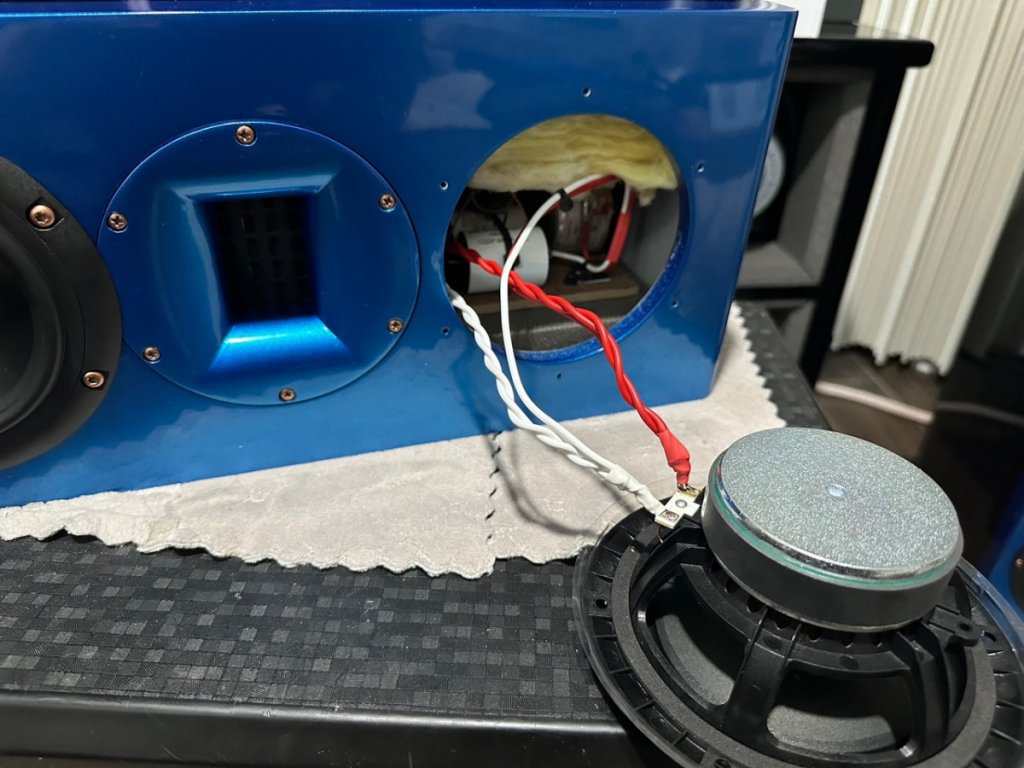
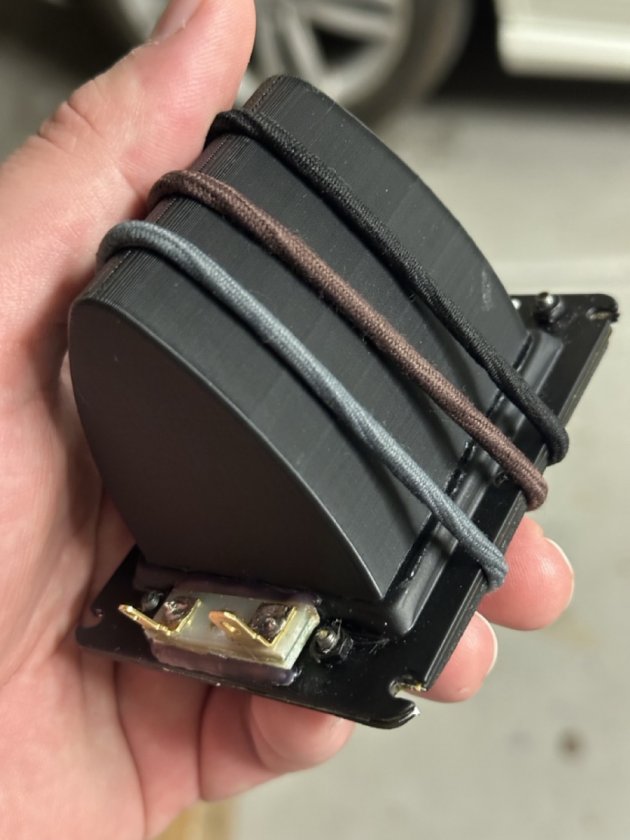
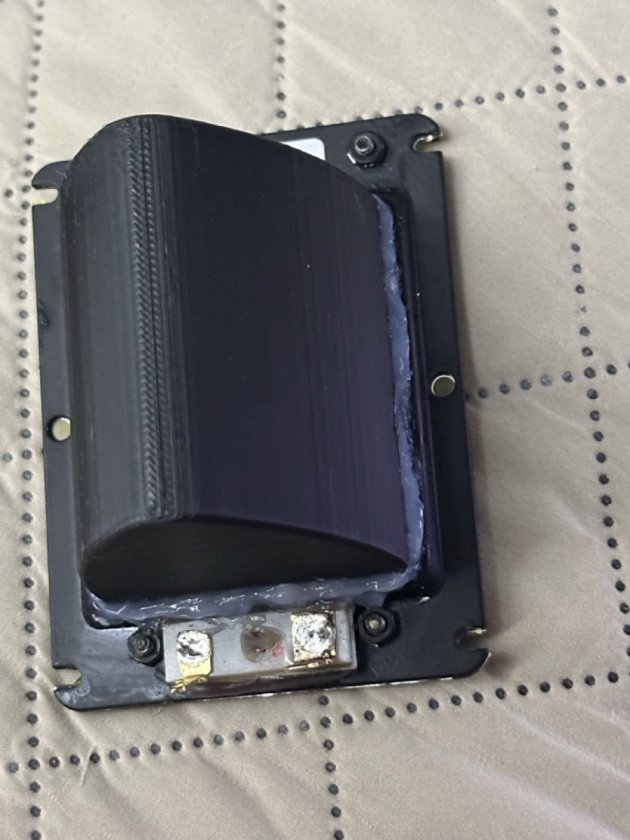
I used Gel Superglue initially to glue the GR Neo3 backcup to the tweeter, then after that dried I followed it up with a bead of silicone.
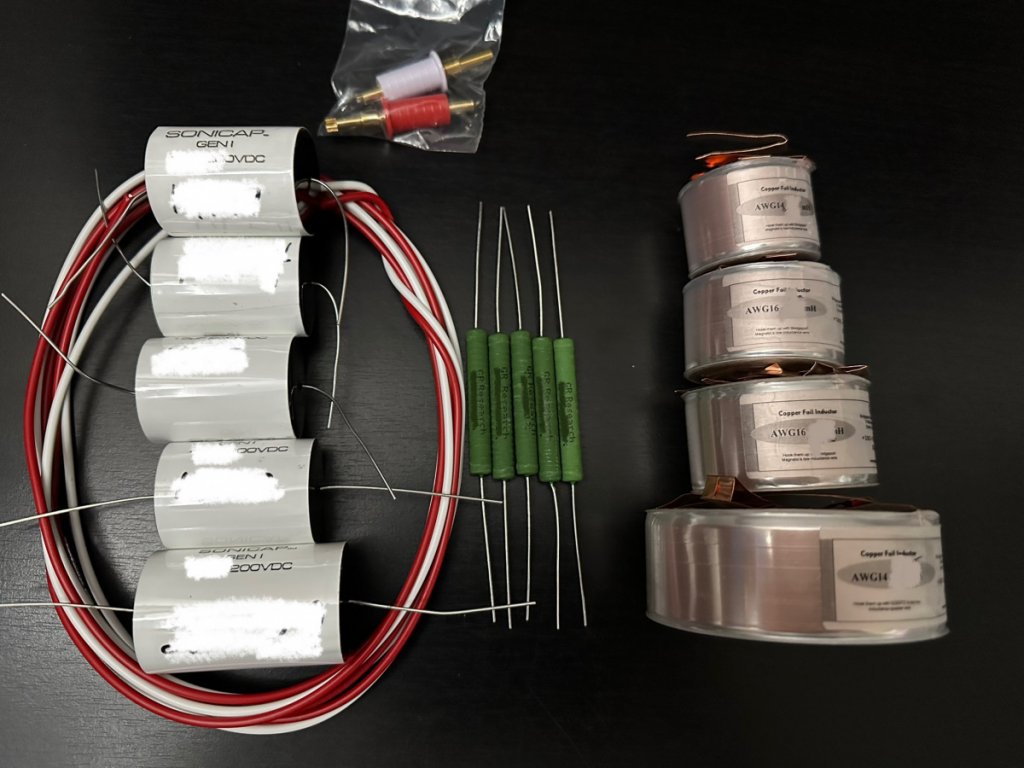
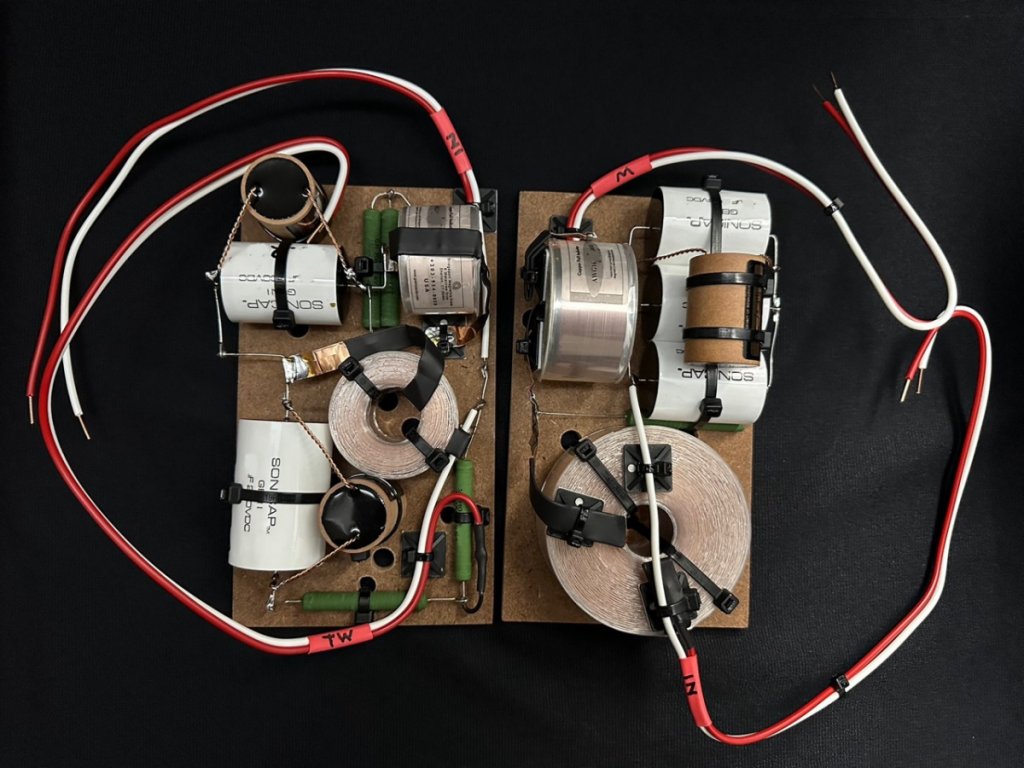
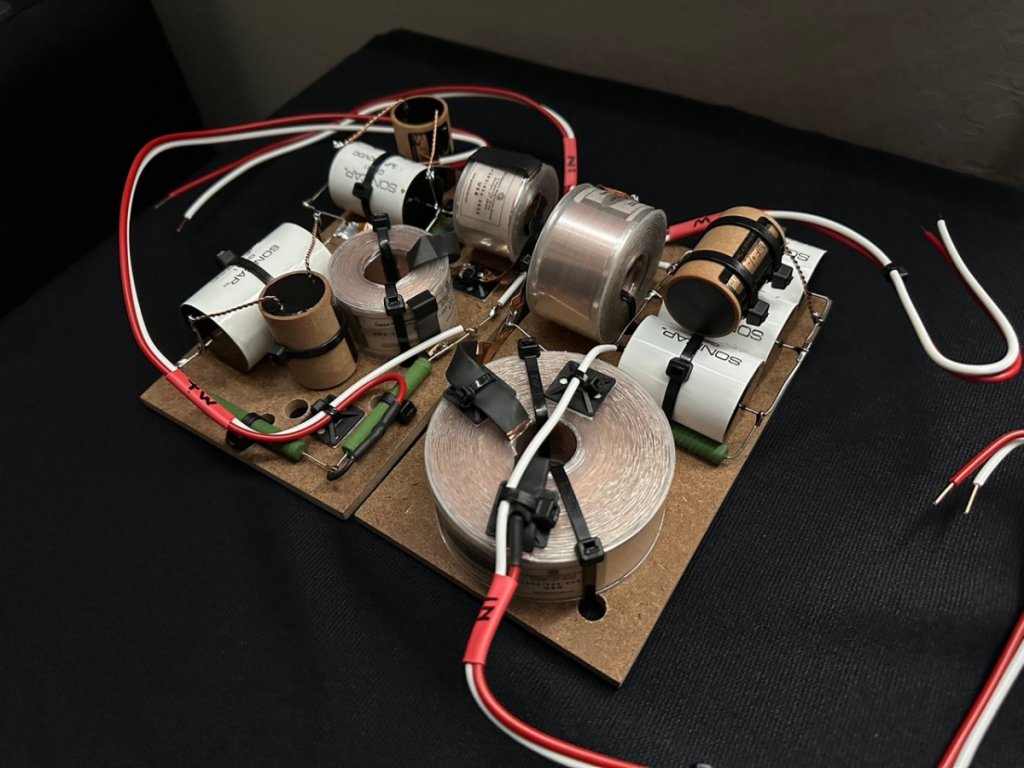
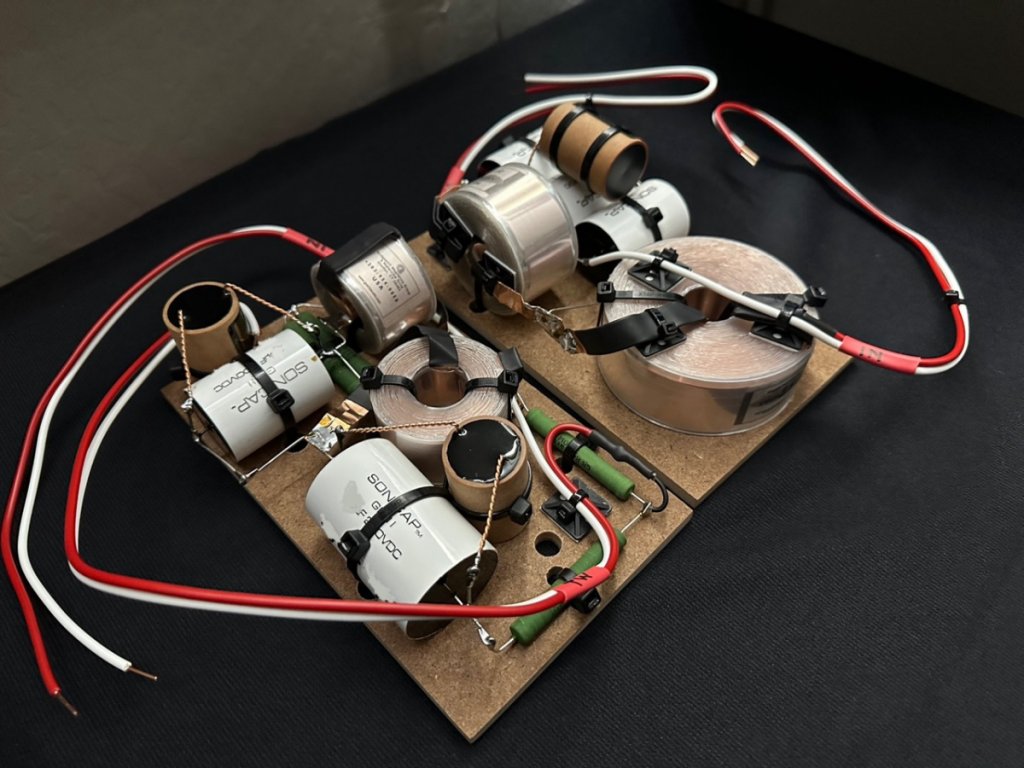
I went with the upgraded Sonicaps in the tweeter circuit, then went a bit further and got Sonicaps for the woofer as well. Also went with all foil, anything I couldn't get from GR, I got elsewhere. Bypassing the Sonicaps with Duelund Cast PIO Coppers which is what I have in my Otica's and Studio's as well. I wanted all to match. Stuck with the GR-Research resistors as I found them to sound great in my NX-Oticas.
Kudo's to Frederick for the artistry
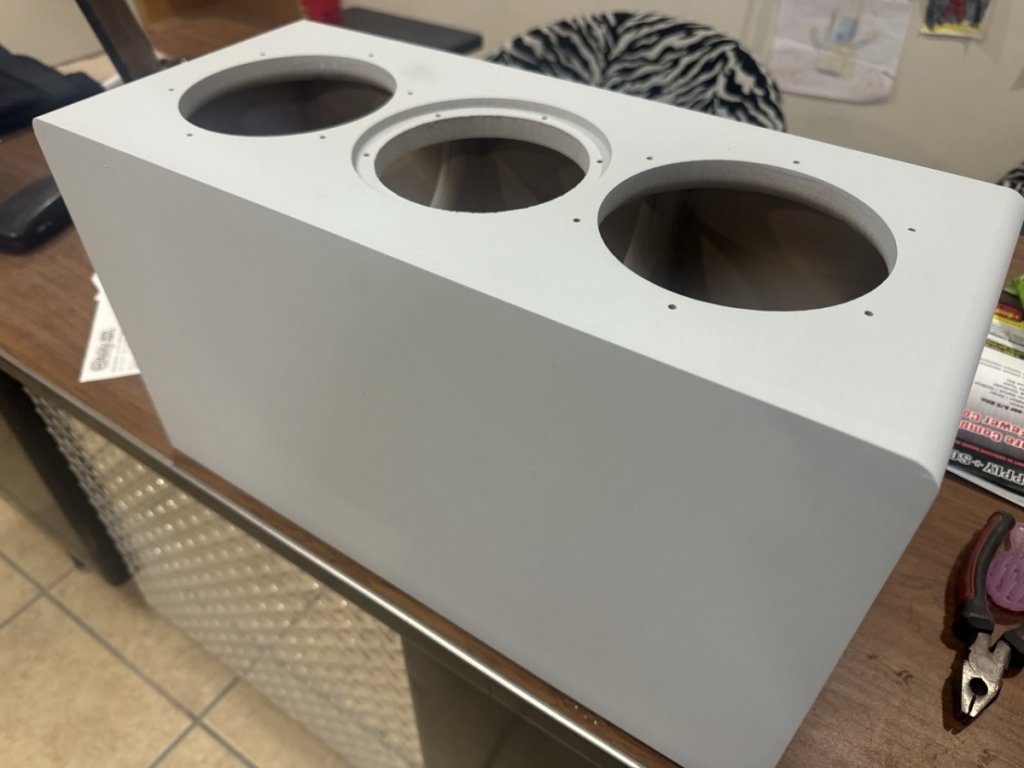
Last photo's I have for now from the painter on progress - first coat of primer and sand.
That's all for now, thanks for checking it out, very excited for this one.
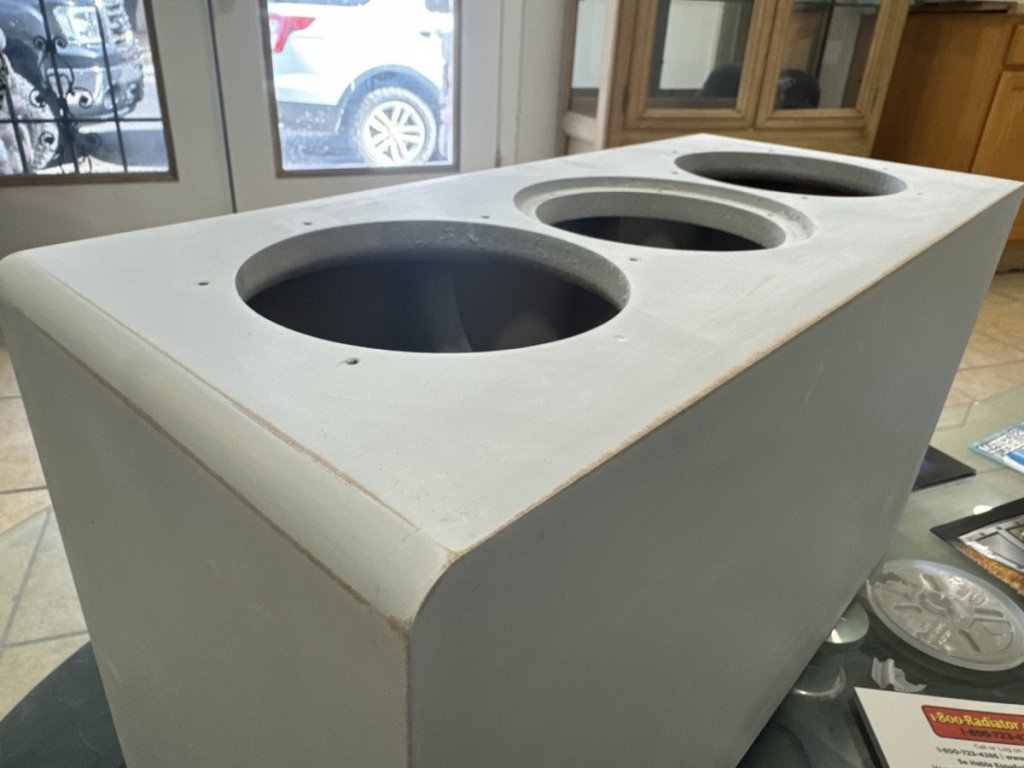
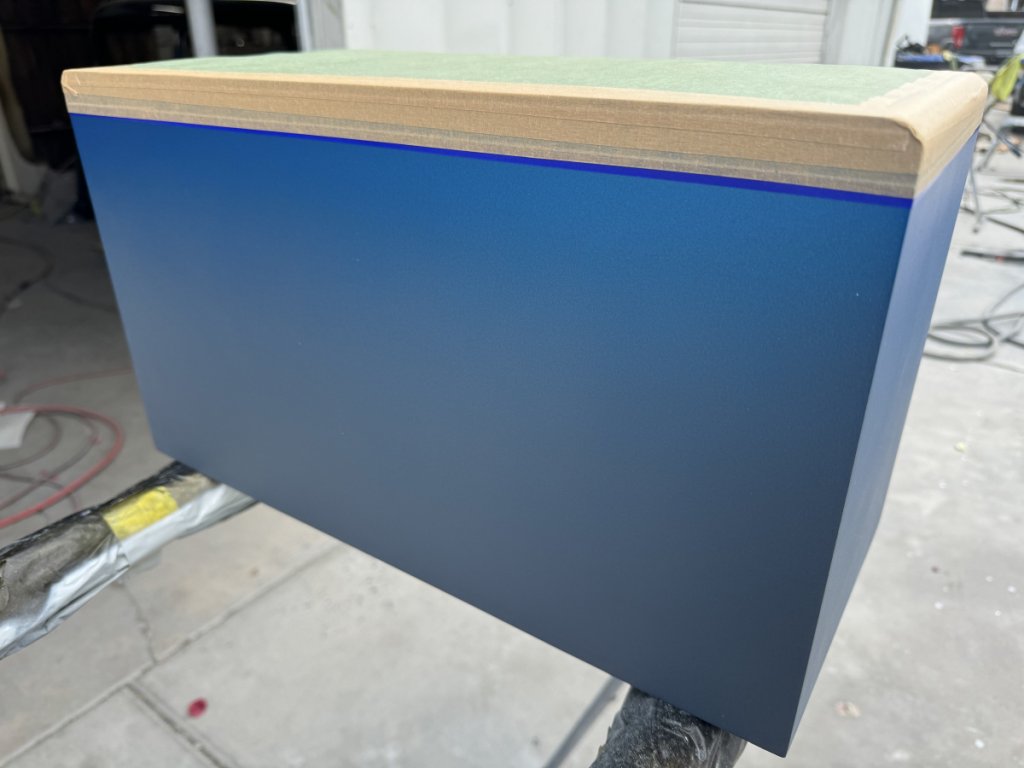
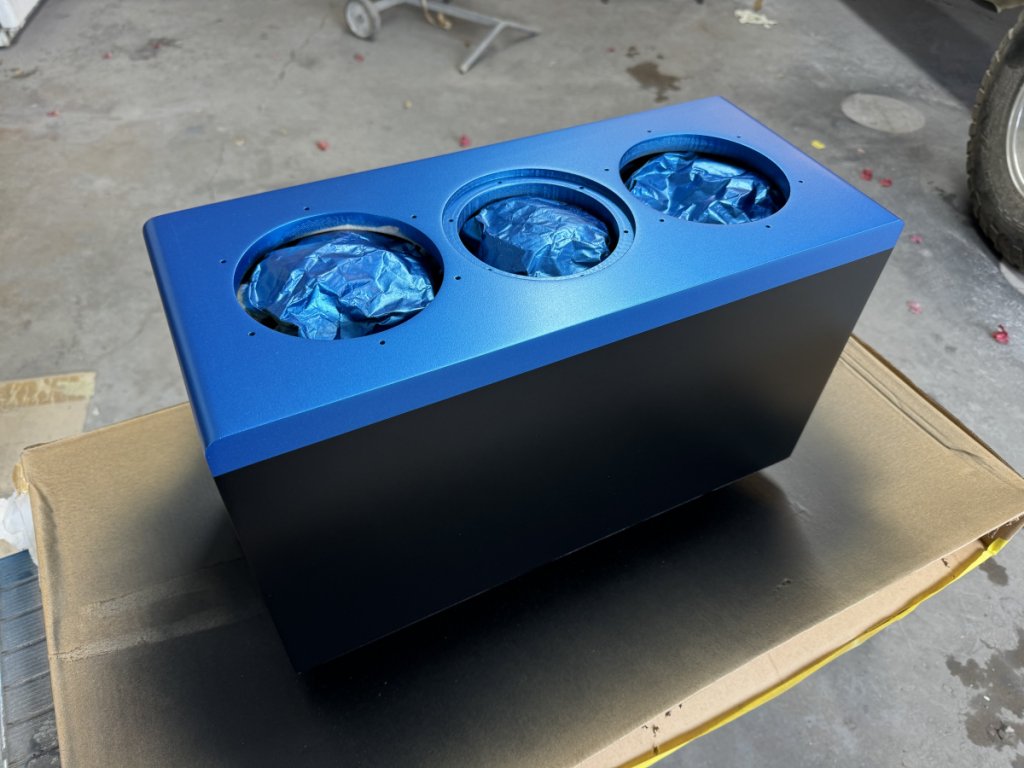
Update: Painting pics

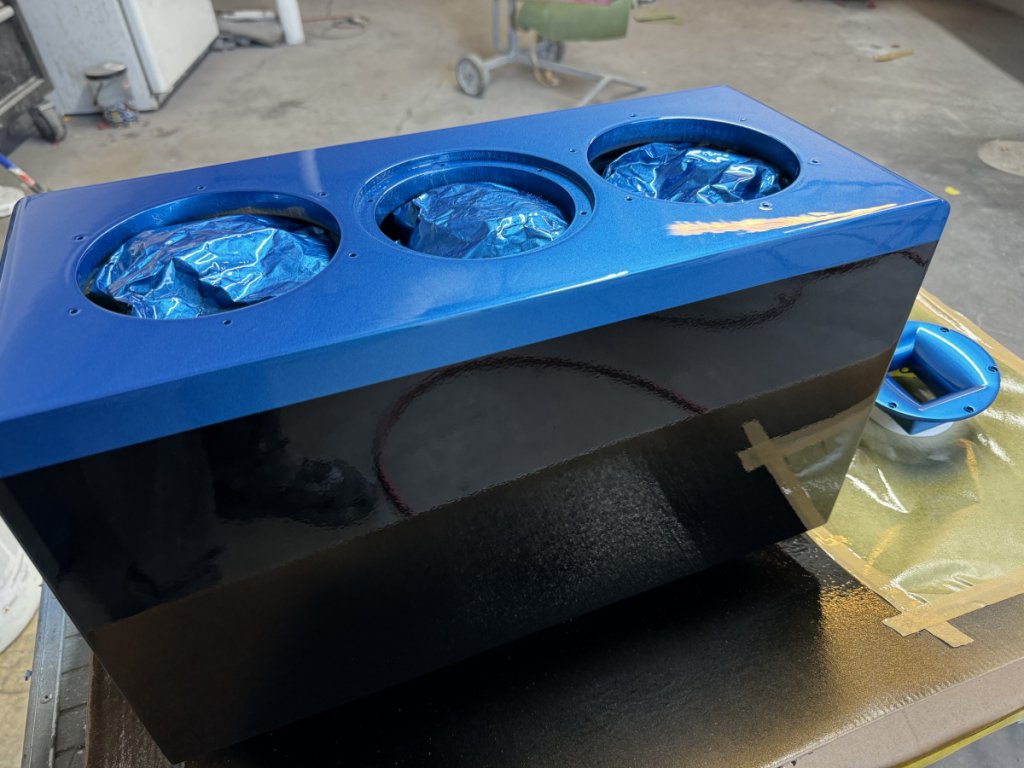
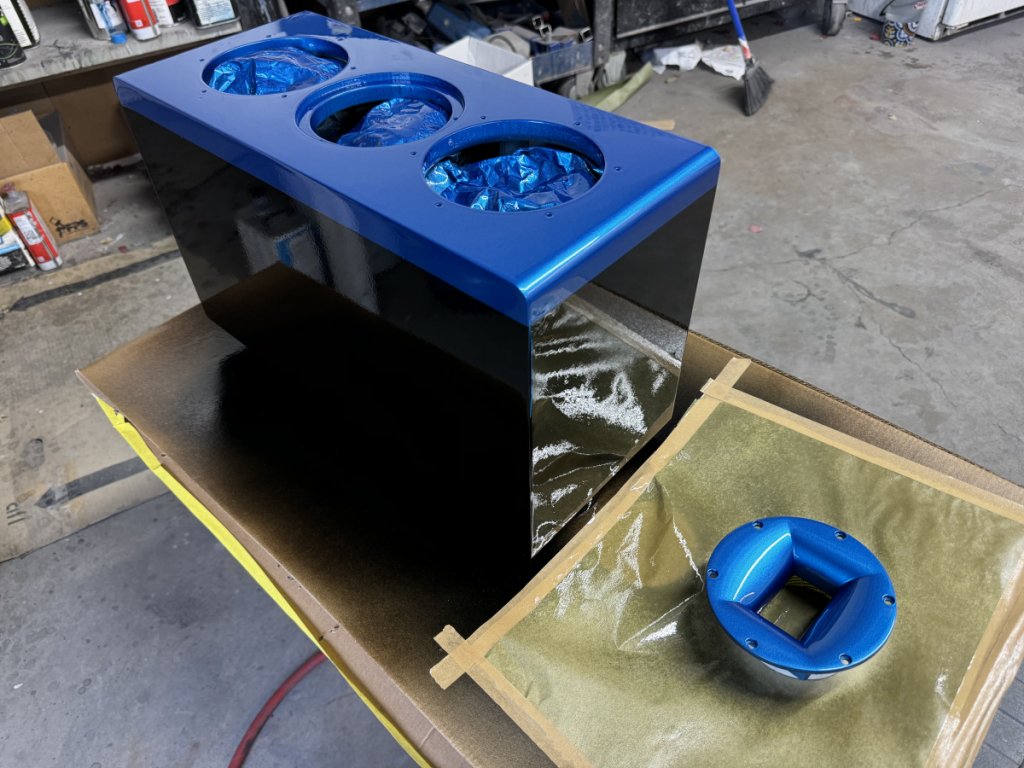
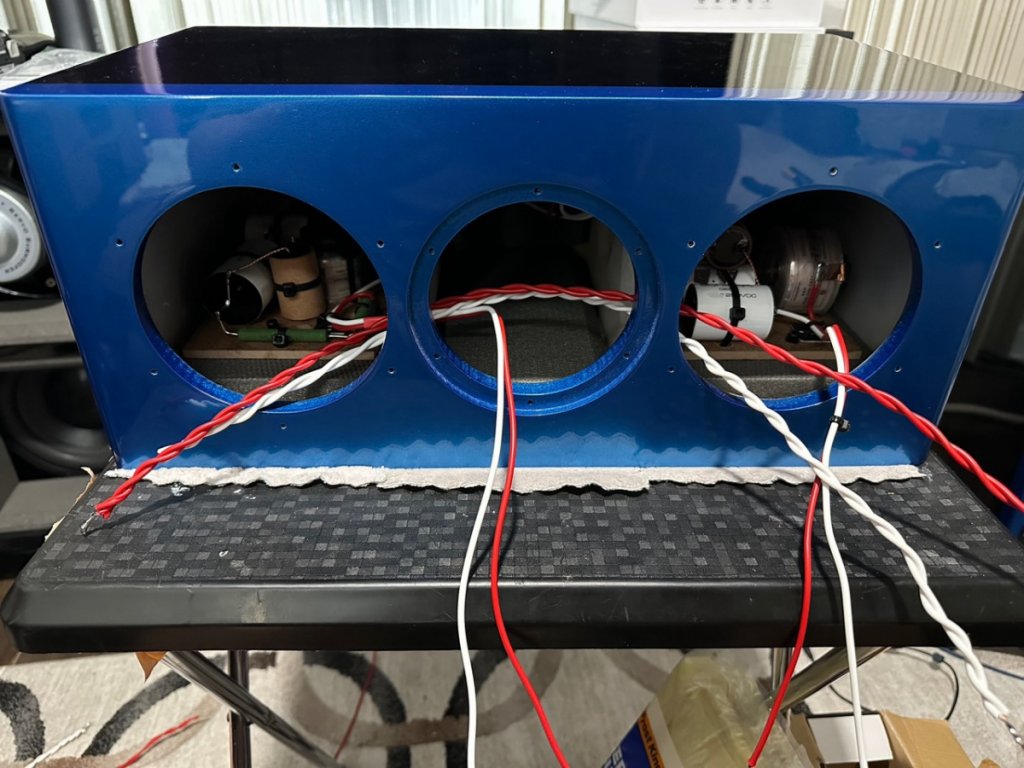
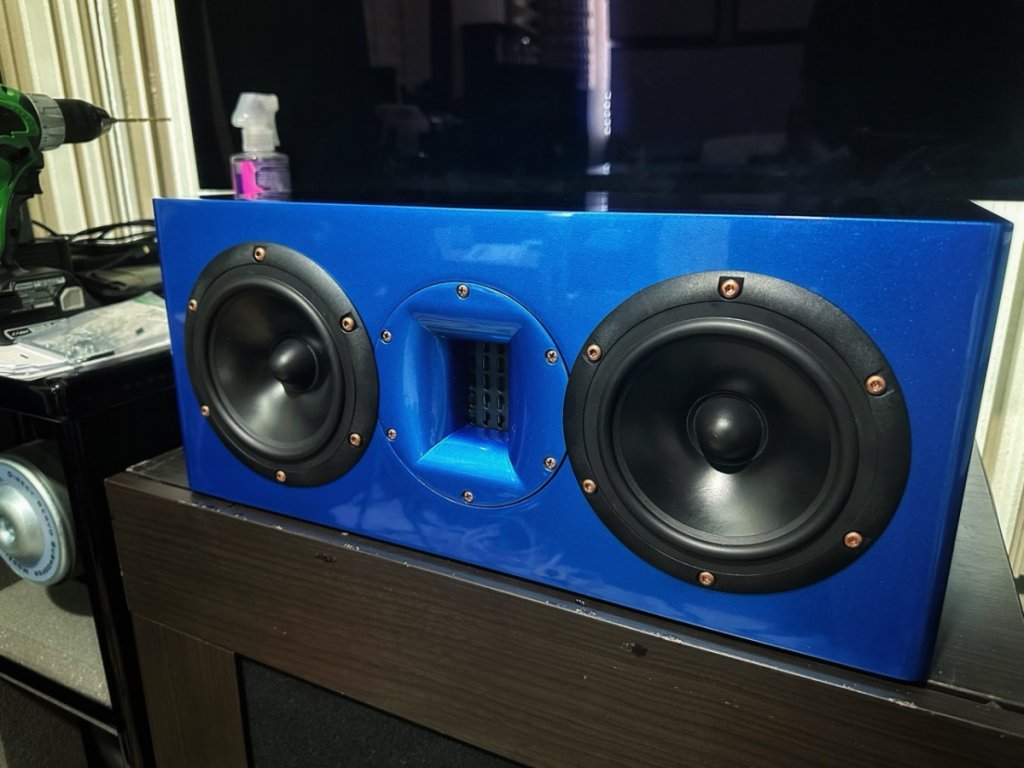
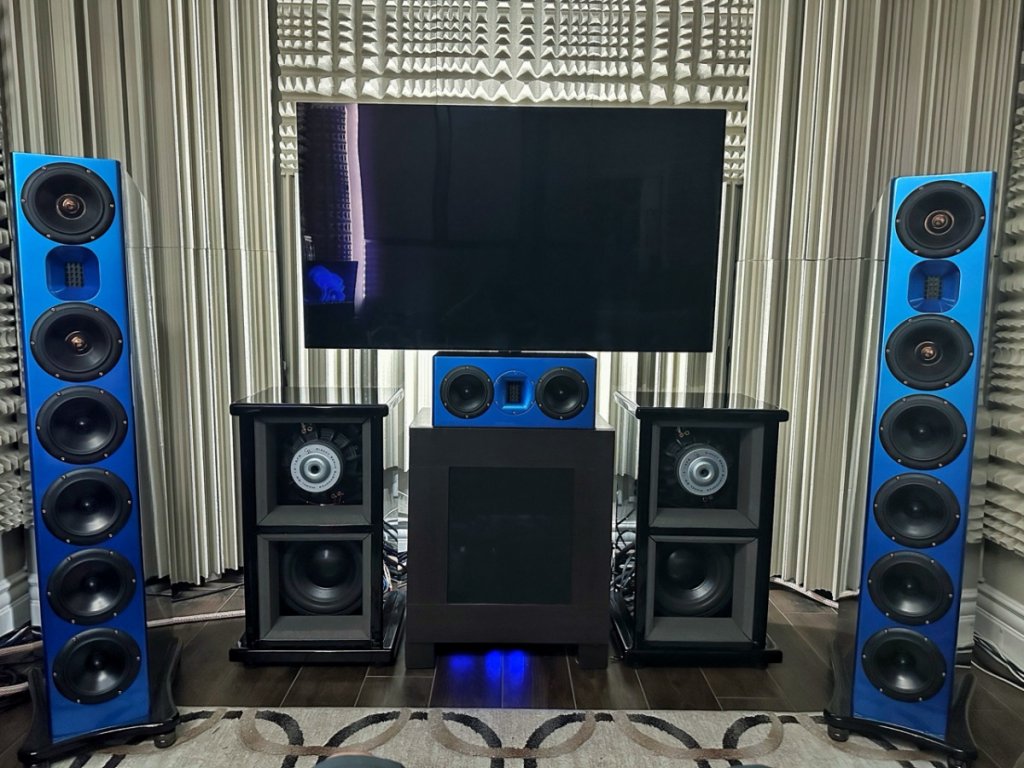
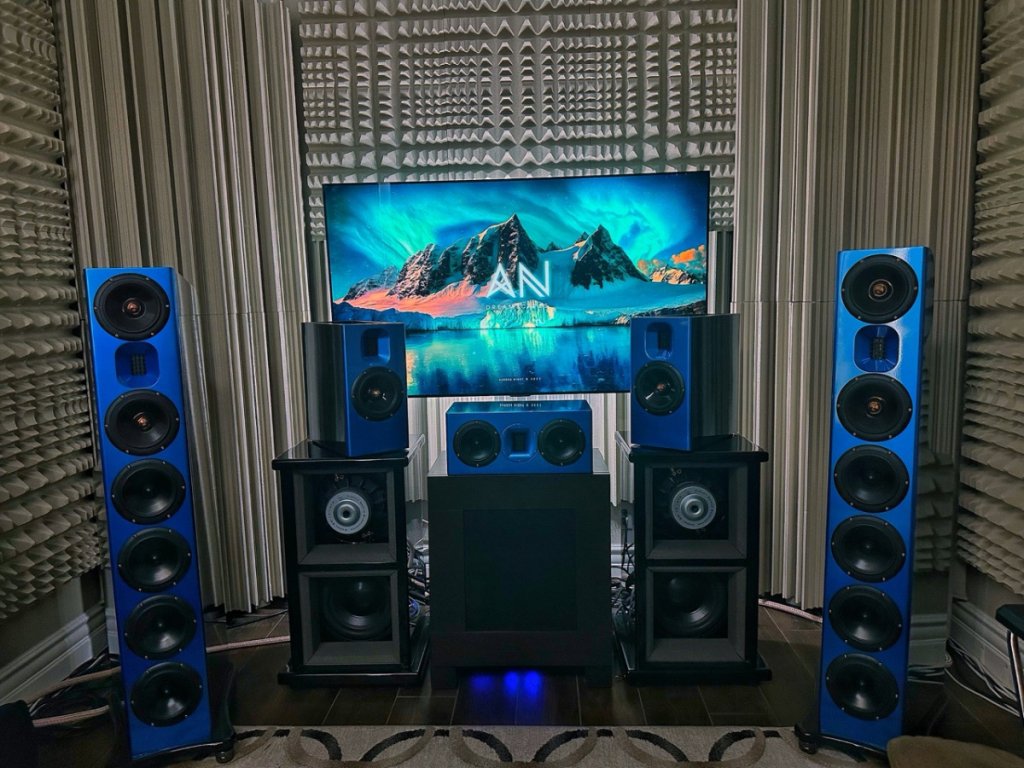
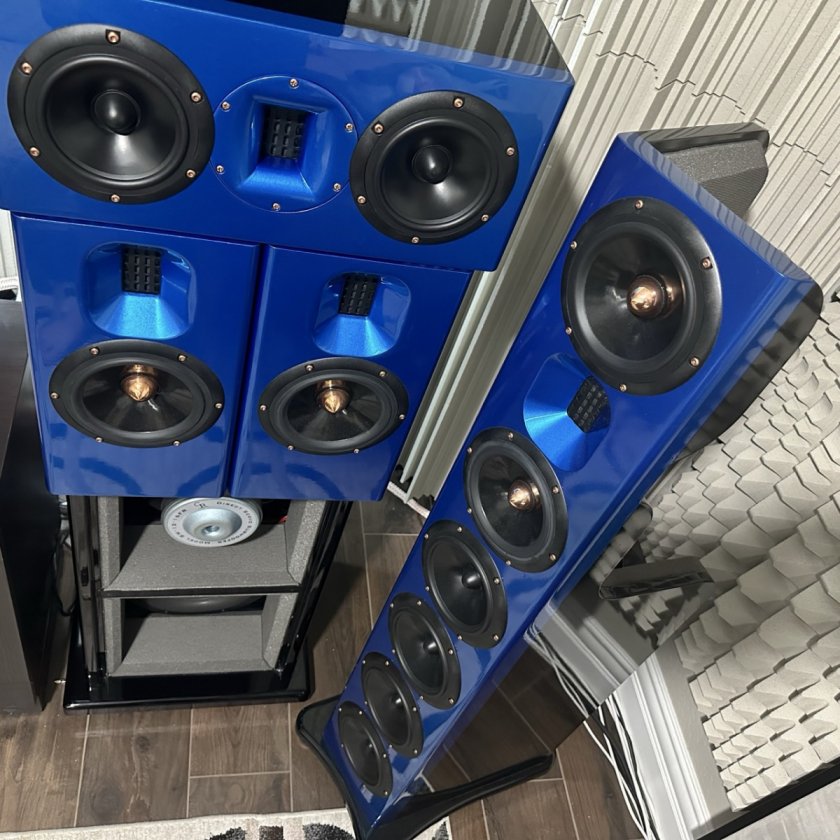
Update: Final build results
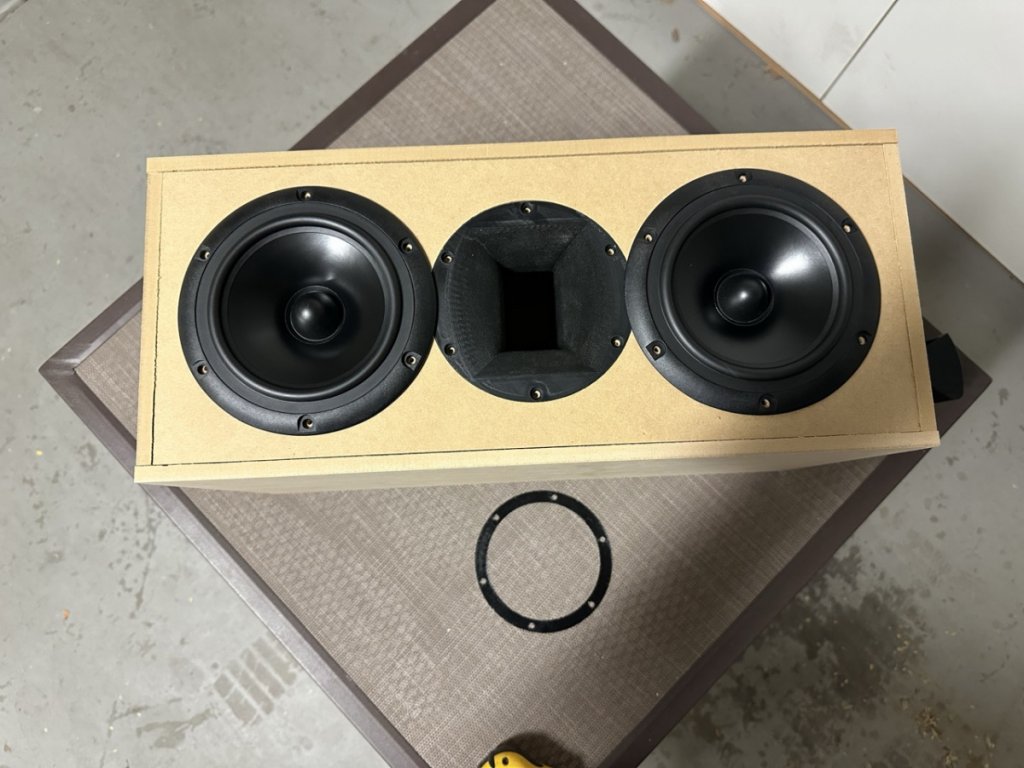
It's alive!. Final assembly. I was able to listen for about 5 hours. Listening mono just burning the caps and drivers. My initial observations is that the
off axis response is fantastic and covers the entire area I potentially will have guests perfectly. Thats a huge win for me as that was one of the primary reasons for building it vs. keep with the phantom center. Another observation is that over the 5 hours it's been playing I've noticed the dynamics have increased a lot and it now sounds twice as large as it did 5 hours ago. I suspect that trend will continue as the parts burn in more. Love how it turned out and matches the family. I may try removing some of the no-rez and stuffing to see how that impacts the sound, right now it sounds good, but I'm curious how that nay impact the sound.