Timothy C's OB Build - NX Studios on Double Troubles

0 Members and 1 Guest are viewing this topic. Read 6324 times.

timc90

  • Jr. Member
  • Posts: 39
Hello everyone!

I'm starting this topic to document my build and hopefully in so doing, contribute to the body of knowledge already here which I have benefited greatly from.

On Monday, I reached home and was greeted by the sight of this:


An NX-Studio kit, a pair of Double Trouble kits and some speaker cable. Seeing the mountain of boxes, I'm suddenly scared I've bitten off more than I can chew but am trying to put that fear aside. "Fear is the mindkiller" - Lady Jessica

To get a preview of what it might be like building the Double Troubles, I made this thing which is kind of like a mini-H frame.


I realised it's quite challenging to spray the inner faces so I might paint those faces prior to assembly and gluing.

I've also found that superglue is very good for sealing MDF edges so they can be sanded smooth to allow an almost-piano gloss black finish to be achieved. Note: Only the first photo of the mini-H frame has edges sealed by superglue. In the second photo I used Minwax sanding sealer on the edges but it didn't seem that effective.

Polyurethane spray https://www.krylon.com/en/products/specialty/clear-polyurethane-coating?bvstate=pg:4/ct:q will be used to seal the faces of the MDF panels prior to applying the primer+paint spray https://www.selffix.com/rust-oleum-2x-ultra-cover-spray/. Top coat will be a lacquer spray https://www.selffix.com/rust-oleum-lacquer-spray-gloss-clear/ which I will then sand to 1500/2000, polish and finally glaze.

Unfortunately living in an apartment in Singapore, I do not have a garage with air compressor and spray guns so it's all spray cans for me  :cry:
« Last Edit: 24 Nov 2024, 01:13 pm by timc90 »

Digi-G

Re: Timothy C's OB Build
« Reply #1 on: 20 Mar 2024, 12:51 pm »
Just be patient,,, with yourself.  I built a pair of NX Studios a while back and they took quite a bit longer than I had anticipated.  You'll get there tho.

Good luck.

Is that a pair of B&W 805's I see in the background (actually I only see one of them)?  When I completed my NX Studios I moved my 805's to the rear for surround speakers.  Might seem like overkill but what the heck.  They sound much better than the cheapo, very small Pioneer speakers that I was using.  And yes, the NX Studios can hold their own compared to the 805s.

timc90

  • Jr. Member
  • Posts: 39
Re: Timothy C's OB Build
« Reply #2 on: 20 Mar 2024, 01:55 pm »
Thank you @Digi-G for the words of encouragement! I am patient by nature but also kind of perfectionist, which probably doesn’t go well with amateur DIY. That said I know how to manage my expectations and am fully aware I won’t achieve true piano black gloss. I often remind myself, done is better than nothing!

You have keen eyes! Those are 705s which I will try and sell as I’m not in need of surround sound.

NXSTUDIO-DRUMMER

  • Jr. Member
  • Posts: 169
Re: Timothy C's OB Build
« Reply #3 on: 20 Mar 2024, 03:42 pm »
If you haven't built the NX-Studio's yet, I highly suggest you consider utilizing PeterJ's Video link here below.

Titebond link:  http://titebond.com/

As much as I appreciated the adheasives Peter suggested, which is a excellent product by the way.  I went in another direction, I felt personally it would make it less stressful, using a longer cure time adheasive. In my case as a beginner, I wanted more set up time to work with the cabinet getting it aligned and squared up properly with clamps.  Here is what I used and had excellent results. I'll emphasis, both are excellent options for any speaker build.

https://www.systemthree.com/

Titebond gives you a 15 minute working time, while the Systemthree T-88 gives you a 45 minute working time. In my case felt more beneficial for me personally. I had excellent results.


« Last Edit: 25 Mar 2024, 09:24 pm by NXSTUDIO-DRUMMER »

timc90

  • Jr. Member
  • Posts: 39
Re: Timothy C's OB Build
« Reply #4 on: 21 Mar 2024, 10:02 am »
Thank you @NXSTUDIO-DRUMMER for the link to Peter’s video! Somehow it did not come up when I’ve searched “GR Research build”.

Great point regarding longer cure times. Unfortunately it seems the Systemthree is not readily available in Singapore. I used Titebond for a cheap Parts Express C-Note speaker build recently and I think as long as I don’t try to glue together too many panels at once, the 15 minute cure time is sufficient.

nlitworld

  • Full Member
  • Posts: 2248
  • Strange things are afoot at the Circle K
Re: Timothy C's OB Build
« Reply #5 on: 21 Mar 2024, 01:11 pm »
I used Titebond for a cheap Parts Express C-Note speaker build recently and I think as long as I don’t try to glue together too many panels at once, the 15 minute cure time is sufficient.

Hi Timothy,
For these, if you purchased the flatpack from Jay you'll want to do the entire assembly in one go. Since everything fits together super snug and to keep everything as square as possible, it doesn't leave any panels that can just pop on last in a second round. If you're building your own from scratch you could leave the back panel off til the last minute. As for titebond options, I believe titebond 3 had a longer work time which does just fine. Watch Peter's video and do a couple dry runs of assembly and clamp placement practice and you'll be fine.  :thumb:

Also I did get your PM yesterday on painting questions. I'll sit down later today and get you some details and adjustments to your process that'll get you on the right track. Good luck with the build and we expect a lot of progress photos! :popcorn:

-Lloyd
« Last Edit: 21 Mar 2024, 08:29 pm by nlitworld »

mlundy57

  • Industry Participant
  • Posts: 3622
Re: Timothy C's OB Build
« Reply #6 on: 21 Mar 2024, 06:19 pm »
If it's available to you, Titebond Extend has a longer working time than regular Titebond.

timc90

  • Jr. Member
  • Posts: 39
Re: Timothy C's OB Build
« Reply #7 on: 22 Mar 2024, 03:15 am »
Thanks everyone for the guidance!

I only have 4 F clamps right now so I’ll need to buy more clamps so I can glue everything together in one go. Parallel clamps are hard to find locally here in Singapore it seems and importing them from the US through Amazon is really expensive. So I think I’ll settle for pipe clamps to substitute the parallel clamps Peter uses! Will let everyone know if they’re effective.

Titebond Extend also isn’t easily available here. Took me awhile to even source for Titebond III! It has a cure time of 20-25 minutes so should be good enough with some dry assembly practice before applying the glue.

Vince in TX

  • Full Member
  • Posts: 381
Re: Timothy C's OB Build
« Reply #8 on: 22 Mar 2024, 03:31 am »
If your flat packs are like mine with inner and outer panels, here's what I did with my Double Troubles, which looks similar to your mock-up:   https://www.audiocircle.com/index.php?topic=176852.0

timc90

  • Jr. Member
  • Posts: 39
Re: Timothy C's OB Build
« Reply #9 on: 26 May 2024, 02:49 pm »
I've finally started my build... with speaker cables!

I referred to Danny's youtube video https://youtu.be/DfjQJxeTANE?si=D7aoCG2DkrLmVqHo but used RockBall's method of twisting together the thickest two strands from each wire to insert into the tube connector https://www.audiocircle.com/index.php?topic=172291.0.

Because it's such a tight fit though, I am not sure if the wire goes all the way to the tip of the tube. I can only hope the fact that I could not push the wire any further into the tube, despite using all my strength, means the wire is right up against the tip.

To aid in pulling the rope through the centre of the cable, I taped some long wood rods together so that its combined length is longer than my cable. To the last wood rod I taped one end of the rope.


I then put the wood rod through one end of the cable, grabbed on to the rod that comes out the other side, and slowly pulled the rope through, making sure to loosen the braid around the rope when it really resisted getting pulled.


The final product:


KTS

Re: Timothy C's OB Build
« Reply #10 on: 29 May 2024, 12:47 am »
If it's available to you, Titebond Extend has a longer working time than regular Titebond.


+1 on the Titebond extended work time. The steps I used- Watch peters video, dry/fit, use 214 clamps and invite a friend for moral support/extra set of hands. All joking aside not difficult just go slowly as fast as you can.

nlitworld

  • Full Member
  • Posts: 2248
  • Strange things are afoot at the Circle K
Re: Timothy C's OB Build
« Reply #11 on: 29 May 2024, 01:01 am »
All joking aside not difficult just go slowly as fast as you can.


Lol, sorry I had to. I know we all love seeing build threads. I'm excited to see the progress. Also those cables turned out really clean and tidy. Who said DIY can't give professional results.

timc90

  • Jr. Member
  • Posts: 39
Re: Timothy C's OB Build
« Reply #12 on: 1 Jun 2024, 02:15 am »
Hahh good one.

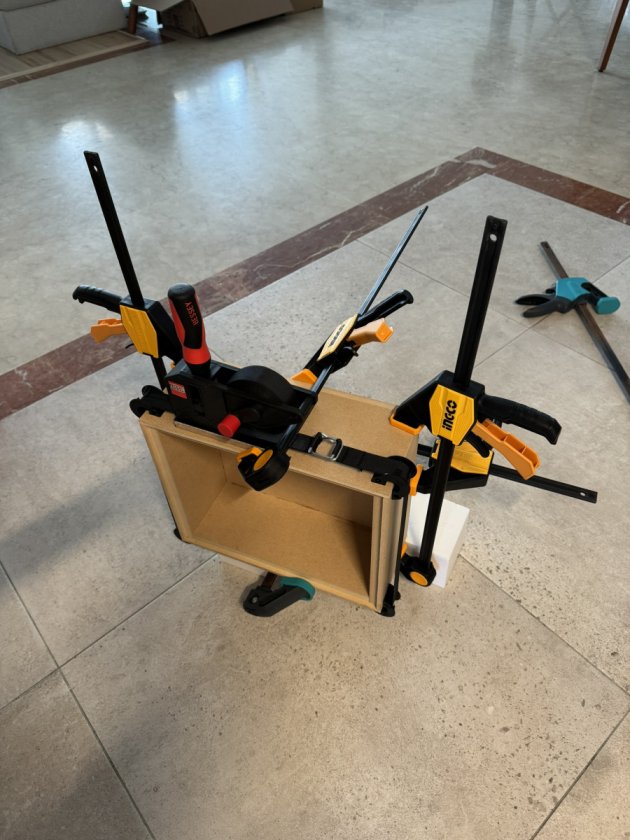
I decided the amp box was a good place to start and get more practice because if I really screw up, it won't be too visible, or I could build another box with relative ease.

Gluing up the box

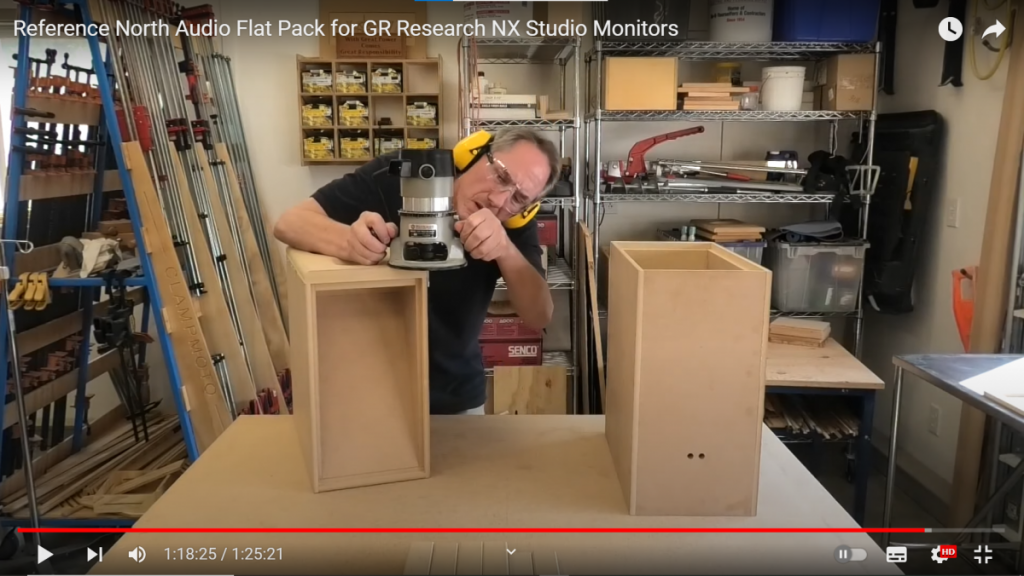
In Peter's video of the NX-Studios, he mentions he assembles such that the edge of a panel sticks out past the face of the panel perpendicular to it just a little bit so that he can trim it off afterward with a router bit (screenshot below from https://www.youtube.com/watch?v=CYrdScf9eyM&t=2412s )


However for some reason no matter how hard I tried to tighten my clamps, I wasn't able to get a tiny "lip".

So I sanded the face of the panels to get them flush with the edge of the panel perpendicular to it.
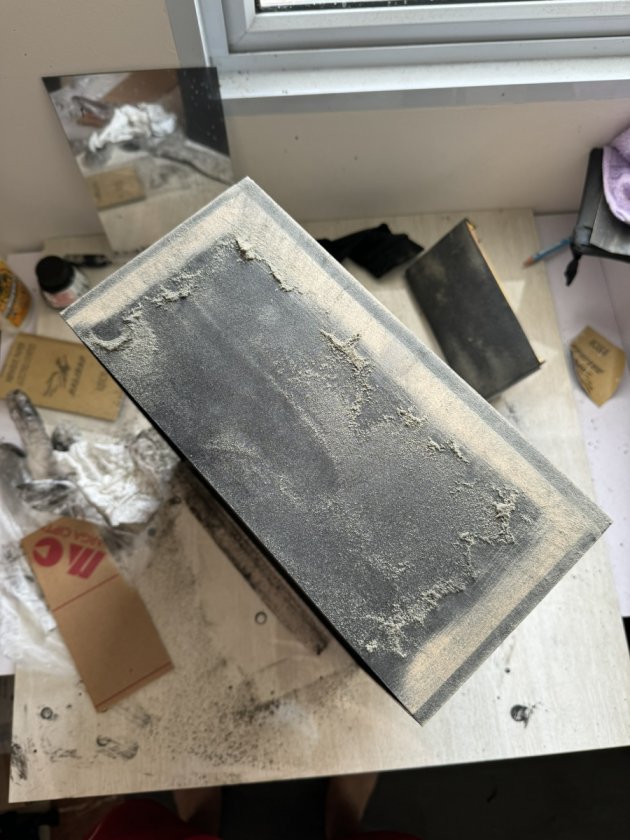


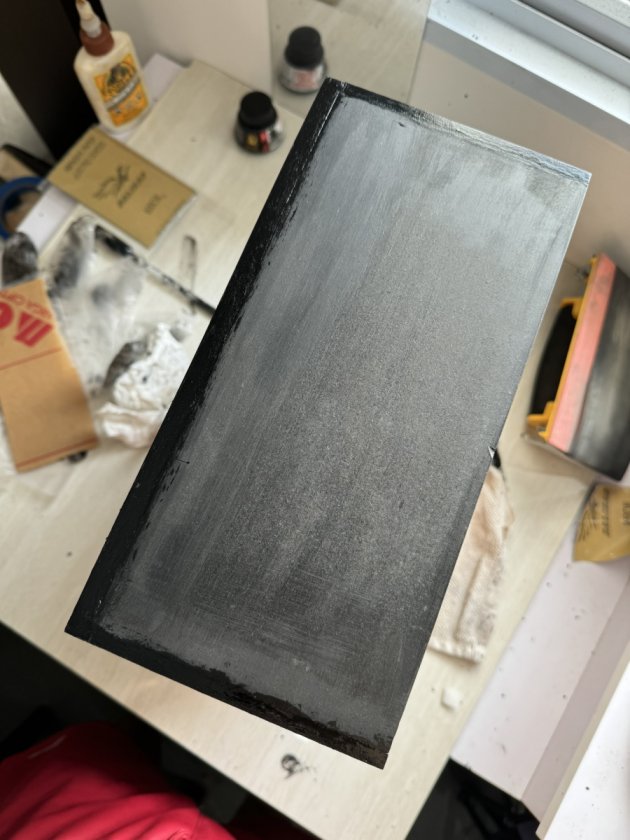
I tried to use the dust from sanding to fill any gaps between panels, reapplied Speedball Super Black India Ink then applied superglue to the gaps (to solidify the gap-fill dust) and panel edges (to seal the thirsty MDF edges).


Vince in TX used cable glands in his amp box build: https://www.audiocircle.com/index.php?topic=176852.0

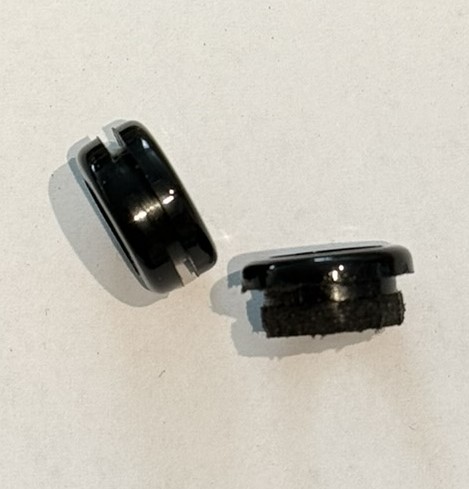
I'd like to use a rubber grommet instead.
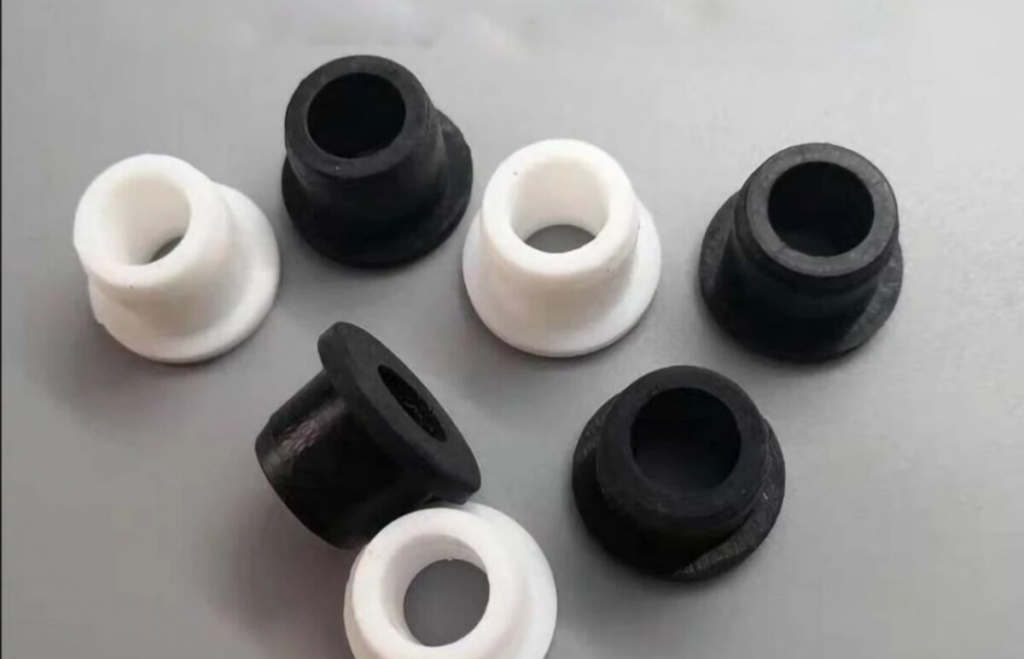


It was impossible to find a store selling ones like in the photo above, so I modified the ones that I could find. The inner diameter of the grommet is 9.8mm and the wires from the Rythmik amp, wrapped in heat shrink, juuust fit through. Hopefully in future, Danny and team can consider including a right-sized grommet with the kit  :)


Drilled a hole for the grommet where the wires will exit the box.
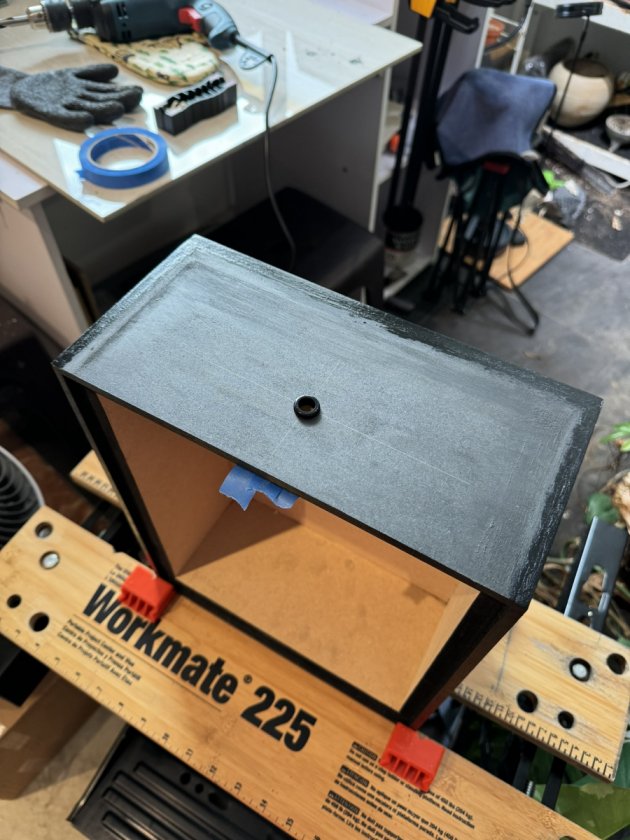


Next step, applying lacquer from spray cans!

timc90

  • Jr. Member
  • Posts: 39
Re: Timothy C's OB Build
« Reply #13 on: 3 Jun 2024, 03:37 pm »
I decided it'd be best to drill pilot holes for the screws securing the amp plate first before applying lacquer.

I was really worried I'd drill the holes slanted so I made a jig. It consists of an MDF board long enough to stradle the box, and a couple of dowel pins as supports to keep it from sliding away.


I cut a slot in the MDF board so I can see the location to be drilled and view where the screw is meeting the wood to ensure I'm drilling in the right place.


Thankfully I have this vertical plunger thing for my knock-off Dremel tool.


Holes done and now on to the lacquer!


timc90

  • Jr. Member
  • Posts: 39
Re: Timothy C's OB Build
« Reply #14 on: 7 Jun 2024, 02:38 am »
Two coats of Krylon Clear Glaze, wet sand, two coats of Rustoleum lacquer, rubbing compound then finishing wax.


Not quite piano gloss black but close enough for me considering all I have are rattle cans.


Now that I've verified my system of color and finishes works, instead of completing this amp box, I think I'll start on the NX-Studios so I can get to hear some music sooner rather than later.

First up, cutting No-Rez!

nlitworld

  • Full Member
  • Posts: 2248
  • Strange things are afoot at the Circle K
Re: Timothy C's OB Build
« Reply #15 on: 7 Jun 2024, 04:53 am »
That looks much nicer than I was expecting. Nice job! Just a heads up on your process, you'll want to let the finish set up and gas off for a week or two before applying the D301 finishing wax. Rubbing compound can be soon after a day or two, just no wax. That will seal in all the solvent trying to escape and cause a blushing (cloudyness) to the finish. Looking forward to seeing how the full project turns out.  :thumb:

timc90

  • Jr. Member
  • Posts: 39
Re: Timothy C's OB Build
« Reply #16 on: 7 Jun 2024, 05:25 am »
Thanks @nlitworld for the encouraging words and guidance.

Unfortunately I already applied the D301 finishing wax. Let’s see how cloudy it gets. For the subsequent cabinets I’ll be sure to wait a couple of weeks before using the wax.

timc90

  • Jr. Member
  • Posts: 39
Re: Timothy C's OB Build
« Reply #17 on: 11 Jun 2024, 10:21 am »
Cutting no-rez really blunts utility knives quick!

I first used cardboard to do a mock up of the pieces needed to determine the right size of each piece and plan the layout of the pieces on the no-rez sheet to avoid wasting material or worse, running out of material halfway through.


All dimensions are in millimeters:


The side bottom and side middle pieces don't fit through the woofer hole so I decided to paste them on prior to glue up though I know most recommend to paste no-rez only after glue up. Hopefully I don't regret it later.


I also decided to paste on the piece which goes on the inside of the front baffle though that should be easy to paste after assembly.


Next up, reviewing Peter's assembly video https://www.youtube.com/watch?v=CYrdScf9eyM&t=2277s, then glue up!

Hobbsmeerkat

  • Industry Participant
  • Posts: 2656
Re: Timothy C's OB Build
« Reply #18 on: 11 Jun 2024, 03:29 pm »
A quick tip for cutting NoRez this way:
Use utility knives to cut only the foam, then use a separate x-acto knife just for the vinyl layer. Uses up a lot less blades that way.  :thumb:

Vince in TX

  • Full Member
  • Posts: 381
Re: Timothy C's OB Build
« Reply #19 on: 14 Jun 2024, 03:01 am »
A quick tip for cutting NoRez this way:
Use utility knives to cut only the foam, then use a separate x-acto knife just for the vinyl layer. Uses up a lot less blades that way.  :thumb:

Truth.   I probably went through a dozen utility blades cutting it for my Double Troubles.