Hahh good one.
I decided the amp box was a good place to start and get more practice because if I really screw up, it won't be too visible, or I could build another box with relative ease.
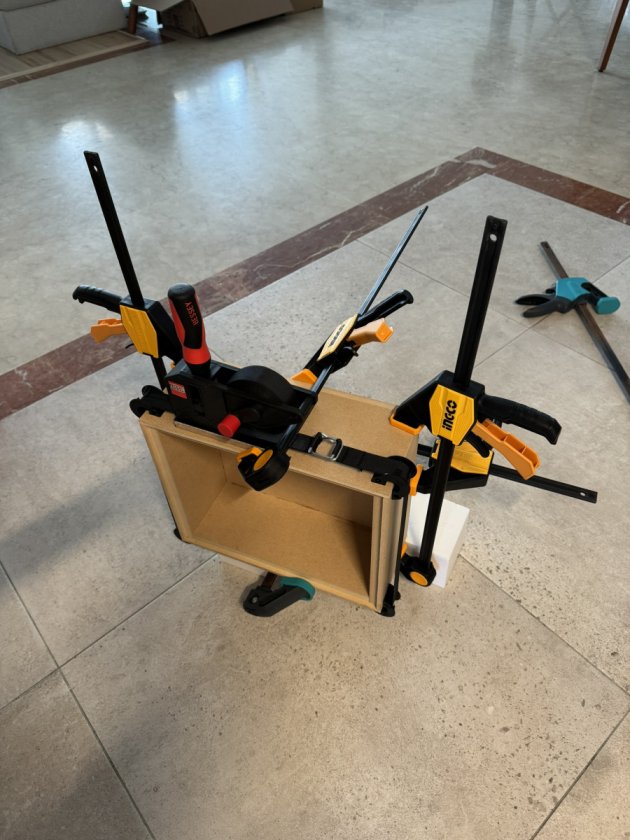
Gluing up the box
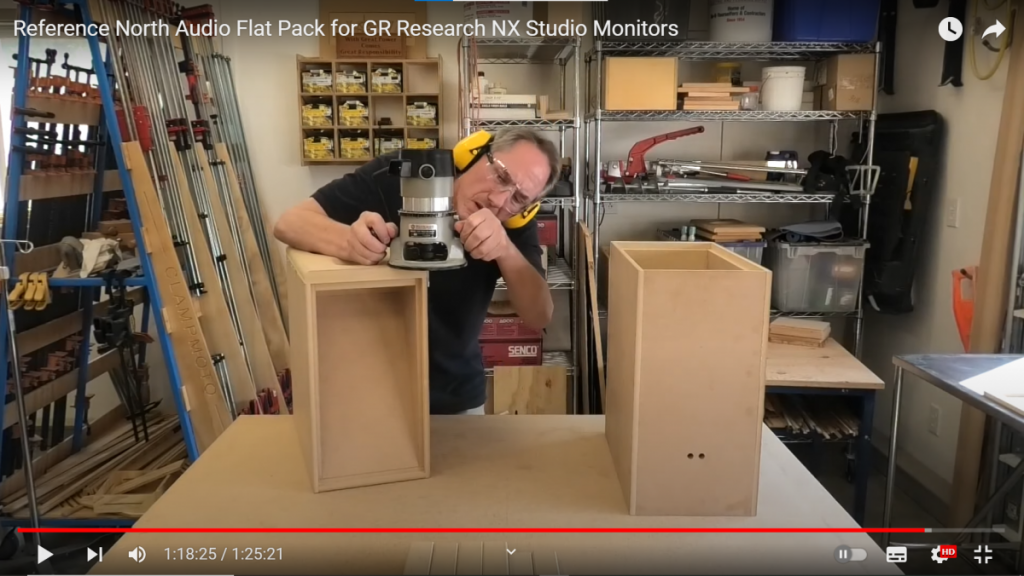
In Peter's video of the NX-Studios, he mentions he assembles such that the edge of a panel sticks out past the face of the panel perpendicular to it just a little bit so that he can trim it off afterward with a router bit (screenshot below from
https://www.youtube.com/watch?v=CYrdScf9eyM&t=2412s )
However for some reason no matter how hard I tried to tighten my clamps, I wasn't able to get a tiny "lip".
So I sanded the face of the panels to get them flush with the edge of the panel perpendicular to it.
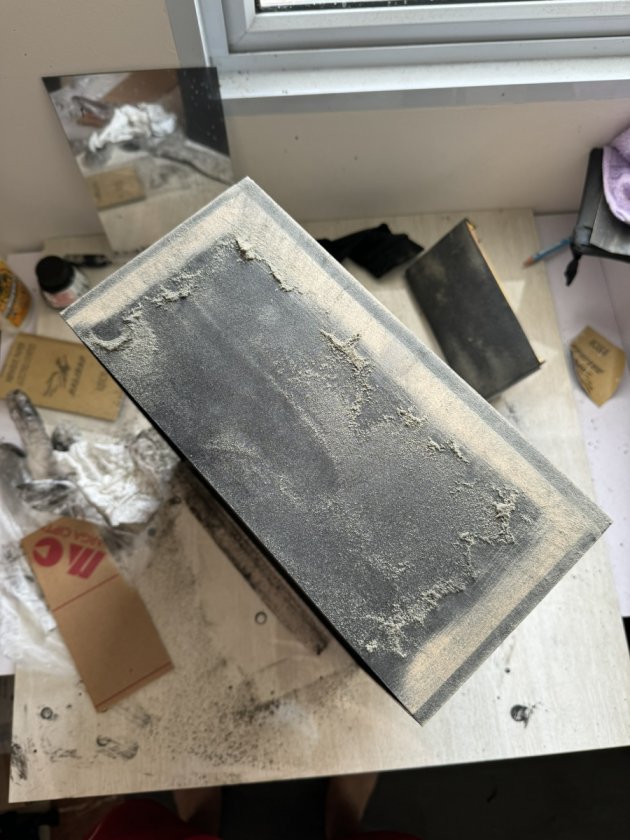
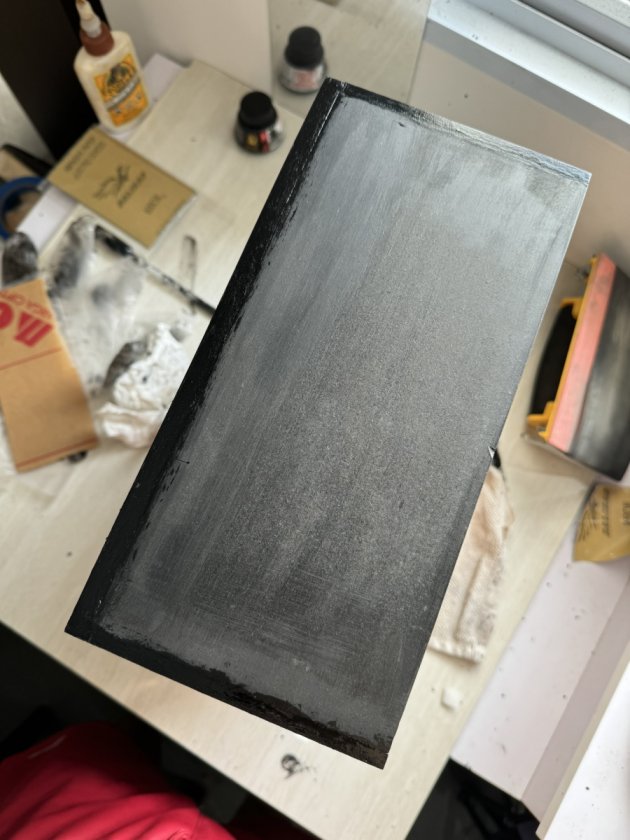
I tried to use the dust from sanding to fill any gaps between panels, reapplied Speedball Super Black India Ink then applied superglue to the gaps (to solidify the gap-fill dust) and panel edges (to seal the thirsty MDF edges).
Vince in TX used cable glands in his amp box build:
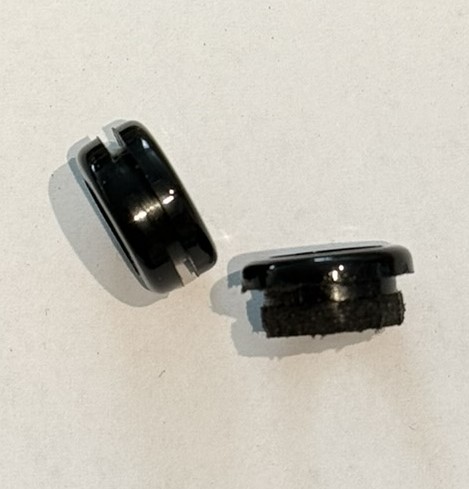
https://www.audiocircle.com/index.php?topic=176852.0I'd like to use a rubber grommet instead.
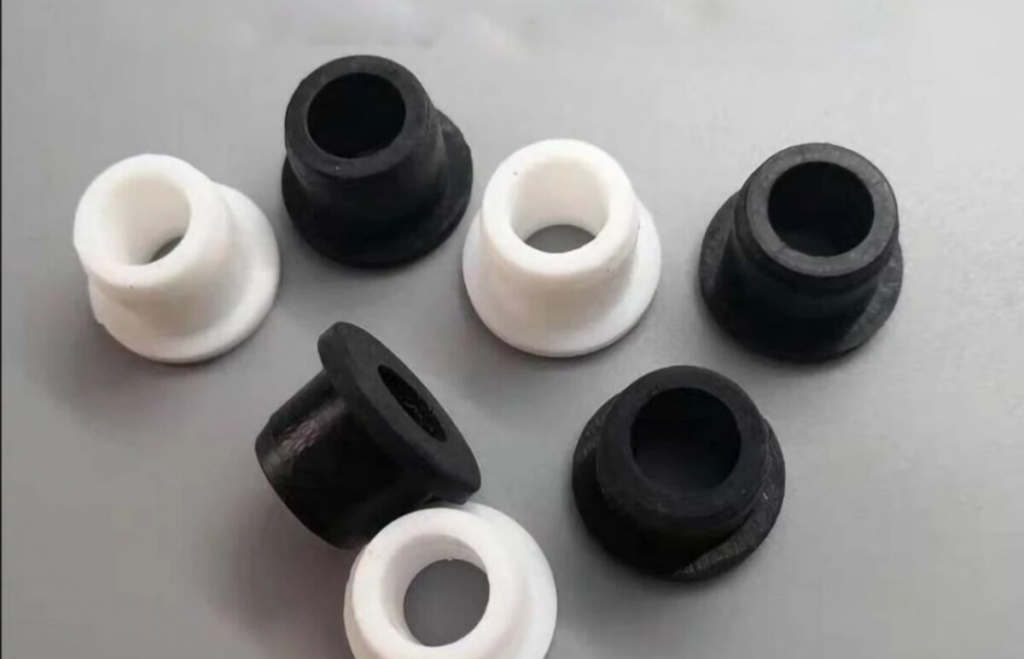
It was impossible to find a store selling ones like in the photo above, so I modified the ones that I could find. The inner diameter of the grommet is 9.8mm and the wires from the Rythmik amp, wrapped in heat shrink, juuust fit through. Hopefully in future, Danny and team can consider including a right-sized grommet with the kit

Drilled a hole for the grommet where the wires will exit the box.
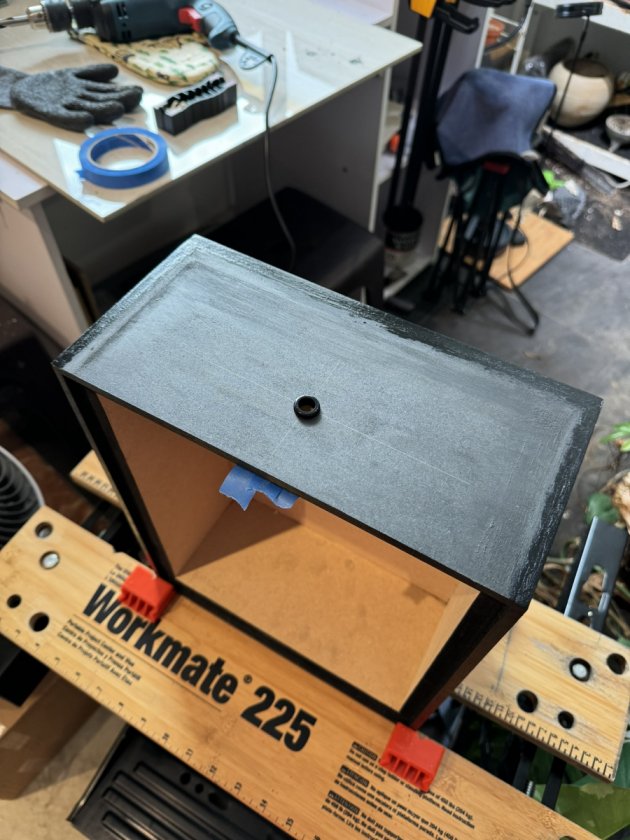
Next step, applying lacquer from spray cans!