JSpotts you did some excellent work with your upgrade project. Very nicely done.
Just to add to the support for the owner's very appropriate decision to keep both coils flat, the 20cm (almost 8 inches) referenced as "okay" unfortunately doesn't quantify what "okay" is, and doesn't quantify the amount of interfering or drift in inductance that occurs by placing them closer. The change or impact of two coils even when placed 2 or 3 inches apart is not nearly as significant as most would believe.
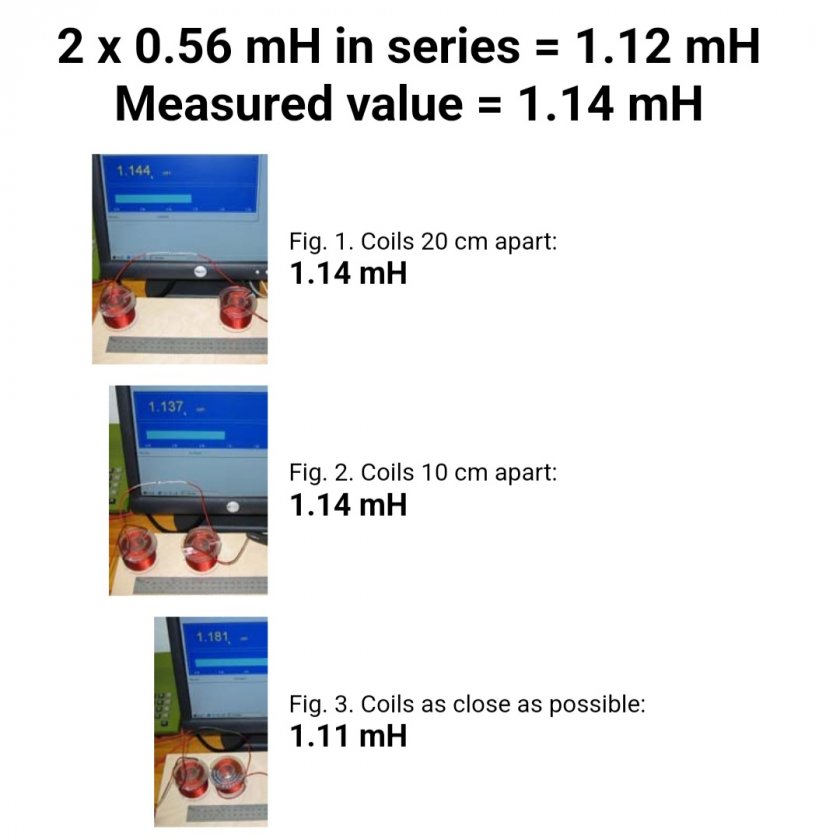
The referenced chart is a great tool to show best case practices, but the downside of the chart is an exaggeration of concerns over negative effects without any quantification, especially when some of the worst case potential harms are somewhat inconsequential. There has been plenty of testing to support this. The photo below is from Troels Gravesen's published testing.

.
There are other factors that are relevant. Larger inductors especially in bass circuits have larger magnetic fields and can have greater impact. Coils in series receiving same signal may have greater influence on each other than coils on separate circuits and not in series (tweer coil near mid-bass coil) but bottom line is that the impact of two inductors laying flat on same plane, have only the most insignificant of impact that would not be distinguishable.
I've tested and measured some for my own peace of mind using larger coils from bass circuit and I was not able to measure more than 3% of variance when the coils were right next to each other in that configuration. (3% would change a 1.0mH coil to 1.03mH. Manufacturing variance from one coil to another would be greater than that).
Before 3" of distance, that small amount of drift was already gone. At 7" or even 6" of distance, especially for those smaller coils, I am confident there is no effect.
Even if the space was more limited with only 2" apart and did have a 3% drift, sometimes there are compromises that must be made in a design and I would happily accept that 3% drift before going to a less desireable mounting solution.