It’s time I finally get around to posting the results of my NX-Otica build using Jay’s wonderful flat packs. I decided to go with triple H-frame subs, all drivers facing forward, with a 3 degree tilt to match the mains. I did not photo document each step of the build, but did manage to get enough pics to show the highlights.
These first shots show the clamp-up scheme I used on the cabinets. For the mains, I used small blocks of wood under the clamps cut with a 10 degree taper to match the wing angles. I stuck each block to the wing using a thin double-sided carpet tape to keep the blocks from sliding. The three band straps were used to set the cross braces into the baffle and wings. A scrap piece of wood cut to the width of the cross braces was place at the rear to apply forward pressure to the cross braces. I should mention that I decided to not to permanently attach the bases during glue-up since they would be painted a different color than the cabinets.
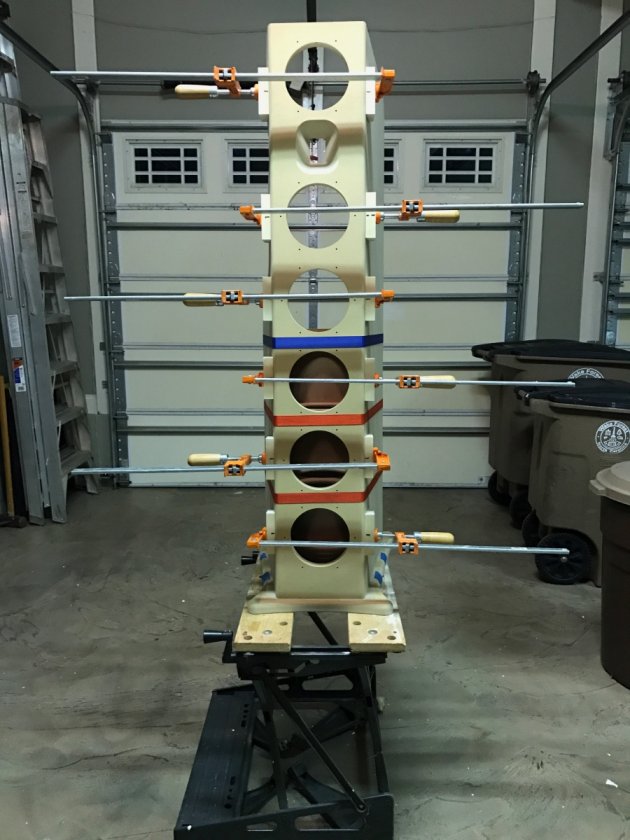
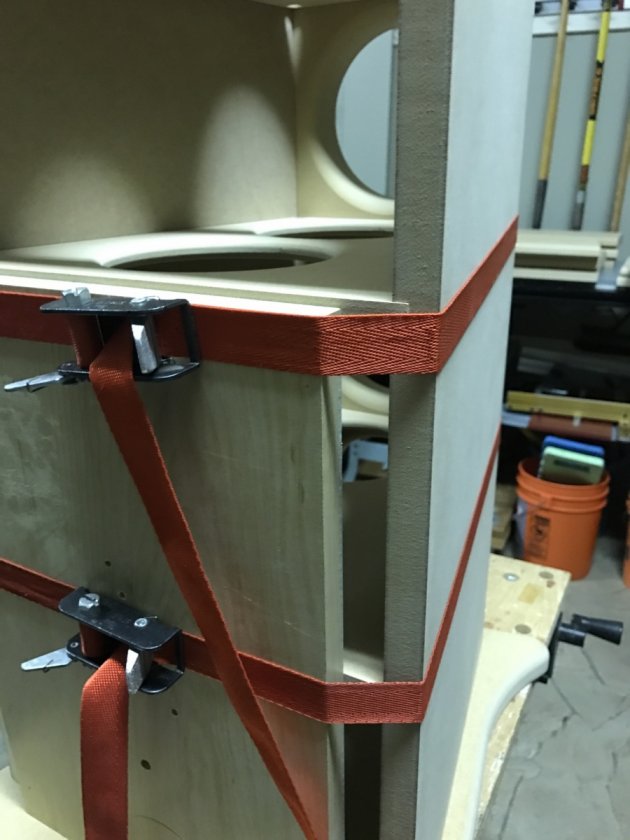
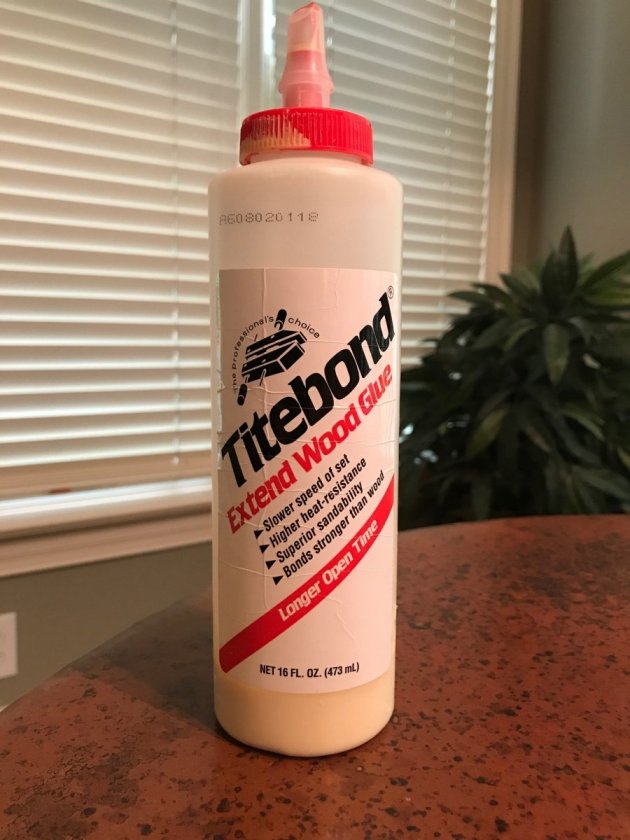
Working alone, my main concern was the working time required to apply glue to all the joints and set the clamps. I found that this version of Tite Bond glue does provide extra working time as advertised.
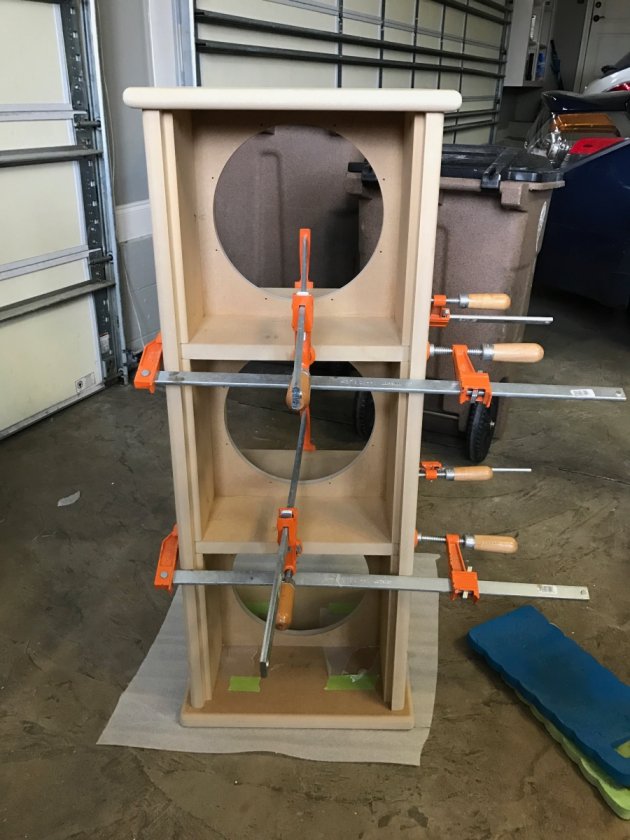
The subs were a bit easier to assemble since all of the clamped parts were at 90-degree angles to each other. Again, the removable base and top were used as fixturing during the glue-up.
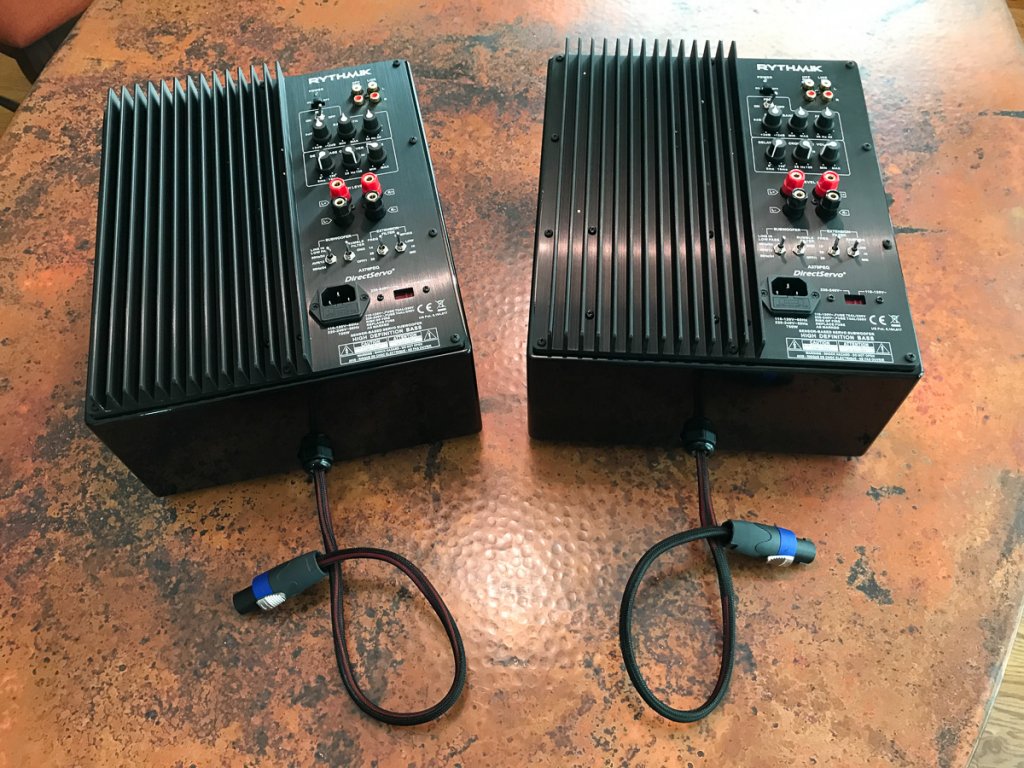
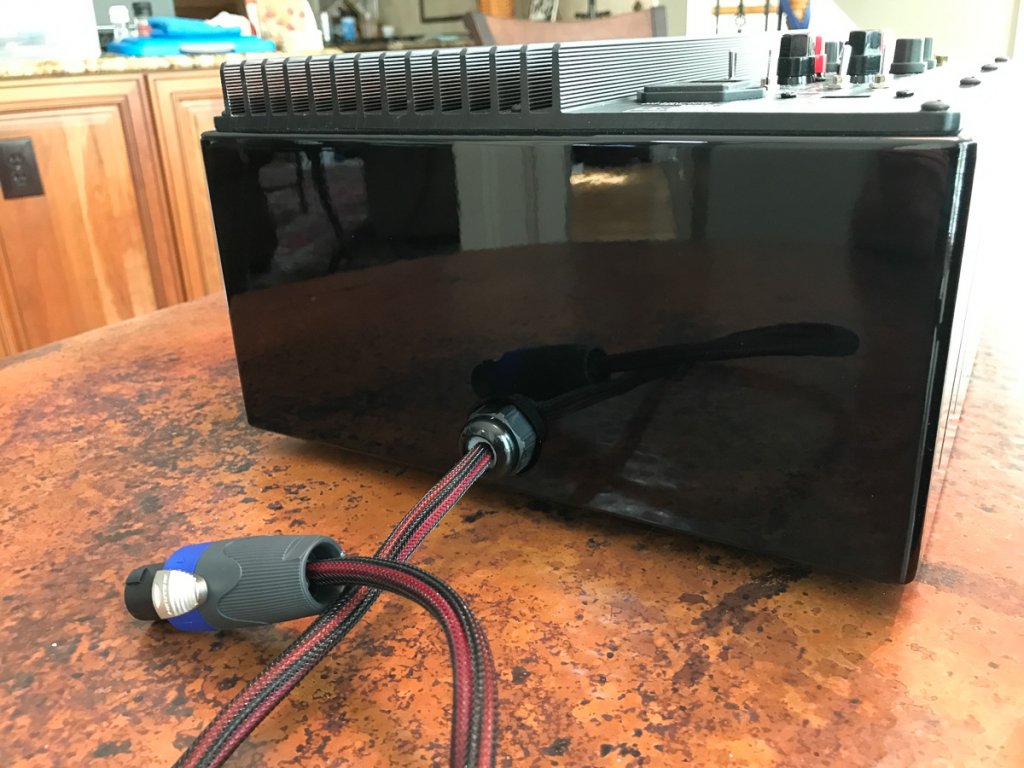
Shown here are the amp enclosures and SpeakOn connector mount for the sub. I added small corner blocks to amp boxes to accommodate the mounting feet I selected. I fabricated a small connector mounting block and located it central on the sub base, aligned with the backside edge of the H-frame.
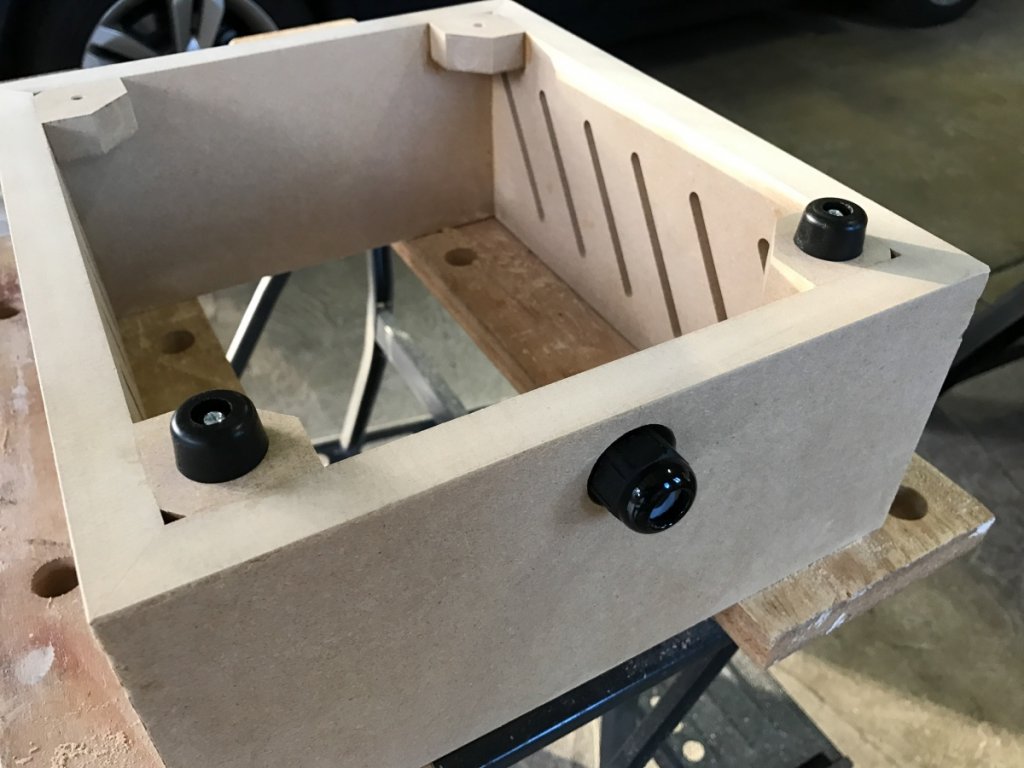
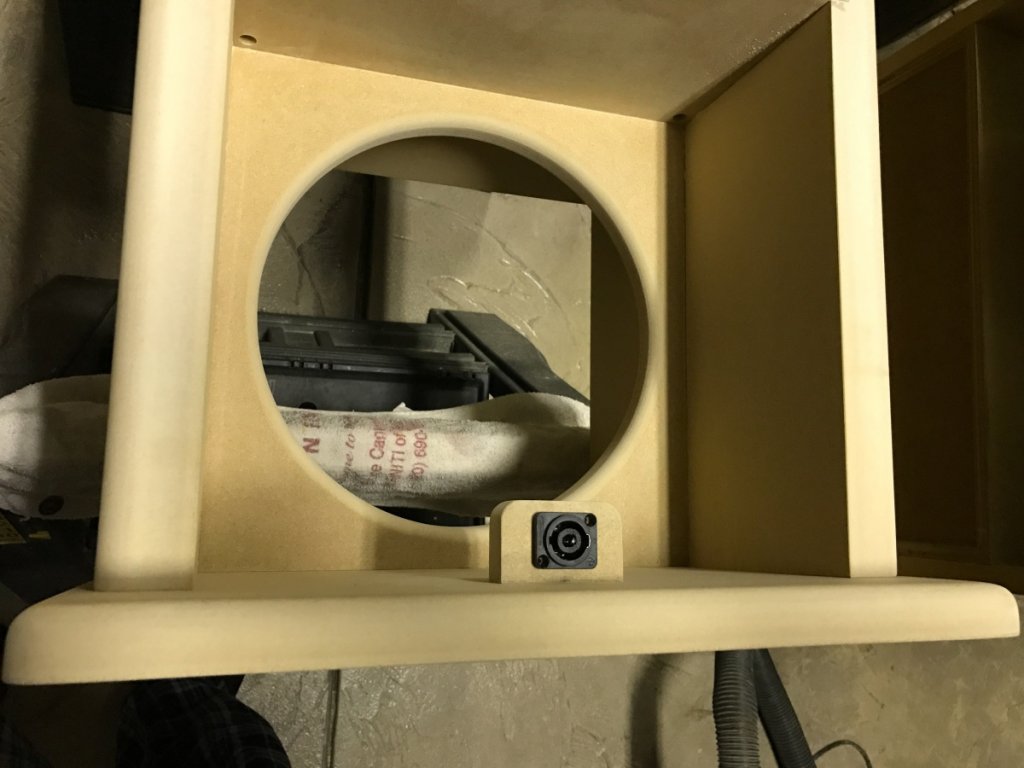
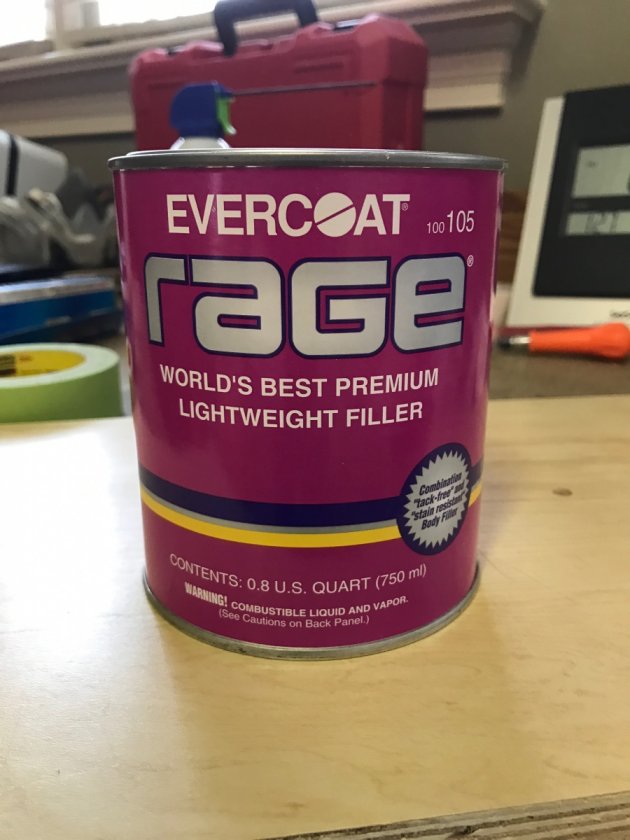
Prior to finish sanding, I filled any slight edge mismatches. In the past I have used Bondo as a joint filler for MDF. This time around I decided to try Evercoat Rage. I found it to apply and sand much easier than traditional Bondo and highly recommend it.
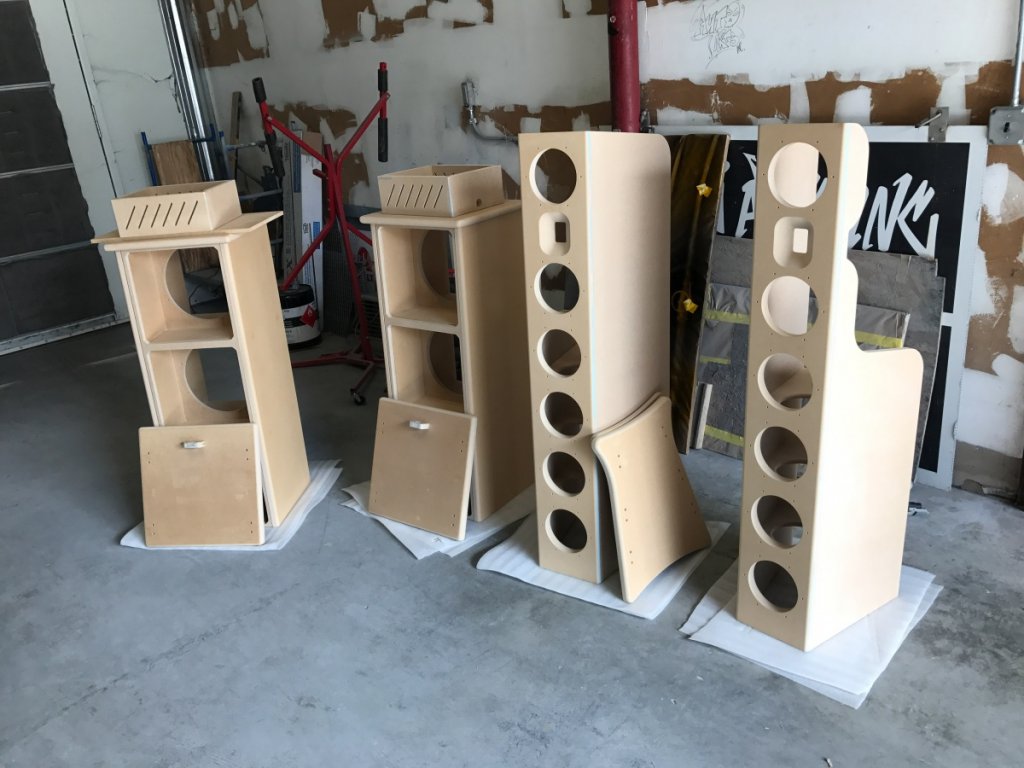
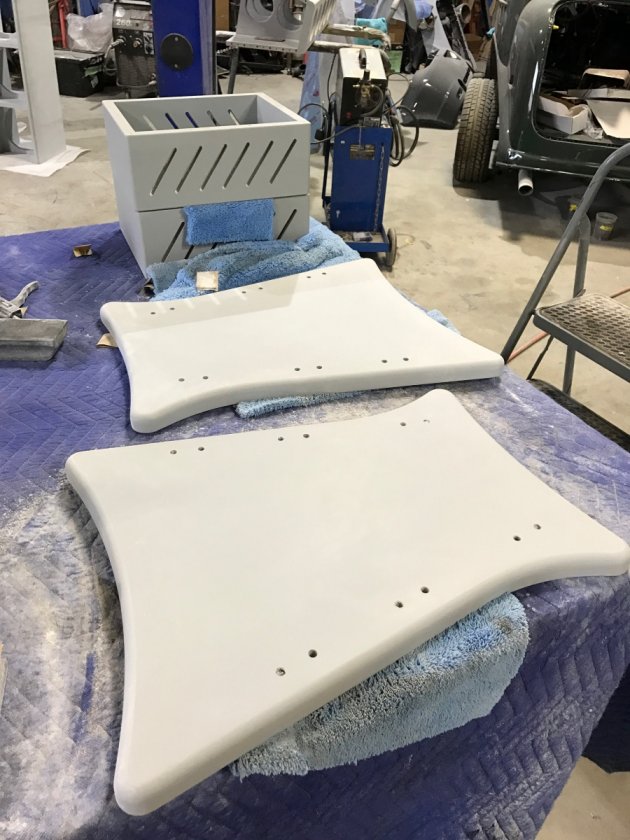
So now, with all the parts sanded using 220-grit paper, it was painting time. Here is where we deviate from the DIY world on this project. In a nutshell, I suck at painting. Doesn’t matter if it’s a rattle can, roller or spray gun set-up, I am just too impatient to get a nice finish. I looked into local cabinet/furniture shops and none were really interested in my project. Then I stumbled upon a custom auto paint shop for the job. The owner was very knowledgeable and most important, had painted MDF before and willing to take on the job. So here are all the pieces at the painter, ready for him to work his magic.
The following images are various stages of primer and sanding. The primer he used is another Evercoat product called “Slick Sand” It is a high solids, high build polyester primer. At this point I should mention that this is the expensive part of the process. Very labor intensive sanding it down to the desired surface finish. As you would expect, auto painters have a different standard for “smooth” than I do. I got 800-grit finish on just about all surfaces. I explained to the guys that I really didn’t need that grade of finish inside and showed them where I would be applying NoRez to cover their car-like finish. In hindsight, I could have applied the Slick Sand by roller and brush and done all the sanding to my standards. Would have saved a bunch of money.
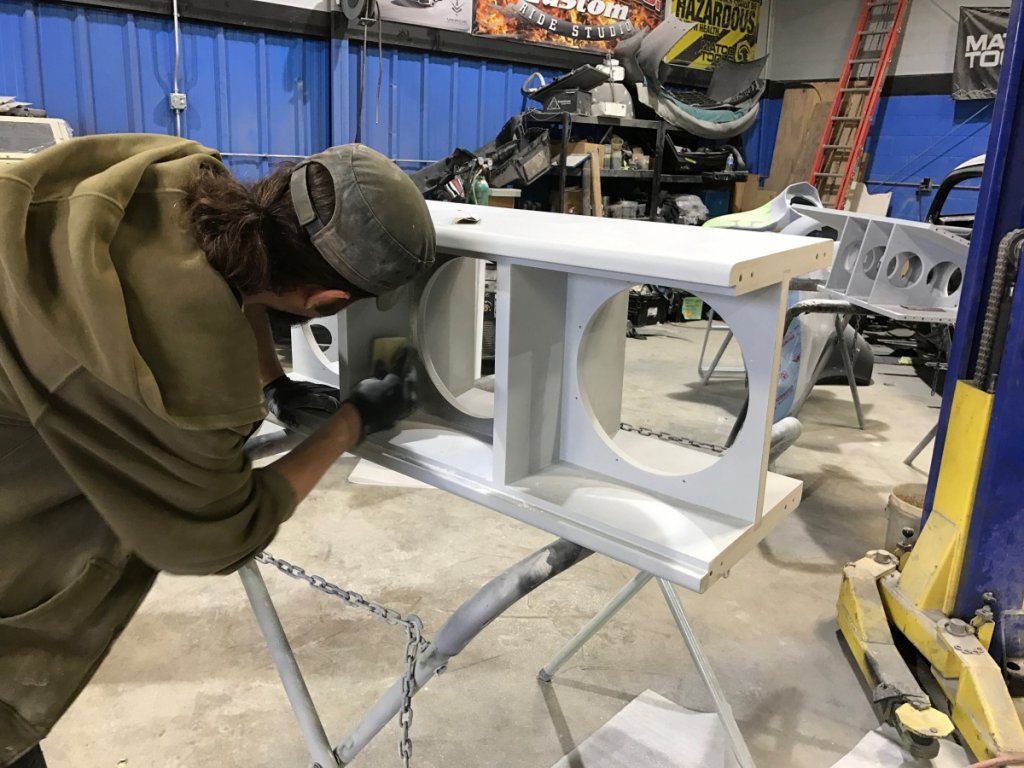
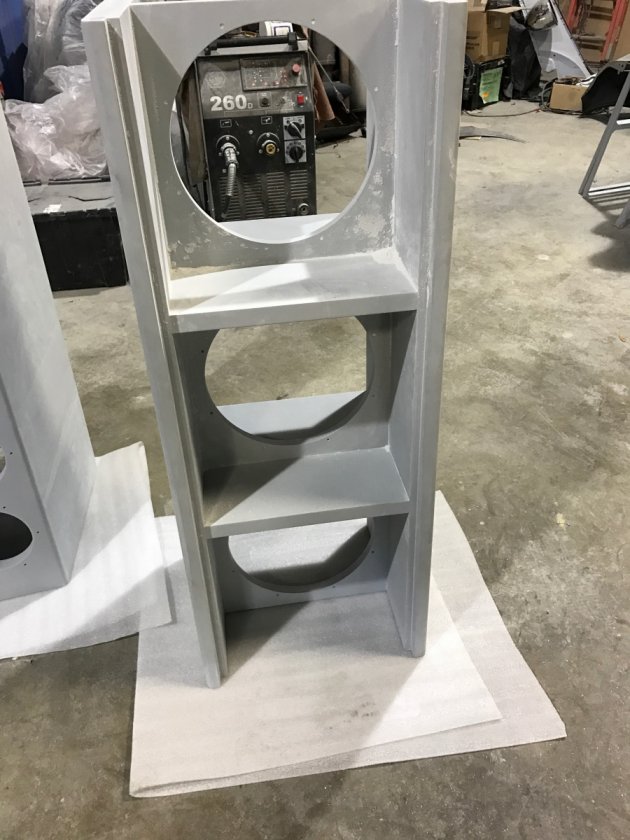
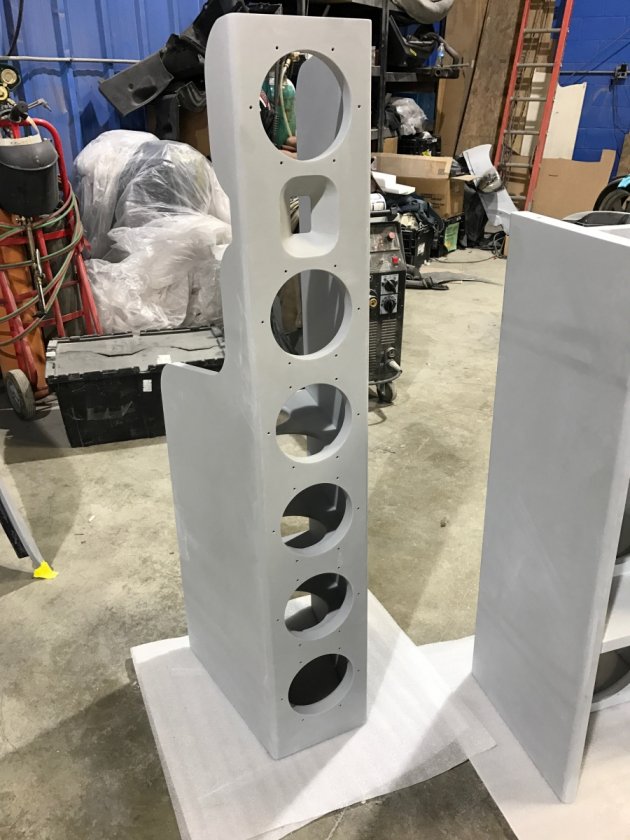
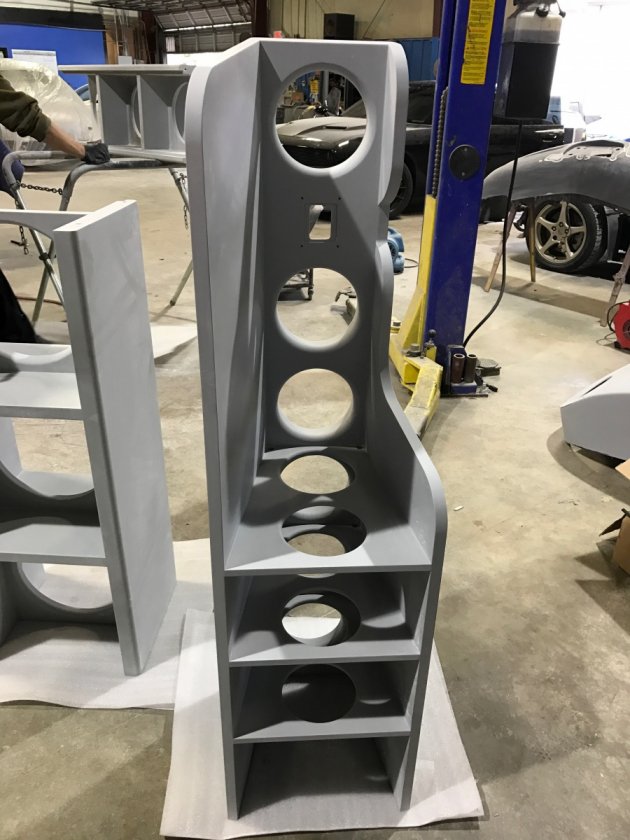
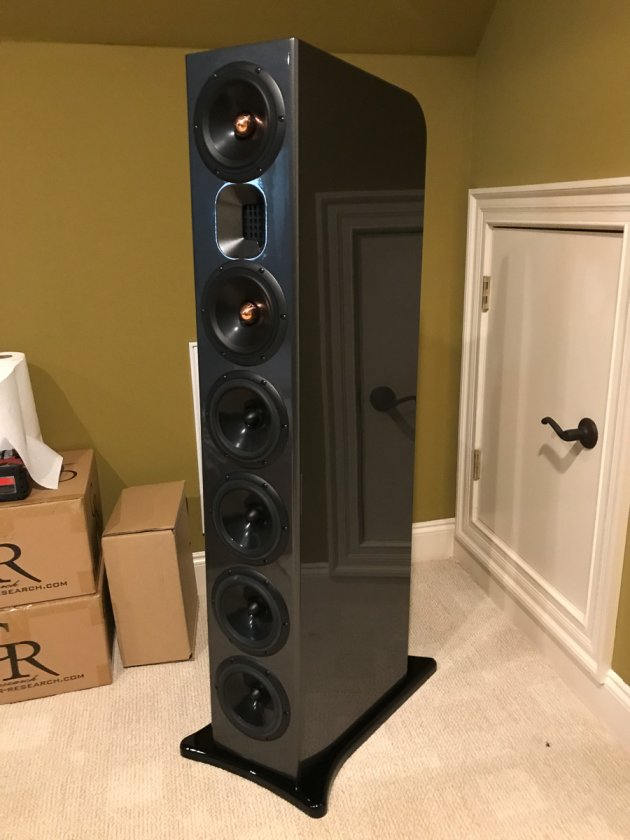
Time to choose the colors. Too many choices browsing the auto paint books. I decided to try a few combinations before I settled on the final color. He painted up large samples, clear coat finished for evaluation. In the end I settled on two Honda/Acura colors: A dark gray metallic called Modern Steel Effect for the enclosures and a metallic black called Crystal Black Effect for the tops, bases and amp boxes. I was more than pleased with the final results
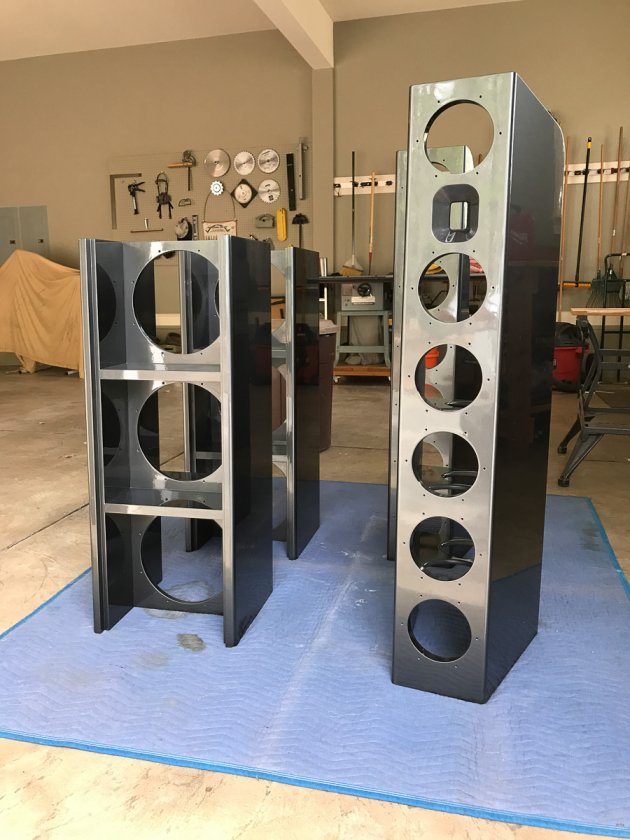
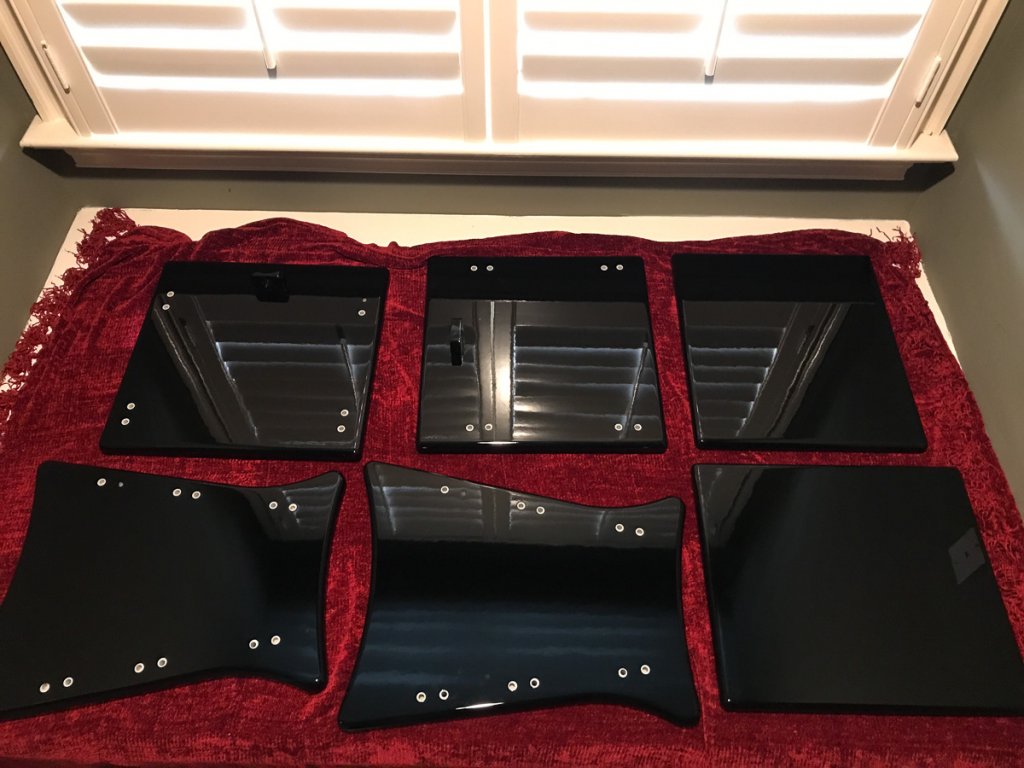
The next series of photos are assembled with drivers and wiring. The accuracy of the pilot hole in the CNC flat packs made driver attachment a breeze. Since the tops and bases were fully painted (except the dowel holes) I decided to use a high quality silicon RTV to attach the to the cabinets. My only concern here was joint strength for the tops, since they were to be held on only with adhesive. When the RTV cured, I gave the tops my version of a “pull test”. No way was I going to detach or for that matter lift the 160 lb sub off of the floor.
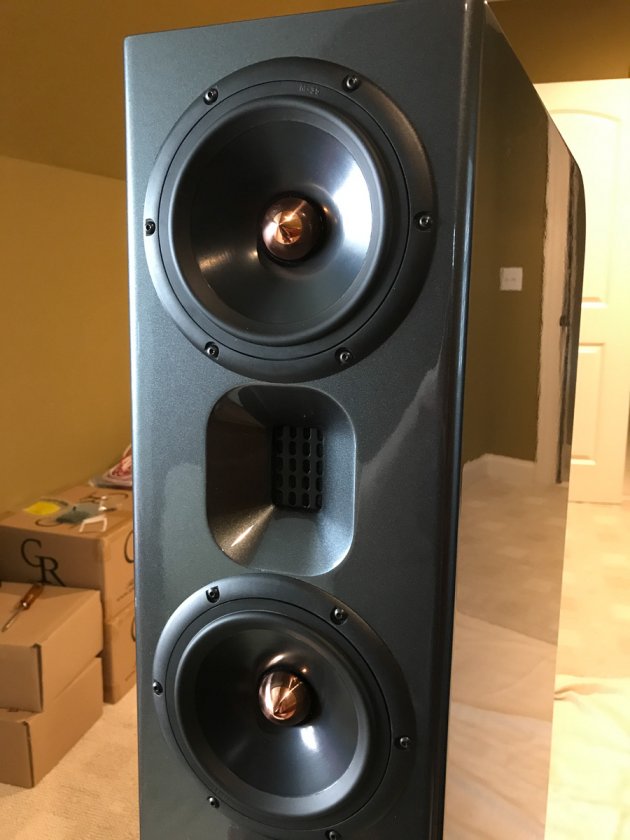
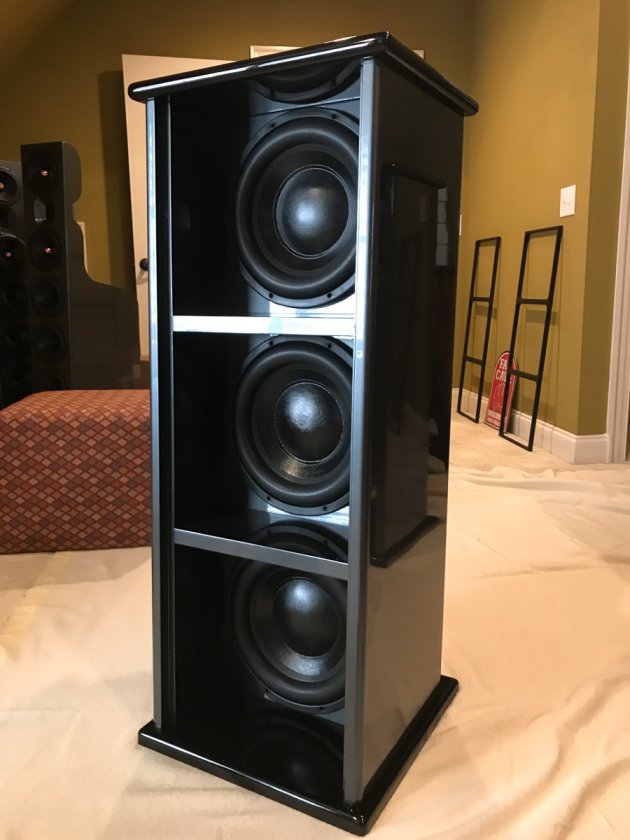
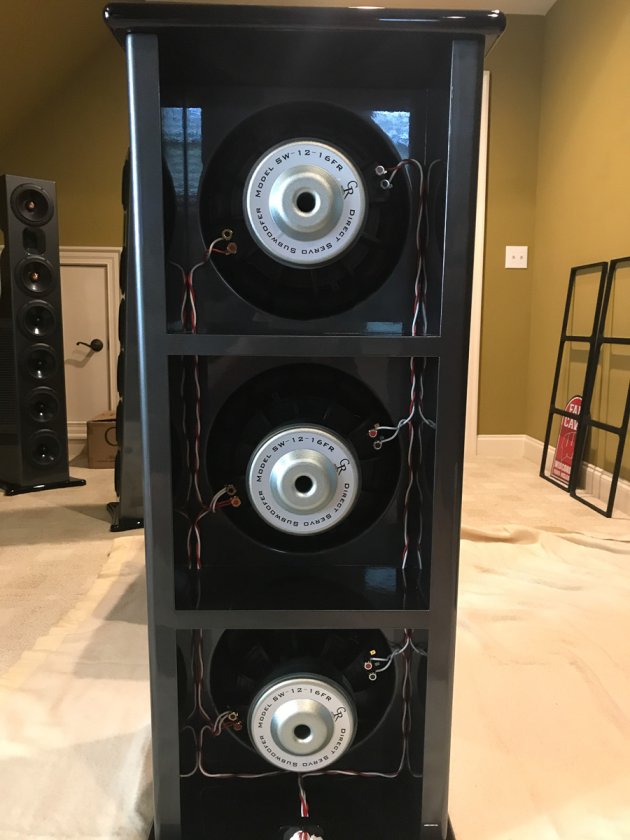
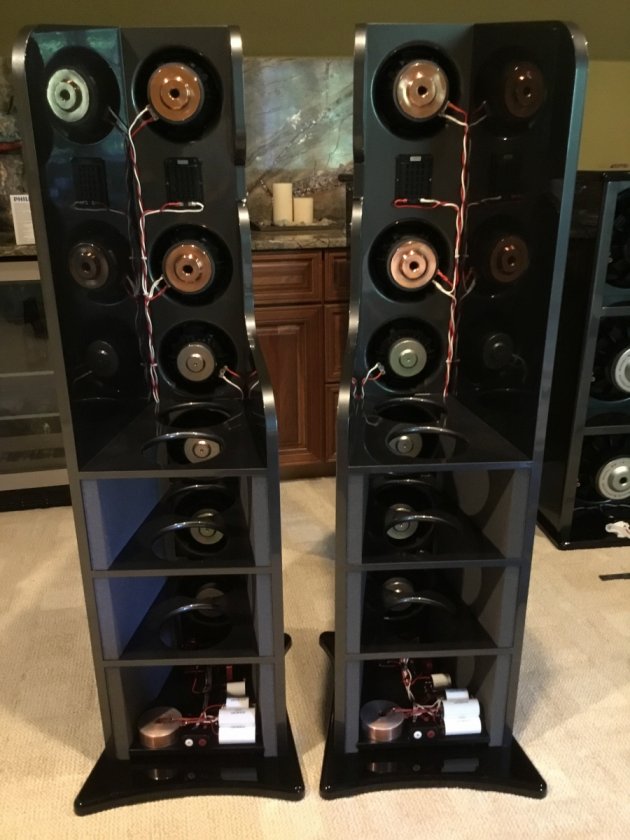
Next up was NoRez installation. After admiring the 45-degree miters of Peter J, I decided that was the way to go. I first pre-cut all of the pieces to rough size on my table saw. I then set up my bandsaw to cut the miters. Since my subs were tilted 3-degrees, the end cuts on the NoRez turned out to be compound angles. The final width of each piece was 1 inch less than the sub cavity depth.
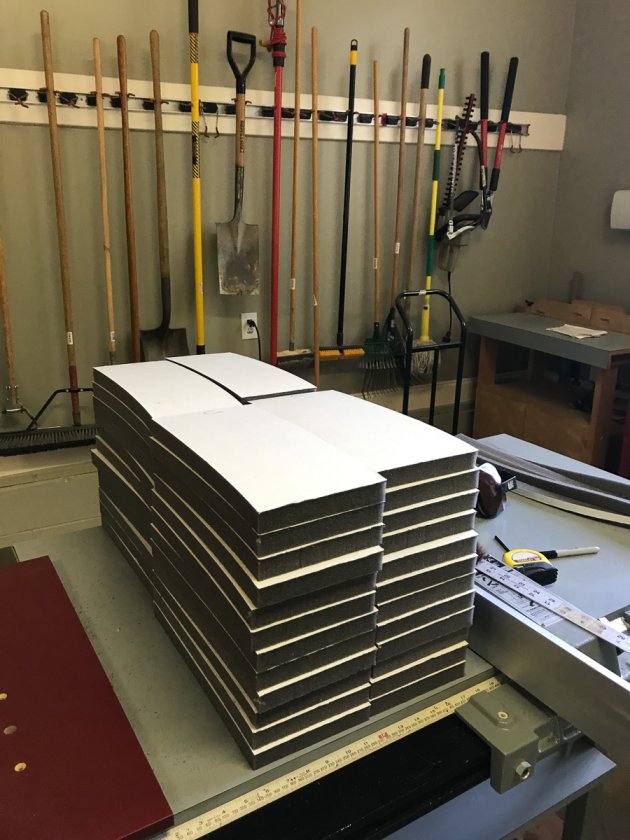
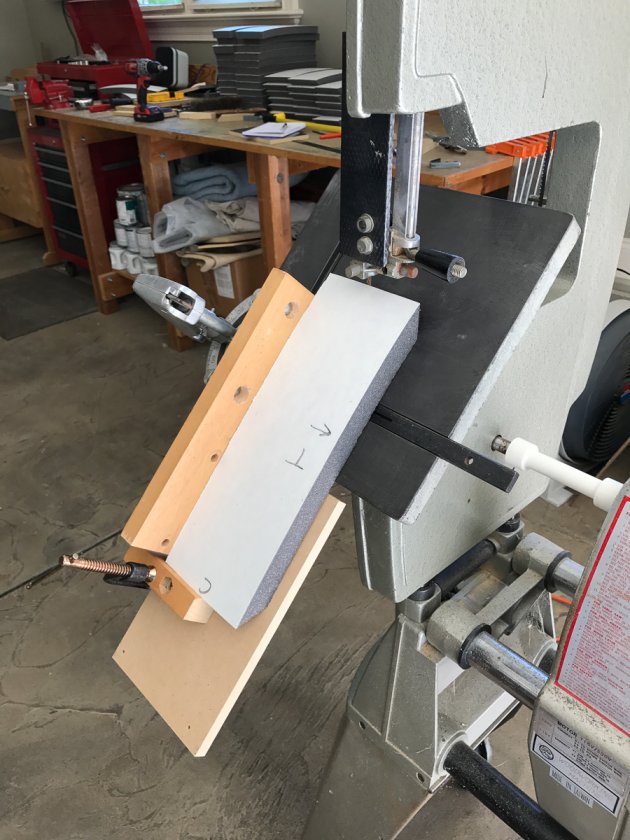
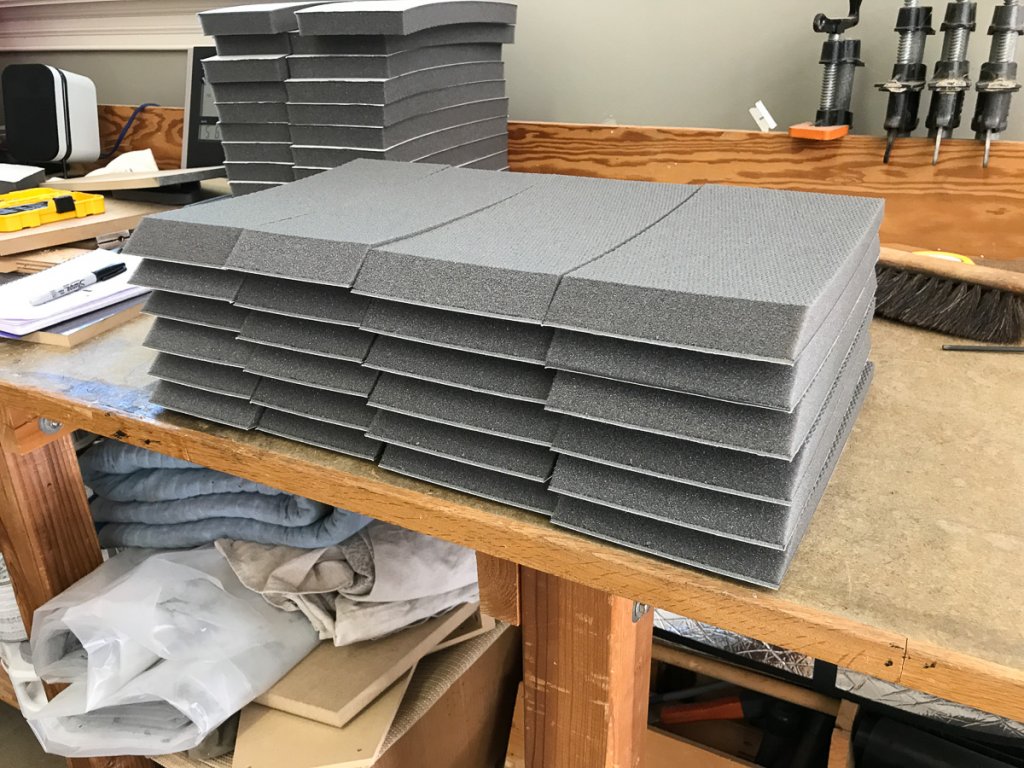
The next set of photos show the NoRez installed in the mains and subs. Splitting the most bottom piece of NoRez in the subs severed to nicely hide the wiring to the SpeakOn connector.

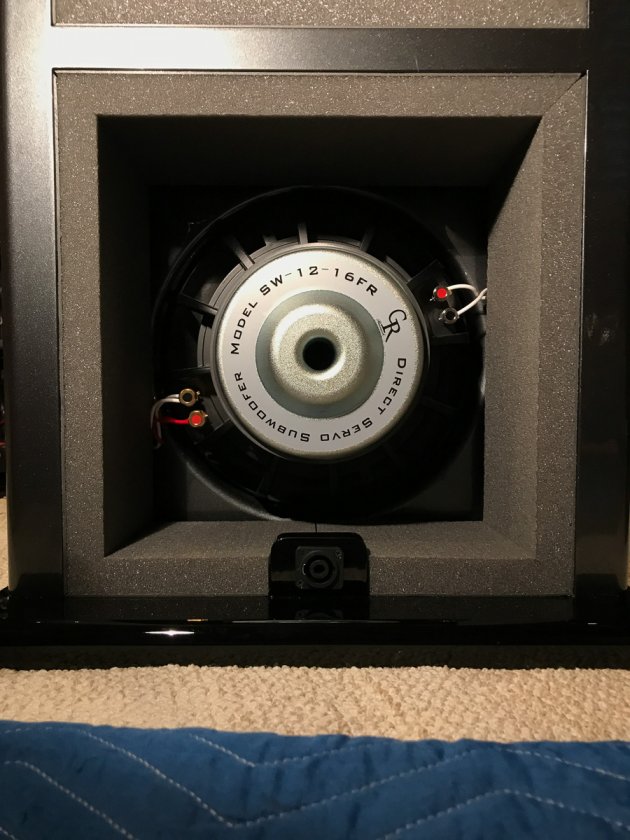
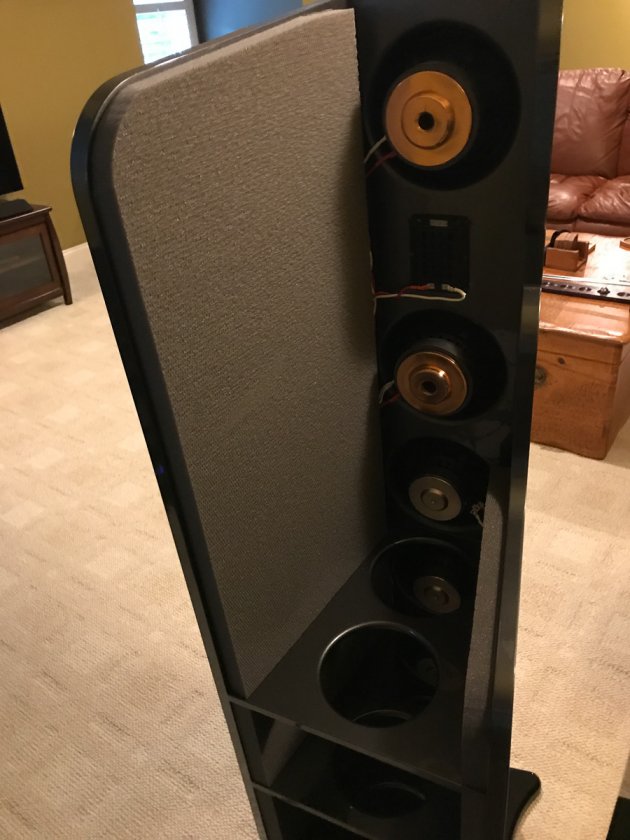
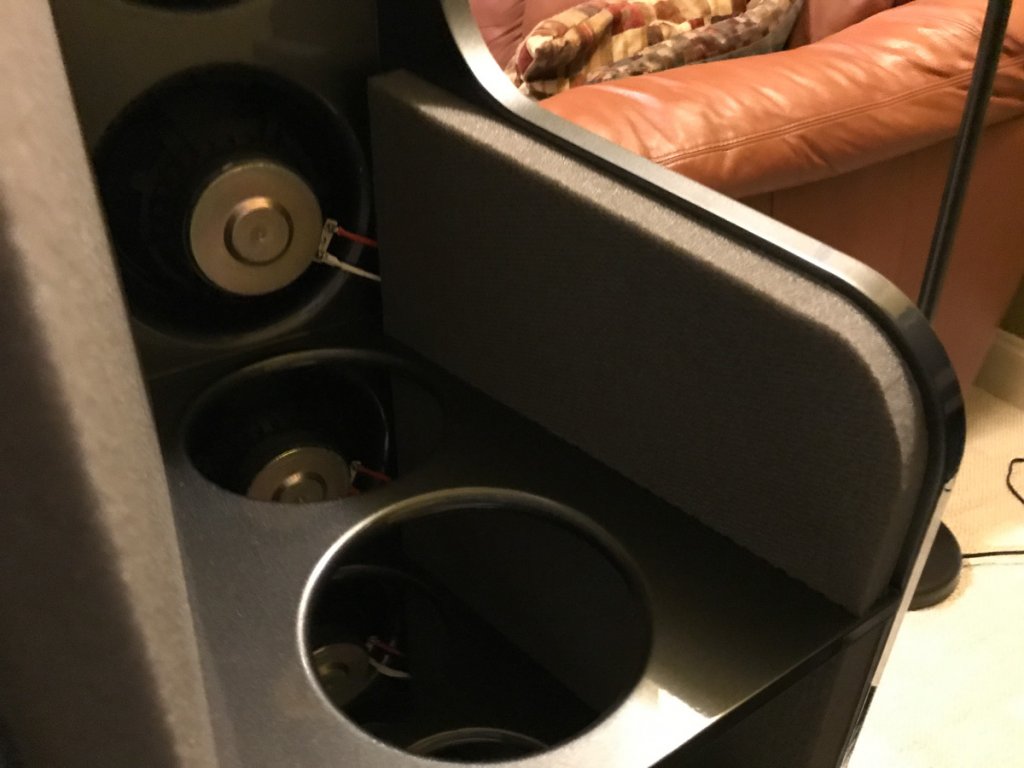
Here is a tip that really helped align the NoRez before letting it stick to its final resting place. After you have checked for proper fit, completely remove the paper backing and reposition it about ¾ to 1 inch from an end. Now you can fit the piece into position and align it properly with a little wiggle room, since only a minimum amount of adhesive is exposed. When your happy with alignment, press hard on the exposed end to anchor it in place. Now, while holding the unstuck portion away from the surface, simply peel back the paper, starting from the free end. Pull slightly towards you and it will “uncurl” off. Now just let the piece stick to the surface, working from the adhered end to the free end.
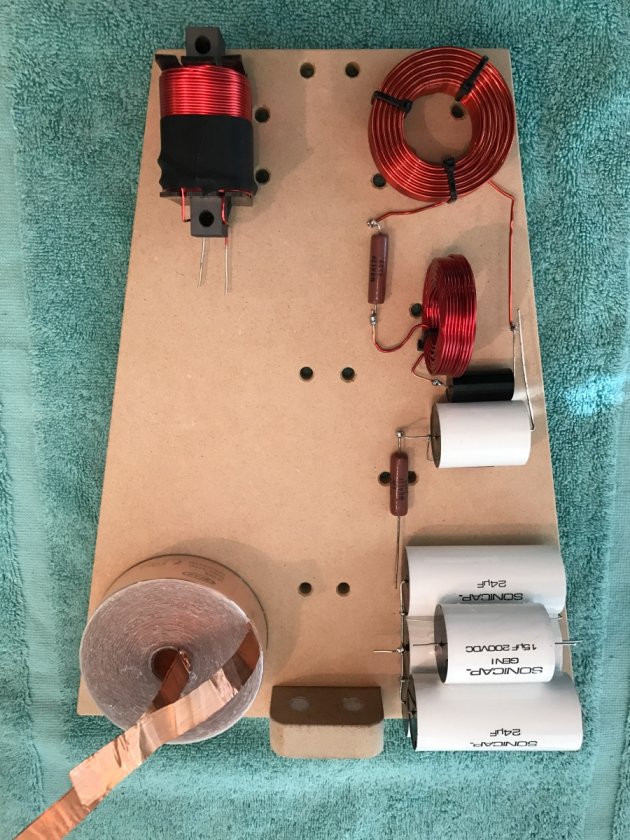
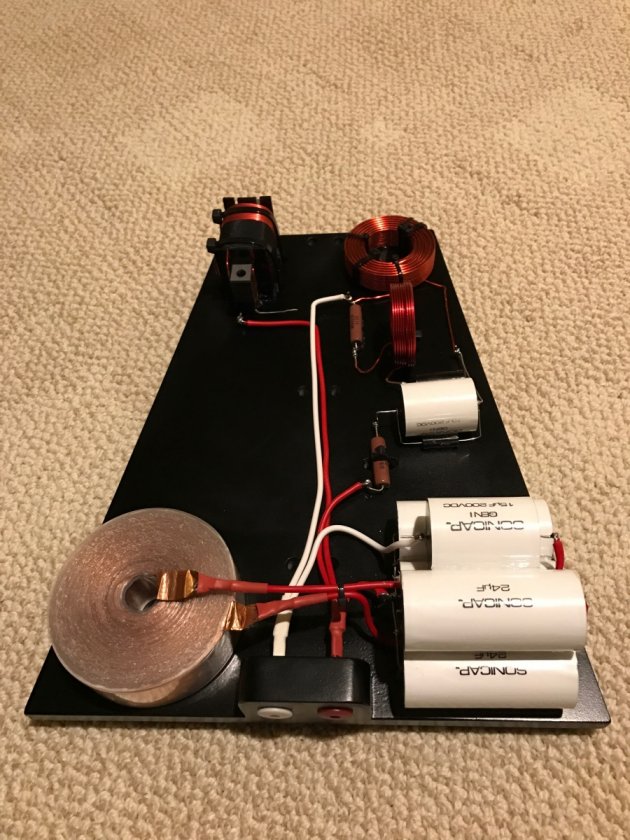
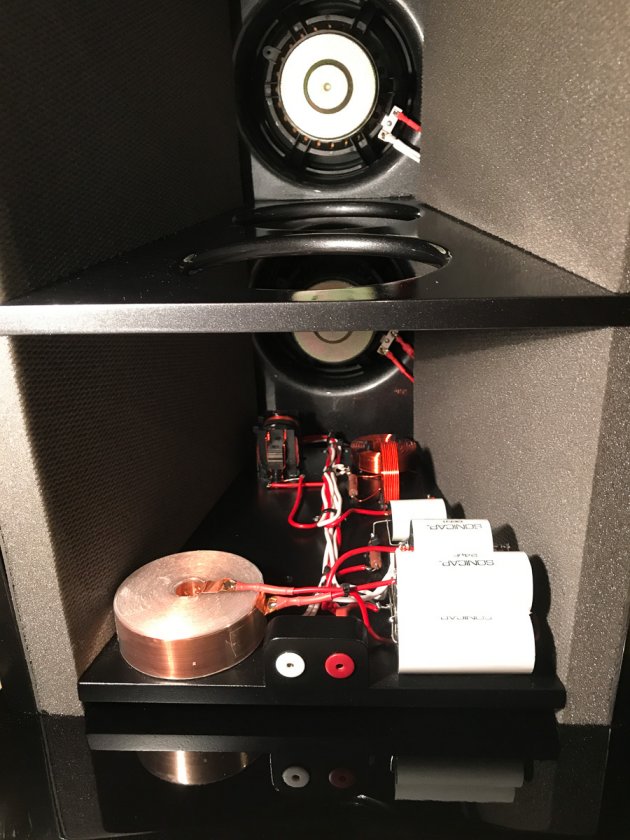
I built the cross overs while the speakers were at the painter. Believe me, I had plenty of time. Cars are their primary business, and my speakers were worked on as time permitted. Here are photos of the rough layout, finished cross over, and installed in the NX-Otica. I preferred to have the connectors located in the center, rather than the corners as supplied in the flat pack. I decided to just cut new bases and connector mounting blocks for this purpose. Parts are primarily attached using RTV, wire ties as required.
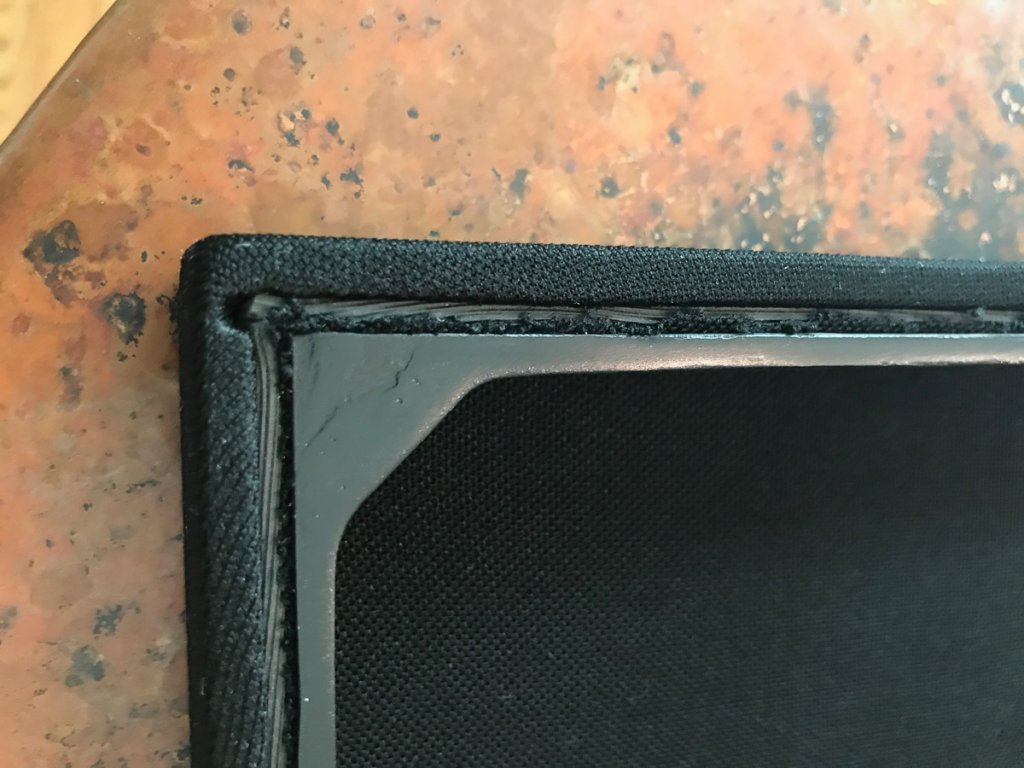
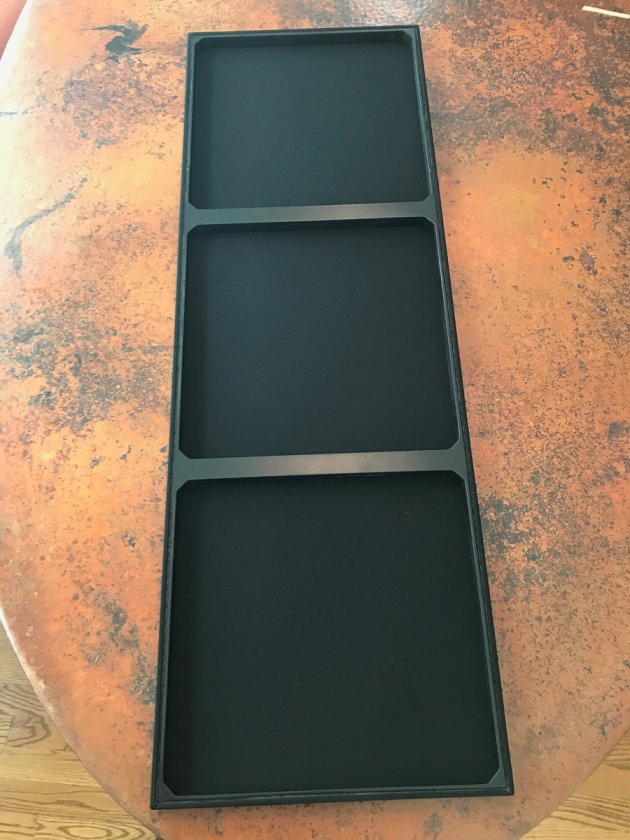
All that remained was to apply grill cloth for the sub grills and assembly the amp boxes. To attach the grill cloth, I used a method found some years ago on the web. Rather than dealing with glue and/or staples, build them like window screens and use a rubber screen spline to secure the cloth. Before painting, I routed a 1/8-inch wide by about 3/16-in deep groove around the perimeter of the grill frame. I purchased 1/8-in black rubber spline from Ace Hardware and used a roller wheel installation tool to set the spline. Started with the short ends and did sides last. Great thing about this method is that you can easily correct mistakes and adjust the cloth tension. Use a single-edge razor blade to trim the excess cloth and your done.
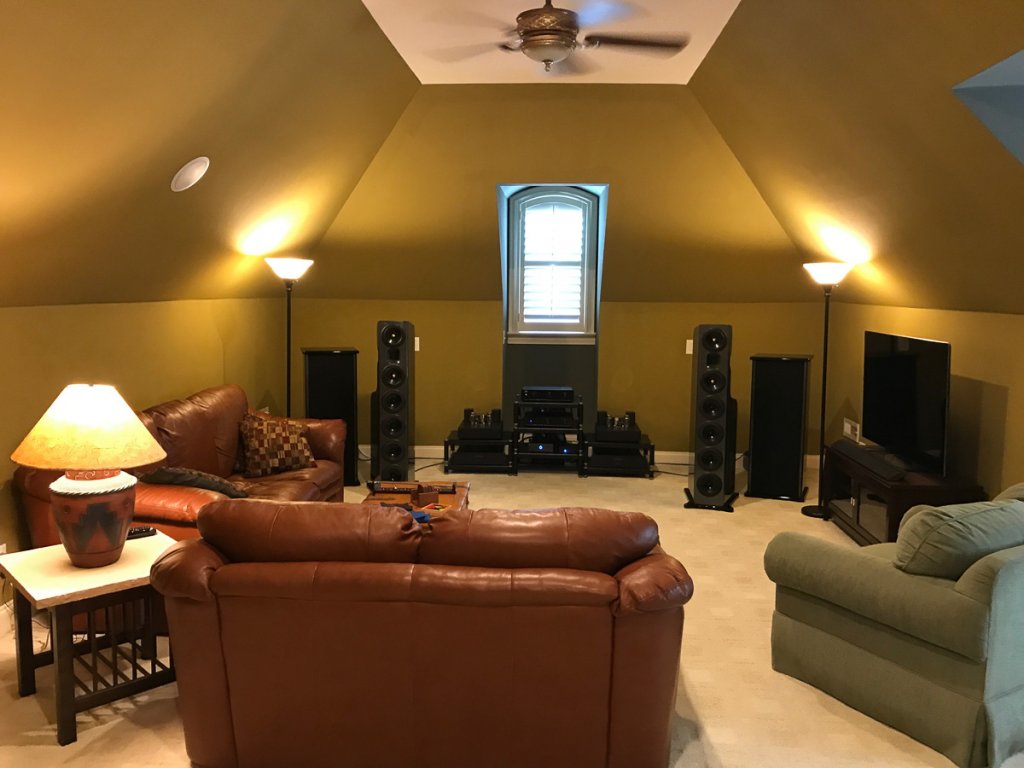
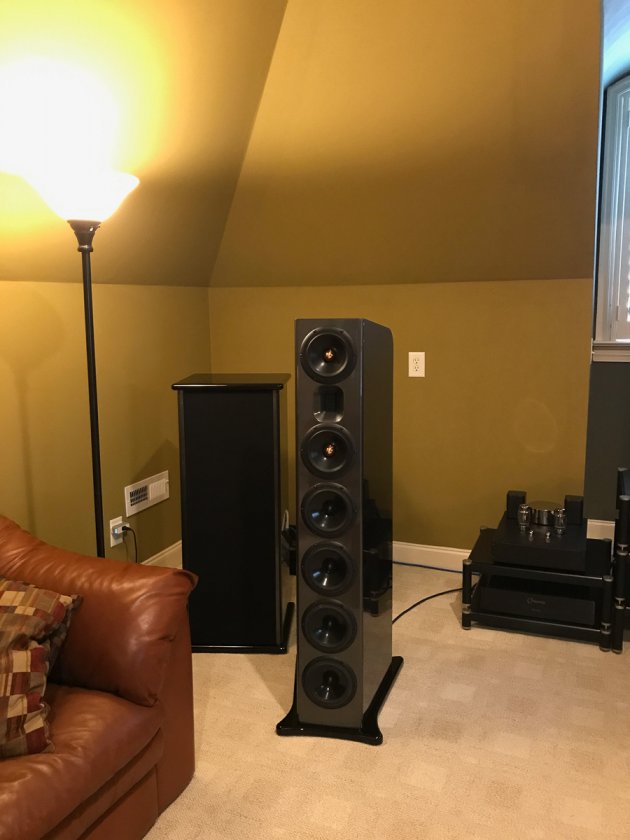
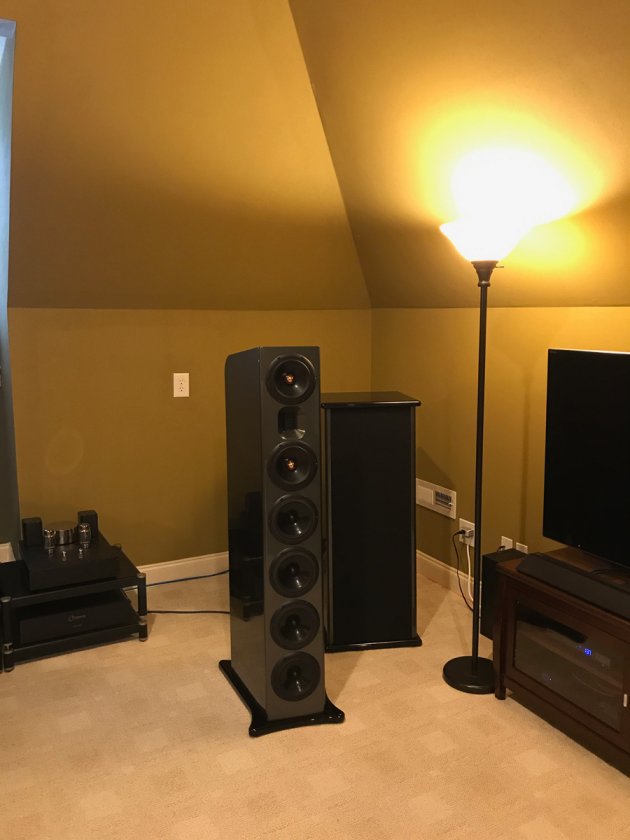
When first audition time arrived, I didn’t have to move the speakers far because I had decided to all of the final assembly in the rear part of my listening room. Good decision because I was not equipped to move those subs up a long flight of stairs. Here are a few photos of where the speakers are located. The room is 16 by 31, with a 10-foot “barn house “ ceiling. The long sidewalls and front wall break vertical at 5 feet above the floor and slope upwards at a 45-degree angle to the 10 foot flat ceiling.
First Impressions and Measurement
Since I don’t speak or think well using flowery audio lingo, I will relate what I have heard so far to what I have previously owned, and that is a pair of X-Staiks I owned for a number of years. I used a pair of Rythmik 12-inch sealed subs with them. So being very familiar with the sound of Danny’s open baffle creation paired with good bass, simply put, the NX-Otica/Triple H-frame combo is like X-Staiks on steroids. Everything is bigger…just more presence and clarity. Imaging much like I remember, now coupled with more refined bass than I know what to do with. I admit I pestered Danny with multiple questions before pulling the trigger on these, but I wouldn’t have gone wrong if all he said was “Trust me, you’ll love them”.
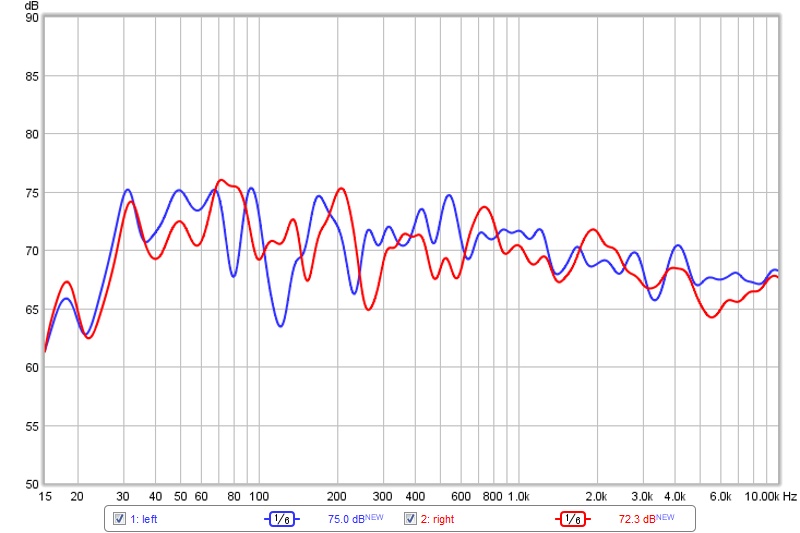
They now have about 100 hours on them and have really begun to settle in. The first hour was crazy, hearing differences (good ones) each time I came into the room. So here is a one of many response plots recently took using REW and the UMIK-1 USB microphone. I ended up using the PEQ on the amps to suppress a fairly large 32 Hz room mode. Doing this did significantly effect the frequency response on each side of the filter. Since the room is non-symmetric due to the furniture and TV placement, left and right channel responses differ. I actually ended up dialing in slightly different cross over frequencies on the plate amps, 50 and 80 Hz as I remember. Currently, I am selecting a room treatment scheme to help control the bass a bit and refine imaging by diffusing front wall reflections.
I hope this is not too long for a reply in an existing post, but I was trying to keep the number of NX-Otica build threads down and just add to what is there.
Steve