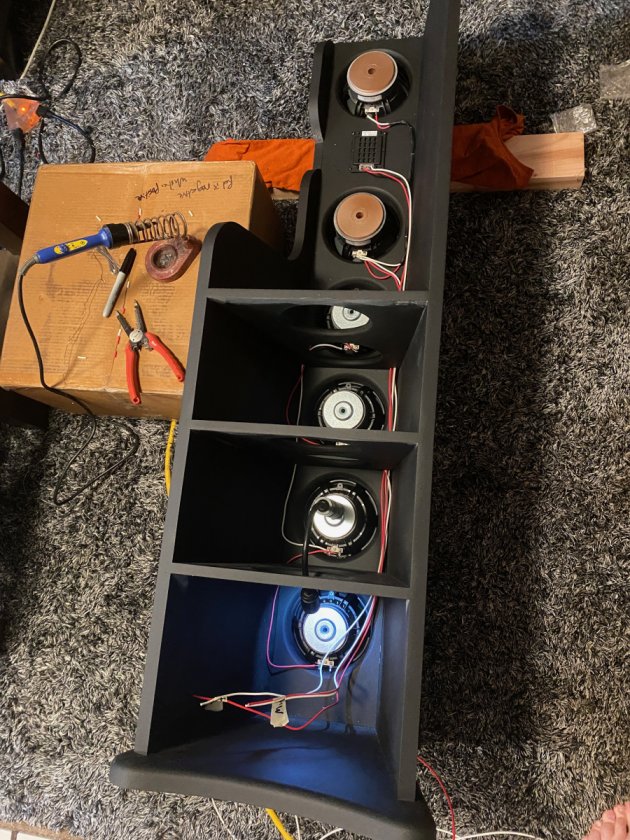
Well the parts finally got here last week and they are now finished! I started with mounting all the drivers then I set up some padded blocking so I could lay them down on their fronts without damaging the drivers.
These diagrams from Rock Ball where so helpful. I couldn't read a schematic to save my life.
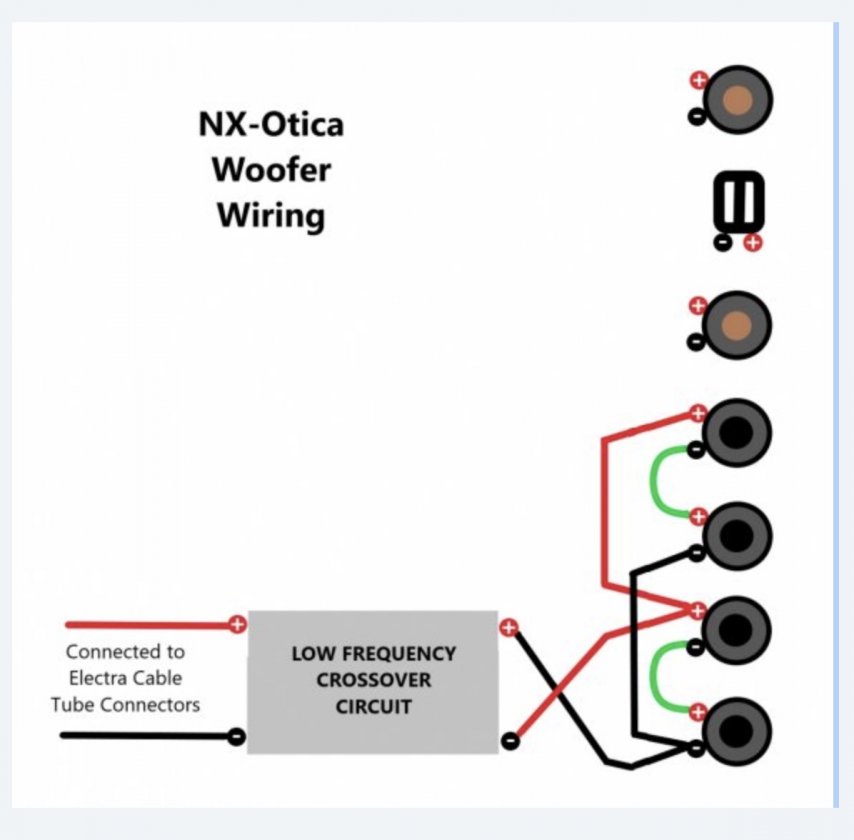
Check out his build post for the rest of them
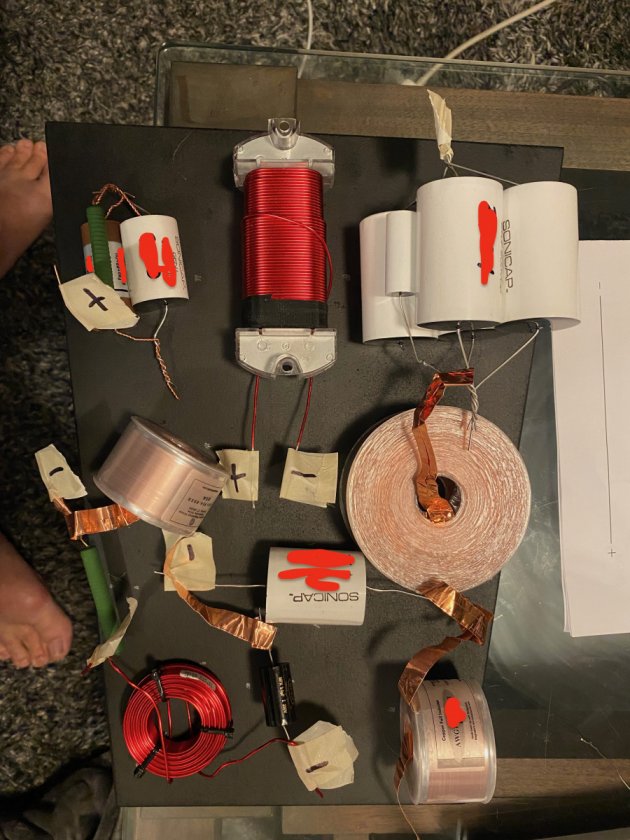
https://www.audiocircle.com/index.php?topic=169168.0Keeping everything straight with masking tape labels was essential for me.
Now it was time to face my fears and start wiring the crossover. This was my first attempt.
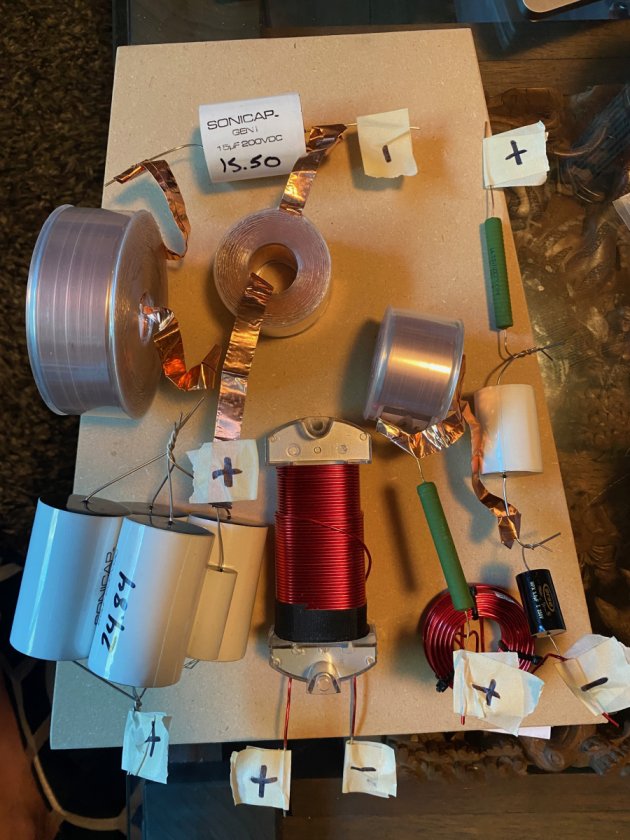
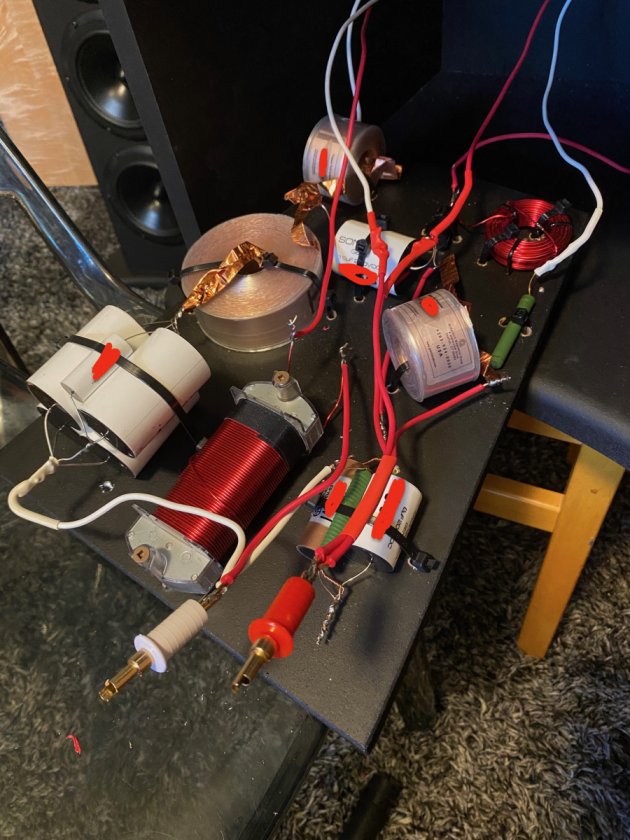
I got some wonderful advice from the community
https://www.audiocircle.com/index.php?topic=182643.0 here and I made some changes to end up with this. I didn't follow their advice exactly so any mistakes are mine. I am still open to advice to changing it.
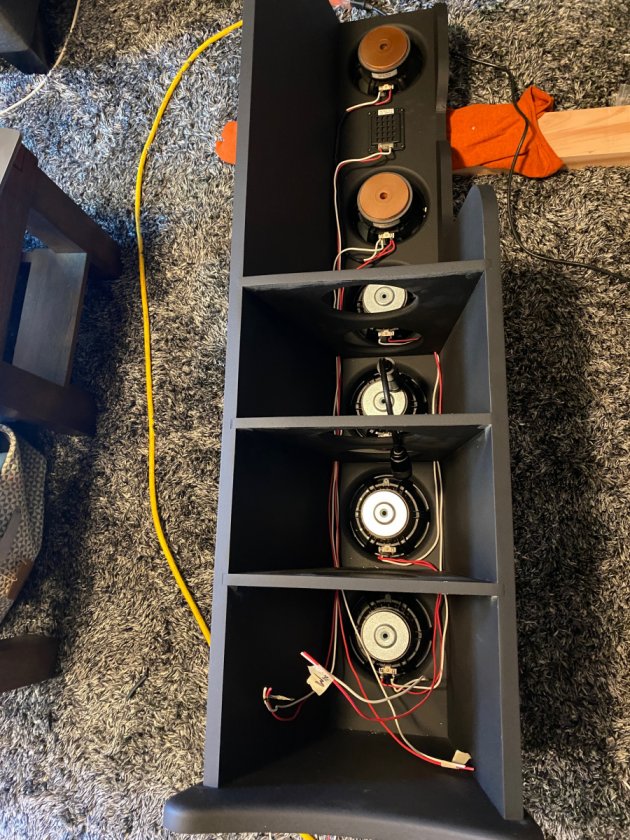
I plugged it in and to my immense relief everything worked!! (If at first you do succeed try not to look too surprised.
Wiring the first speaker took me almost two full days of going back and forth over the diagrams, other folks' pictures and reading AudioCircle threads but I got it done.
The next speaker went much faster and last night I got to llsten to something amazing that I built. That is so satisfying. I played pink noise through them all night and even those 10 hours of burn in has already made a big difference.
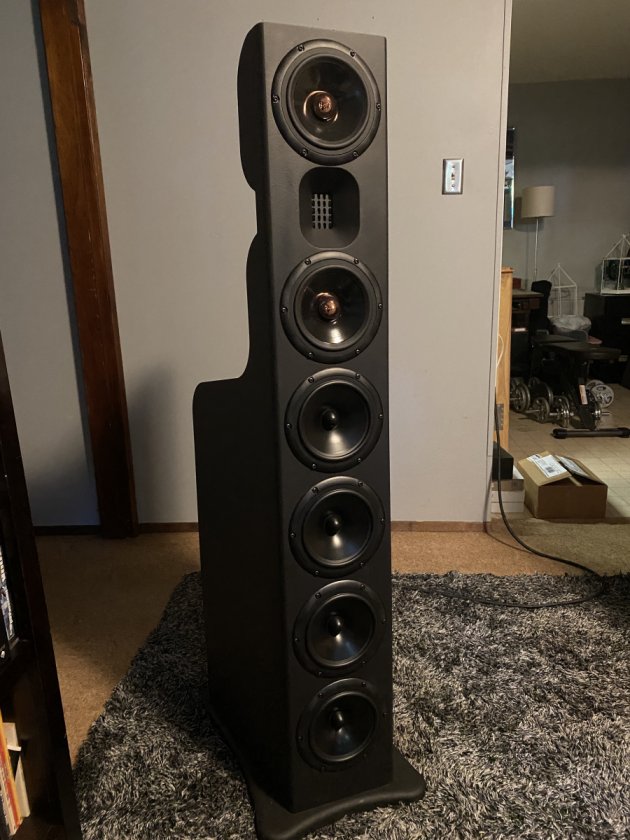
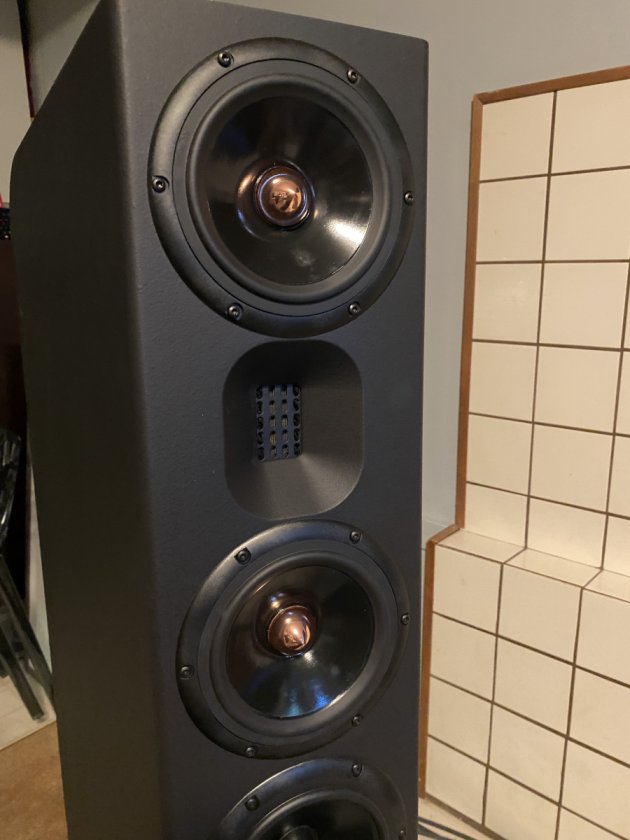
I am really happy with the flat black of the finish.
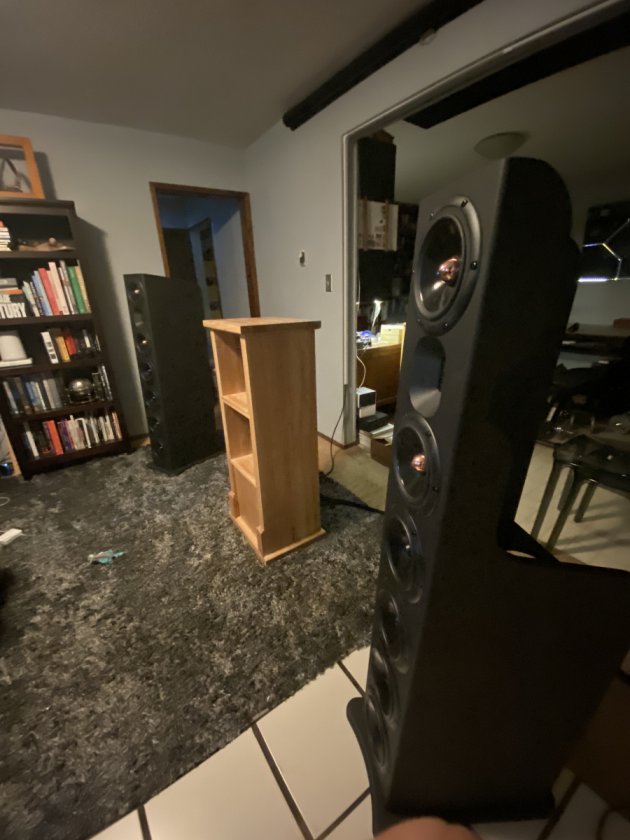
I know that my room setup is far from ideal but I didn't really understand what sound stage was until I heard these.
This tweeter is unbelievable.
The only thing I haven't done yet is put the NoRes in. Any thoughts on how much of a difference it makes? I don't really like the way it looks but I am prepared to install it for a significant increase in sound quality.
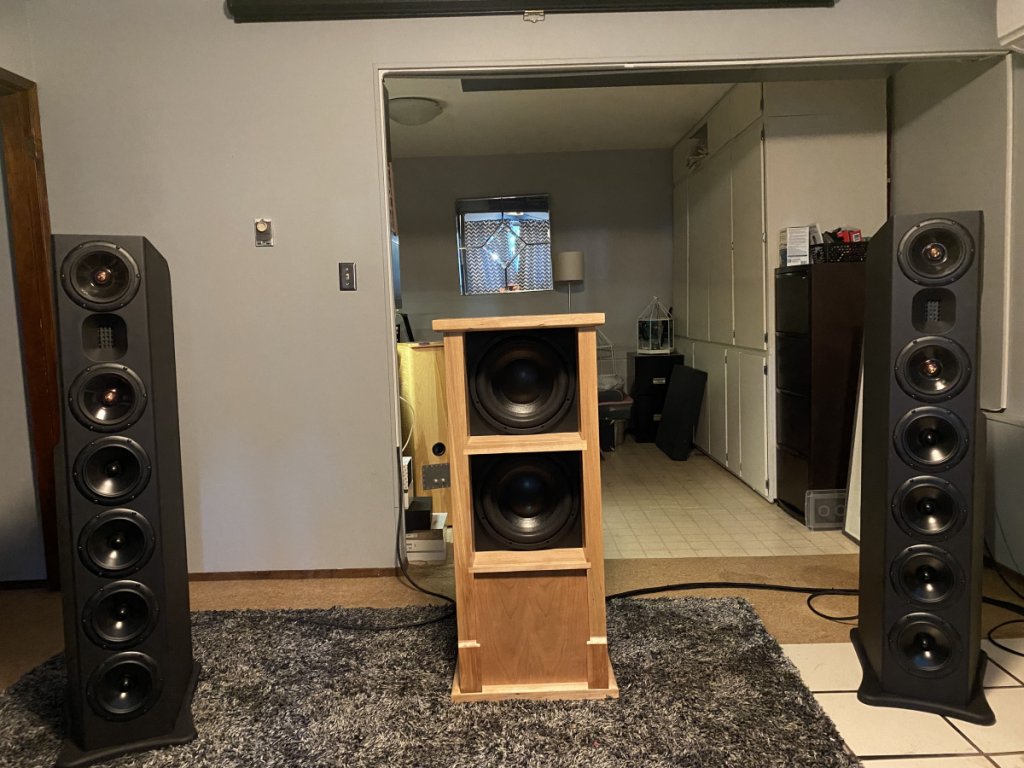
For those who have been concerned about using NX-Otica's in a smaller room mine are in a 13x13 basement room. As you can see in the pictures there is another room behind that perhaps gives the Oticas room to breathe. I will give a fuller description of my impressions of how they sound a little later once they have had time to burn in properly.