Welcome!
I've "kind of" built what you're asking about. I built a pair of the Criton 2TDX
stand-mount speakers from the flat pack, but I then built a pair of the 2TDX
towers from scratch, using solid hardwood mahogany boards. As you might imagine, that opened up a few options for modifications.
For the cabinets, I highly recommend taking your time and having plenty of bar clamps. I don't recommend trying to build two cabinets at the same time, because there are times when both will need your attention at the same time for different reasons (such as sides slipping out of parallel, etc.). Also, you'll be far better off if you have
at least four long bar clamps per speaker. I also like TiteBond III wood glue; it has superior strength and initial "grab," but also allows the longer working time you'll need to ensure that all your panels are aligned and clamped correctly.
The flat packs are very good, but make sure you do a dry fit of the panels to ensure that you don't need to "clean up" any of the CNC'd cuts, channels, etc.
I lined my cabinets with No Rez from GR Research. It's a "damping material developed specifically for loudspeaker applications for damping and eliminating enclosure resonances." If you go with this, make sure you measure and cut the foam carefully. I got good advice from Hobbs at GR Research on where to apply the No Rez in the Criton cabinets.
I radiused the front left and right baffle edges with a router. That's optional, and also complicates veneering a bit.
There is good guidance on this site regarding veneering, if that's how you're going.
Crossover assembly is straightforward, but it CAN be frustrating if your soldering skills aren't up to snuff.
I bought solid silver internal wire to run from the crossovers to the tweeters, and solid copper to run to the midwoofers. That choice, of course, depends on your personal beliefs and values. I also used Cardas solder and Cardas wire from the crossovers to the binding posts.
When I mounted the crossovers, I used little pieces of vinyl tube as standoffs between the crossover boards and the cabinet walls to provide a little vibration isolation.
I wasn't fully comfortable having the tiny driver mounting screws biting directly into MDF, so I carefully drilled, then inserted and glued T-nut-type fittings into the driver-mounting holes, enabling me to use machine screws instead of wood screws. I had to grind the T-nut shoulders a bit to get them to fit into the the MDF mounting "shoulder."
Similarly, I applied mounting plates to the bottom panels to allow me to use screw-in feet.
Most of the photos here are of my solid wood cabinet construction, but they'll give you an idea.
Good luck...you're right, they're awesome speakers!
PS - I forgot to mention, but I ended up using "outrigger" feet supports for the towers. If you're placing them on carpet, I highly recommend them as they can be a bit wobbly, even if spiked.
https://www.parts-express.com/Dayton-Audio-OS-2M-Outrigger-Speaker-Spike-Set-Medium-with-Black-Steel-Base-2-Pcs-240-774?quantity=1
Veneered Criton 2TDX Stand-mounts
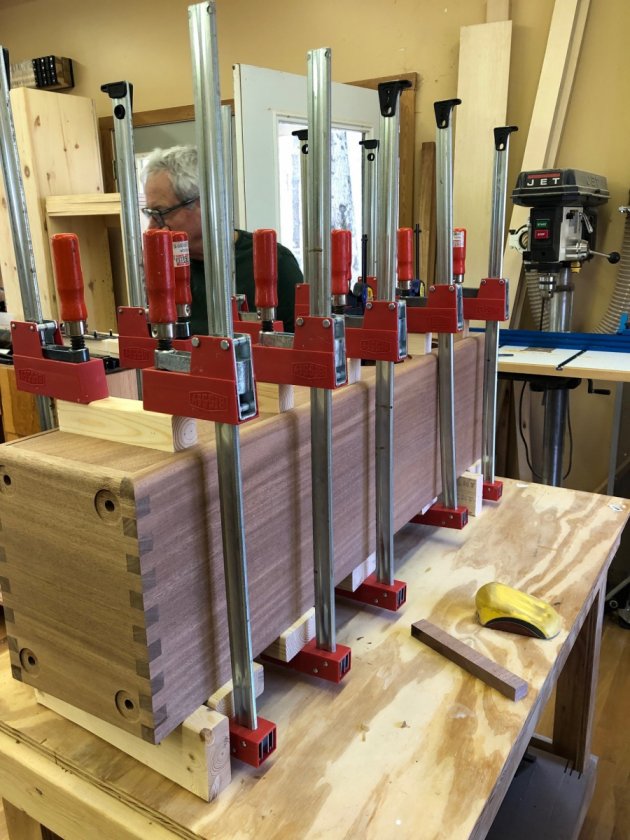
Clamp! Clamp! Clamp!
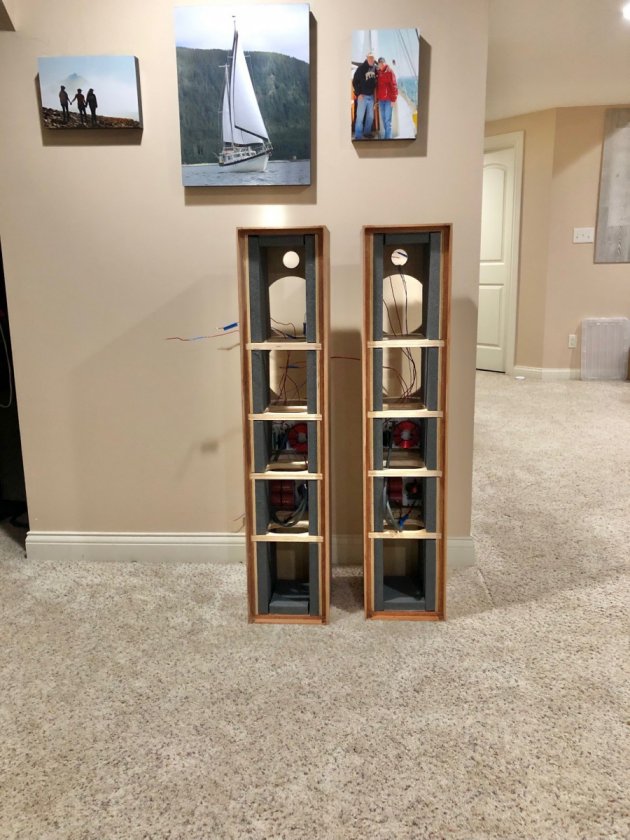
Open Backs with No Rez
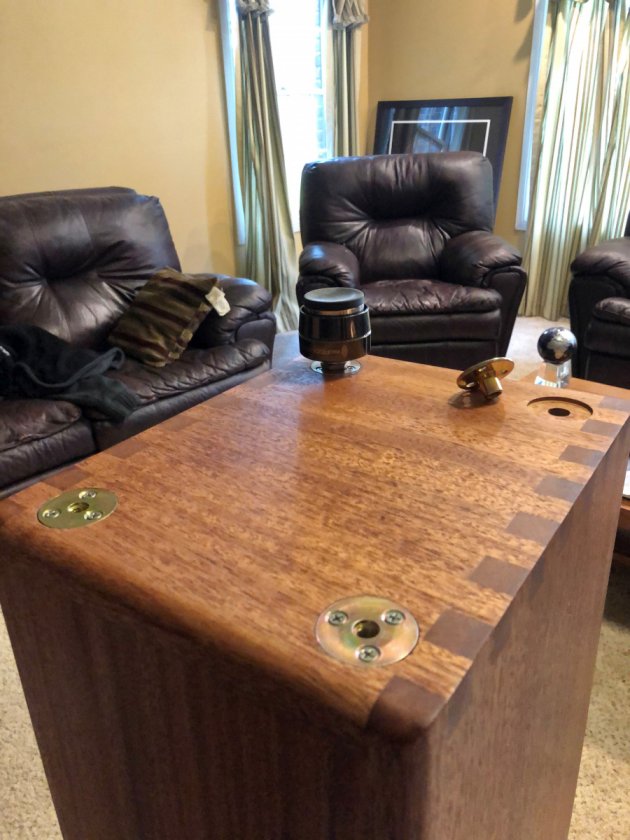
Foot Inserts
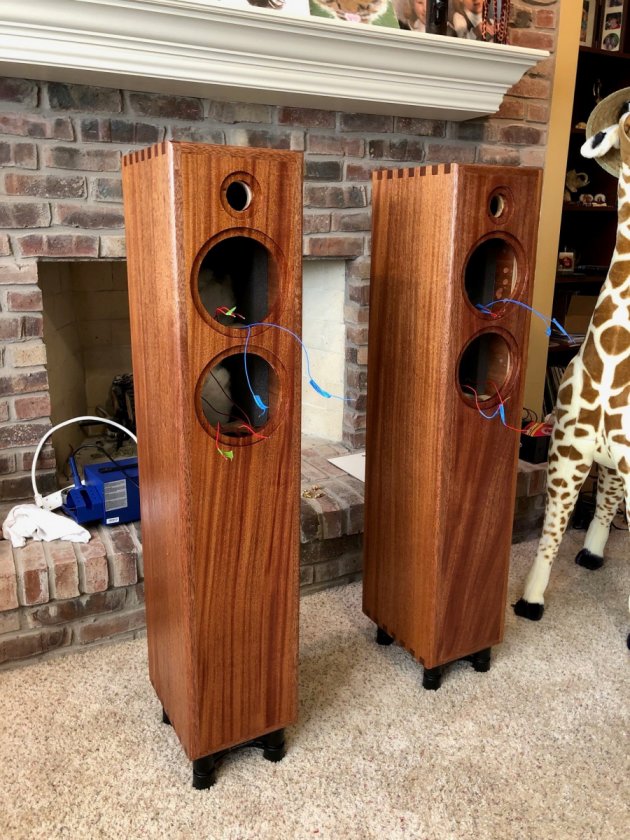
Finished/No Drivers


