For my current sub towers, I decided to cut the NoRez with 45 degree mitered edges so that I could fit the largest pieces possible on all the inside surfaces. Each piece was approximately 13" x 5.5".
The mitered inside long edge makes it possible to slide the NoRez almost all the way to the baffle without interfering with the driver surround. On my previous build (Triple-Threat towers), I used straight cuts. but I had to make the No-Rez panels shallower so that they didn't interfere with the driver surrounds.
Installing the mitered pieces is fairly straightforward for the first three pieces for each sub section assuming you install them so that each new piece butts up against the previously installed piece (e.g. Left, Bottom, then Right). But the last piece is more challenging since the backing adhesive makes it difficult to slide into place.
After trying a few approaches, I landed on the following method.
Remove the backing adhesive, and then reapply three of the removed pieces at a 90 degree angle. The following photo shows the first two pieces applied.
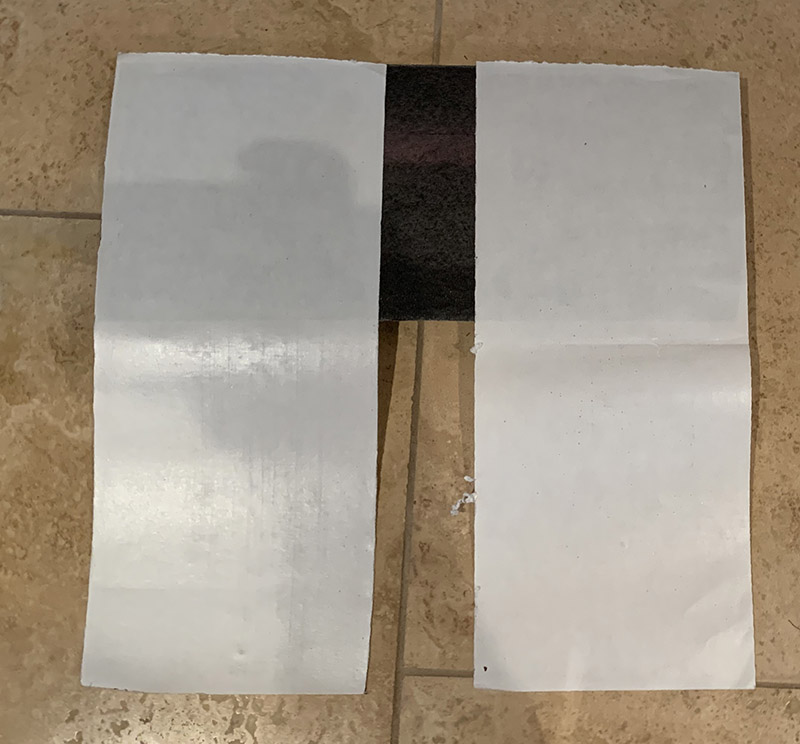
Install a third piece of backing material in the middle and then fold the three pieces over as shown here.
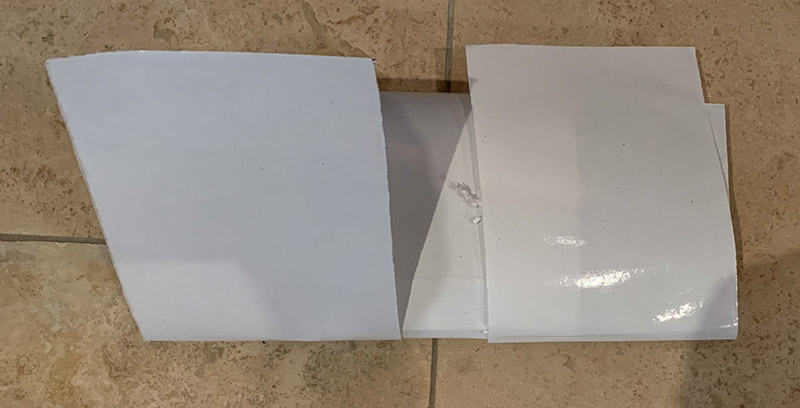
Now you can slide the NoRez into place since the backing material allows it to slide against the inside of the sub. It's still a bit challenging since the foam doesn't like to slide along the pieces on either side, but with a little finagling, you can get it into place.
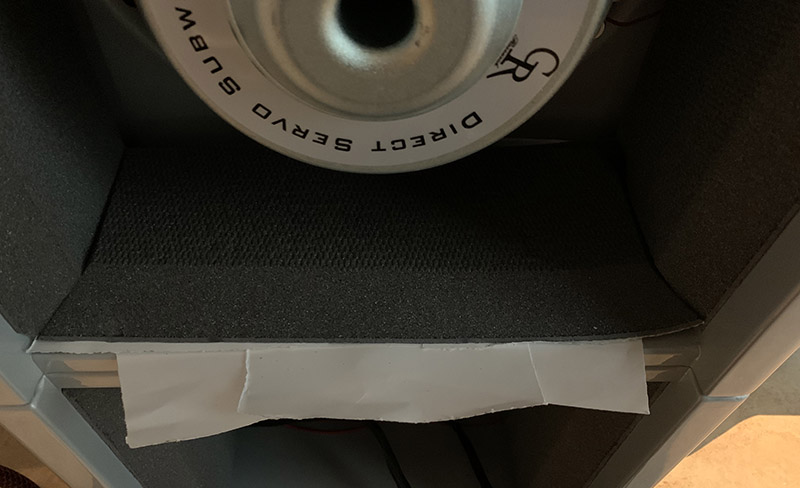
Once you have it in place, you can pull out the exposed backing material and press the NoRez down.
My subs are built using the modular cabinets, so there are exposed bolts that make it a bit more difficult to slide the pieces, and also make it so the mitered edges don't line up perfectly, but I think this is still a lot better and nicer looking than using straight cut pieces.