Please read this post in its entirety before replying or PMing.
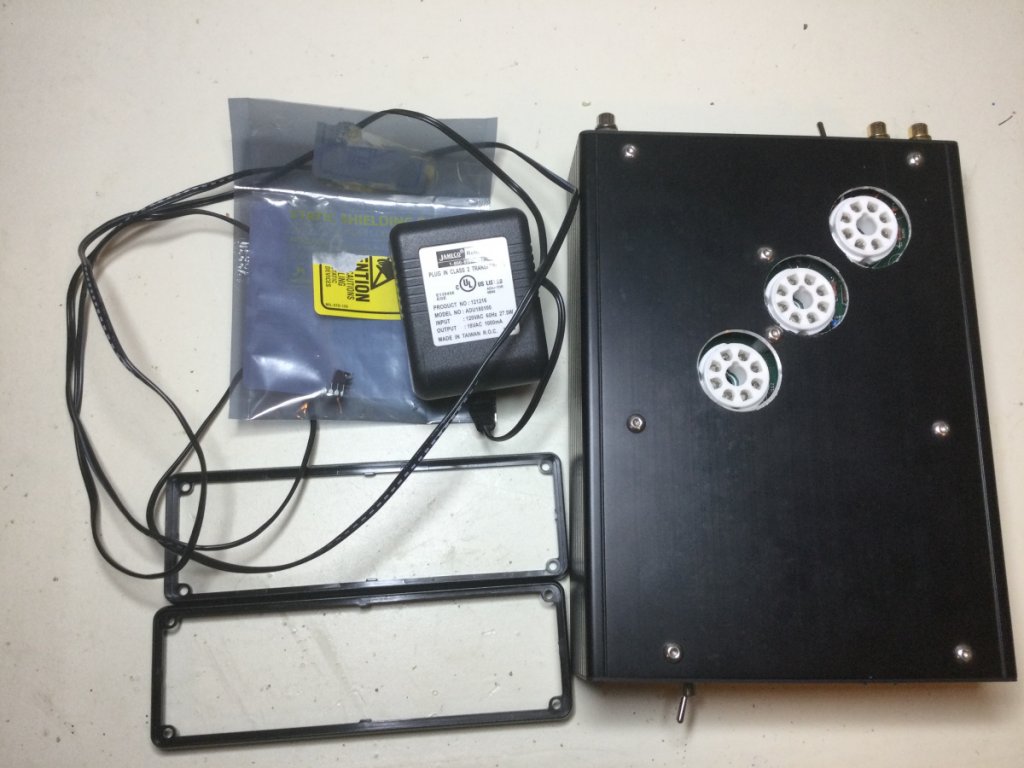
For sale is a “working” Tavish 6SL7 phono pre that I built in a Hammond extruded aluminum chassis with the PCB that they offer(ed) to DIYers. Aside from the board with pre-installed JFETs, I procured all the parts myself. I used vintage tubes that I had on hand; no tubes are included.
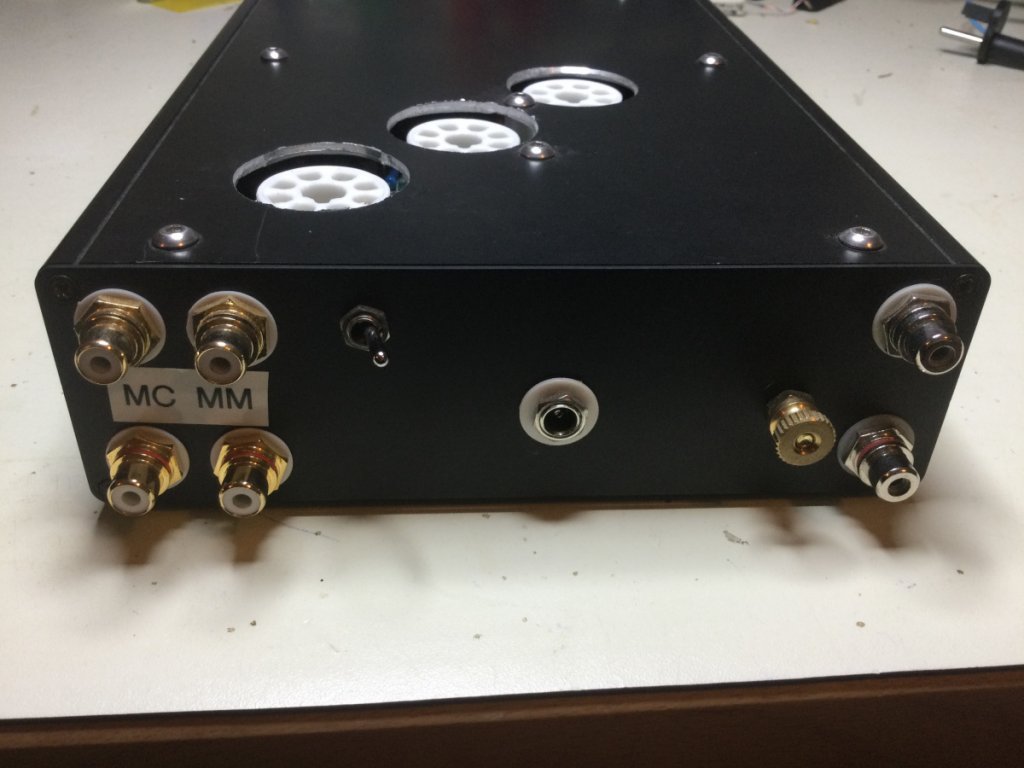
Why is “working” in quotes? Well, the MM section works. However, only one channel of the MC works.
I’ve thrown in the towel as far as getting it working 100%, but I have had it in my main rig for stretches, using it successfully with MM and with an external SUT for MC. But I now have two other phono press in the house and I just want to get on with my life. I have been building audio gear for over 20 years, so you can be confident that the soldering and wiring is not the work of a beginner. But I didn’t get it fully working, so you may draw your own conclusions. In my defense, I feel that certain aspects of the circuit are over-engineered and unnecessarily complicate an otherwise fine preamp.
As such (this is the fine print), I am selling everything you see in the pics - the completed preamp, plastic bezels, 555 and LM311P ICs (sockets are on the board), and the 18 VAC (NOT DC!) wall wart - AS-IS, with absolutely no guarantees, express or implied, regarding it’s functionality, usability, or beauty. Consider it “For parts or repair”.
Other things to know:
- Only one of the LED power indicators works. This is because I could not get the timer/relay circuit, intended to power the heaters fully before the B+ came on, to work. As a result there are parts missing from the board as a result of me bypassing the delay and having B+ and heater supplies come on at the same time - just like every other piece of tube gear I’ve ever owned.
- I never implemented the DIP switches for R and C loading options. Instead, I installed IC pin sockets into which you insert the leads of the load resistors (47k are installed) and optionally capacitors for MM cartridges. I never tried to add any capacitance to the input so I can’t say for certain whether it works or not, but it’s the same arrangement as for the load resistors. Note that they are accessible from the bottom, where the cover slides off of the rest of the enclosure.
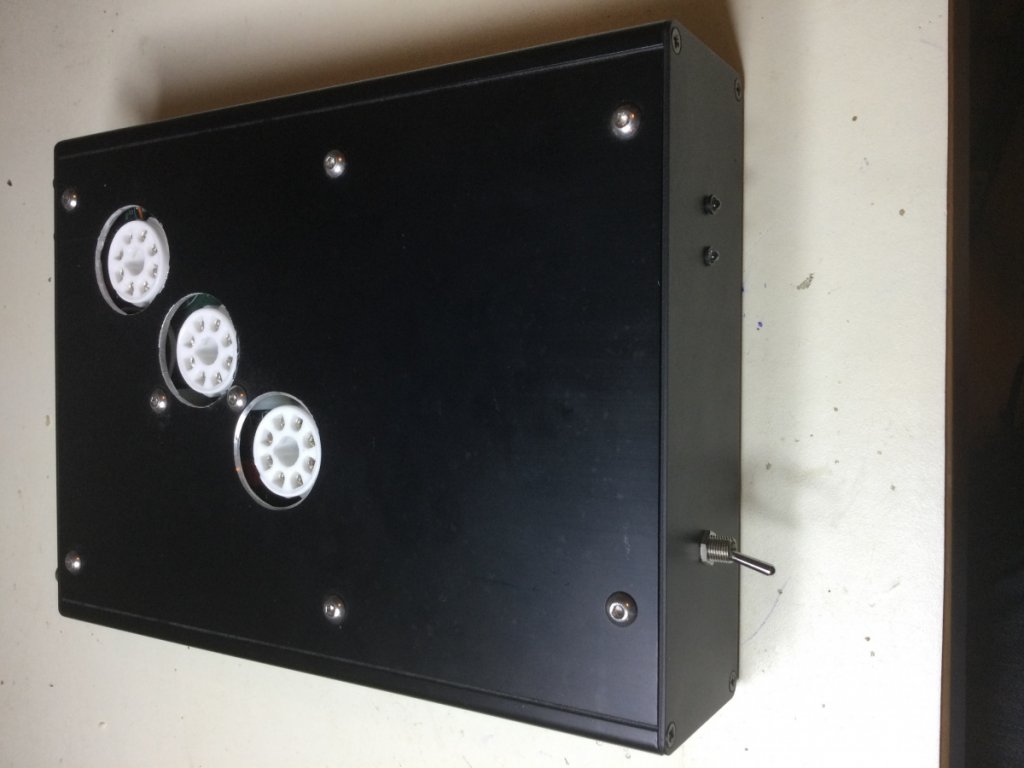
- The metalwork for the tube socket holes are a bit, uh, dodgy. One of them is off-center enough that, the base of the tube doesn’t fit inside the hole. I should never have sold those Greenlee punches...
I will try to answer any questions, but the ideal buyer won’t have any. The assembly manual, which contains full schematics and BOM, is on the Tavish site as a downloadable PDF.
I’m asking $300, which includes US shipping and PayPal fees (though F&F is appreciated - please see my seller feedback on USAM as user joesever).
Really, I’m asking for $250, and for you to pay actual shipping and PP fees, but as I said I’m just trying to move on and a fixed price is just easier and maybe even cheaper for you.