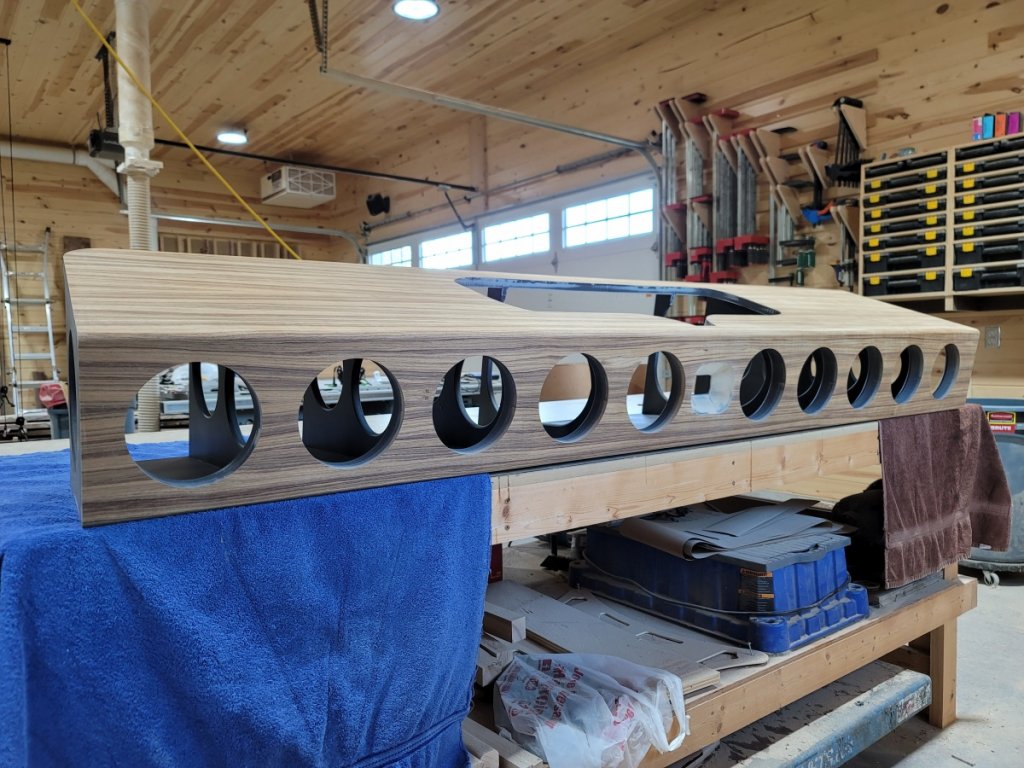
Back in early May I ordered 2 sets of NX-Treme's as well as 2 sets of triple servo subs. I documented the servo sub build awhile back, and here is my NX-Treme build.
Due to a crazy amount of orders as well as the extreme weather experienced on the west coast, Jay had a difficult time getting the NX-Treme's to machine properly on his CNC. The heat from the record weather was causing the MDF to warp, twist, and expand/contract too much. Therefore, I didn't receive my first flat pack until just a few weeks ago. The packing job done by Jay (captainhemo) was fantastic! Custom boxes and custom packaging were absolutely exceptional.
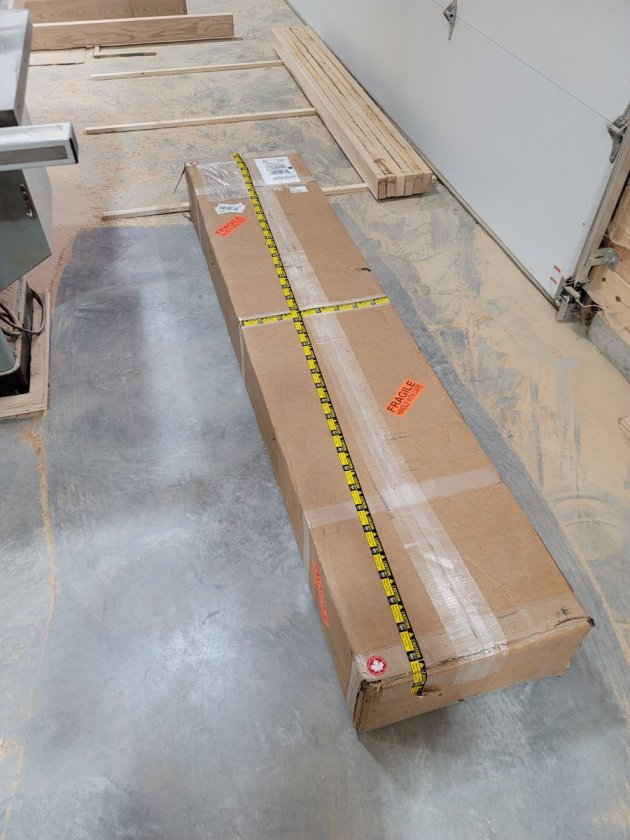
Unfortunately, despite his best efforts, UPS manages to destroy everything. Both of the front baffles were significantly cracked in the exact same spot.
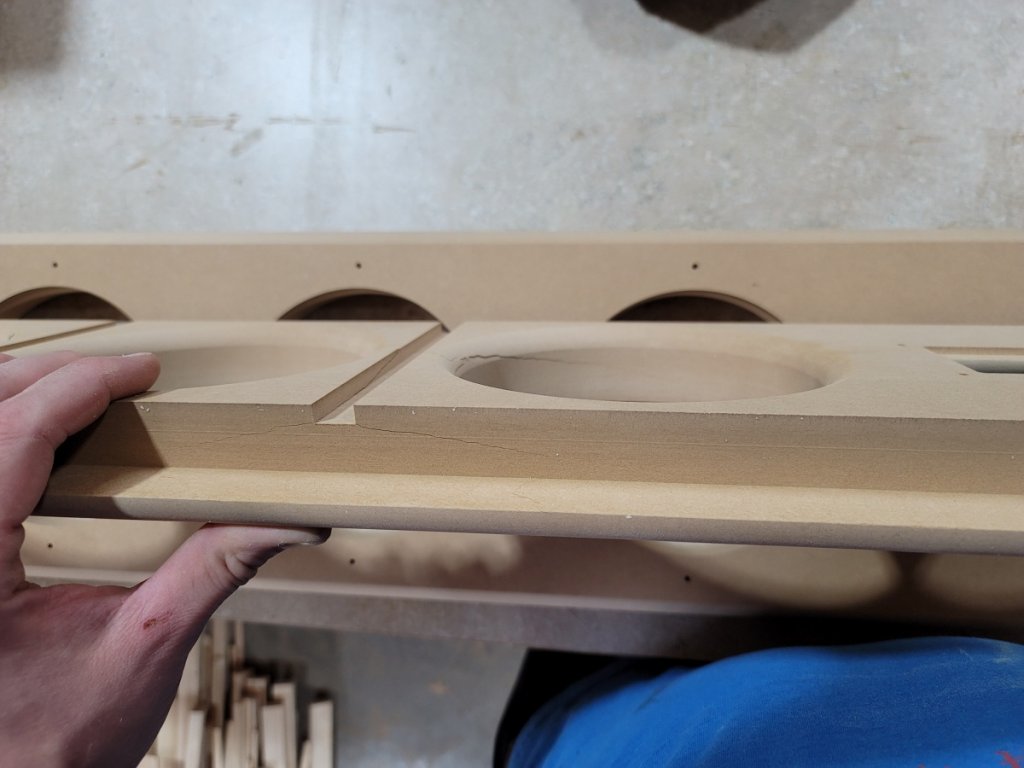
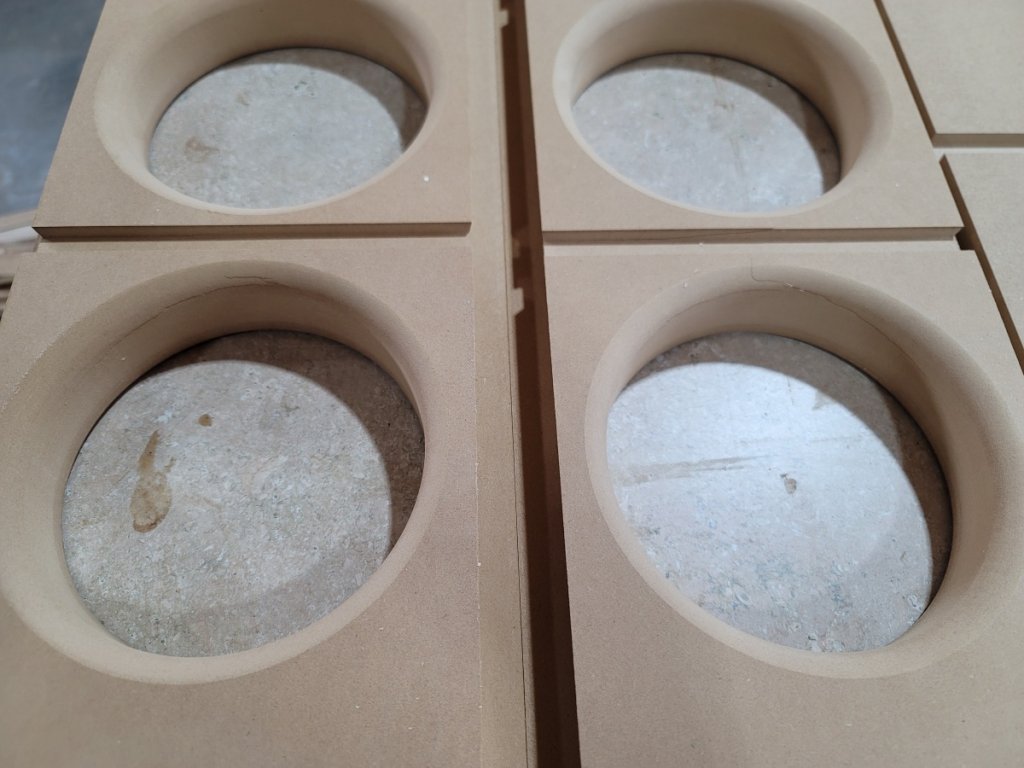
I reached out to Jay and his customer service was fantastic. He offered to send me out a complete replacement, but I told him I'd try to repair the damage if I could. I used a thin epoxy and got it fairly deep down into the cracks. The repair seemed to work so I went on to the glue up.
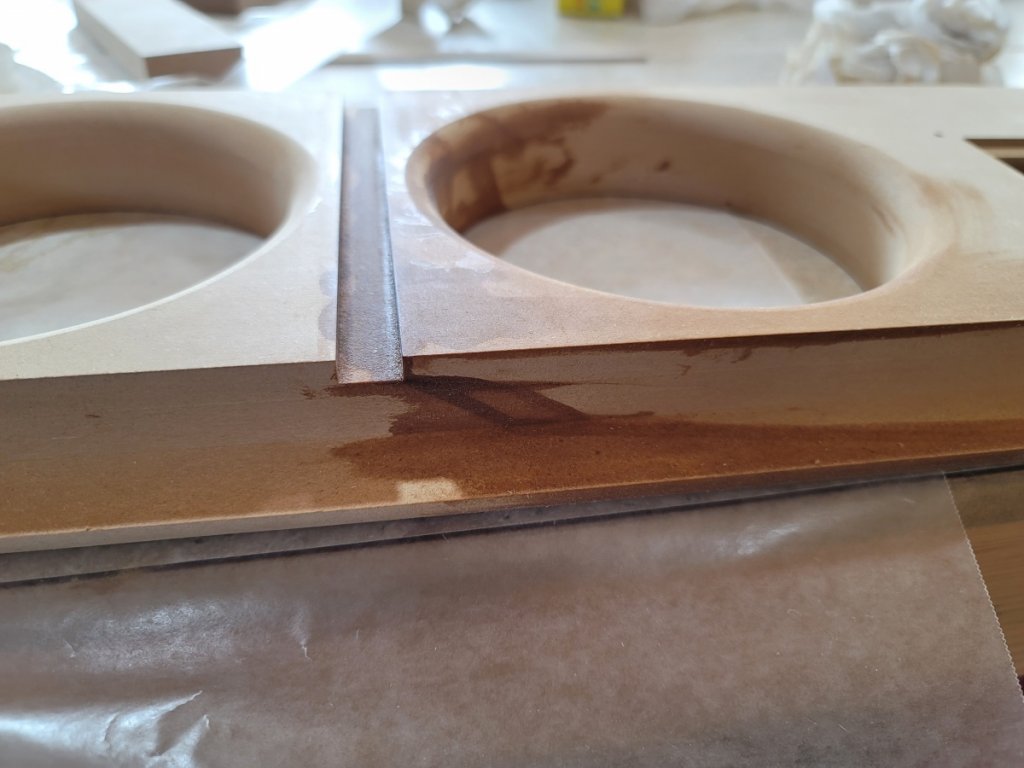
The glue up is straightforward. The machining on the flat packs was excellent. At first glance it appears that the front baffles are completely symmetrical (either end could be up or down), but that isn't the case. The top has a 5 degree cut back while the bottom has a 3 degree bevel, so make sure you have it the correct way before gluing up. I used Titebond extend to give me slightly more working time.
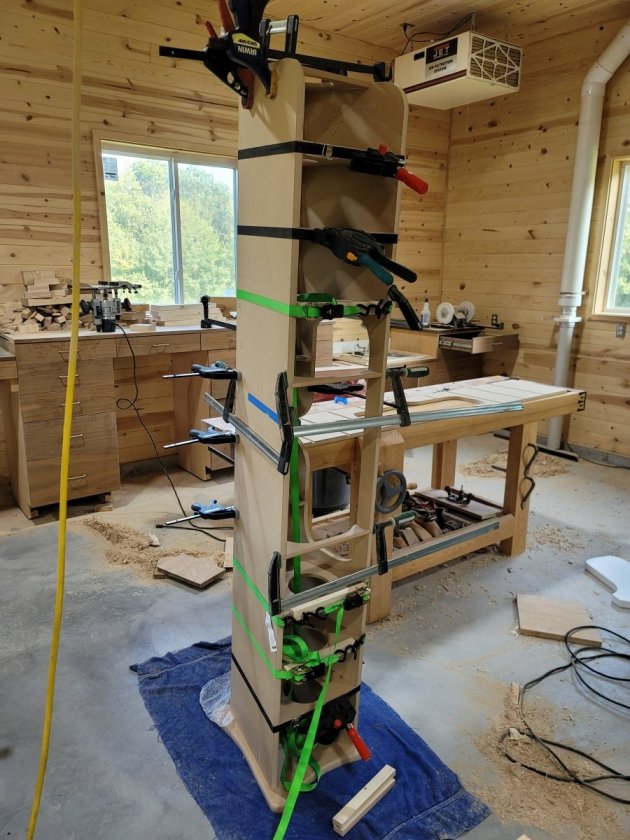
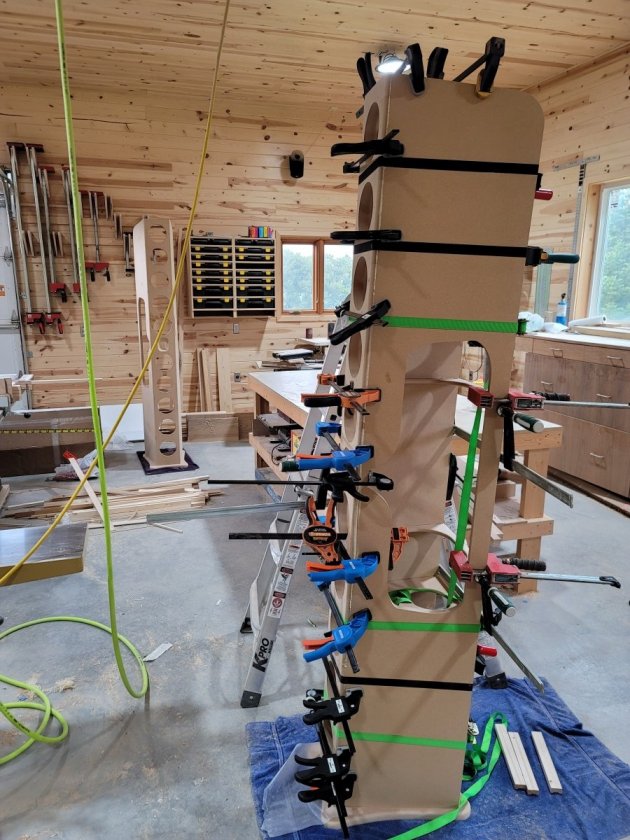
And both cabinets glued up:
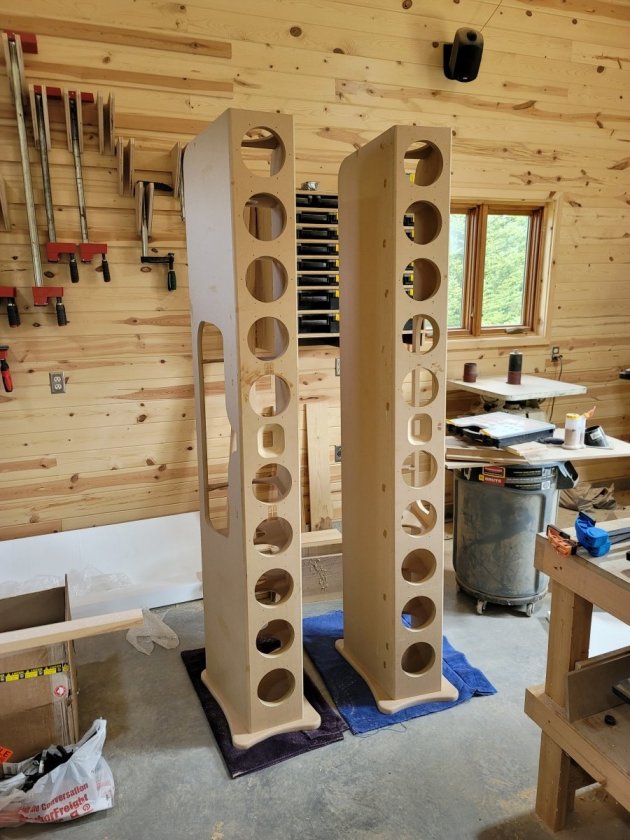
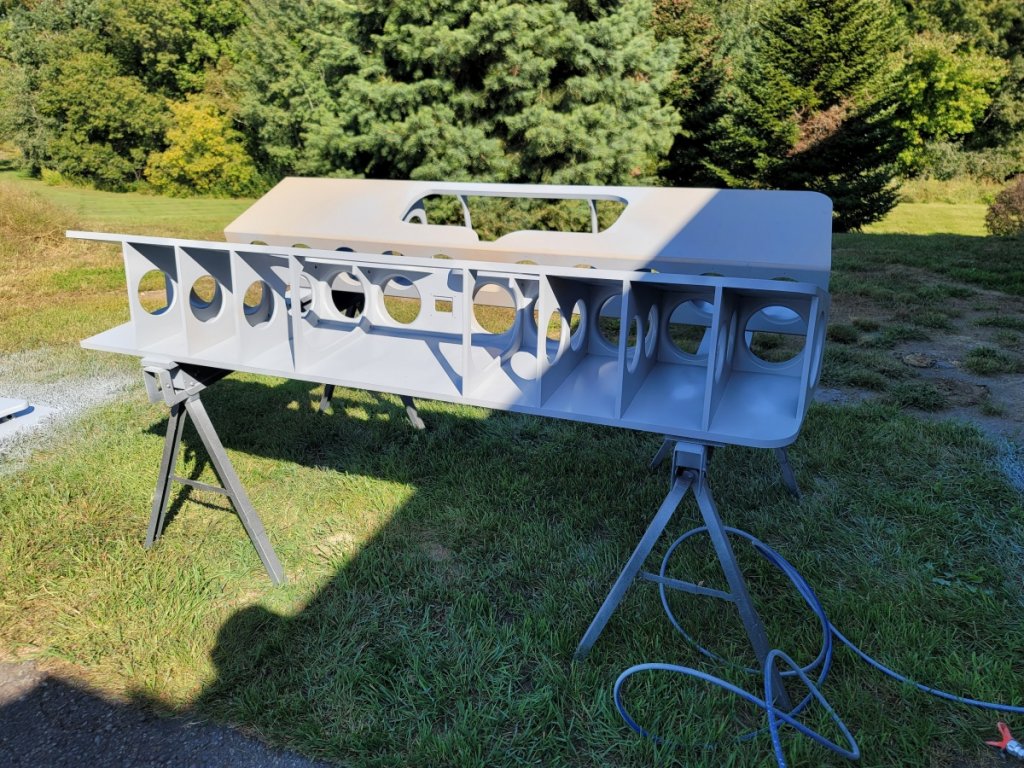
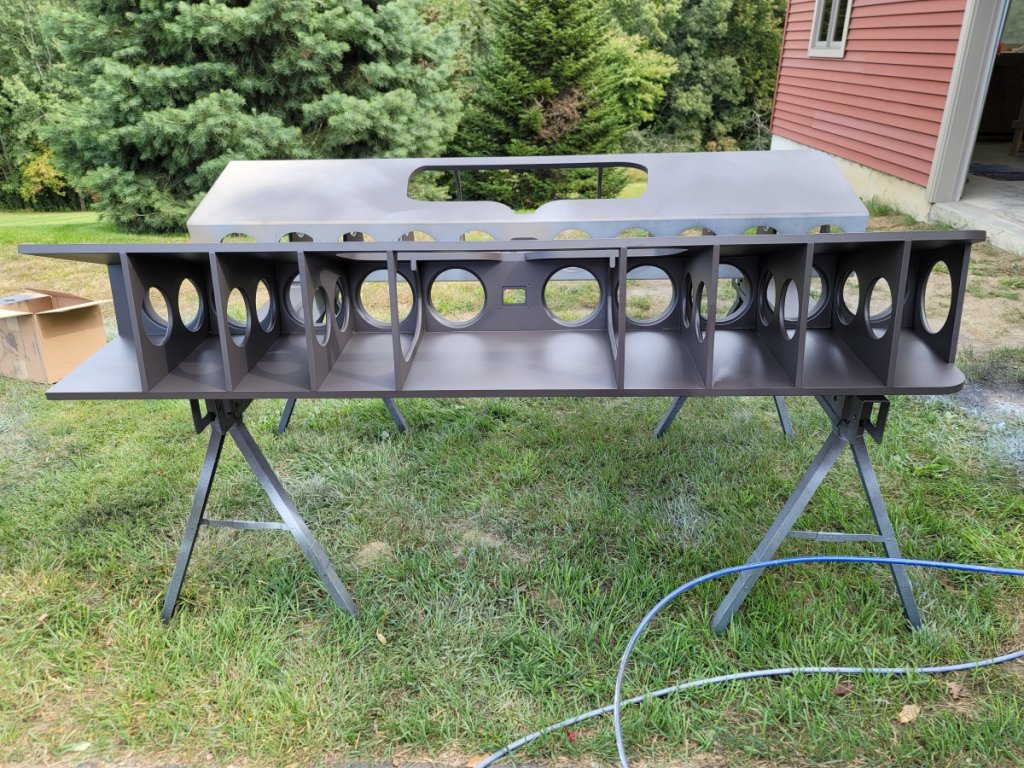
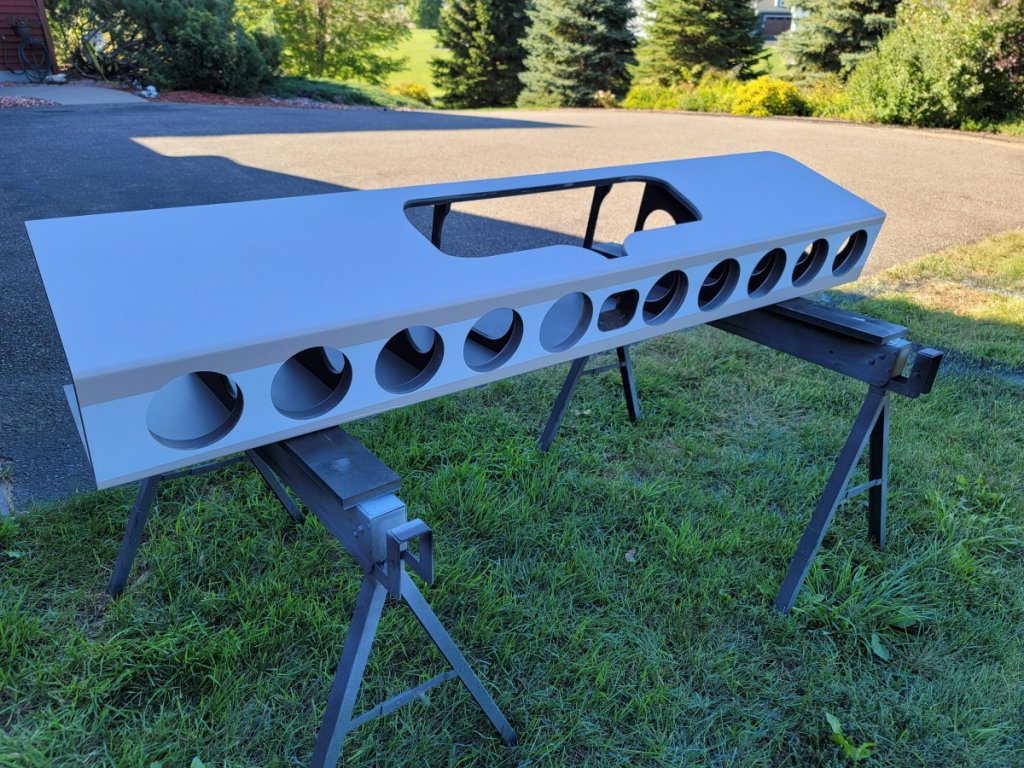
I learned my lesson from the servo subs and decided to use an alkyd enamel paint instead of normal latex paint. That was the correct choice, but unfortunately I tried again to paint first, then veneer in an attempt to not have to mask the veneer off later - despite the better paint that still didn't work. Still, here are some pictures with the primer, and then the paint.
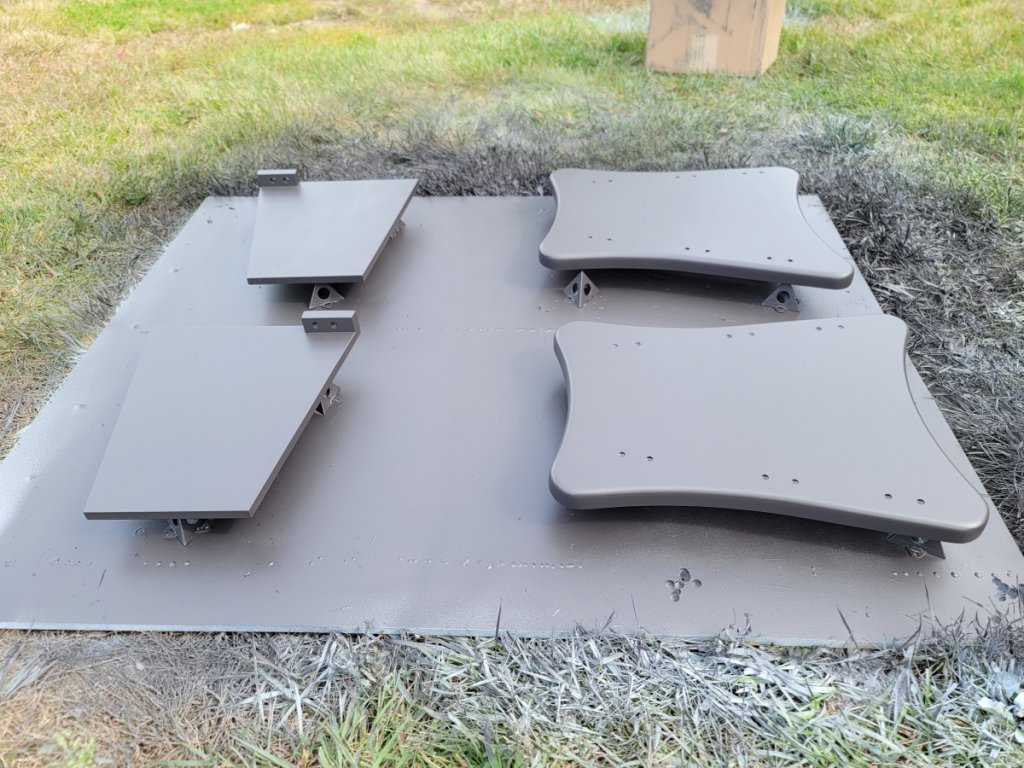
And here are the painted feet as well as the crossover boards that I made:
Here's where things got tricky. I wanted to veneer the entire speaker. I've had the teak veneer for months - the same stuff I used on the servo subs. Unfortunately, over the past few months all of the heatlock glue that I used to apply the veneer had sold out. Due to a shortage of some polymer used in the glue there is no expected date for more to become available. I decided to try the TitanDX water based contact cement from veneersupplies.com. That presented a challenge as the beauty of heatlock glue is that it gives you some ability to reposition the veneer after it has been set onto the speaker. Contact cement makes an immediate bond and is extremely unforgiving. I've used contact cement (solvent based) many times, but always on flat surfaces which you can set up with spacers to prevent the veneer (or laminate) from making contact with the substrate. Because the veneer needs to curve around the speaker, this wasn't possible. I came up with a method using a pulley system to hold the veneer in place while I worked on it.
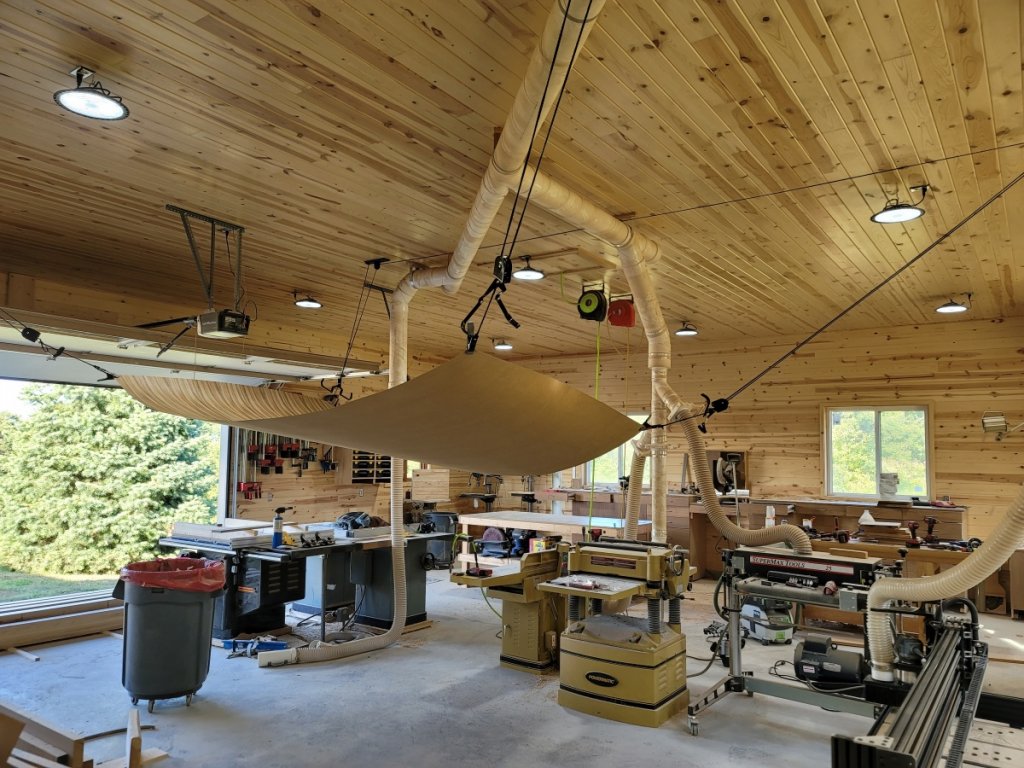
The contact cement gets applied to both surfaces with a glue roller after scuffing them with 80 grit sandpaper.
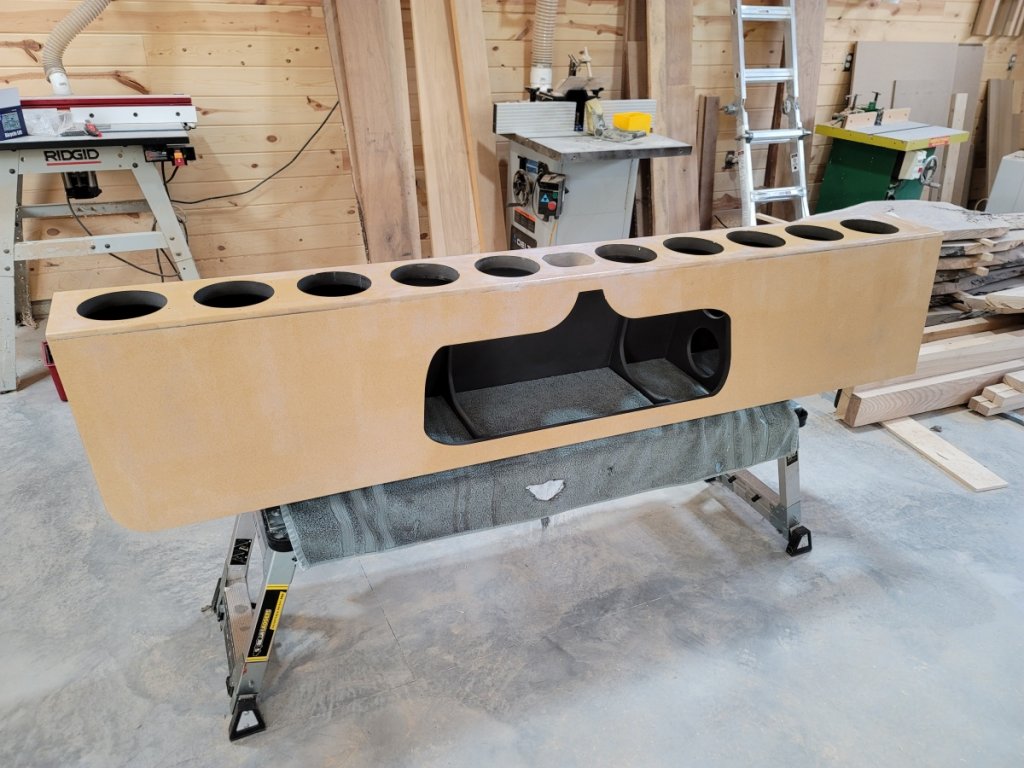
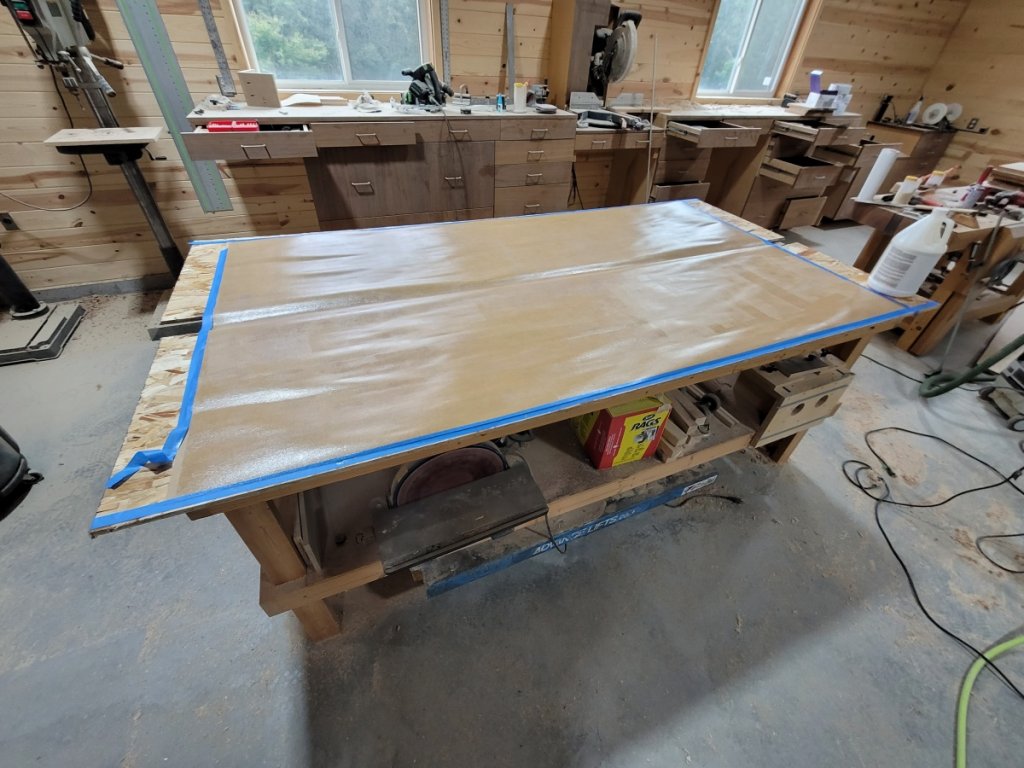
Then the contact cement is allowed to dry (they say around 30 minutes, but in my experience it was quite a bit longer) and then it is very carefully applied with a veneer scraper - making sure to not work in 2 different directs and create air bubbles. I still used spacers on the front baffle to get that well established before working down each side.
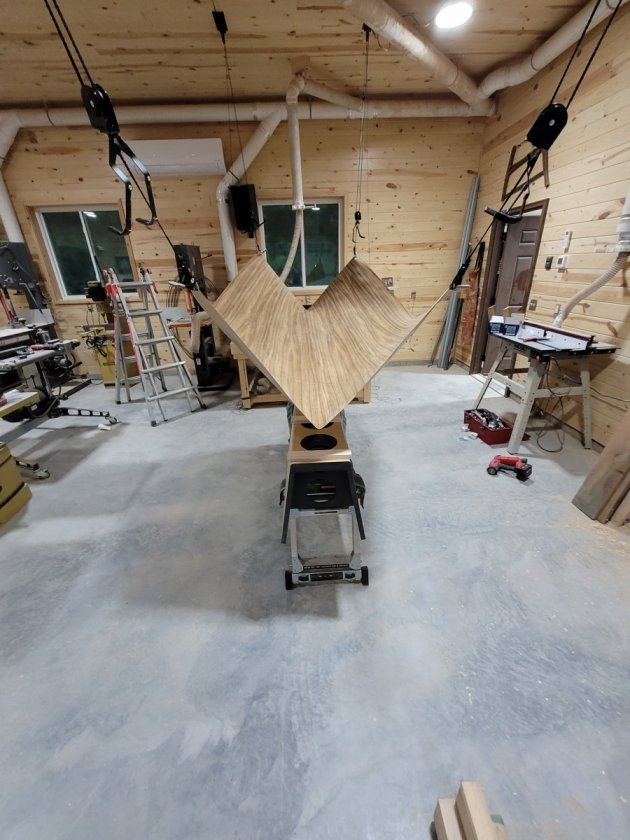
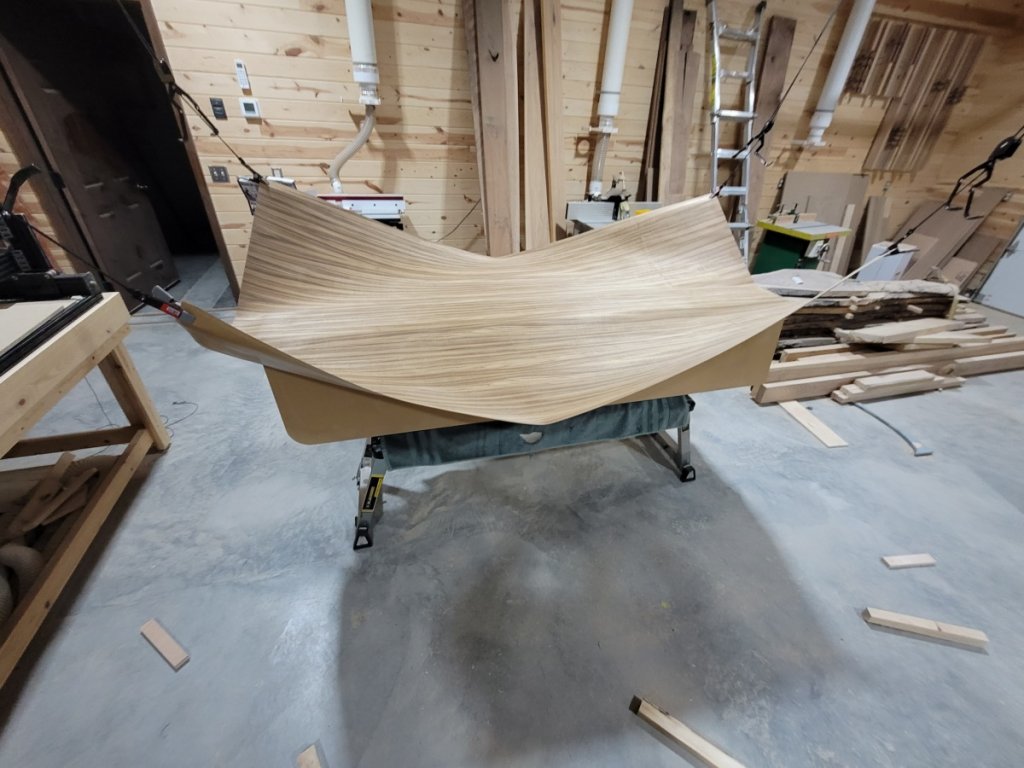
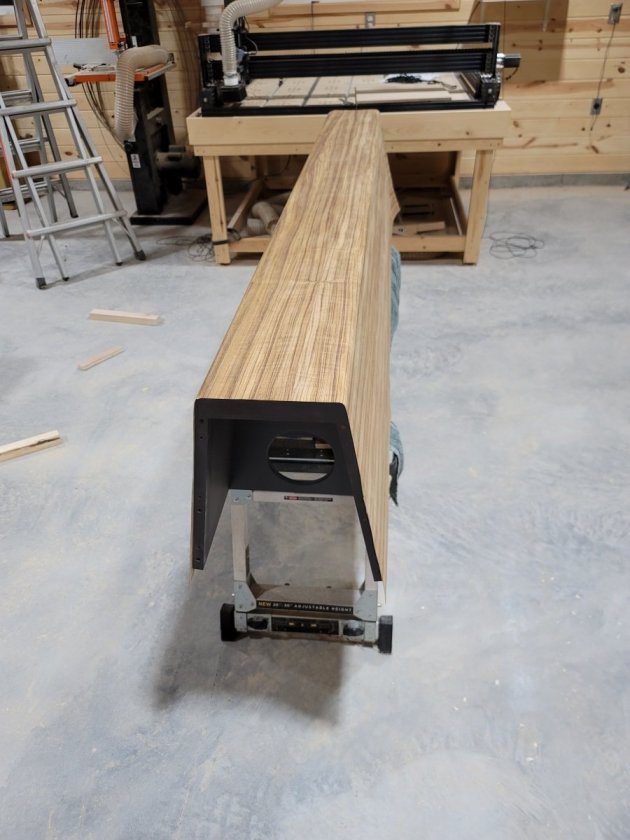
It worked beautifully - and to be honest the bond is better than I got with heatlock glue. This contact cement is very thin, runny, and generally a pain to apply on vertical surfaces - but given how secure the bond was this is the type of glue I'll be using on all future projects even when heatlock becomes available again.
Here the first one is trimmed up. As you can tell, the flush trim bit in the router damaged the paint - so ONCE again I had to mask off the veneer and paint again.
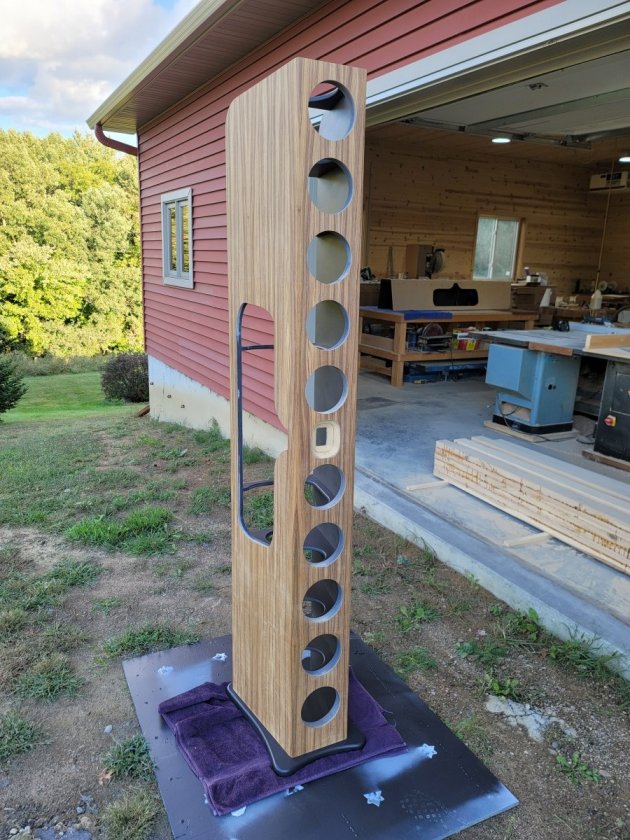
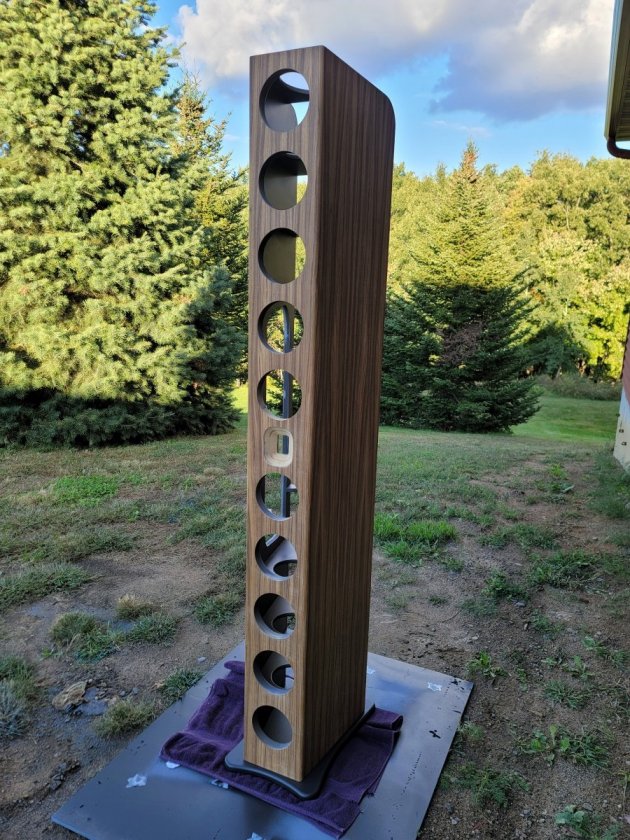
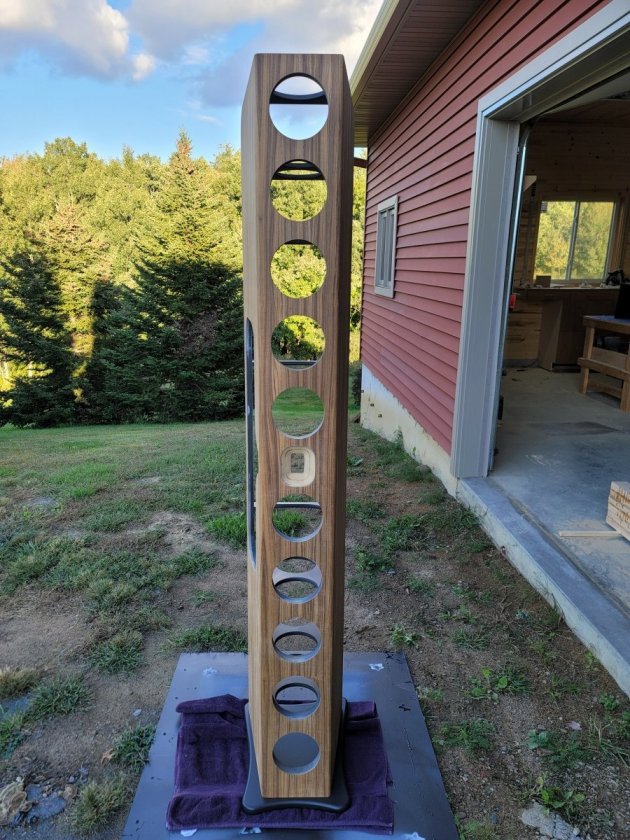
I experimented with using contact paper (adhesive sheets used for drawer linings) to mask off the veneer. It seemed to work brilliantly. I'll find out tomorrow when I peel it off whether there was any bleed through on the edges (I painted the first one again today).
And lastly, here is the 2nd one after veneer has been applied and the veneer was trimmed. I'll mask it off and spray it again tomorrow.
