I've been working on building out a pair of X-Statics and an X-Voce for the last several weeks, and thought I'd share some photos of the process. I've been doing this with budget level tools and while my grandfather, uncles, and father all are/were cabinet builders, I went a different direction in my career and am squarely in the novice category when it comes to woodworking. I've made plenty of mistakes and learned a lot through the process.
That being said, I'm really happy with how these are coming together and thought I'd post some photos as a way to help others with less experience feel more comfortable taking on one of these projects. Apologies in advance for the rather haphazard photos, I decided after the fact to make a post of the build so this is not really a full fledged build thread. I also noticed I don't really have progress pictures of the X-Voce cabinet, but I'll get some finished photos up this week as I finish and assemble.
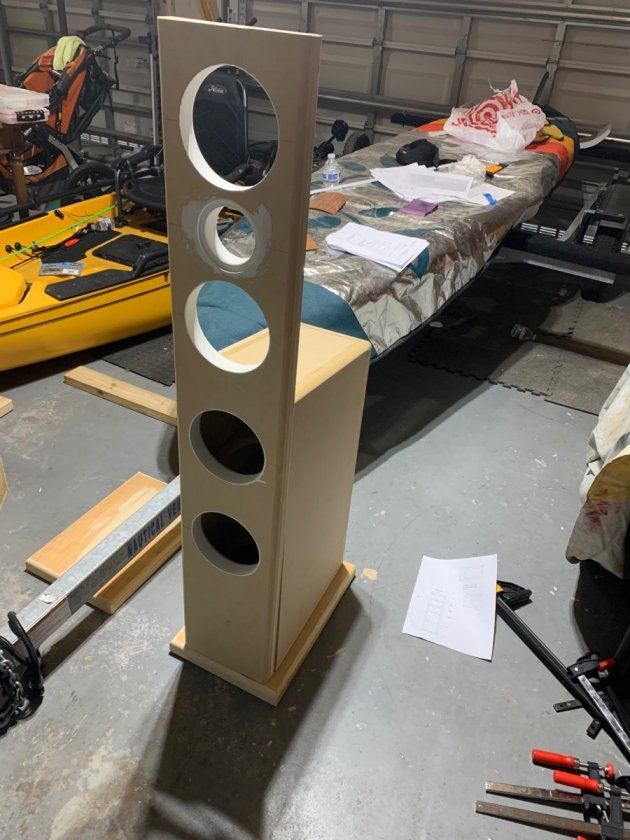
First up, the X-Static baffles which I made by cutting four pieces from 3/4" MDF and then laminating them together into pairs to make full length 1 1/2" baffle width, which I believe matches the original AV123 build approach.
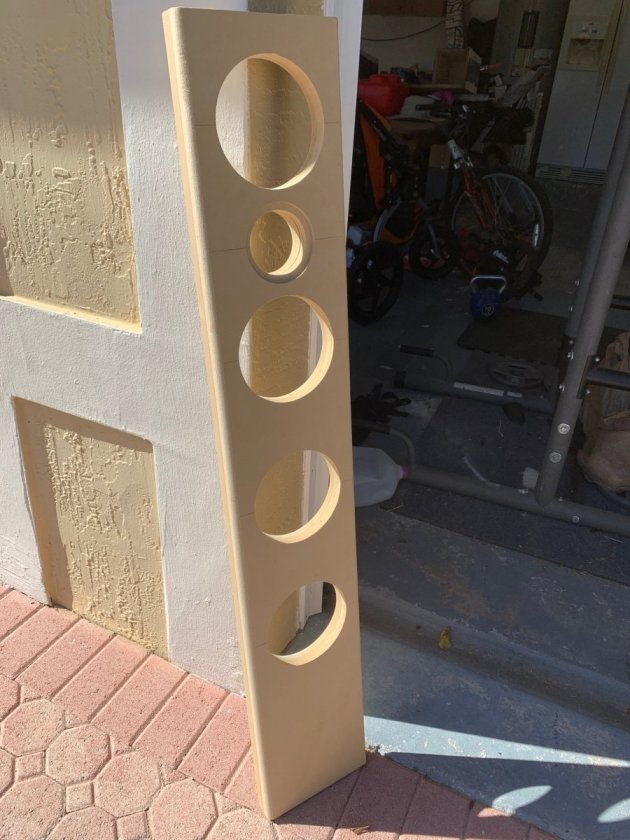
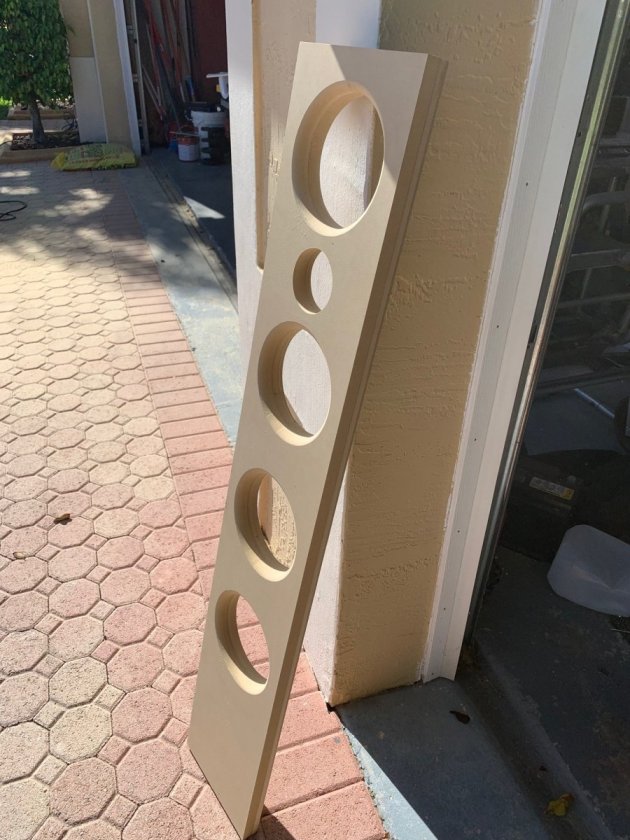
Since I don't have an easy way to cut circles through 1 1/2" of material, I started by aligning and clamping each pair together, then I measured and drilled pilot holes for the Jasper Jig through both boards, to ensure proper alignment. Somehow I ended up with less than perfect alignment once all the holes were cut, but I was close enough to be able to laminate using wood glue and clamps, and then use the trusty flush trim bit to get them perfectly aligned on the sides once that was complete. This did result in the baffles being slightly off from the original 8.5" width, which was not great when dry fitting to the boxes. Some sanding took care of that issue relatively well.
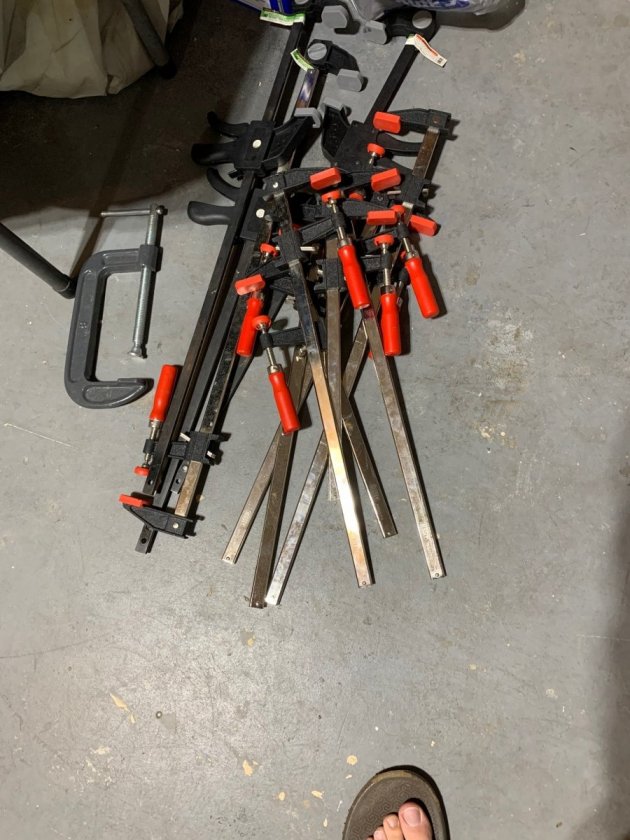
Next, some in progress clamping pics for the X-Static enclosures.
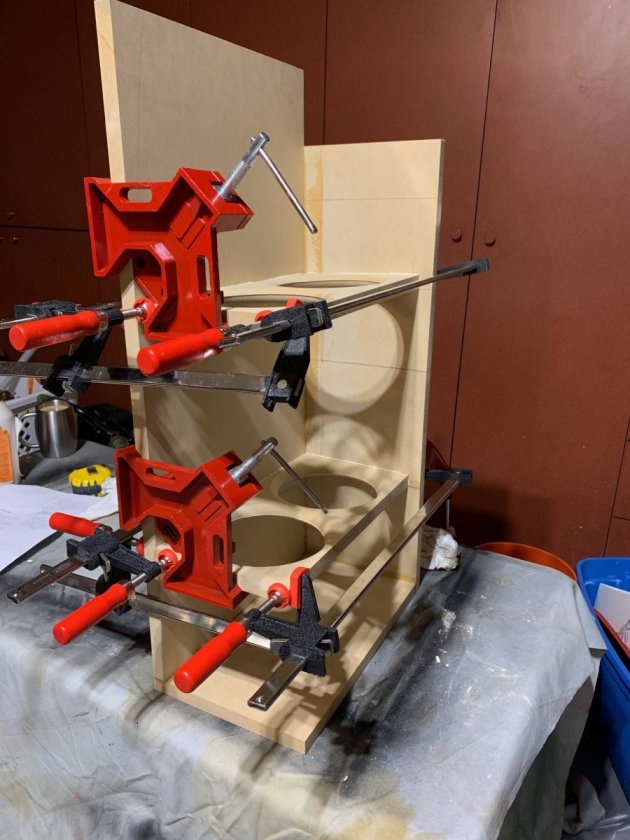
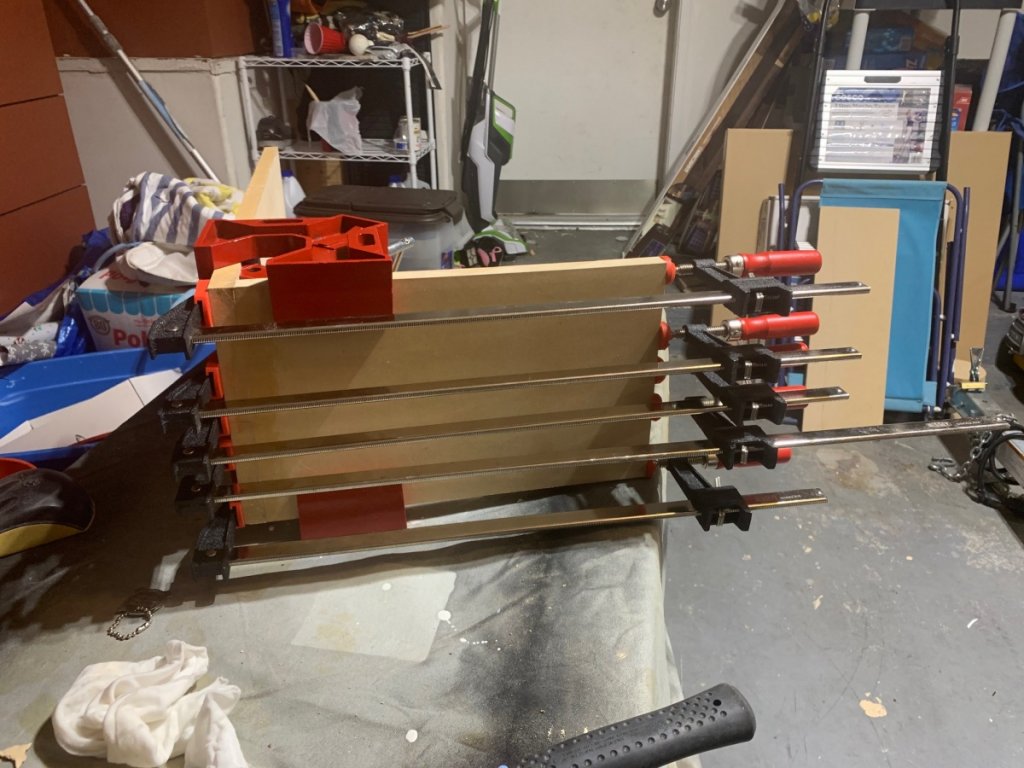
Clamps. Not pictured: more clamps.
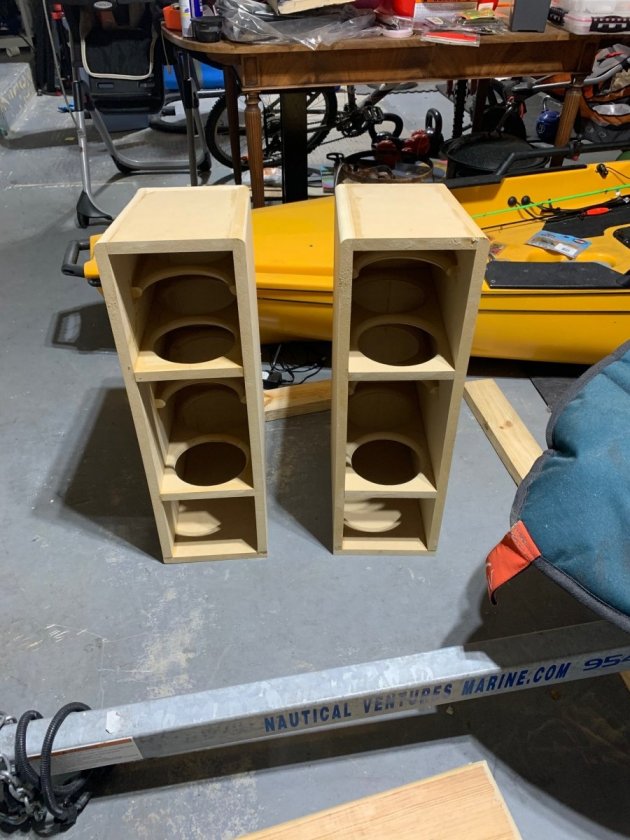
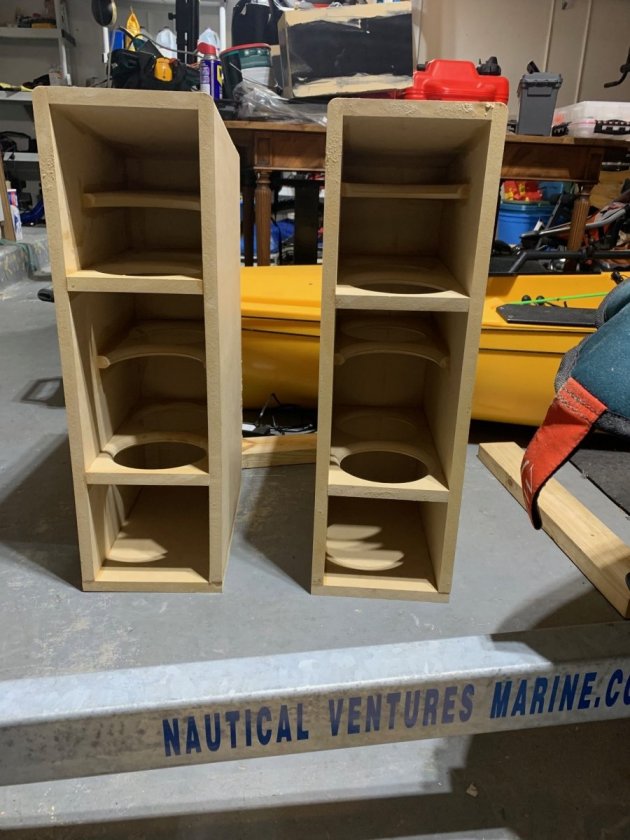
Enclosures trimmed out and rounded over. I noticed after the fact that I mounted one of the top braces on the wrong side of my mark.

Good thing it's in the inside where nobody will be able to see it!
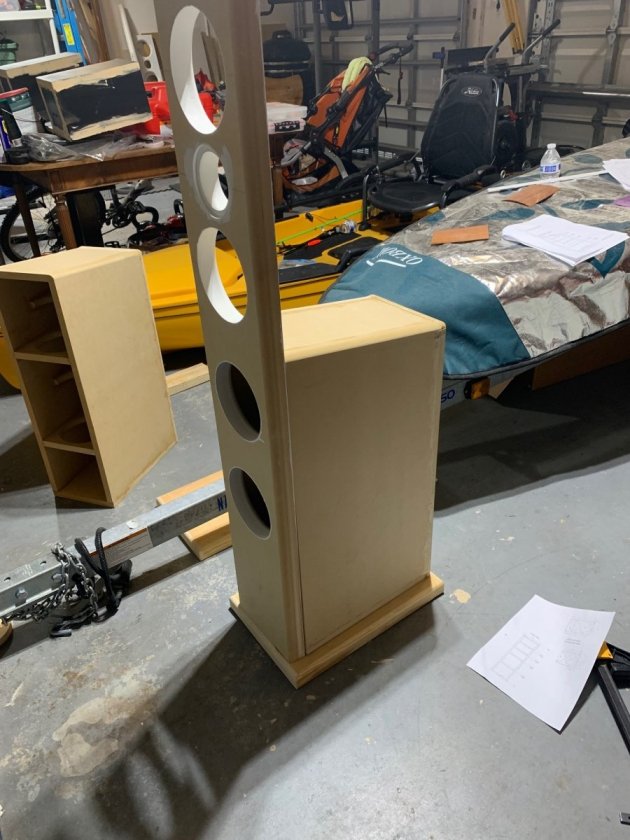
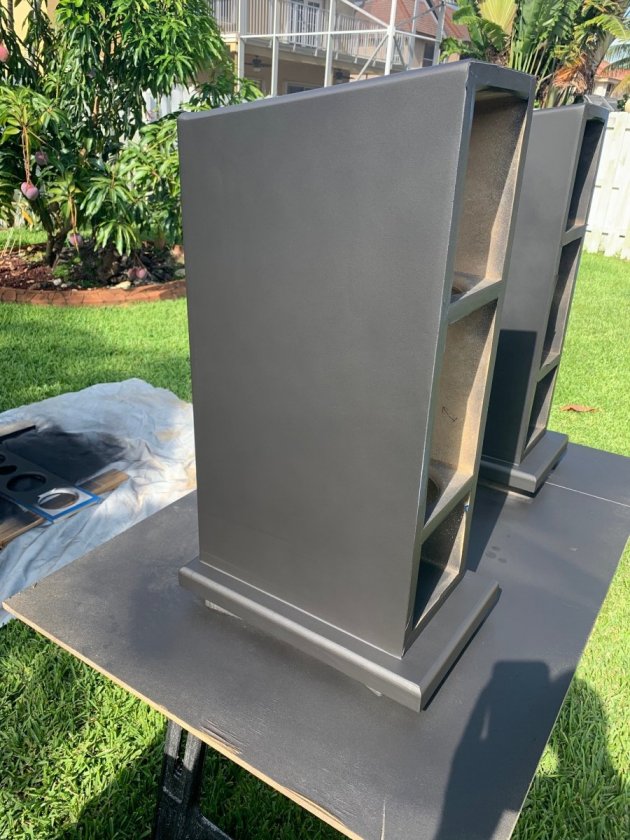
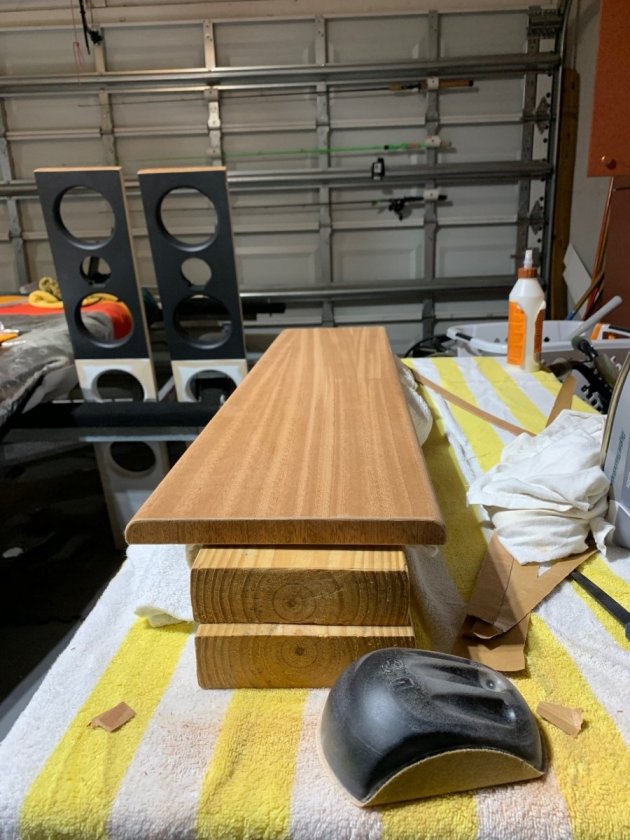
Dry fitting with bases, looking pretty good. Speaking of bases, I made another mistake there - I forgot to account for the extra depth due to the full length 1 1/2" baffle and ended up with a base that was not deep enough. Luckily I had some 2x12 scrap that I ended up liking better anyway.
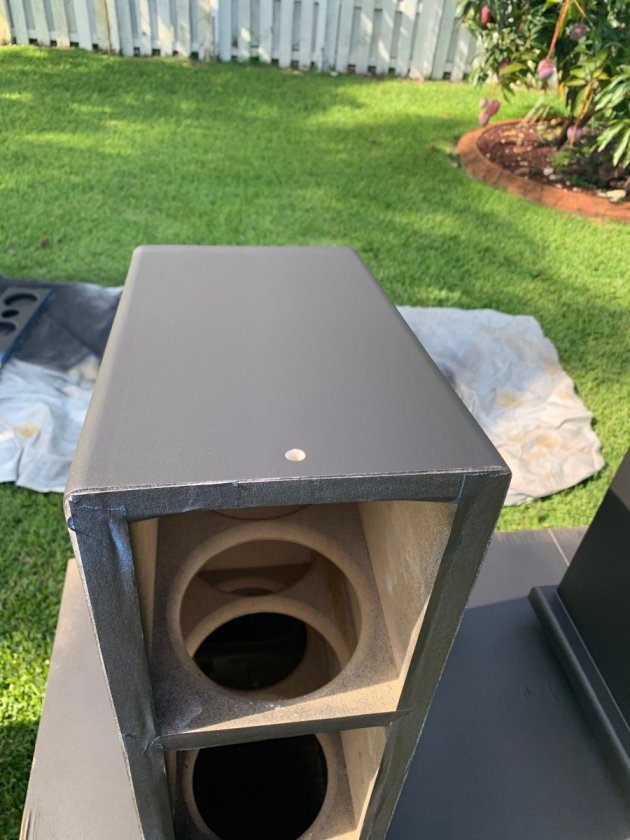
Spraying the flat black. I have a Graco airless gun that I bought for larger jobs like repainting the fence that worked fantastic for this. Really happy with the finish. Getting to this result took a LOT of sanding and a trip to the hardware store to replace the junk old belt sander I had, and to add a nice random orbital to the tool box. That random orbital made this job a LOT easier, I can't recommend having one enough if you plan to paint your project and want a nice smooth finish.
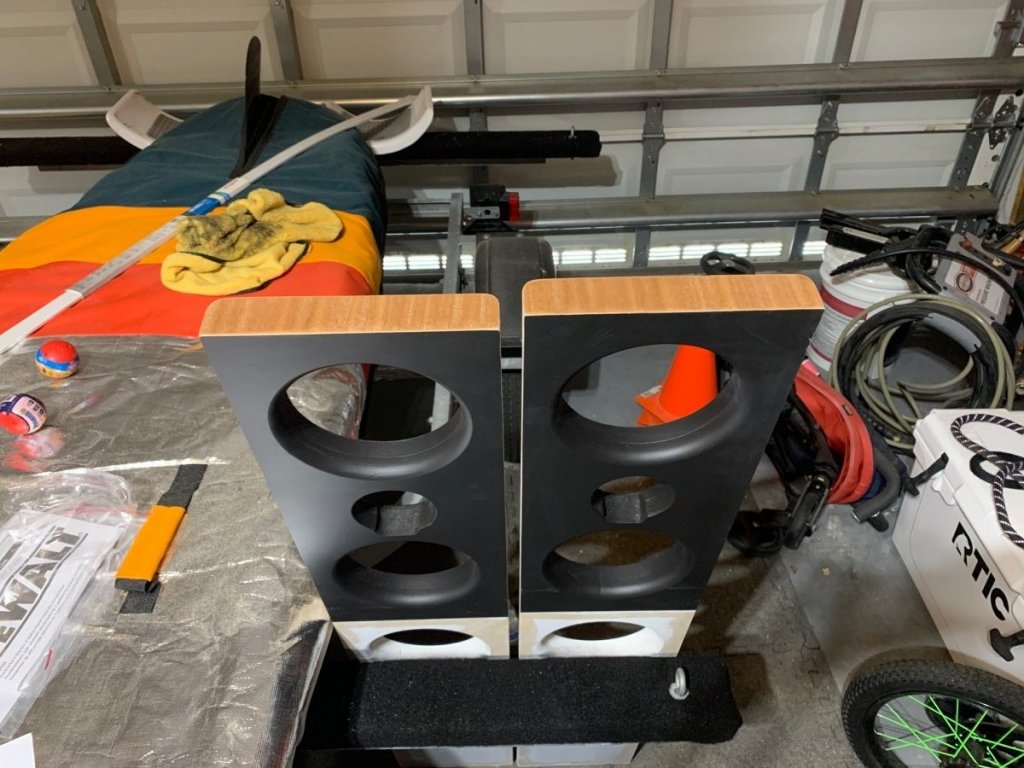
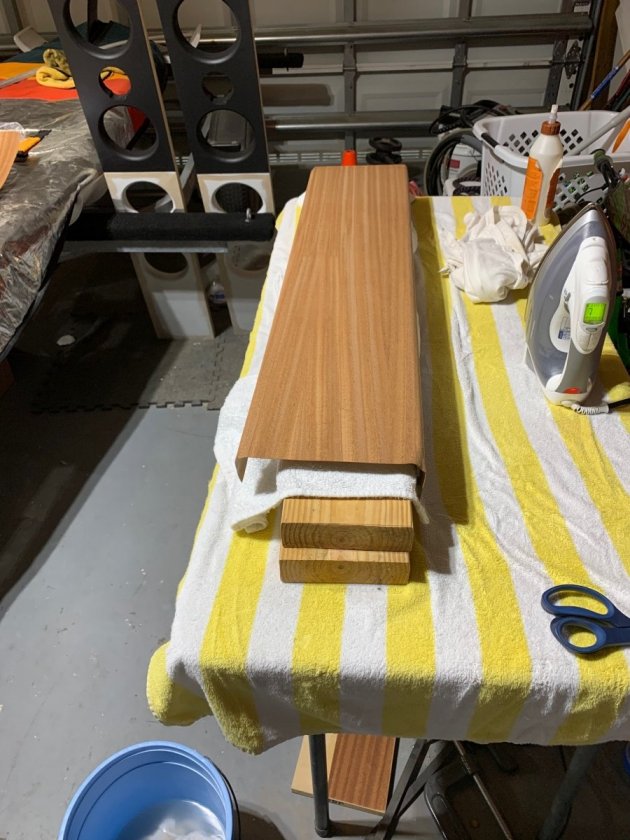
Applying veneer. I chose ribbon mahogany which I was able to get for a very reasonable price. I used the iron on method to apply this, which went pretty well overall. I need to invest in better files to make cleaner edges possible, but they still came out nice. Having the long straight grain of the mahogany made applying over the 1/2" radius no problem, luckily. I'll have a bit of touch up on the edges of the countersunk holes for the tweeters but otherwise I'm happy.
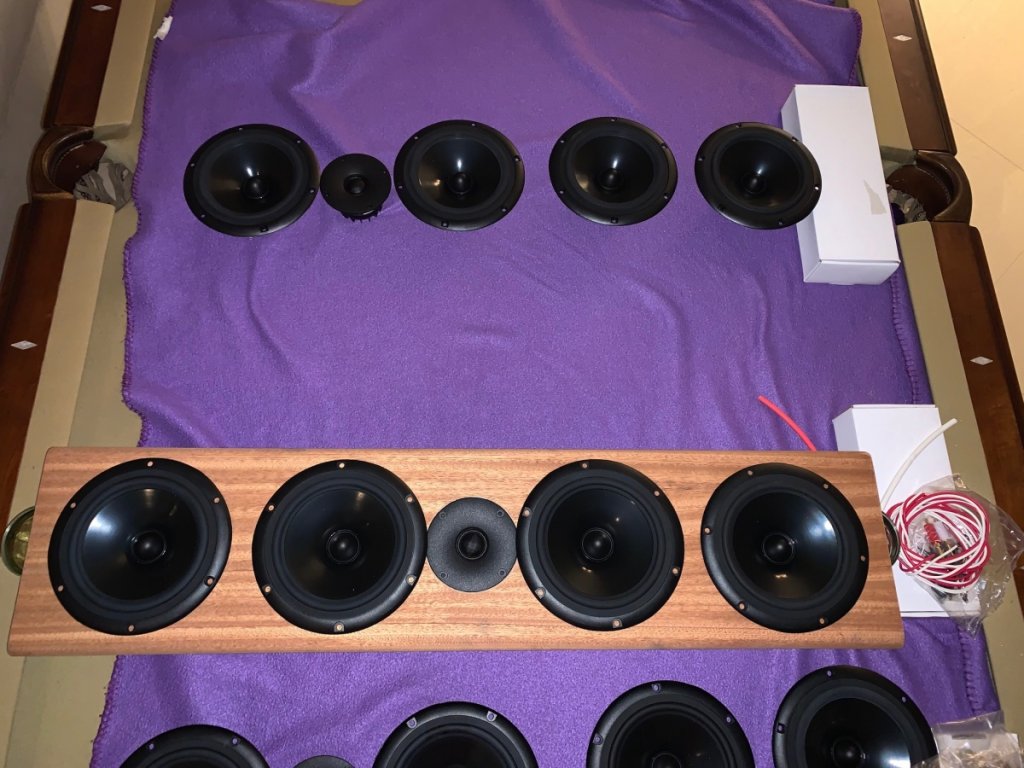
Test fitting all of the drivers in the X-Voce baffle.
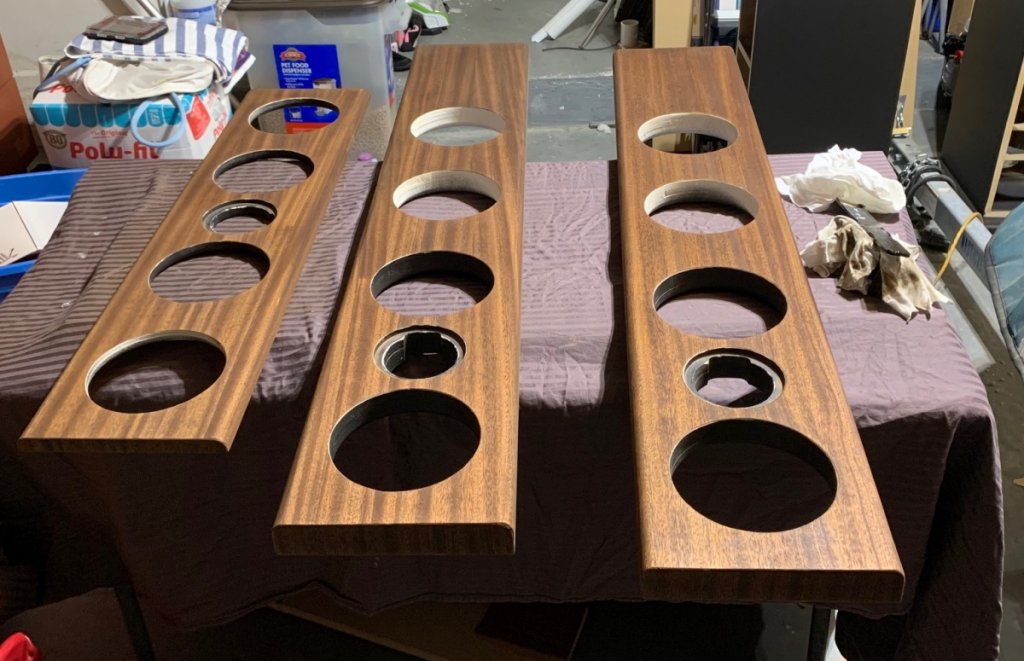
Stain applied. Once dry I'll do several coats of wipe on poly, and move on to application of no-res and assembly.
That brings us up to date through this AM! I'm hoping to have time to apply the poly this evening/tomorrow. Hope to have the panels glued on by Friday and assembly done Saturday. Stay tuned!