This adventure all started early in 2017 when I purchased a kit from CSS in order to revisit speaker building. I picked up a kit that included some excellent drivers, and the parts to build an Xover for them. I built that all up, and was OK with the results. Thread here -
http://www.audiocircle.com/index.php?topic=149044.msg1594265#msg1594265Not being one to leave well enough alone, I decided that although I liked what I was hearing, I wanted to see what else I could conjure, using some of the parts I had, and adding a few more.
I have thought about going active in the past, but up till now never had.
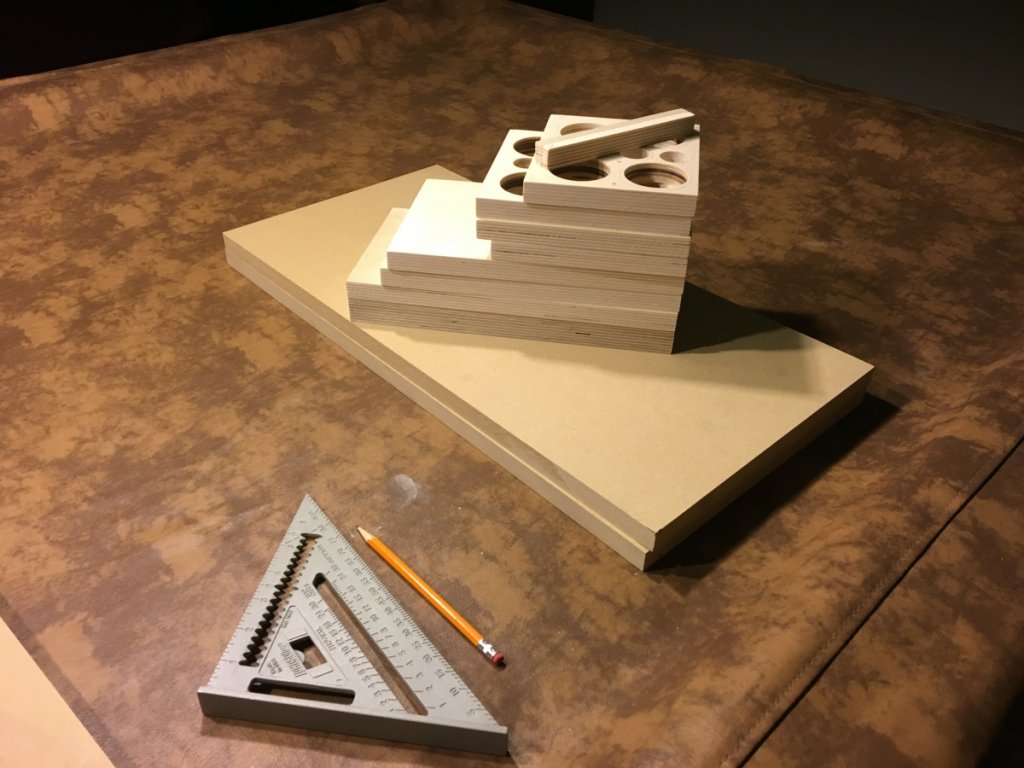
I decided to reuse the 7 inch woofer that came in the kit. It is the CSS LDW7, a modified Wavecor unit. I had followed with great interest a west coast Canadian audio company called RAW Acoustics. Al is no longer in business, but around 12 years ago I heard Al’s speaker called the HT3 in my home. That speaker used a relative of the CSS 7 inch woofer, so I figured I would start with “cloning” that enclosure. Al was kind enough to verify my own research about that enclosure, so I went about cutting up Baltic birch and mdf.
Lacking a table saw, I am not able to cut my own full panels, but having invested in a 10 inch miter saw I can now slice more accurate shorter lengths – this simplifies my life a lot, as I can get panels rough sliced at the local hardware store, and then trim at home.
In a dramatic departure from the kit (which used the LDW7 in a 2 way with a modified Aurum Cantus ribbon tweet), I decided to try out a full range driver. I had in the past really enjoyed the 8 inch Visaton b200 driver on OB, but felt that it was too large and beamed too much for this configuration. I was specifically looking for a few 4.5 drivers, but happened across a lightly used set of Tang Band W5-2143 5 inch full range drivers in Canada via Canuck Audio Mart.
Those modeled really well in a 0.2 cubic foot sealed enclosure and did look like it would roll off nicely around 100Hz and should be simple to integrate with the LDW7 somewhere between 200-500Hz.
I chose an 8 inch wide baffle for the full range driver, close to the design of the HT3 from RAW Acoustics where the 4.5 inch driver was with a 7 inch woofer and ribbon tweeter. I stuck with the 8 inch width for the bass unit, as I had already used it in a sealed enclosure for the 2 way and liked how it worked. Using the same width baffle for both the bass unit and the upper units simplified the look in my mind.
I made my own concessions to build errors, material availability, layout, bracing etc along the way. I wish the world was perfect, and that my plans could be brought to fruition affordably and to spec. But it ain’t! So, each time I found myself backed into a corner with my own mistakes or limitations I took the time to think it through and commit to the solution I figured was best. These are not speakers destined for production, they will never be sold, and I don’t need anything back from them but a good experiment and hopefully some good sound.
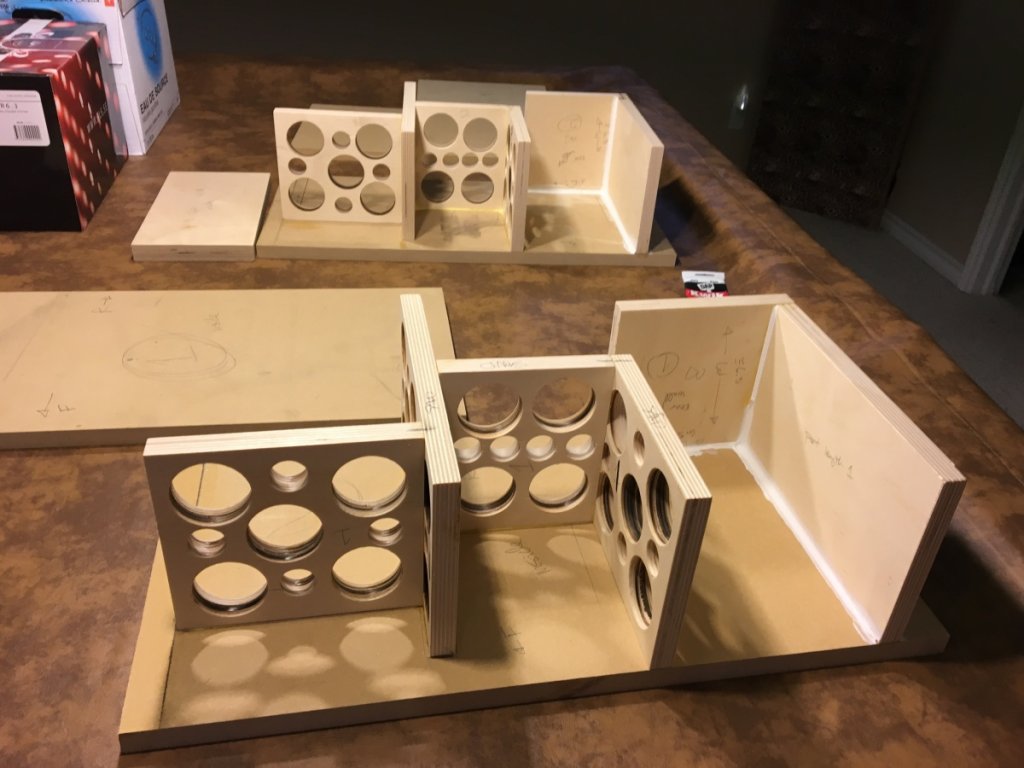
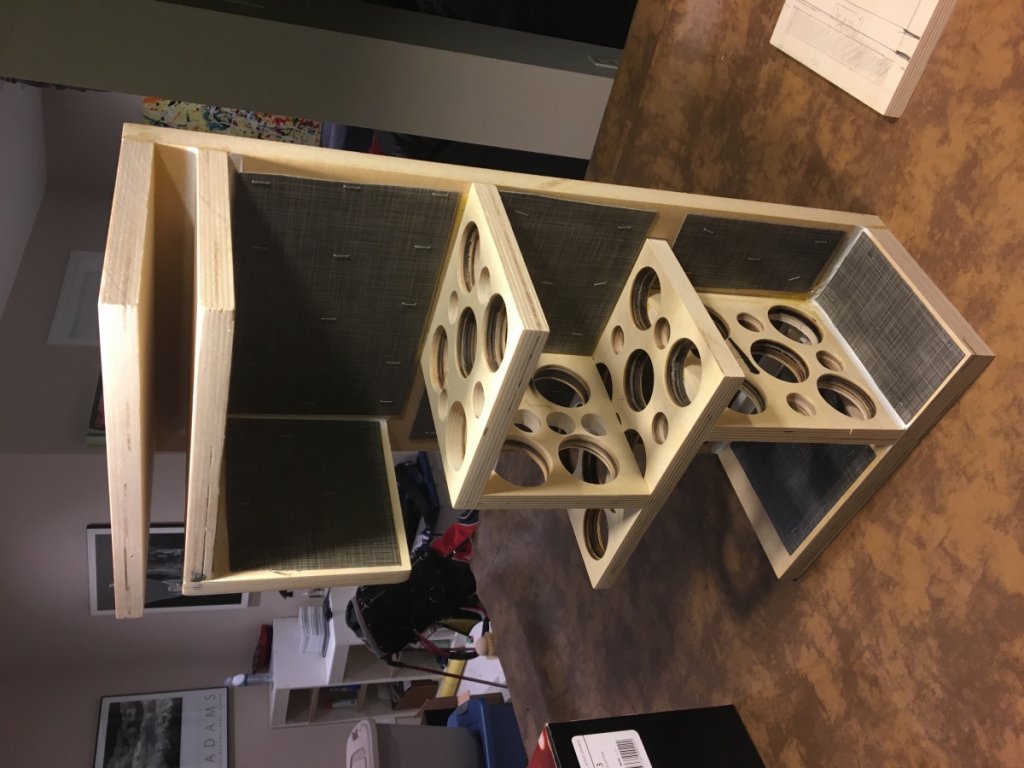
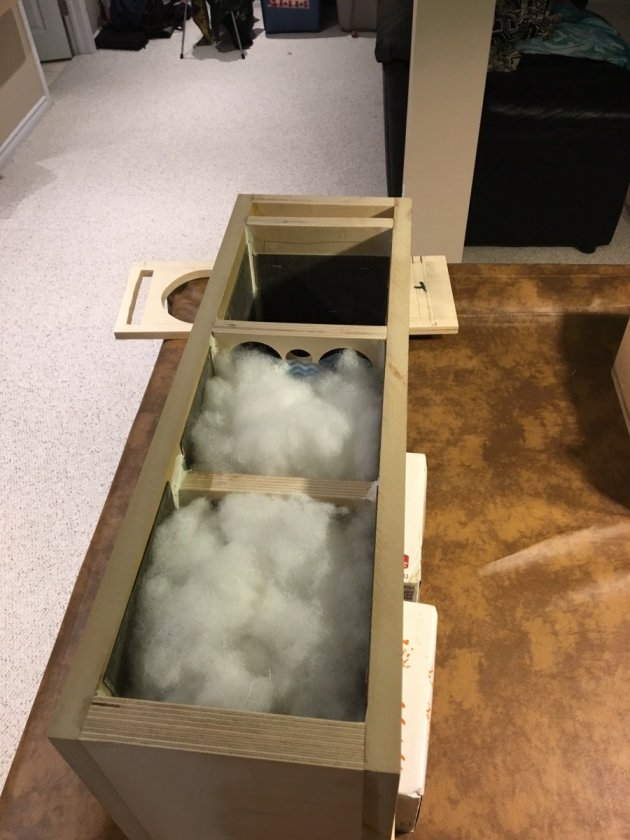
They are largely built from 18mm Baltic birch sourced locally. There are braces made with ¾ mdf, ½ mdf, and a few of the panels are 24mm Baltic birch or a 24mm combination of ¾ and ¼ mdf. I used pillow stuffing from Walmart. I stapled peel and stick tiles to portions of the interior of both enclosures. I braced what I considered well, and used my drill press and a hole saw to make entertaining patterns that for my eye mixed strength with displacement compromises well enough.
The “finish” is simply rattle can spray bomb. I sanded the upper units to 400 grit and then shot them with primer. I waited 24 hours and followed up with 3 coats of satin black. I sanded lightly with 1000 grit between coats. The lower enclosures received a sand to 220, and the same primer and satin finish.
The outriggers are simple 1/4 inch flat aluminum sourced at Lowes. I drilled out holes for the eBay spikes, added some extra bolts to their length to secure them, and sprayed them black too.
The result is not pleasing to the eye under close review. I am cool with it. Some of my favorite motorcycles from my youth were well built mechanically and then spray bombed. I see it as a hot rod approach where you spend the $ where it counts, and do some lip service to finishing the project when the $ runs out. I love the beautiful finishes I see on commercial and other DIY efforts. I don’t have the patience to learn to bondo better, and sand for hours, and learn to apply a decent finish – so I don’t bother to. It’s just me I am trying to please in the end. These will never find their way to our living room, so it ultimately does not matter to me. These look great in the low light conditions of my basement!
I intentionally did 2 enclosures per side, as I anticipate my life long interest in building and refining may continue, so to build 1 enclosure for each side would have meant committing to a design for good. This way I can try OB uppers in the future if I am inclined.
I knew in order to go active I would need a couple of things. An active crossover, and at least 4 channels of amplification. I spent tons of time researching pro active crossovers, and the Minidsp. I decided to get going with the cheap option, and sourced a used pro crossover – a DBX 3 way unit. I will revisit this in the future, especially as with the higher end Minidsp units measurement becomes integrated.
Along the way I decided to reuse my Audio Refinement Multi 2 amp for the bass units. For the wide range driver I bought an old Sugden P28 and had it recapped and the input connectors replaced.
I am using my Pioneer AVR as the preamp for now. I still have the NuForce AVP-16 and may put it back into play in time. Going active required me to use 2 sets of speaker cables, and so the use of my Pioneer AVR allowed me to just remove my on wall HT mains and “steal” those speaker cables for the Tang Band portion of my new build.
It’s all in the basement anyway, so I have a fair amount of control with limited WAF concerns…
During the time it took to build up and “finish” 4 enclosures, the kit from CSS really did come a long nicely. I listened to it for 8 months before removing the woofers and installing them in the new ported enclosures and trying my new creation for the first time.
Firing it up for the first time was a fascinating disaster.

I had run the uppers on their own before and knew that they sounded good. Trying to integrate them by ear proved an interesting journey. I took the time to read more about the pro Xover, and soon tried reversing the phase of the upper speakers vs the bass units. Instant massive improvement. I fiddled with the Xover point for a bit, and settled on 240Hz at 24dB per octave. I massaged the gain on the woofer enclosure and soon found a spot I quite like.
Perfect? Of course not. Pleasing to this whack job? You bet

Many thanks to Bob at CSS for his assistance with parts and Al from RAW for his generous sharing of ideas from his own explorations.
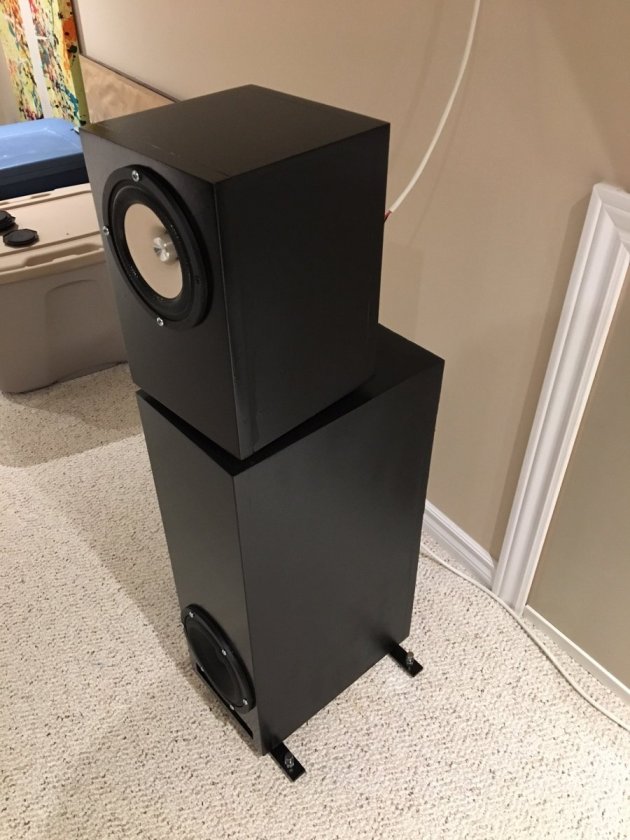
Below are some pics of the 6 month build process.


For those of you paying attention, yes that is my "spray booth" fashioned out of drop sheets and my shed!

Now the lower units build up: