Finally got to finishing up on these cabinets. After I posted those last couple pics, I wasn't happy with a few spots and tried sanding a few scrtches out of a couple areas .... bad move as I went through the poly and into the oil finish lightening up some spots.. I quickly found the only real way to fix it was to completely sand off the poly frm the baffles and side panels on each cabinet, I just couldn't get an even color doing it any other way. So, thjat is what I did and needless to say, it really wasn't much fun. Took a long time doing it all by hand but I eventually got all the poly off and was able to apply another couple coating of the oil and get the color even again. After letting it dry for a few days again, I started re-applying the poly.
These two pics will be very similar to the above but they are different, they are the cabinets after reoiling and re applying the poly
Not sure if it's really noticable in the pcutres, but I am really glad I went to the extra trouble of doing this. I was able to fix the edges up much better and get rid of the few scratches that were really bugging me.. The issue with the edges was caused from using the veneer trimmer while trimming across the grain, caused little tear outs and chips.
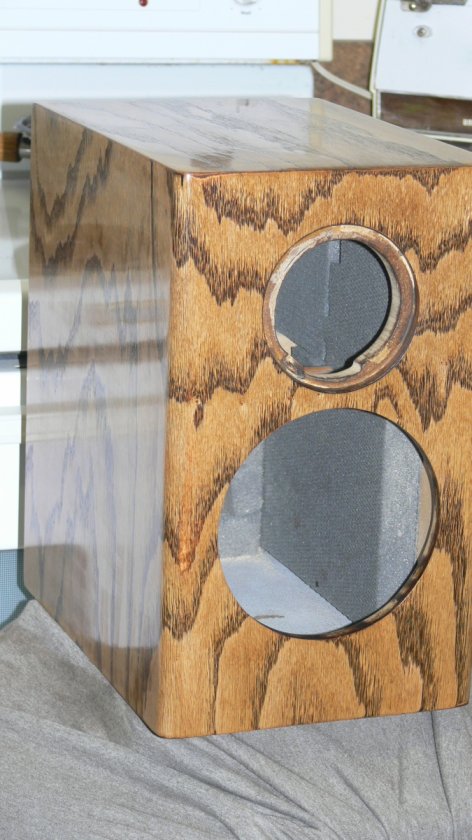
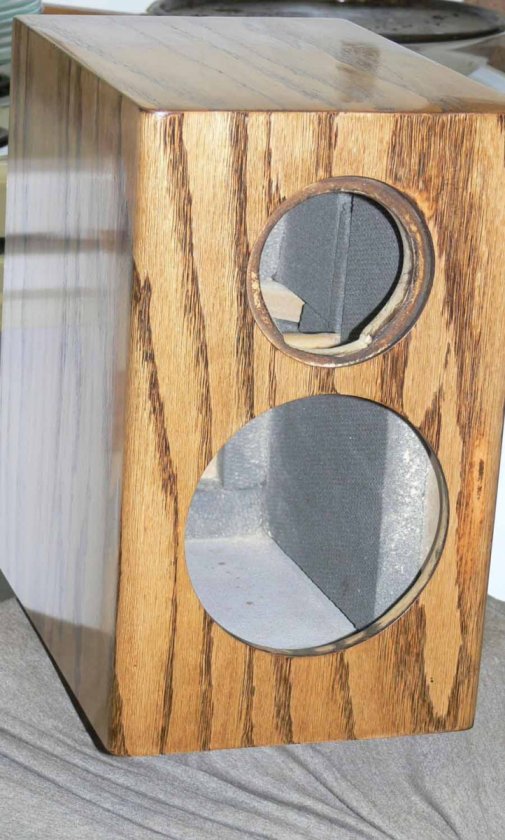
These were assembled using the stock cross overs , I did add a .1 uF Vishay Roderstein bypass cap to the woofer circuit and lined the cabinets with no rez. The tweeter cutouts did not come out perfect due to the issue with the flush trimming of the veneer over the precut tweeter rabits. I won't do it this way again, lesson learned. I actually thought the issue was going to be worse than it was
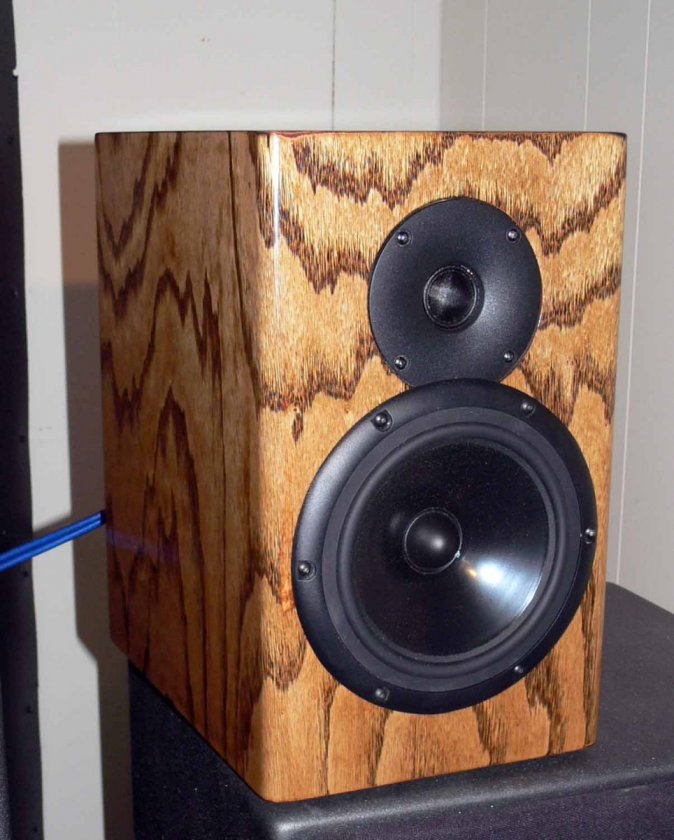
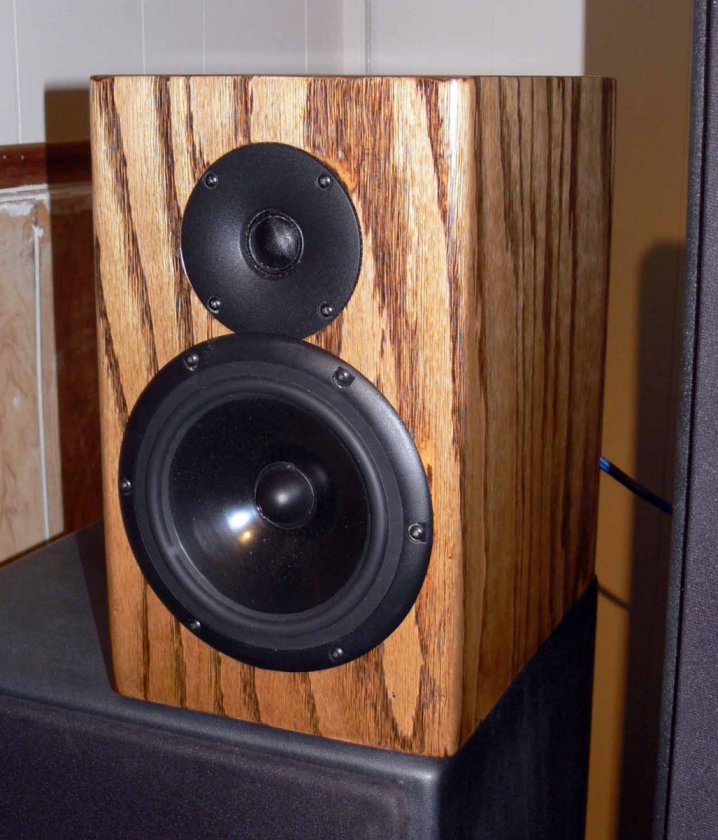
Again, as with the first pair of these I built for my neice , I was very impressed with these. Not sure if it is the extra bypass caps, the no rez, or a combination of the 2, but the bass is definitely cleaner and I'd say faster I also used a bit more acusta stuf in these cabinets... went with 1.5 oz in each cabinet instead of 1 oz which I used in the previous pair.
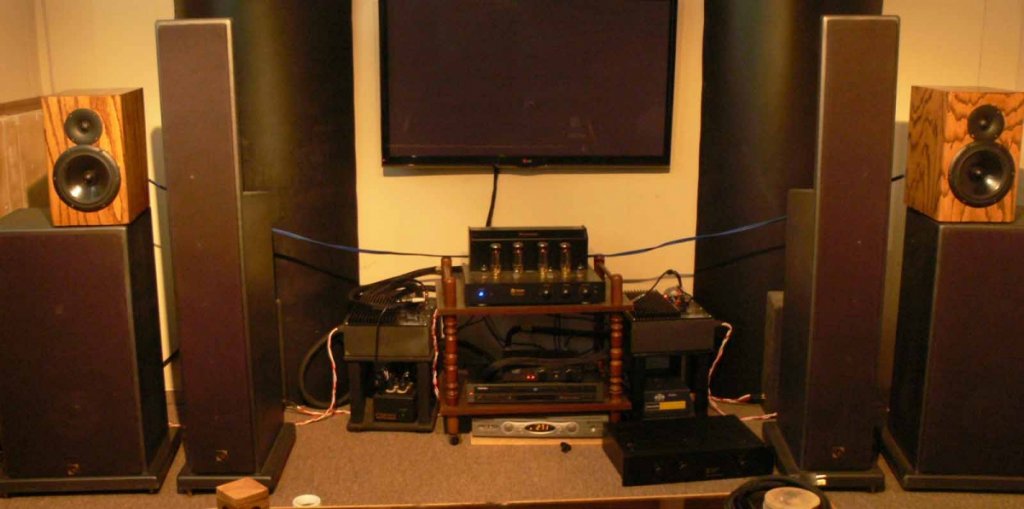
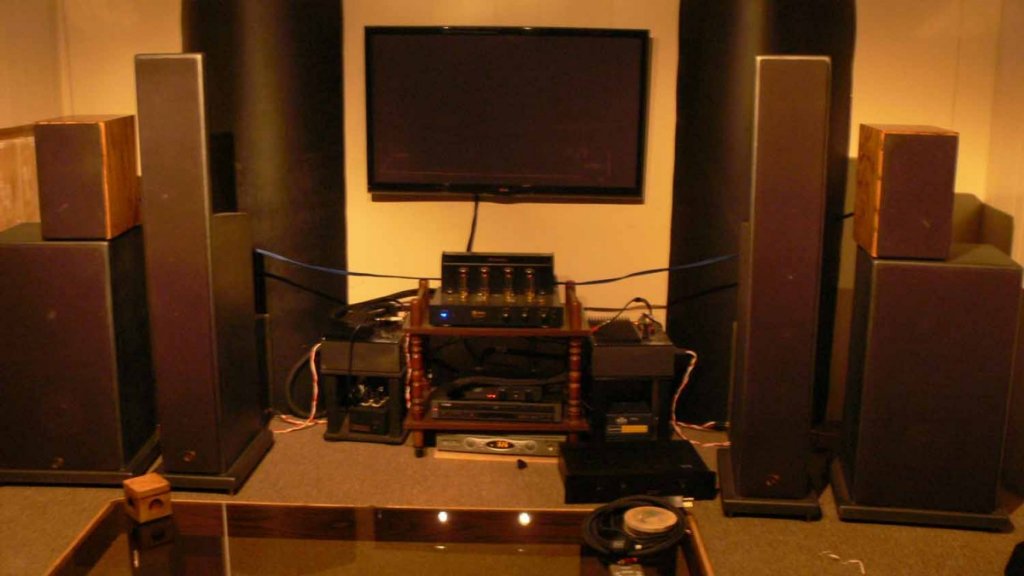
As many others have said, these things are a steal at the price Danny is selling them at. With a sheet of norez and the couple Vishay caps, the parts total was only $214. My room is 18x12 (approx) and my amp is pushing out about 34wpc where my tubes are biased, and these little guys easily fill the room, Ihaven't even tried them with the subs yet . . I just listened to Double Vision (Bob James/David Sanborn) and the sound was really nice. When you sit there and listen and think of the price, it kind of makes you scratch your head a bit.
For anyone wanting to try veneering for the first time here are a few things I learned that may prove useful
It isn't overly diffuclit, just take your time and read lots.
I was worried about using the PVA as an adhesive but it worked fine. No adhesiion issues, just coat both the substrate and the veneer, let it dry, then iron it on with a clean cotton piece between the two.
A veneer trimmer works great when trimming with the grain but not so well cross cutting. Next time I'll use some frog tape and flush trim bit in my router (run the bearing on the tape, thanks Mike).
Wipe on Poly works well but if you use any color under it, be extra careful not to sand through or you'll have a really tough time getting the colr back even which was why I ened up sanding back to the 90 degree corners at the back edge of each side panel.
Don't precut any rabits unless they are very deep as a flush tim bit , even with a thin bearing, won't work to trim them out after applying the veneer.. You can get some bits with a thin shoulder instead of a bearing that some guys have usied, but I'd just cut these holes after the veneer has been applied. Plain cut outs are fine as you end up with a decent surface to run the bearing on, just be careful of those shallow rabits.
When I disconnect them and pull them off the H-frames, I'll grab a couple more shot including the rear of each cabinet.
Was a fun project and now I'm not scared to veneer anymore

-jay