In March '12 we moved to a new house. Great size, we got a pretty decent whole house audio video system thang that is pretty good, but nothing usable for serious listening but nice for background stuff. That said the house does not have a usable room for audio... It has been awful. My equipment has been sitting in the basement since the move in. As some of you probably know when moving into a new home one thing after another comes up. Landscaping, electrical, new bookshelf to make the wife happy etc etc etc etc. My audio room always was the back burner item. Well NO MORE!!!! I finally have been able to work on my system. We have an unfinished basement and slowly but surely I have been able to get things done.
First and foremost though I want thank Brian Pape with GIK, his guidance and knowledge have been absolutely crucial and very much appreciated. From the dimensions of the room to what method I need to use to hang the drywall Brian is a good guy to know.
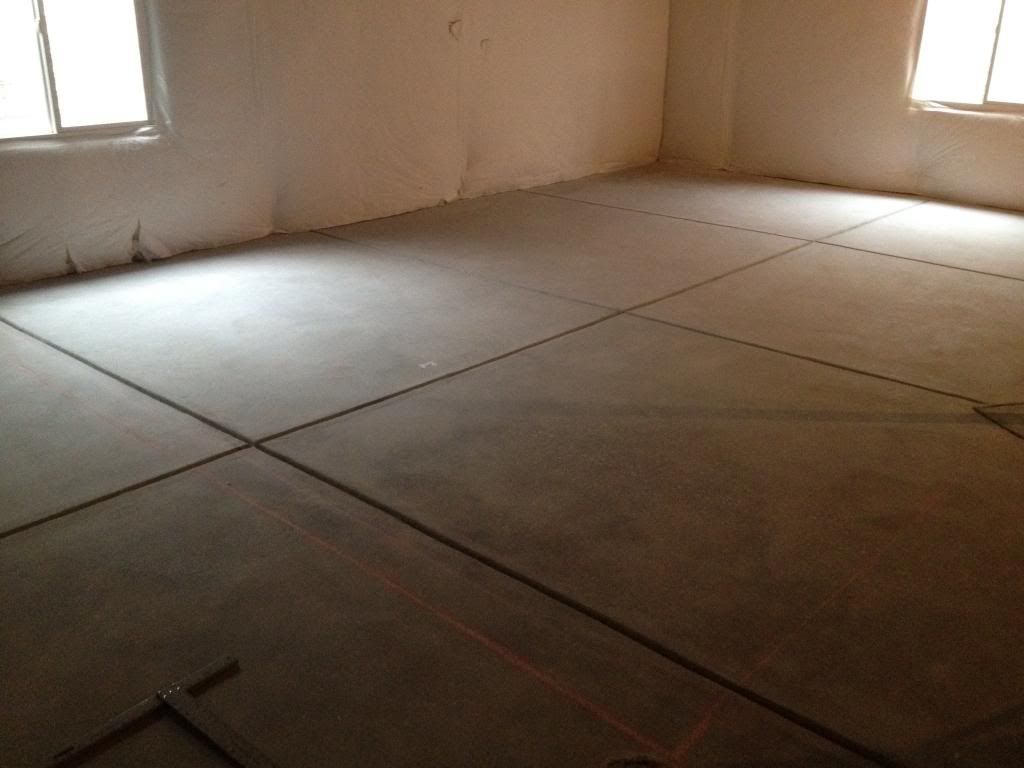
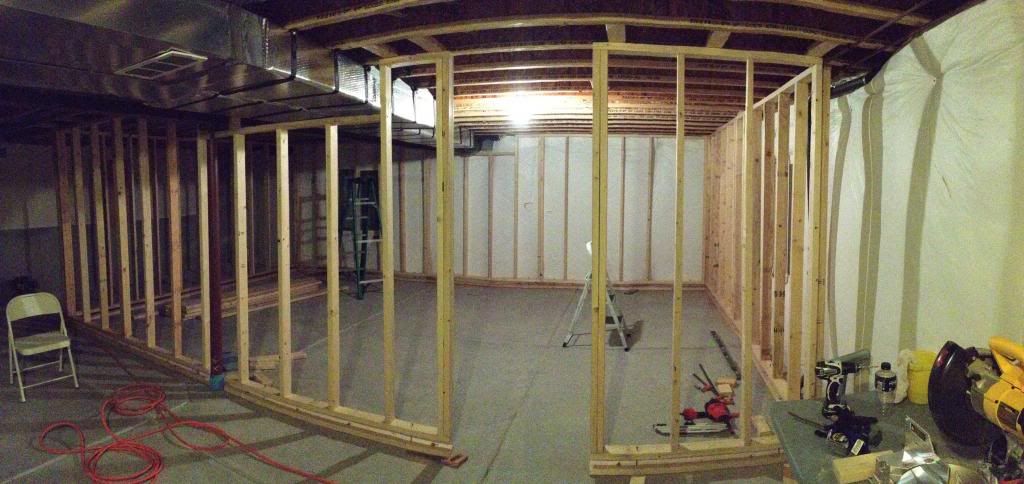
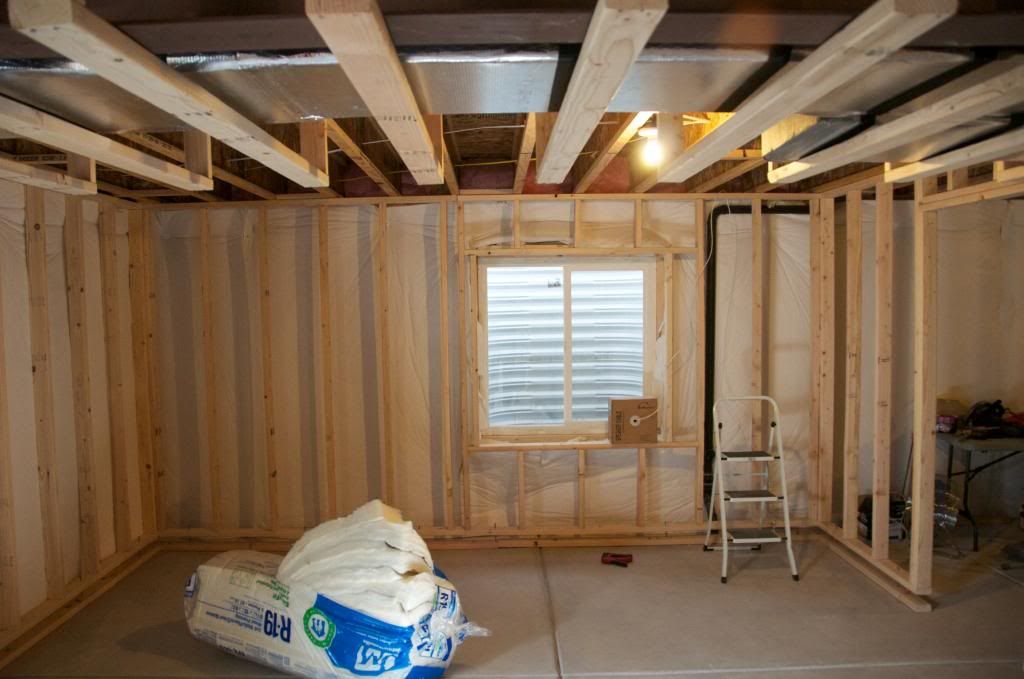
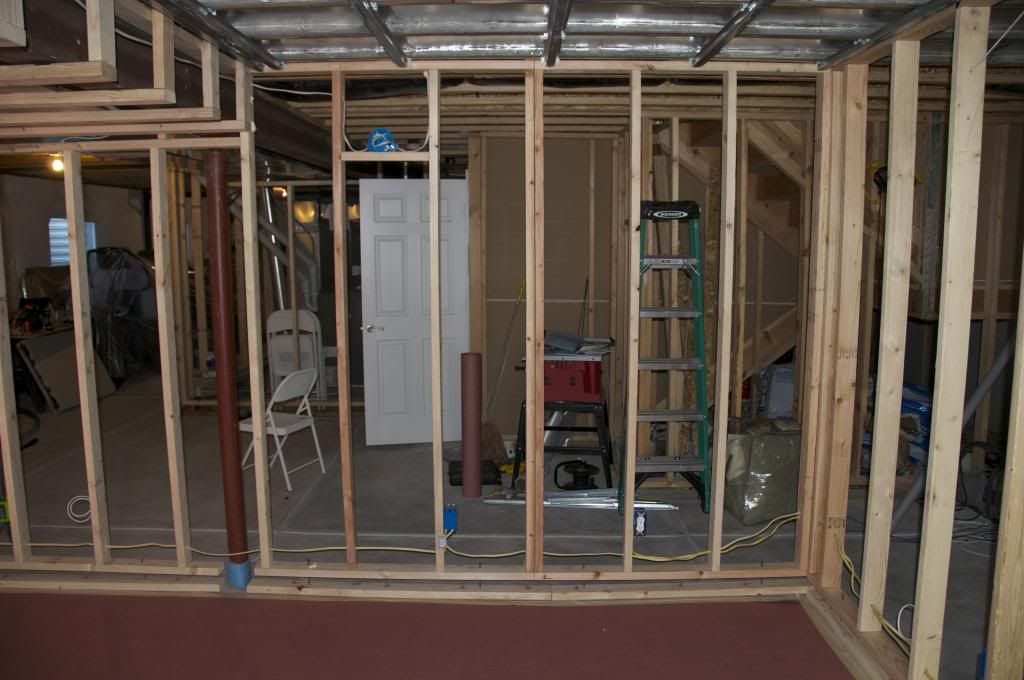
This is where I started:
What I wanted for this space:
first and foremost I want to have a room that is the best possible use for stereo.
I may add surround sound as a secondary feature in the future, but for now it is not a priority.
I want a closet where I can put noisy equipment and video equipment.
I want space in the closet for a computer server for music, video, and photos for the entire house.
Dedicated sub-panel for the audio room with dedicated circuits.
Room dimensions are 15x22x8 (stupid low ceiling!!! UGH!!!) Brian helped me pick the dimensions. They are intended to reduce the potential for bass reinforcement issues and should give me a much smoother overall response.
HVACFirst up, HVAC. I hired a guy to do all this, so can't take credit for it. All the metal returns and supplies were completely gutted from the audio room. This is what was up:
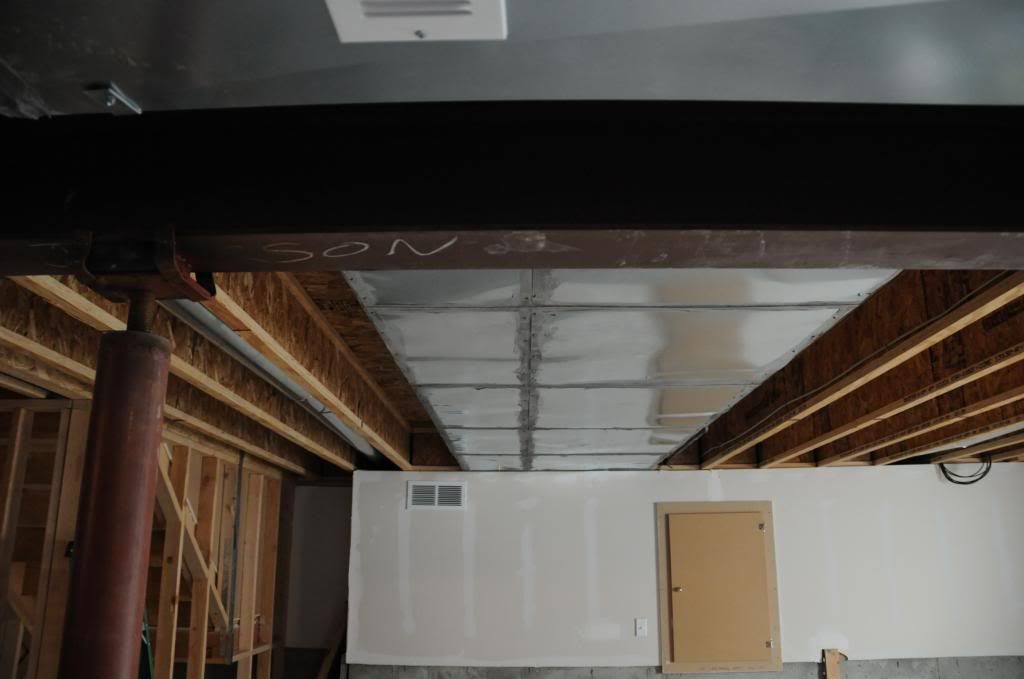
cross section of the air return metal
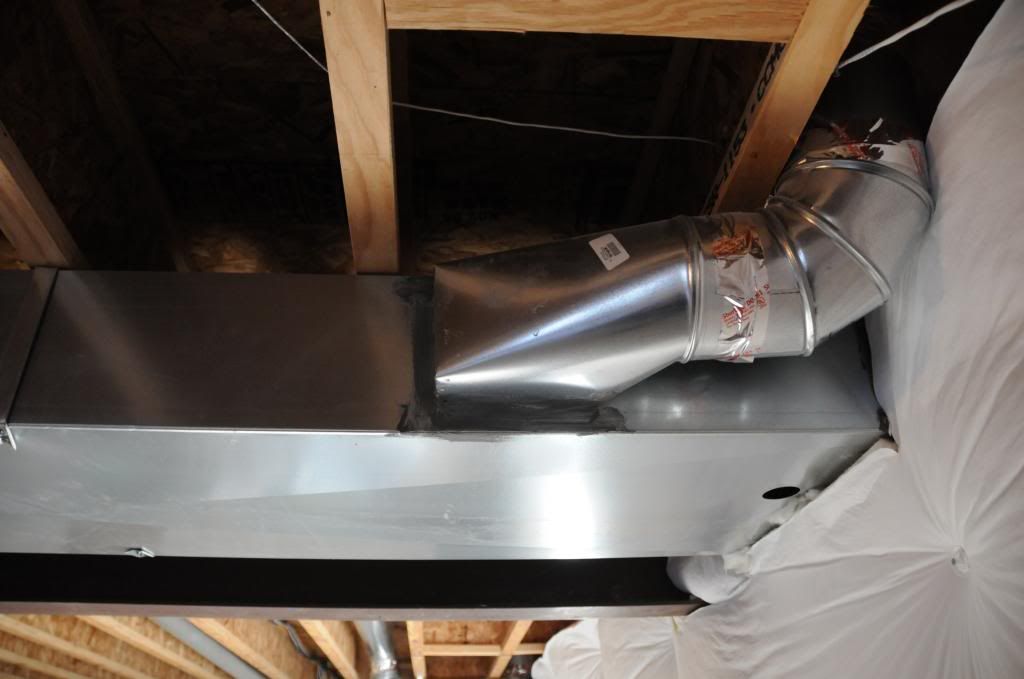
This is what my HVAC guys put up.
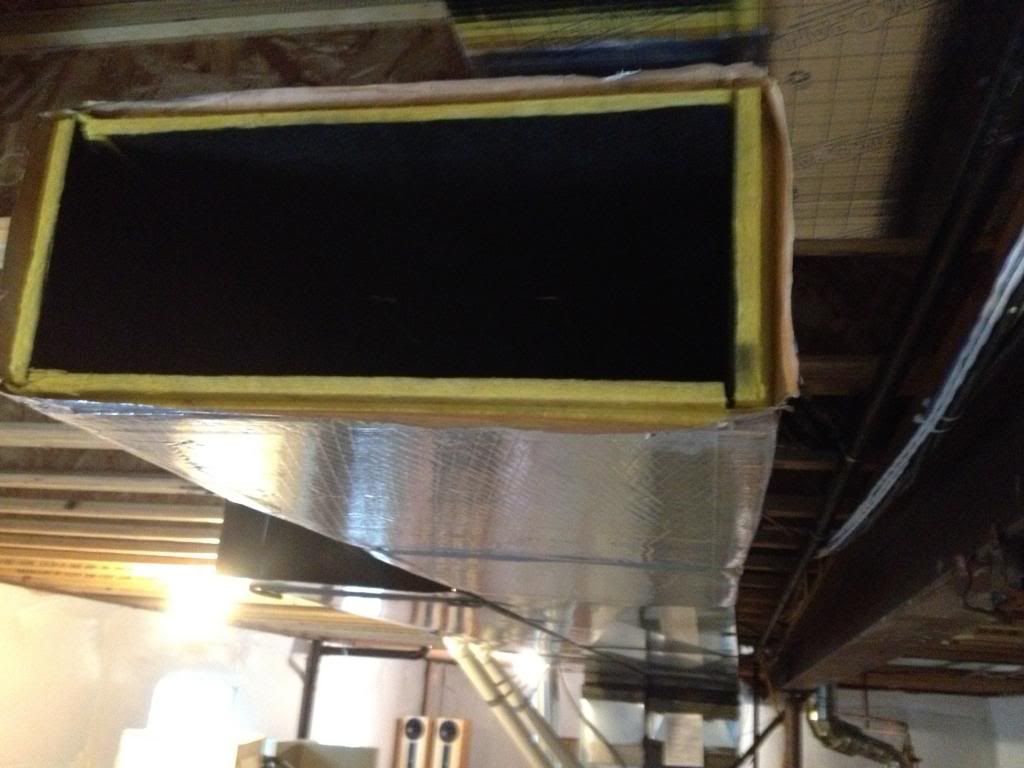
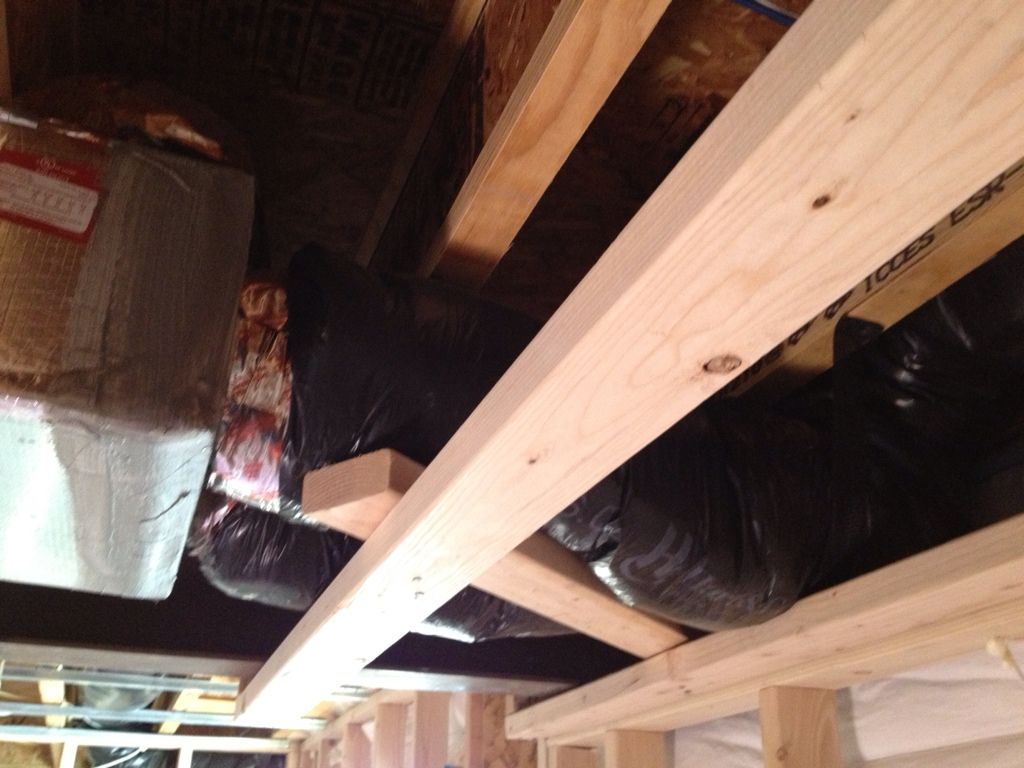
Note the black plastic tubes, they are the slinky tubes wrapped in insulation.
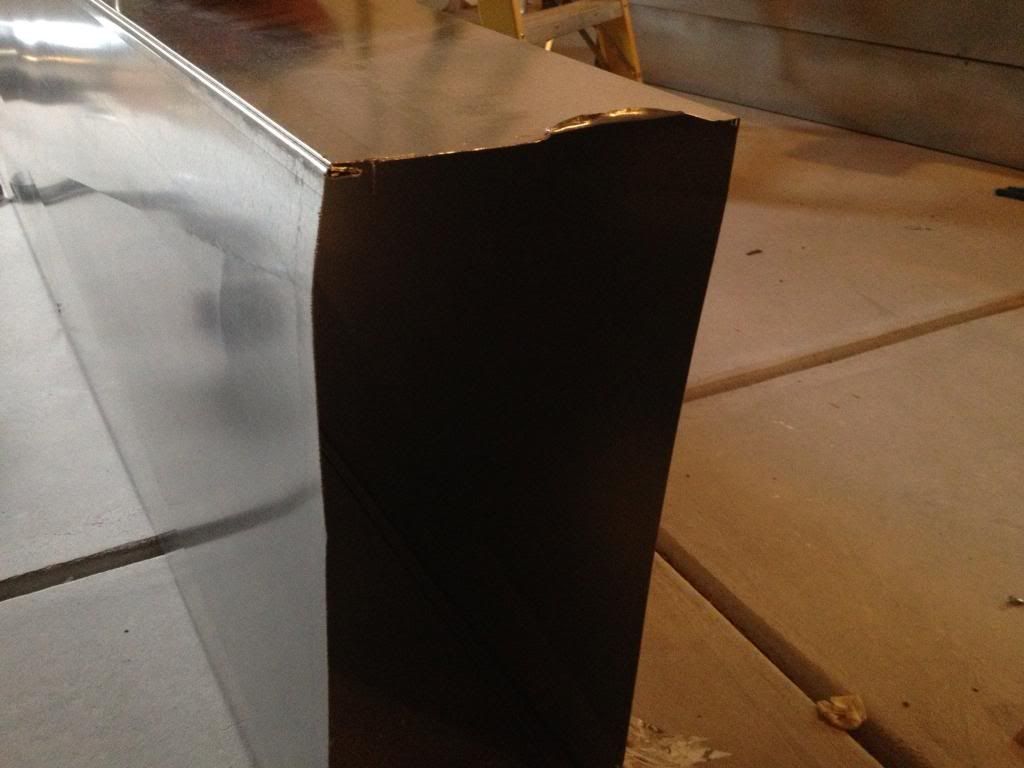
This is fiberboard which is basically compressed fiber glass. They had to actually build the boxes. Obviously all of this is to reduce or eliminate sound transmission through the ventilation system. The round metal tubes that lead to the vents were also replaced with flexible slinky tubing wrapped in insulation. While the room is not done yet it is obvious that this setup is doing it's job! You used to be able to hear the furnace and AC through the vents upstairs. It was so loud that my poor mother couldn't sleep when she stayed over when we first moved in. Now you can't even hear the furnace at all! Nor can I hear voices from upstairs. HUGE improvement. Another thing I had the HVAC guys do is move our condenser unit that used to be right outside of the window-well of the audio room, another LOUD thing. Worked out well! It is much closer to the furnace room and the noisy copper pipe that used to go right through the audio room is now completely out of the room.
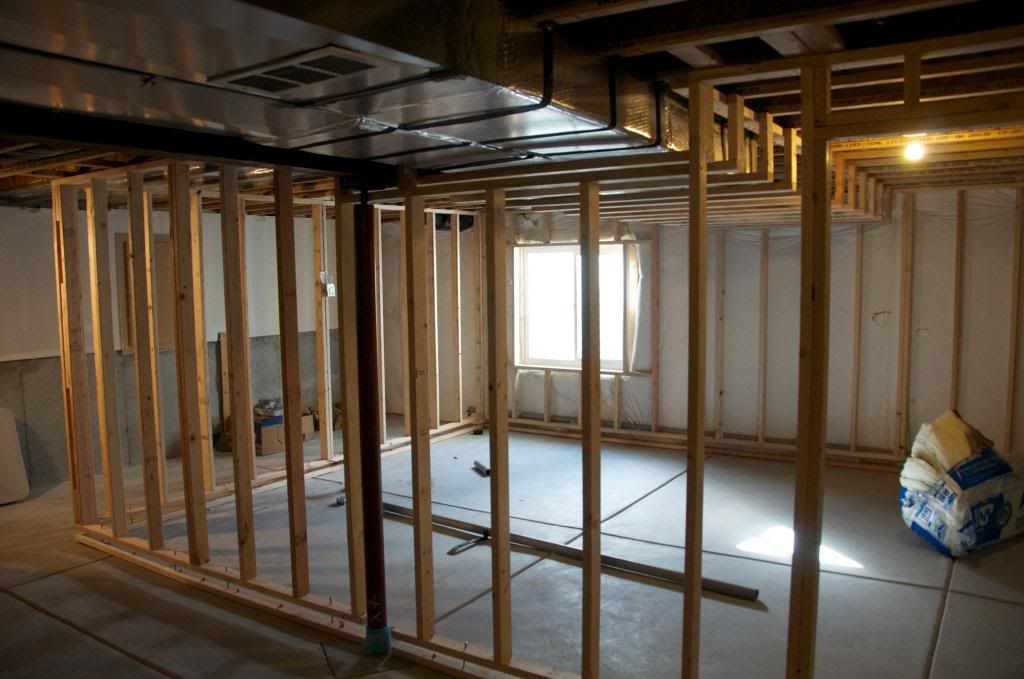
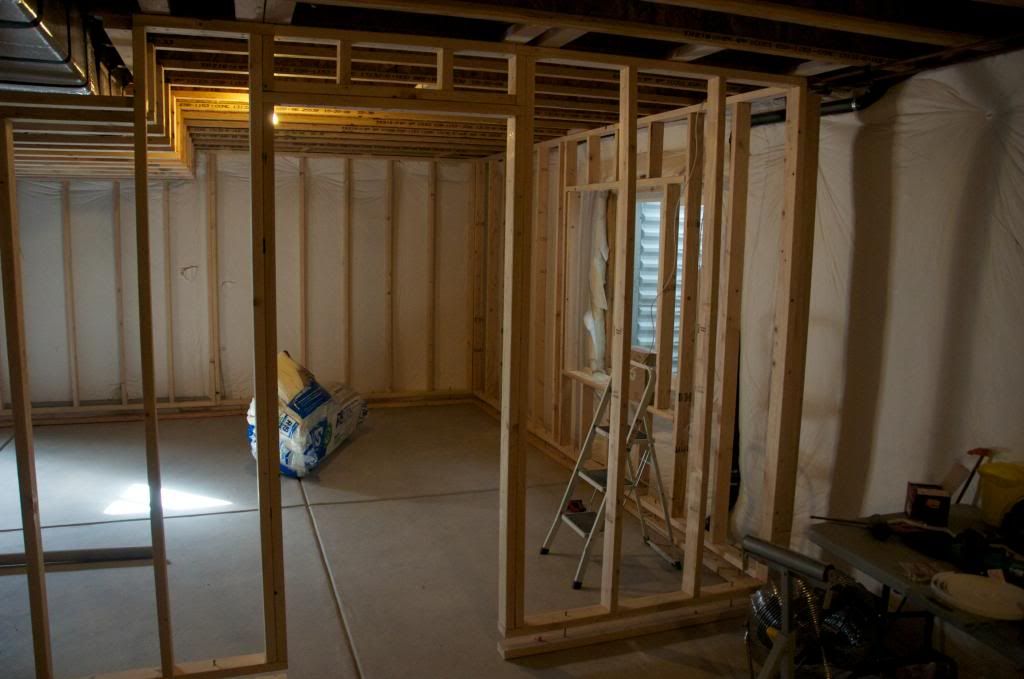
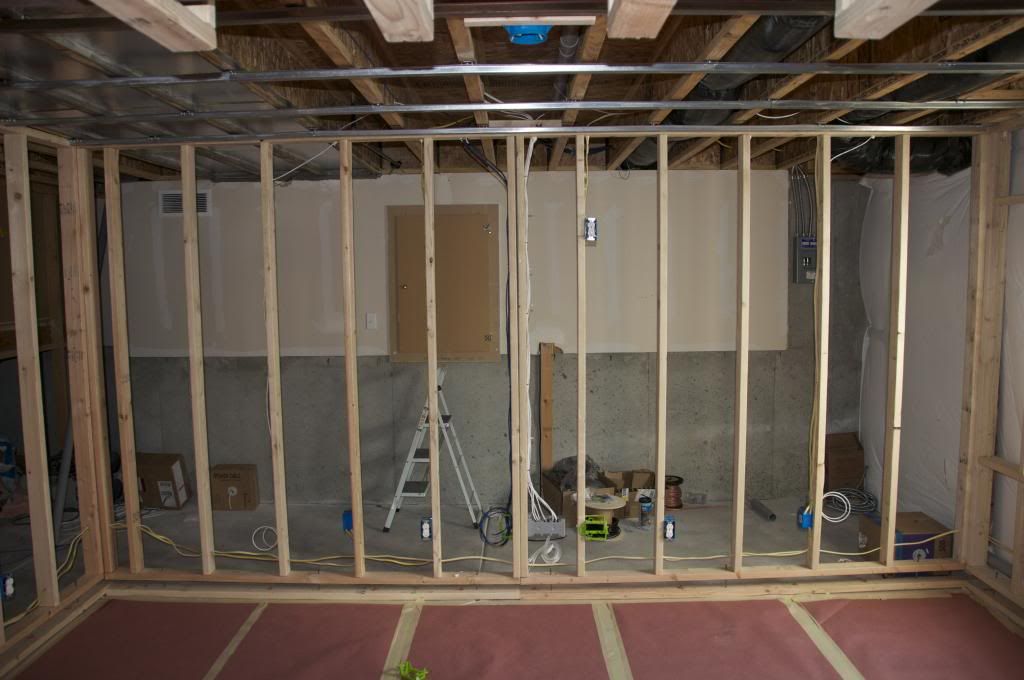
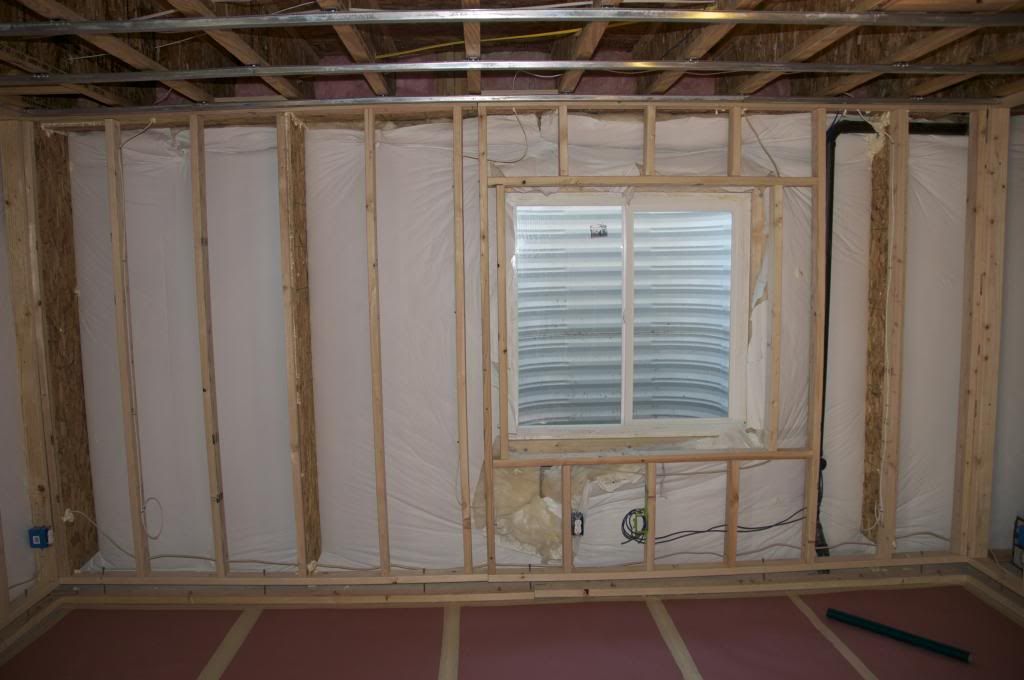
FramingOnce HVAC was done it was time for me and my Dad to do the framing. We have to float our walls in CO when on a concrete slab according to code, nothing can be built from the floor, it must be built from the ceiling joyce.
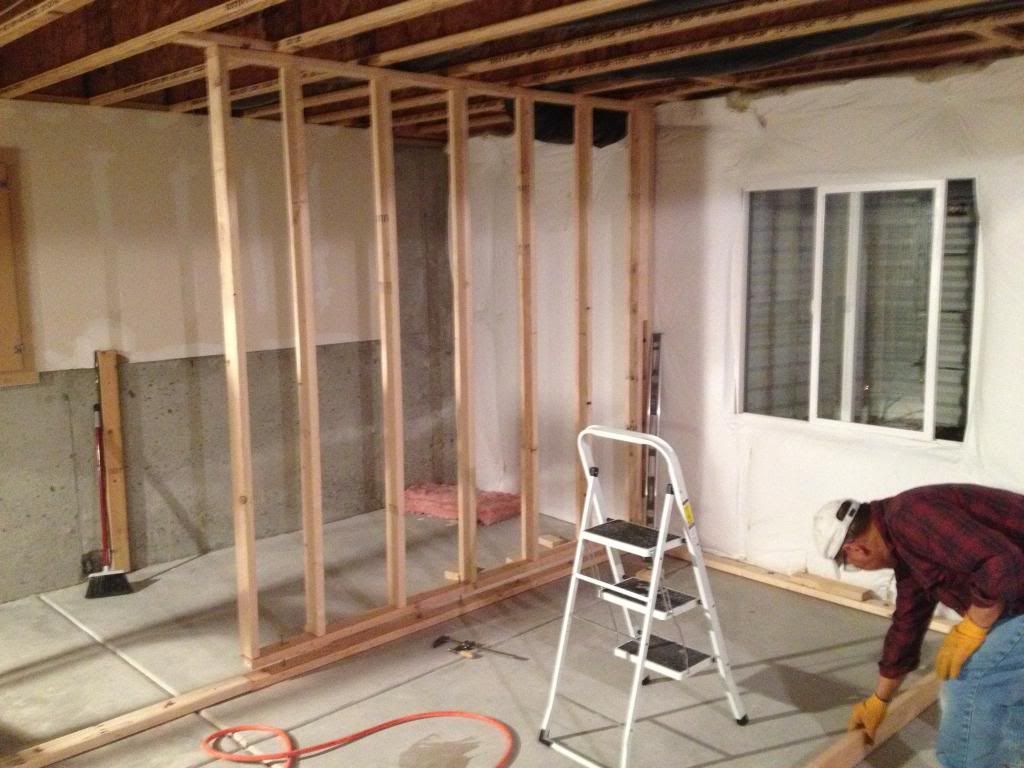
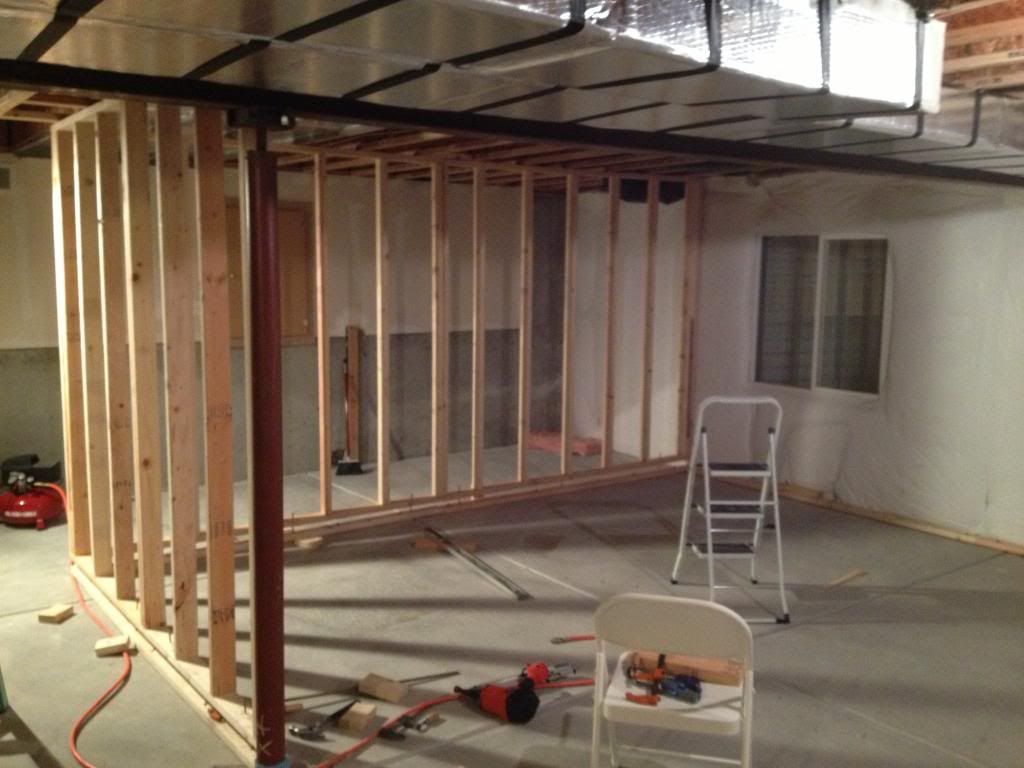
iphone panorama of the finished framing.
Front from outside
rear from outside
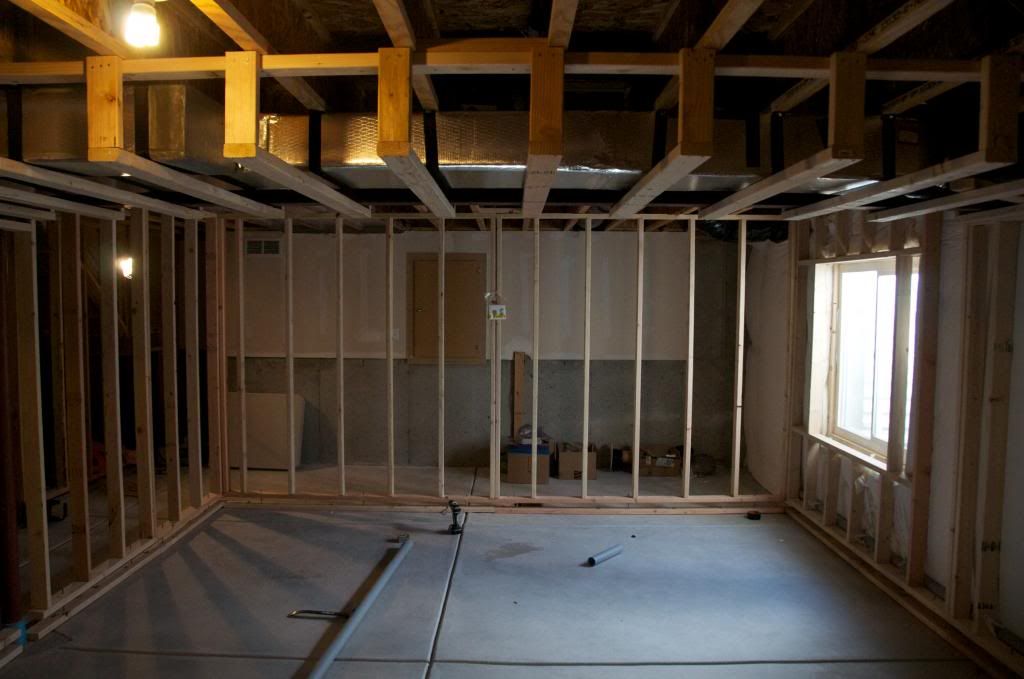
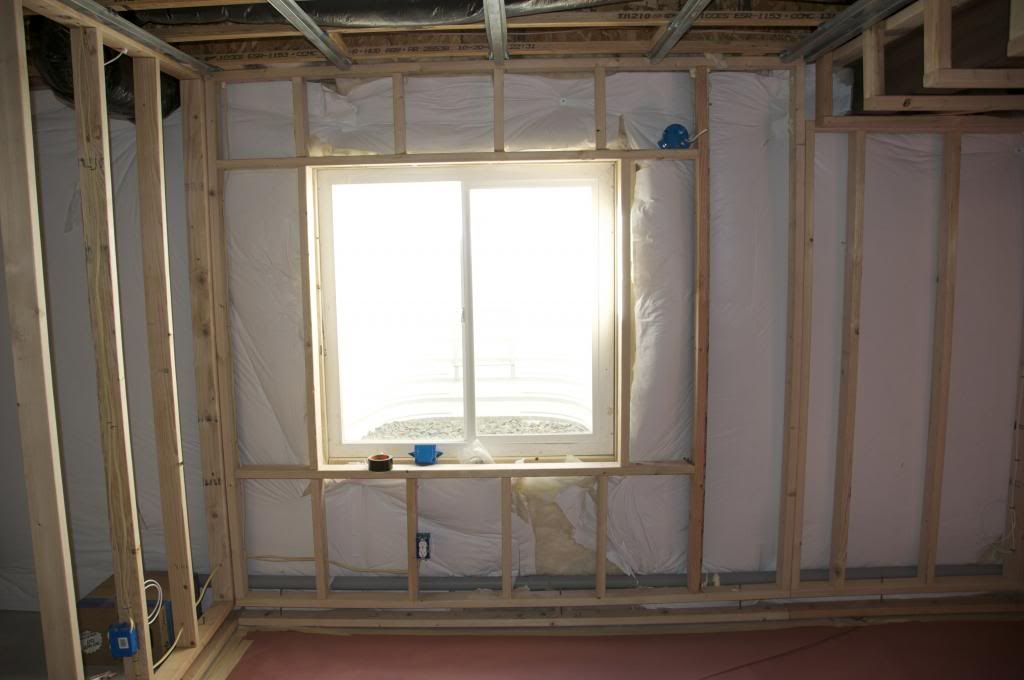
Front of the room
back of the room

Furnace room
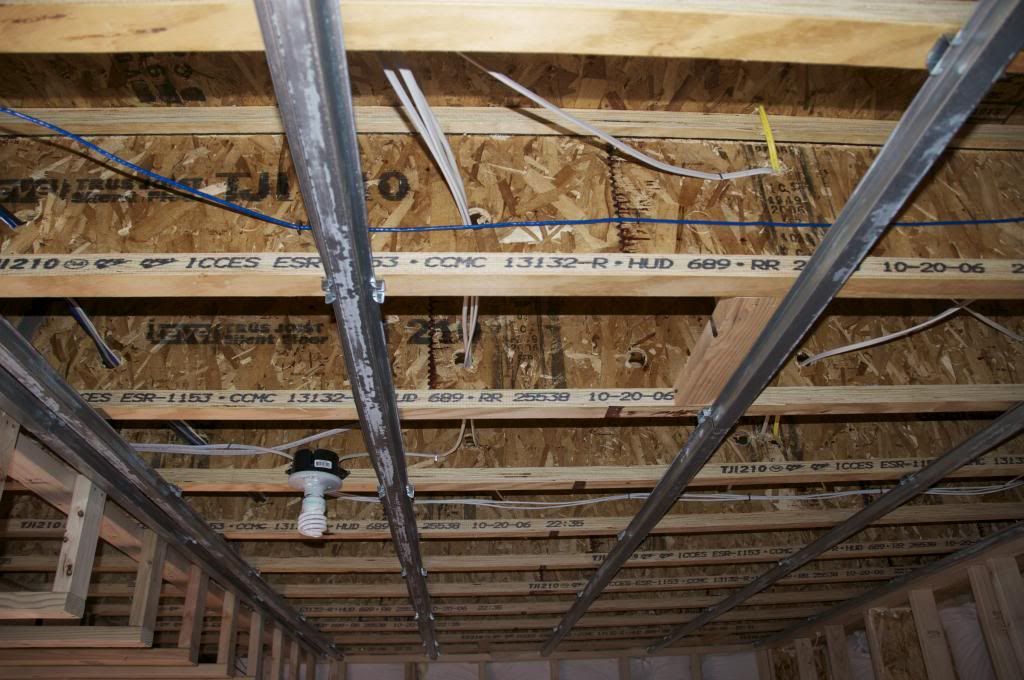
Next up electrical and low voltage. I wired the entire space for 8.1 surround sound which possibly will never get used, but since I'm doing it myself I prepared for any scenario! I also put a conduit in the ceiling so in the future if I want to do a projector I'll have no problem installing one. Also put a conduit from the equipment closet to mid way in the room so if I need to run bluetooth keyboards/mice or whatever else I can use a 30 ft USB cable or run any other stuff I didn't think about later. This is pretty much the most future proofed setup I have ever done!
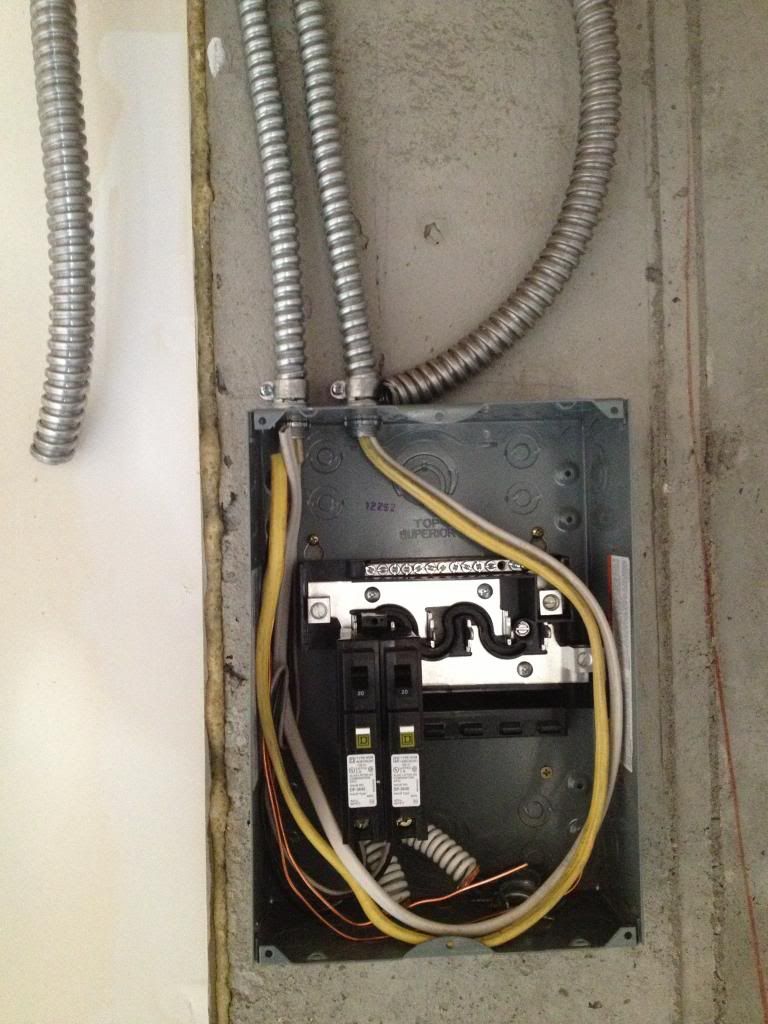
sub panel
front of the room- 2 dedicated 20 amp breakers for equipment. Closet has one 20 amp dedicated circuit for whatever goes in their, the rest of the lighting and electrical is on it's own 15 amp circuit.

side west rear
side west front
side east front

side east rear
rear
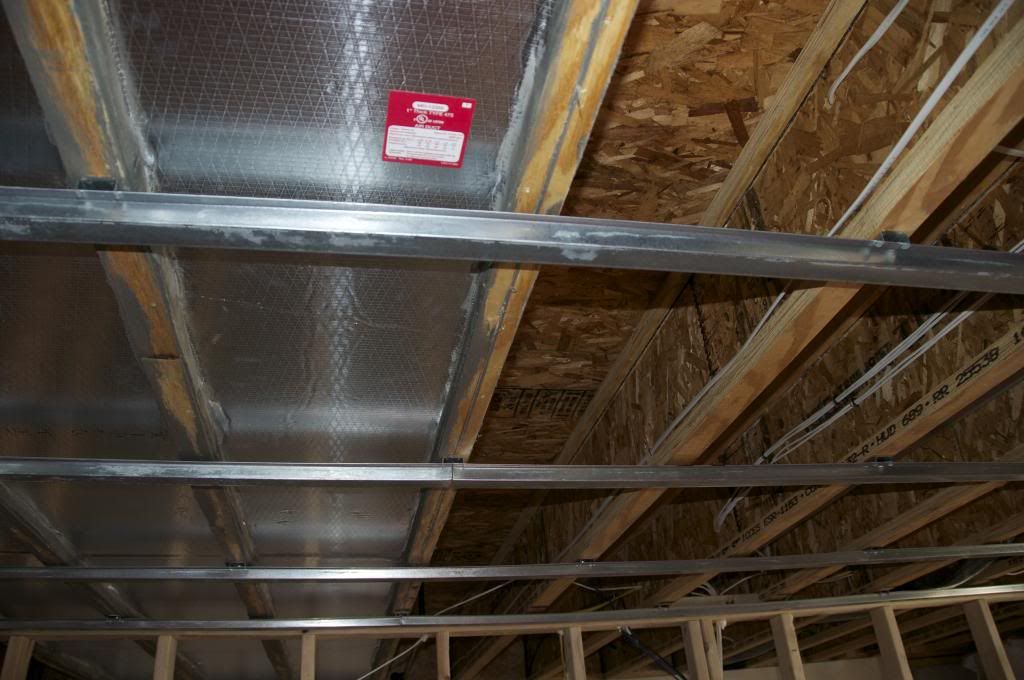
ceilingThe ceiling deserves special consideration is being built in order to reduce vibration from upstairs. I am using IB-1 clips to decouple the floor jocyes upstairs from the ceiling downstairs. This in conjunction with a hat channel should reduce any mechanical vibration significantly.

Coming Soon: Drywall and the rest. I'll occasionally edit and add stuff to flesh this all out a bit because there is a lot of thought I've put into this that I didn't go into detail on yet.
Hope you've enjoyed!


