Works like a champ!
Before testing the amp I double check all the point-to-point wiring, put in all the tubes, and set the bias pots to minimum. Next, I hook up the scope, signal generator, output loads, and plug the amp into a Variac.
With the Variac set to low/off I begin the test by bringing the Variac up about 30% and check that the bias voltage is working. At this point the tubes are starting to heat up, but have yet to start conducting/working. I bring the Variac to 60-70% and continue monitoring the B+ voltage, the raw bias voltage, and the bias voltage at the output tubes. As the tubes begin working the output begins to show up on the scope. Once I see that the amp is working, I continue to slowly bring up the Variac to 120V while monitoring the B+ voltage.
I let the amp sit for a serveral minutes to allow the tubes to settle into the operating state. I also monitor the bias voltage at the tubes, but don't set the bias as the voltage will drift around as the amp heats up. During the initial warm up I start looking at the general operation of the amp by seeing how the signal looks on the scope. Once I'm convinced that the amp is running properly, I set the bias voltage on the output tubes, then do a suite of tests to see how the amp behaves. The tests include looking at the amplifier bandwidth, the output voltage (Watts out), the clipping nature of the amp, the noise floor, and the overall quality of the signal produced.
I'm almost done with this amp, but there is still stuff to do before it's ready to ship. Once I'm done I will hand the UltraValve off to Frank who will give it one final polish, print the owner's manual and warranty information, then put the amp into its cocoon box for shipment. Remember to keep the box as it's the best way to ship your UltlraValve amplifier.
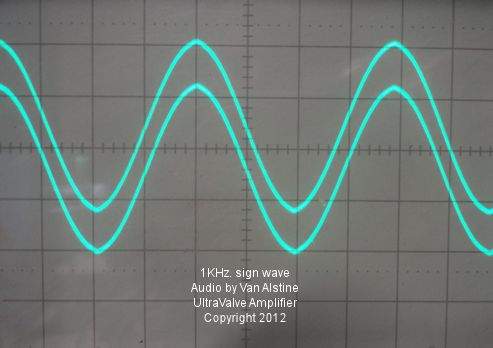
The photo below is a 1KHz sign wave out of this amp.
Larry
