Yes I am still around and slowly, very slowly, making progress on these speakers…
Sorry for the delays. I do want to get these done, as I am sure you want to see them done.
I recently have had a chance to put some time into the next steps. The first is drilling the mounting holes for the drivers.
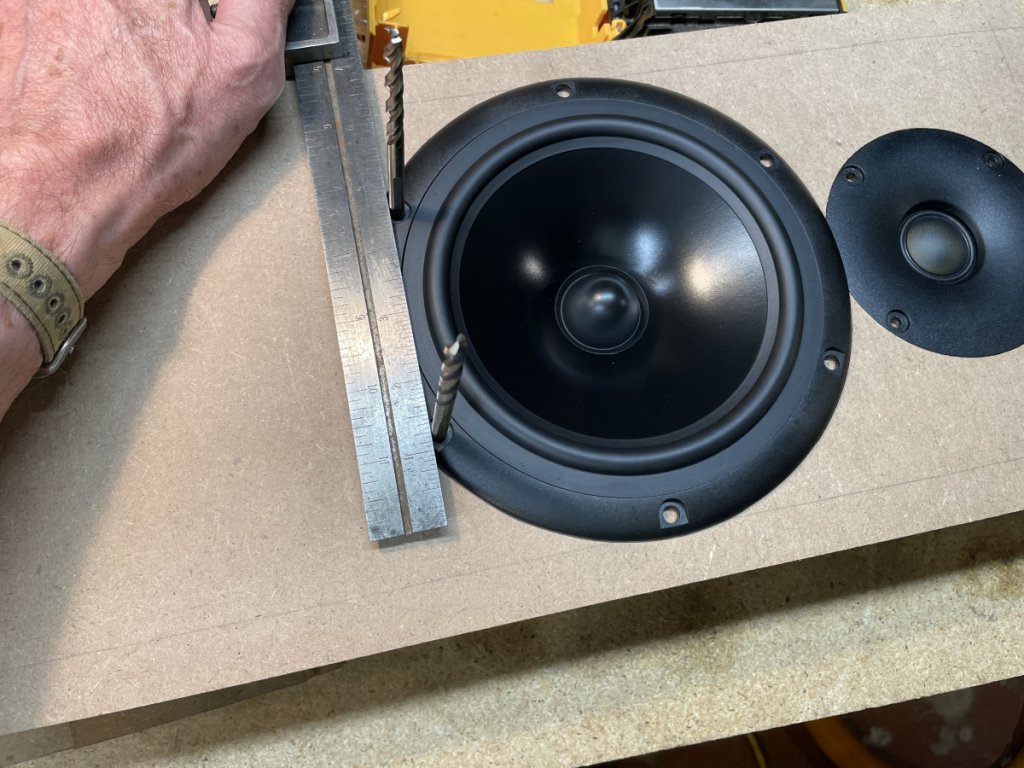
Tilted things, like not having the mounting holes aligned square to the edge of the cabinet would drive me nuts. So I did my best to square things up.
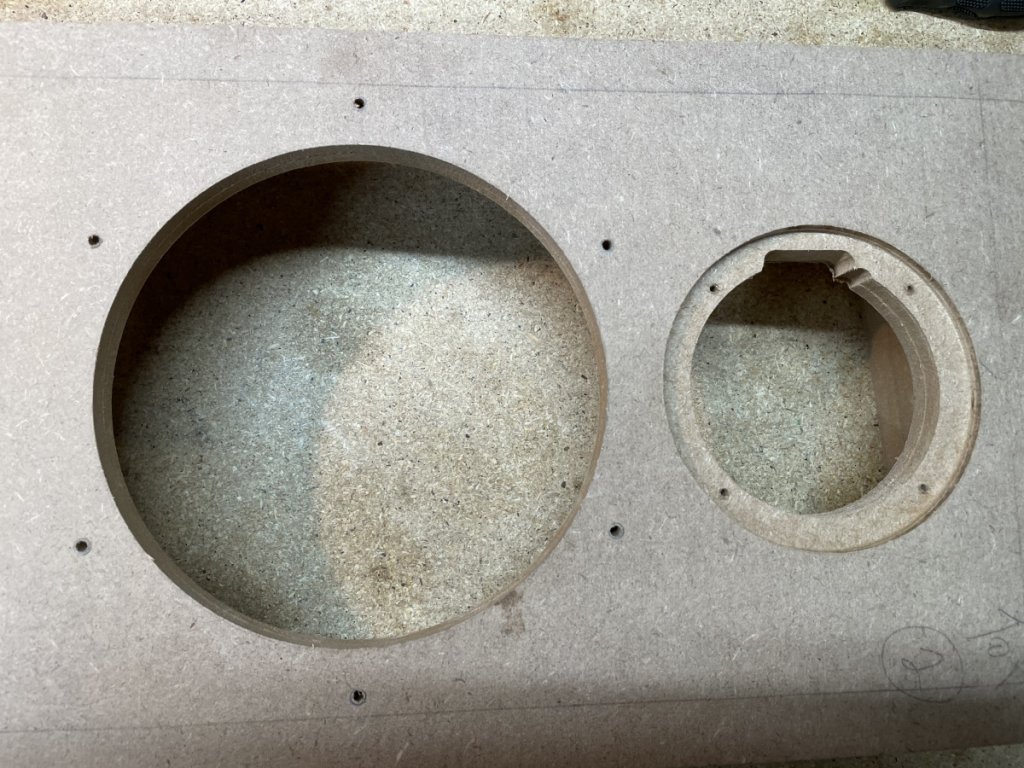
I needed to get this little step done before moving on to installing the No Rez because I drilled the screw holes on the drill press and the drilling needed to be done without No Rez on the back side. I am not so good any more at drilling perpendicular holes with a hand held drill.

So, drill press it was.
This speaker takes a lot of little pieces of No Rez.
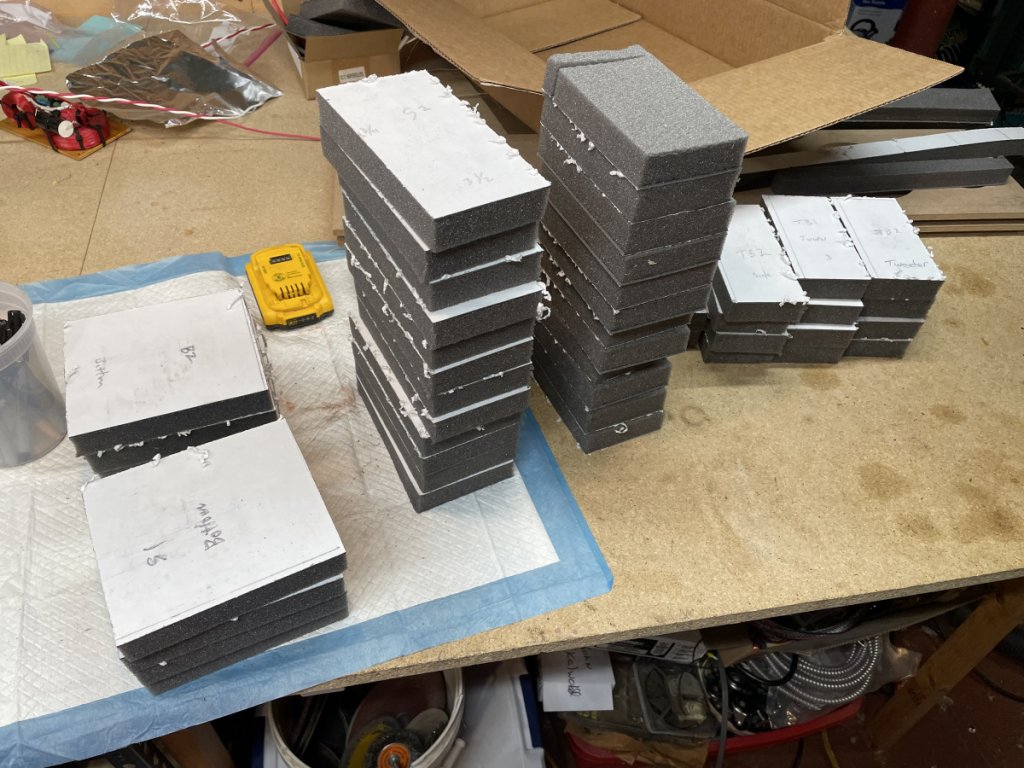
I did all of this cutting on the table saw using a blade that was already heavily used and going dull as the No Rez will dull a good blade. For cutting small pieces I used a pair of tin snips. I may have shorted the length of the side pieces a little bit; maybe an inch from ideal. But the sides of these cabinets seem to have a lot of braces, close together, so I think there will be little in the way of issues from the sides. As for the amount of foam coverage for acoustics, I would hope that is also not an issue. I was trying to squeeze these out of sheet of No Rez and I struggle with arranging its dimensions to get larger pieces out of it. Although I will admit to not trying real hard.

I laid out the locations of the braces on the back side of the front panel in order to ensure there is no interfere between the No Rez and the braces.
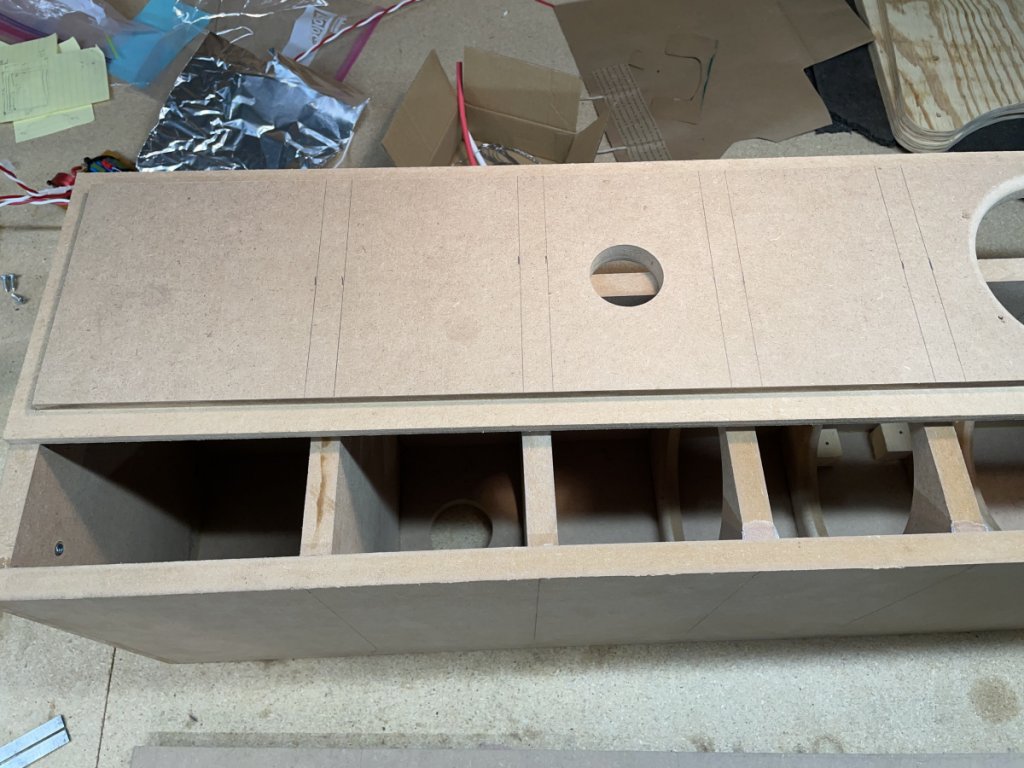
“Dry” fit of the No Rez. My labeling of each piece was a bit cryptic and I wanted to make sure I had all of the pieces in the right place. And yes, I will intentionally be covering the holes for port and tube connector to facilitate sanding and finishing. The driver opening will be covered on the inside with tape.
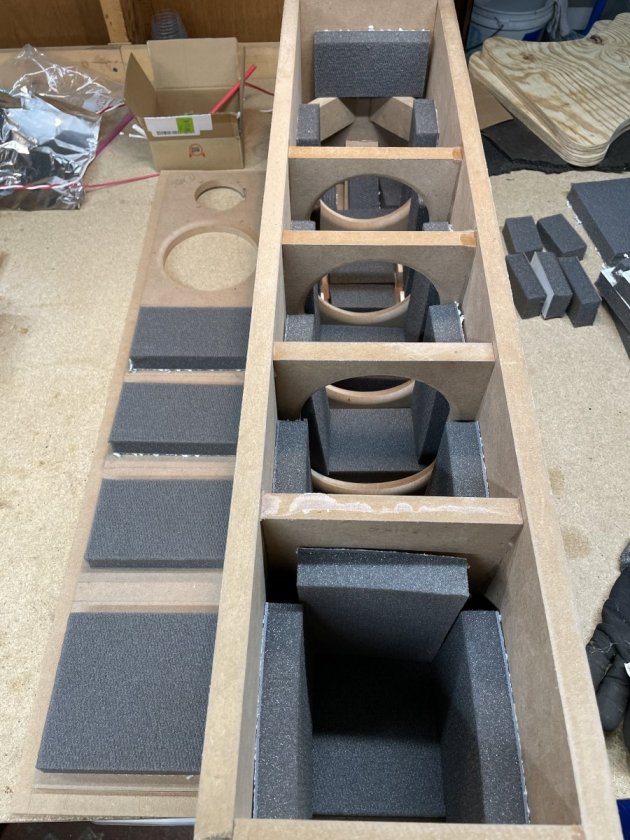
There is a dead air space at the bottom of these speakers (the near end in the picture). I have read that some builders fill this area with sand. I suspect others just leave it, and just close it off. My option is to line 5 of the 6 sides of the space with No Rez to preclude having any resonances. I don’t know if this could happen, but I figure this can’t hurt. I am leaving the bottom unlined. This is where the screws for the stand plate will come up through and I don’t want No Rez there that may be push up and loosened by those screws.
I wiped down the inside of the cabinet with alcohol to remove any dust and whatnot that would interfere with the No Rez sticking to the MDF. Doing this, I did find a few runs of glue that needed to be remove. Those would have been an issue with the No Rez sticking.
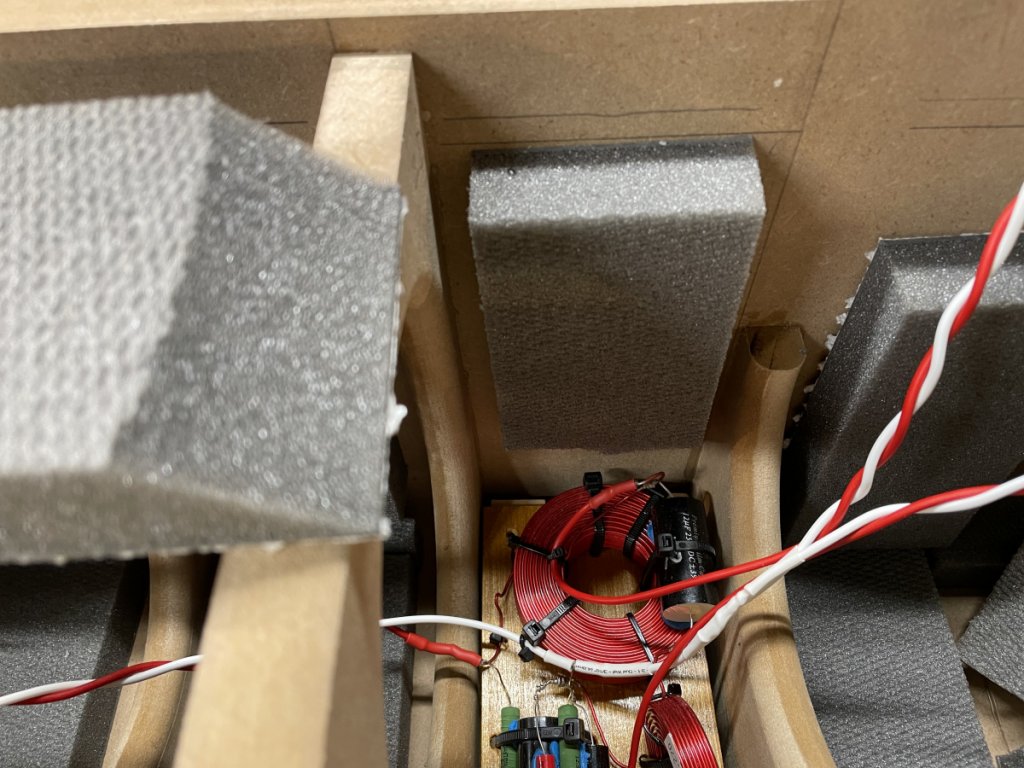
The crossover will be mounted below (behind?) the bass driver and it is a tight fit. The side pieces of No Rez are cut even shorter than rest and I beveled the foam to facilitate installation of the crossover and its removal later on, should that ever be necessary, which I really hope not.

And, yes, I got “peal and stick” happy with the No Rez and put the No Rez on the sides here before installing the crossover…

I should have installed the crossover first… Yes… But now I get to find out whether my idea about shaping and shortening the No Rez actually worked…

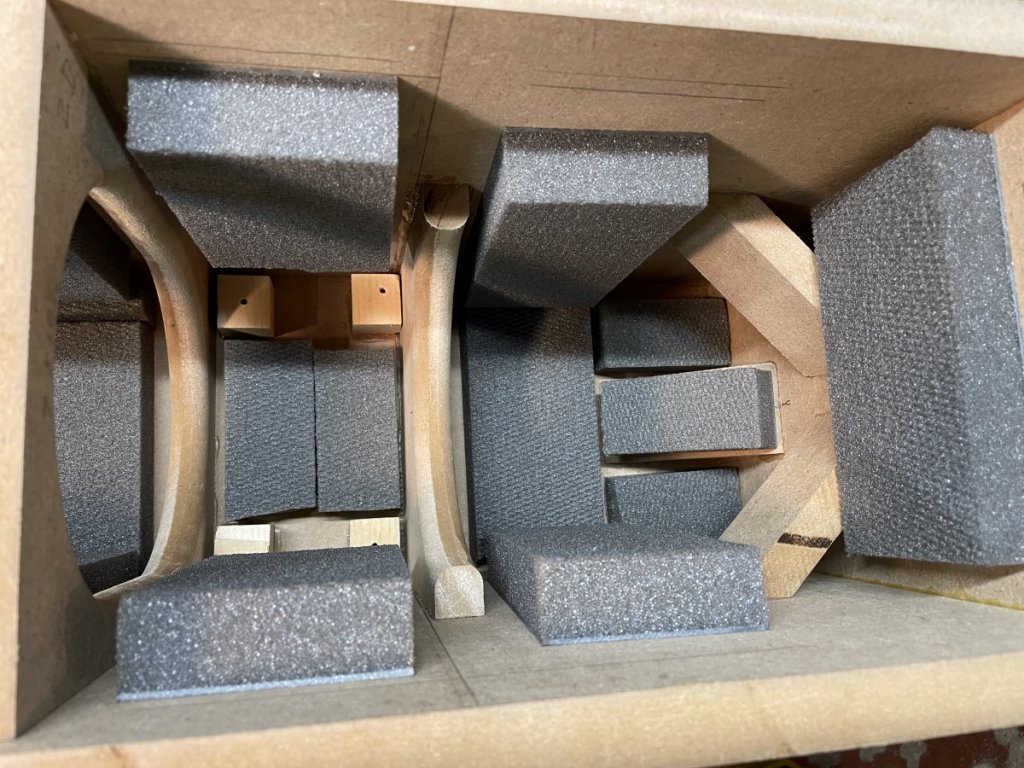
No Rez installed. Note the little pieces at the top of the area behind the tweeter, in particular the piece on the cross brace from the back to the top. Danny talks in his videos about possible “reflections” inside the cabinets of some speakers. It seemed to me that this cross brace might be a culprit, especially given that it is aimed back at the woofer, so I covered it….

Making progress… I’ll get there eventually!
