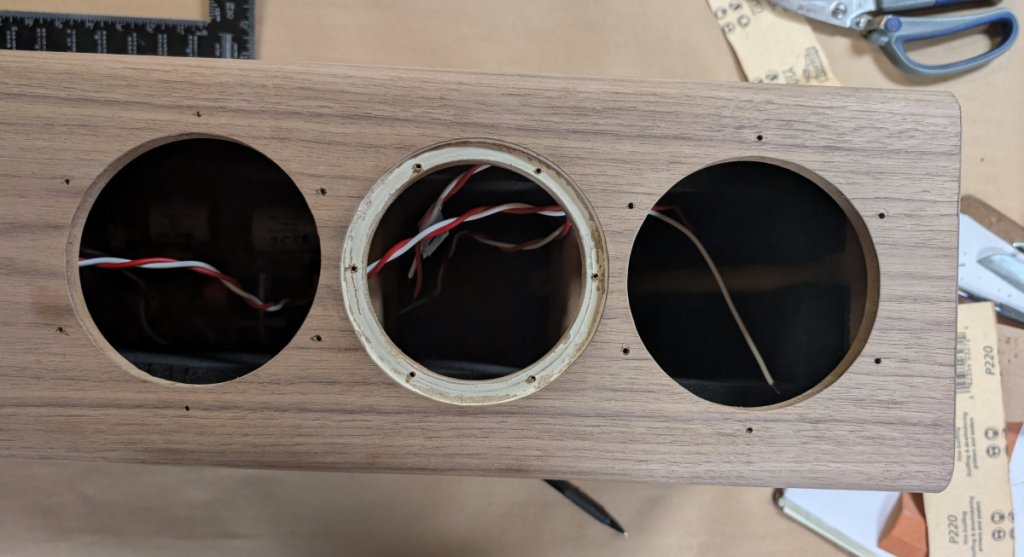
The End of the Build is Getting CloserWith all the veneer applied and trimmed, I located the screw holes for the woofers and waveguide. Based on my crude measurement of screw bodies, I used a #32 bit (0.1160”, 2.95mm) for the woofer holes and a #39 bit (0.0995”, 2.53mm) for the waveguide holes. See figure 31. I arranged the holes as they are pictured on the web page, so the woofer holes are not inline with the waveguide’s vertical holes.
Figure 31: Drill Mounting Holes for Drivers.
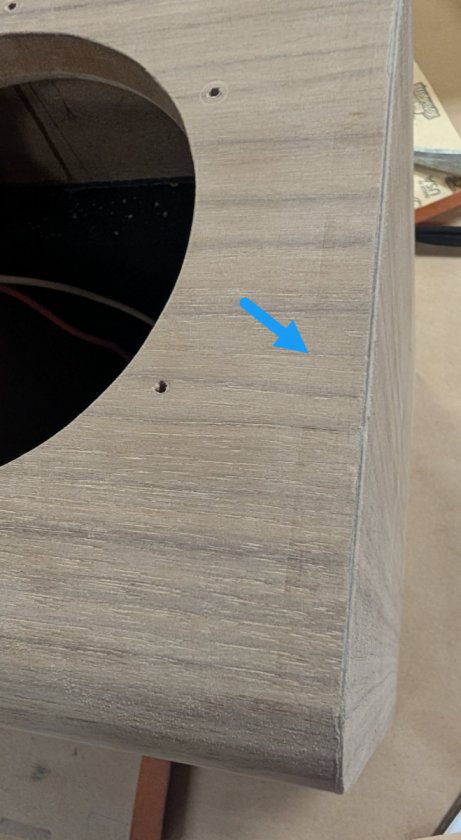
Next, I prepared for staining by giving the cabinets a light sanding with #220 sandpaper wrapped around a sanding block. While sanding, I noticed that the router trim bit had left a faint impression in the veneer where the bearing and bit traveled, as seen at the blue arrow in figure 32. Maybe I applied too much pressure to the router or had the bit extended too far? Can someone with more experience give us some pointers? A bit of careful flush sanding removed the marks and kept the overall surface flat.
Figure 32: Edge-Trimming Artifacts in Veneer Finish.
With the cabinets lightly sanded and all dust removed, I applied some wood stain to the cabinet bottoms. I used Minwax oil stain that they call Wood Finish Penetrating Stain. In particular, I used #231 Gunstock because it best matched our other furniture. An oil-based stain gave me longer working time, which enabled me to stain the cabinets without the worry of dried lap marks. I applied the stain first to the bottoms of the cabinets so I could set them on their feet to stain the rest of the surfaces. See figure 33. Once the bottoms were dry, I installed the speaker spikes and flipped the cabinets so they stood on their spikes.
Figure 33: Cabinet Bottoms are Stained.
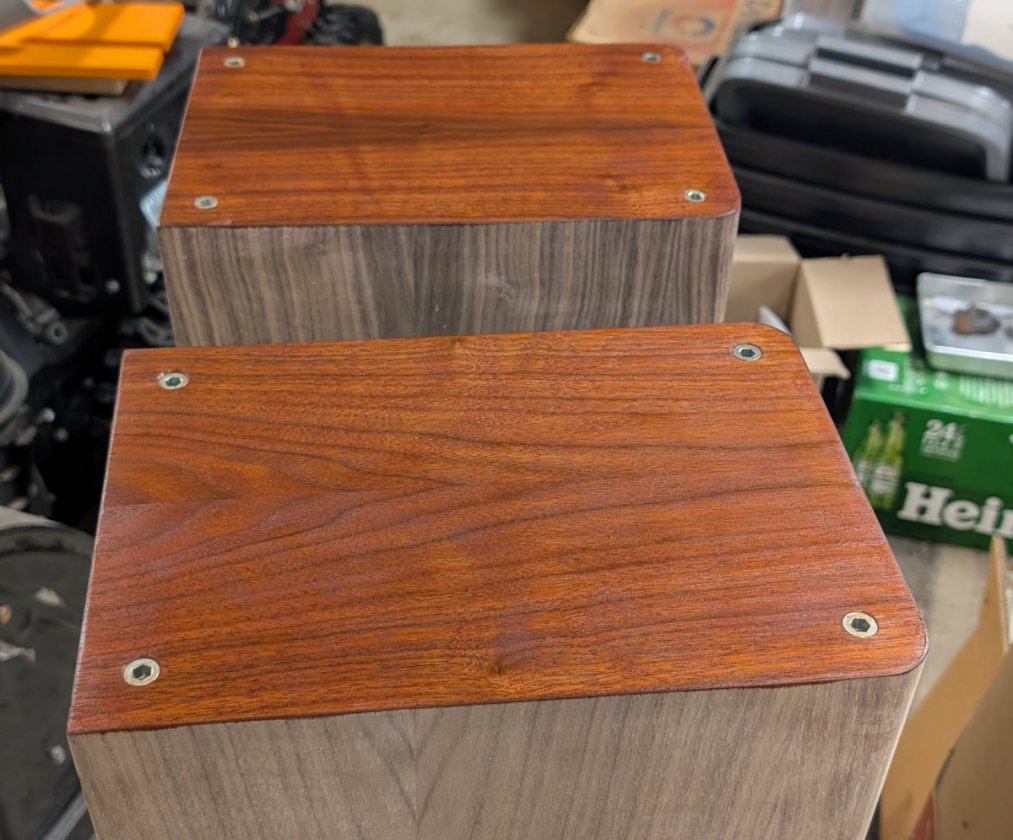
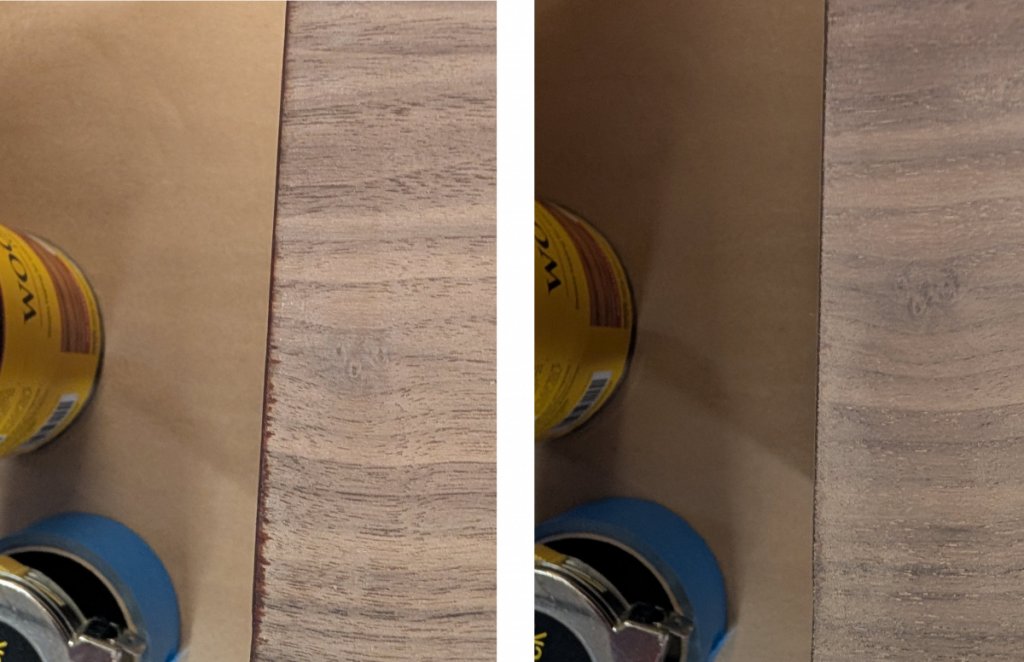
When I looked at the sides next to the bottom, I saw where the stain bled onto the sides when it was applied, as seen in figure 34. I was afraid that the stained line at the edge would result in a darker line when I stained the sides, so I made the overrun stain less visible. Again, a bit of careful flush block sanding lightened the stain at the edges and kept the overall surface flat.
Figure 34: Stain That Bled onto Sides (left) Was Sanded Off (right).
Now for the big move: I stained a cabinet top and then its sides, moving as fast as I could to minimize dried edges. If I let the stain on an edge dry, then it wouldn’t look uniform when it dried. It helped that oil-based stains tend to dissolve the finish on any drying application strokes and merge with the new application (from what I could see.) After applying the stain, I wiped off any excess stain to promote a uniform finish.
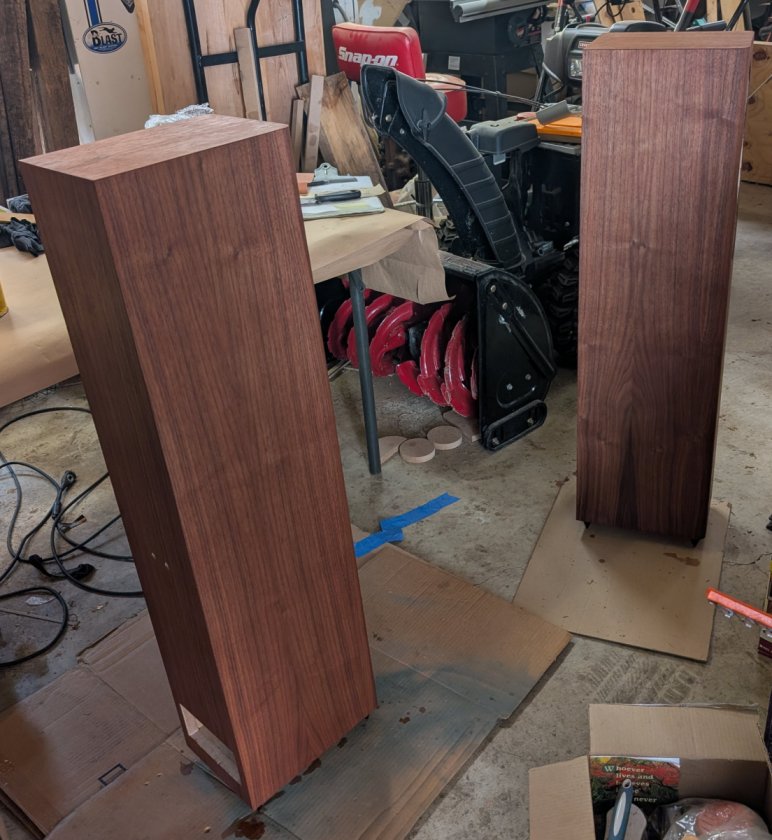
The stained cabinets looked pretty good once I was done, as seen in figure 35 in my crowded garage. Once the stain had fully dried for at least 24 hours, I could start applying the clear coat.
Figure 35: Speaker Cabinets with Stain Applied.