NX-3 Bravo Towers, Standard Build

Peter J

  • Full Member
  • Posts: 1974
  • Hmmmm
Re: NX-3 Bravo Towers, Standard Build
« Reply #20 on: 29 Jun 2026, 05:28 pm »
You might find this helpful for trimming veneer in shallow rabbets. I get queries on YouTube asking about it, even though I list it in video description. Perhaps water under the bridge for your build, but a handy tool none-the-less.


https://www.amanatool.com/51204-solid-carbide-short-flat-pilot-for-dado-clean-out-dado-cleaning-flush-trim-1-4-dia-x-1-4-x-1-4-inch-shank-x-1-flute.html?ff=1&fp=8482

Uncle Elvis

  • Jr. Member
  • Posts: 26
Re: NX-3 Bravo Towers, Standard Build
« Reply #21 on: 29 Jun 2026, 06:02 pm »
Looking fantastic! Thanks for taking the time to show your build. :thumb: :thumb: :thumb:

sepolansky

  • Jr. Member
  • Posts: 4
Re: NX-3 Bravo Towers, Standard Build
« Reply #22 on: 1 Jul 2026, 11:52 pm »
Thank you for posting this Rifleman455! The images and information are excellent. Very helpful.

Have you had any issue with the No-Rez staying "stuck"? I have on a couple of builds. I thought I had cleaned, vacuumed, blown off with an air hose, etc., the cabinets, but I probably missed the "tack cloth" step.

I ended up using 3M Weatherstrip adhesive. Just like your experience with the veneer, once it comes into contact. It doesn't move. No further issues.

Please do tell us about your sonic results!

Stuart

Rifleman455

  • Jr. Member
  • Posts: 30
Re: NX-3 Bravo Towers, Standard Build
« Reply #23 on: Today at 04:21 pm »
You might find this helpful for trimming veneer in shallow rabbets. I get queries on YouTube asking about it, even though I list it in video description. Perhaps water under the bridge for your build, but a handy tool none-the-less.

Peter, you are absolutely right!  That looks like a wonderful tool to trim those recesses: I should have done more research.  My cabinet-maker brother-in-law later suggested this tool as well.

I'm glad others will have a chance to try this tool.  Thank you for sharing this!

Rifleman455

  • Jr. Member
  • Posts: 30
Re: NX-3 Bravo Towers, Standard Build
« Reply #24 on: Today at 04:26 pm »
Have you had any issue with the No-Rez staying "stuck"? I have on a couple of builds. I thought I had cleaned, vacuumed, blown off with an air hose, etc., the cabinets, but I probably missed the "tack cloth" step.

Hi, Stuart!
To date I have not had any No-Rez come loose, and this is working in an unconditioned garage with natural (read, "a lot of") humidity bombarding the cabinets.  I will take another look at the insides to see if anything has come loose since I last looked, and I'll let you know is there was a change.

Rifleman455

  • Jr. Member
  • Posts: 30
Re: NX-3 Bravo Towers, Standard Build
« Reply #25 on: Today at 05:36 pm »
Sorry that I've been away for a while: we were hit with storms near July 4th and lost power, internet , and all that stuff.  We seem to be back and stable now, which is great.  I forgot what living for days without air conditioning in 98-degree humid weather was like, much less not having our well water!

Rifleman455

  • Jr. Member
  • Posts: 30
Re: NX-3 Bravo Towers, Standard Build
« Reply #26 on: Today at 05:58 pm »
The End of the Build is Getting Closer

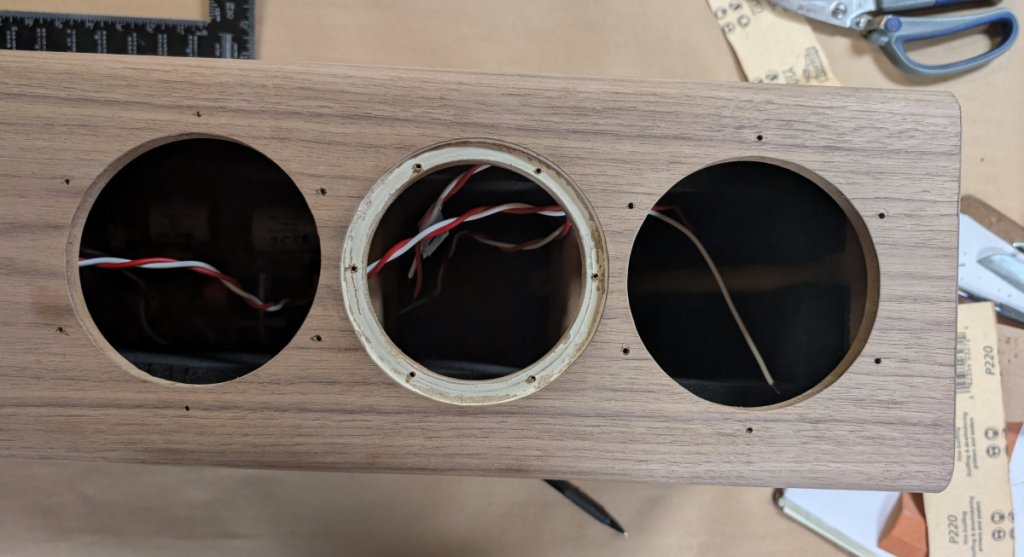
With all the veneer applied and trimmed, I located the screw holes for the woofers and waveguide.  Based on my crude measurement of screw bodies, I used a #32 bit (0.1160”, 2.95mm) for the woofer holes and a #39 bit (0.0995”, 2.53mm) for the waveguide holes.  See figure 31.  I arranged the holes as they are pictured on the web page, so the woofer holes are not inline with the waveguide’s vertical holes.

Figure 31: Drill Mounting Holes for Drivers.
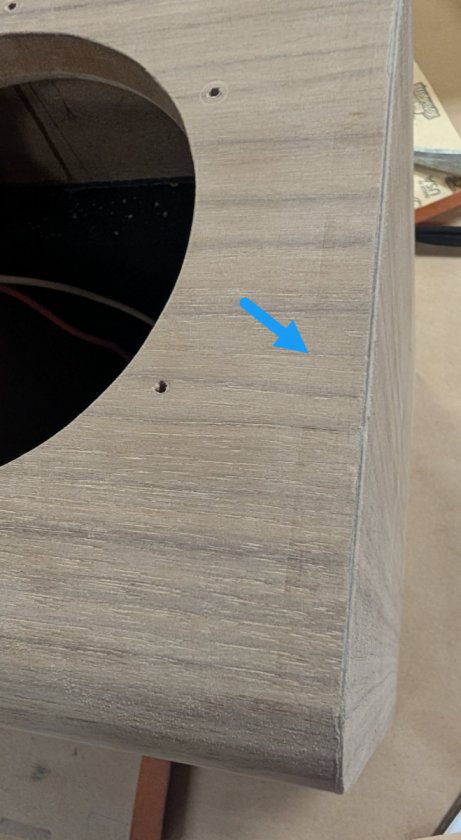
Next, I prepared for staining by giving the cabinets a light sanding with #220 sandpaper wrapped around a sanding block.  While sanding, I noticed that the router trim bit had left a faint impression in the veneer where the bearing and bit traveled, as seen at the blue arrow in figure 32.  Maybe I applied too much pressure to the router or had the bit extended too far?  Can someone with more experience give us some pointers?  A bit of careful flush sanding removed the marks and kept the overall surface flat.

Figure 32: Edge-Trimming Artifacts in Veneer Finish.
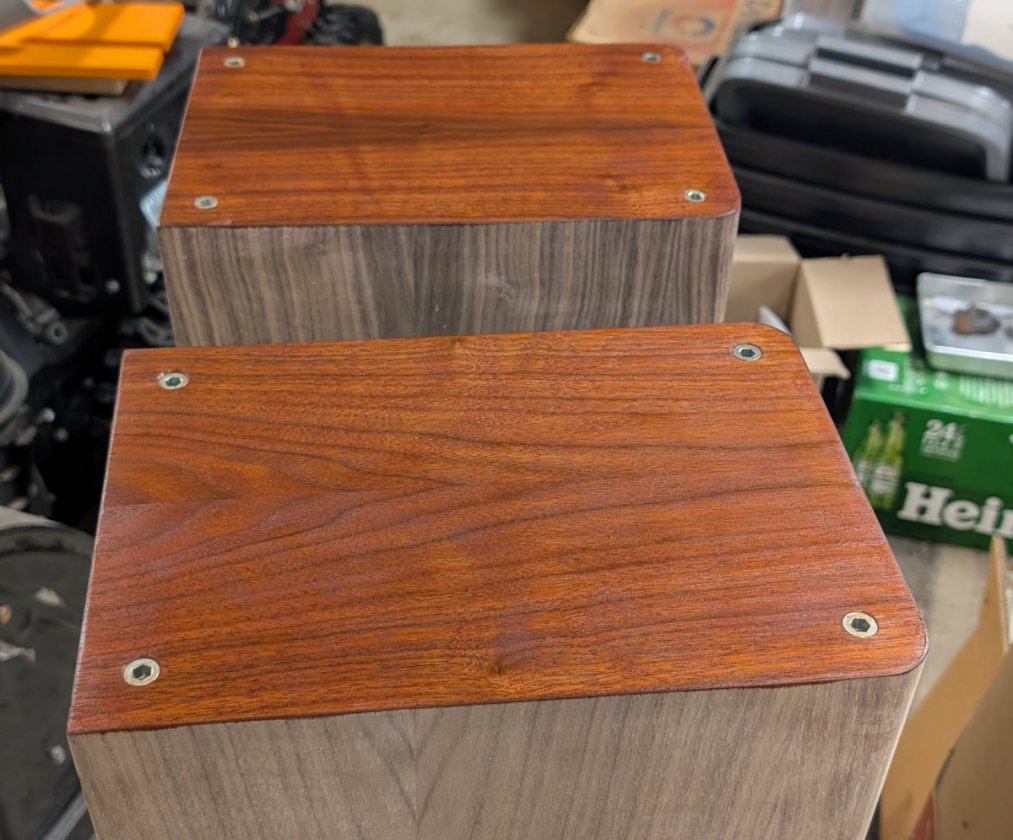
With the cabinets lightly sanded and all dust removed, I applied some wood stain to the cabinet bottoms.  I used Minwax oil stain that they call Wood Finish Penetrating Stain.  In particular, I used #231 Gunstock because it best matched our other furniture.  An oil-based stain gave me longer working time, which enabled me to stain the cabinets without the worry of dried lap marks.  I applied the stain first to the bottoms of the cabinets so I could set them on their feet to stain the rest of the surfaces.  See figure 33.  Once the bottoms were dry, I installed the speaker spikes and flipped the cabinets so they stood on their spikes.

Figure 33: Cabinet Bottoms are Stained.
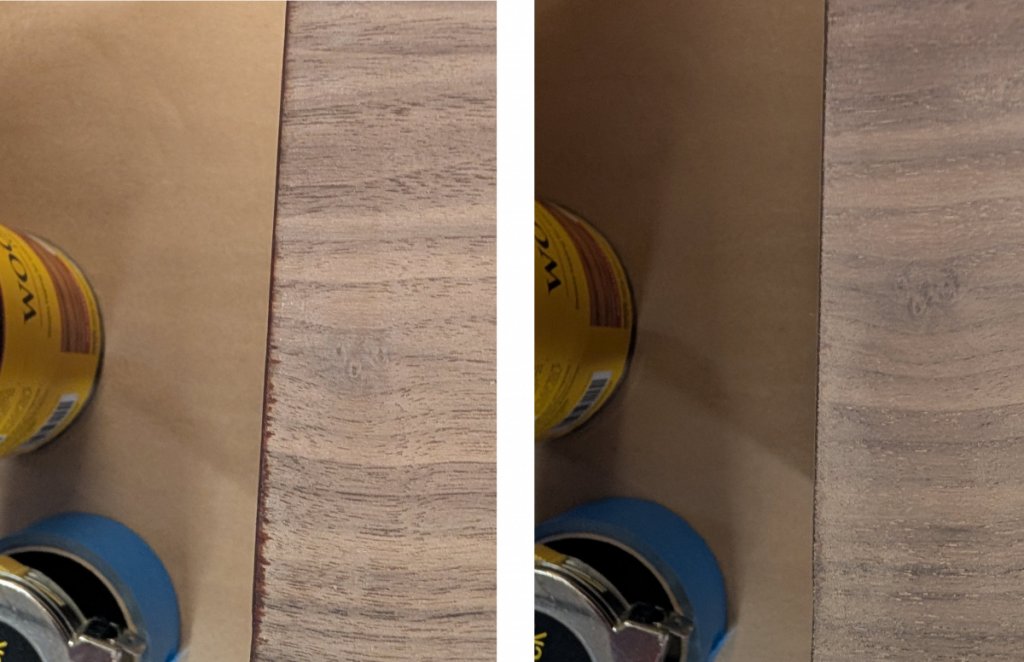
When I looked at the sides next to the bottom, I saw where the stain bled onto the sides when it was applied, as seen in figure 34.  I was afraid that the stained line at the edge would result in a darker line when I stained the sides, so I made the overrun stain less visible.  Again, a bit of careful flush block sanding lightened the stain at the edges and kept the overall surface flat.

Figure 34: Stain That Bled onto Sides (left) Was Sanded Off (right).
Now for the big move: I stained a cabinet top and then its sides, moving as fast as I could to minimize dried edges.  If I let the stain on an edge dry, then it wouldn’t look uniform when it dried.  It helped that oil-based stains tend to dissolve the finish on any drying application strokes and merge with the new application (from what I could see.)  After applying the stain, I wiped off any excess stain to promote a uniform finish.

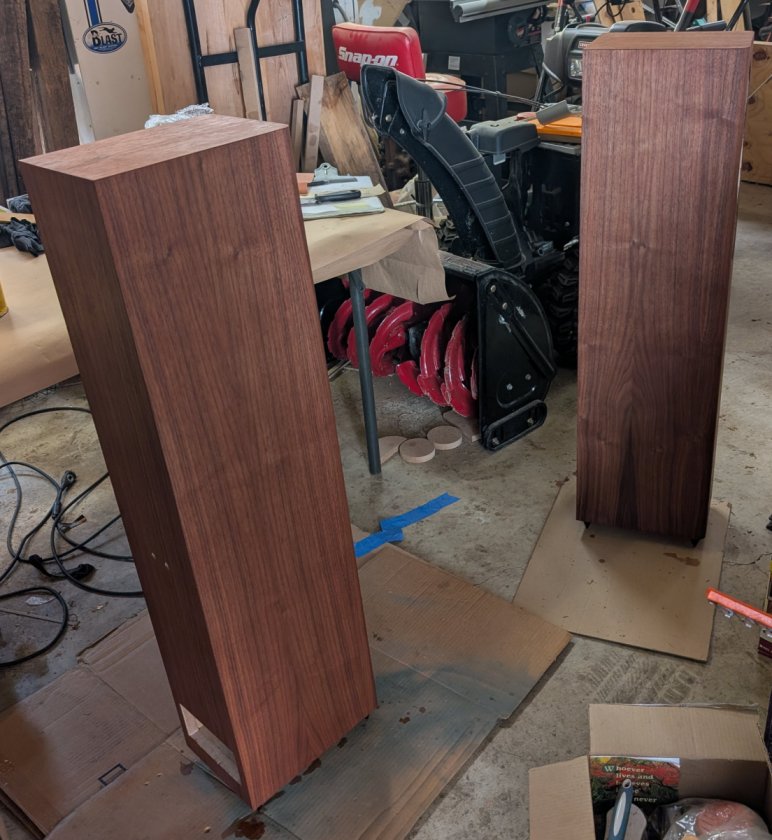
The stained cabinets looked pretty good once I was done, as seen in figure 35 in my crowded garage.  Once the stain had fully dried for at least 24 hours, I could start applying the clear coat.

Figure 35: Speaker Cabinets with Stain Applied.