I decided to try the NX-3 Bravo towers a la Hobbs for my system. I also plan to make the enclosures myself because I like to do a bit of Do-It-Yourself (DIY) in my audio world. I bought the speaker kit from GR Research so all I must do is build a pair of cabinets that my spouse will allow in the living room. No problem, right? I plan to build the cabinets as shown in the plans from GR Research. The only deviation is to add 1/4" slots in the sides to locate the internal braces (more on that later.)
This is not a tutorial on building cabinets or using power tools correctly, just a story of what I did. I won’t be held liable for anything others do. If I can answer questions about what I did, please ask! If you have suggestions for others to improve their build experience or safety, please post them so we all can learn!
I plan to butt-join most of the cabinets using #20 biscuits but will use a router to make ¼” slots in the cabinet sides to hold the braces for easier assembly. To fit the slots, the internal pieces need to be 7 inches wide instead of 6 ½ inches.
I don’t have a wood shop, but I have a garage with tools in it (and a lot of junk.) Instead of trying to cut a 4’ by 8’ panel on my table saw and hope to get square edges, I’ll use a track-saw guide (Milescraft 1409) with my 7-1/4” circular saw. This tool is more affordable for me compared to true track saws that I may only use once. The track-saw guide lets me make 50” cuts unless I buy another 55” guide track (Milescraft 1408,) so I’ll plan my cutting accordingly. I also learned that Medium Density Fiberboard (MDF) panels are an inch longer and wider than plywood, so the sheet was 49 by 97 inches.
I bought a 4’ by 8’ sheet of ¾” MDF and had the store cut it at 44” to make it easier to carry. This is shown as Cut (1) in Figure 1.
Figure 1: Cut Layout for 4-by-8-foot sheet of MDF
I trimmed two adjacent square sides to be my guides and then cut the panel down from 44 to 42 inches. See Figure 2. Then I ripped the front and back panels from the 44” sheet with the track-saw guide, cutting them 1/8-inch wider than specified so I could run them through my table saw later to make all the panels the same seven- or eight-inch widths. I also ripped two long seven-inch planks from the remainder for the internal panels B, D-E, and F. See Figure 3.
Figure 2: Cut Smaller MDF Sheet to 42 Inches Long
Figure 3: Smaller MDF Sheet Cut into Fronts, Sides, and Braces
From the 53-inch panel, I cut a slab 40-1/2” tall for the side panels and internal braces A, F, and G. I then ripped the cut-off panel down to ten inches wide for the tops and bottoms. Then I ripped the side panels from the 40½” sheet with the track-saw guide, cutting them 1/8-inch wider than specified so I could run them through my table saw later to make all the panels the same ten-inch widths.
I cut the fronts, backs, tops, and bottoms eight inches wide on my table saw. I cut the braces A, B, D-E F, G and H to seven inches wide on my table saw. The B braces (labeled B1 and B2 in Figure 1) have 5 ½” semicircular cutouts on each end that are easier to make as full circles than as semicircles. I switch to my router circle-cutting guide (Milescraft 1219) and divided a seven-inch-wide plank into 10-1/8” sections to allow for the 1/8” kerf on my table-saw blade. I still had to cut a semicircle at each end, but I placed ¾” scrap at each end to support the router. See Figure 4. With the holes in place, I cut the plank into 10” lengths on my table saw, as shown in Figure 5.
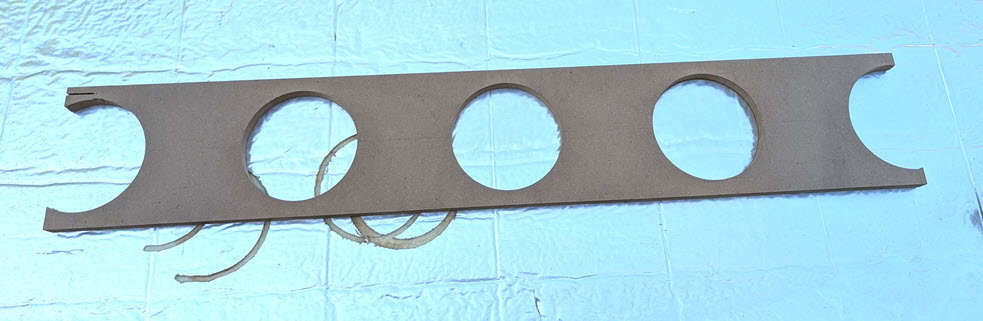
Figure 4: Cutting Semicircles from Ends of Brace B
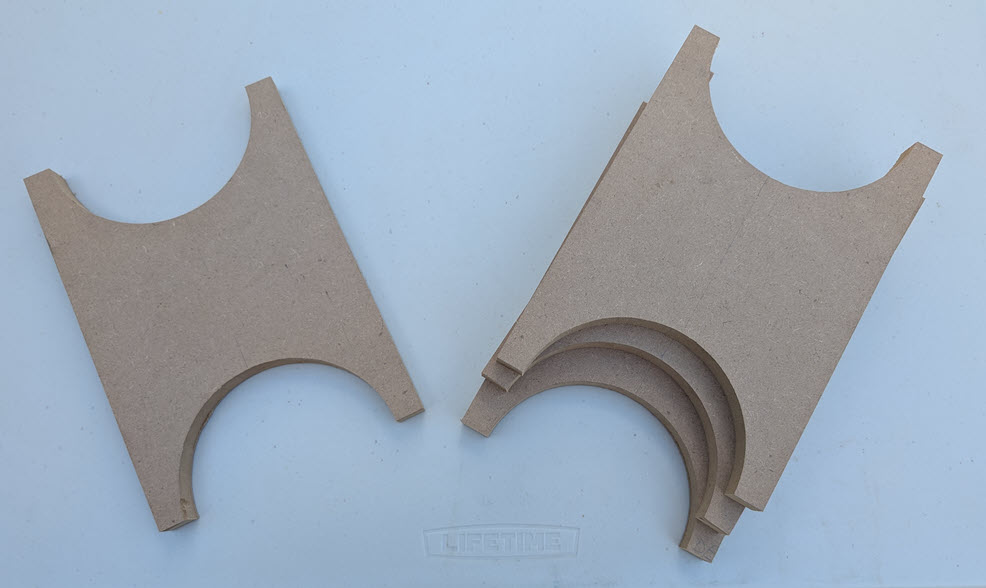
Figure 5: Top and Bottom Panels
Next, I cut the sides, tops, bottoms, and the panel for braces B, D, E, and H to ten inches wide on my table saw, as shown in Figures 6 and 7.
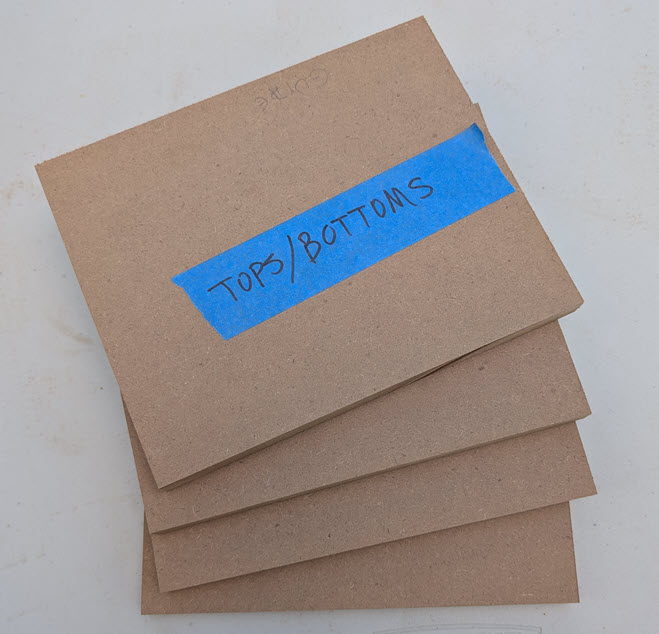
Figure 6: Top and Bottom Panels
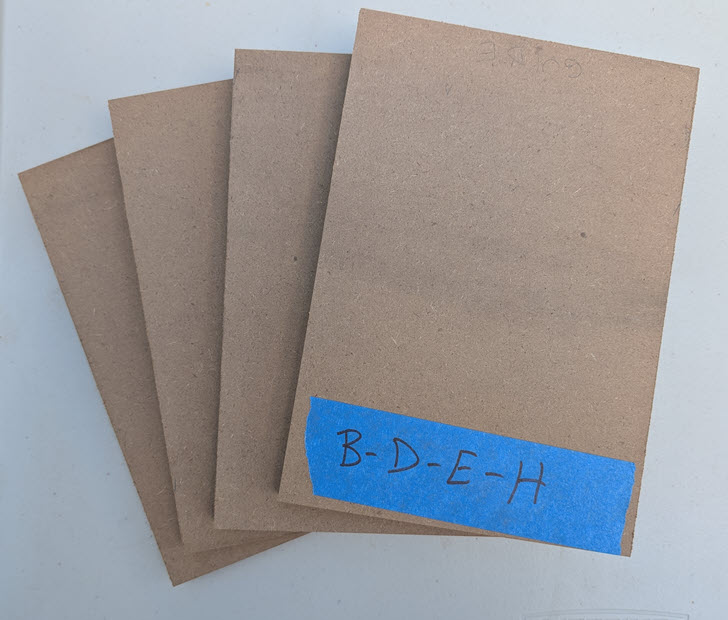
Figure 7: Braces D-E and H
Two of the D-E-H panels in Figure 7 were cut into 4½” (Brace D) and 5” (Brace E) pieces that were 7” wide. The other two panels were trimmed to 6-1/2” by 10” for bottom brace H.
With the smaller part of the full sheet rendered into pieces, I turned to the larger part to rip the sides, tops, bottoms, and braces A, F, and G down to size.
I also cut Braces A, F, and G to their specified dimensions using my table saw. Note that I cut the square for Brace A along a diagonal to make a pair of angle braces needed for the speaker pair.