This isn't a complete A to Z build thread, but I thought it might be helpful to see how my plan went south and comeback with a plan B, seemingly the story of my speaker building life. I didn't shoot photos of it all that might be interesting because I was busy stomping around and swearing and wondering if I should go back to square one!
My intention was to master the crackle. This was a portion of my samples. The one on left had me believing I could do what my minds eye saw.
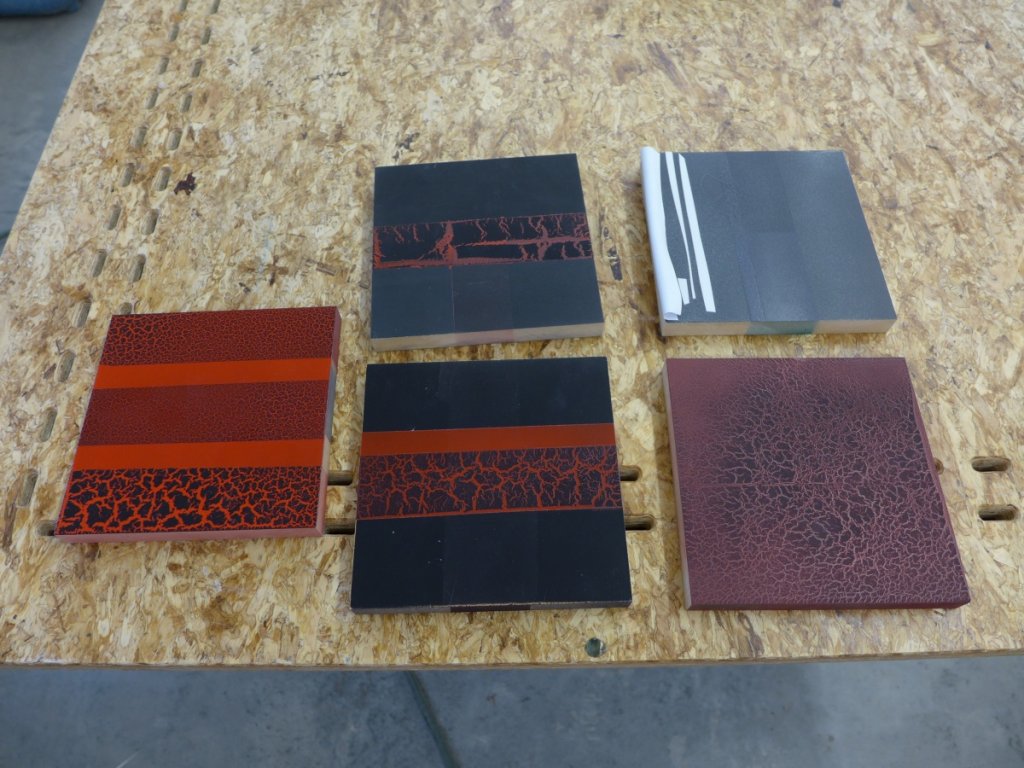
I had some low tack vinyl spray masks cut from my patterns which I applied over black primed cabinets. Then masked all but panels off.
Then shot RF Red. All good until I went to do the crackle over it . Things went south quickly, and despite my best 2nd and 3rd efforts looked like shit. I was not a happy camper.
I walked away and contemplated my next move. I could pull the masks off, sand down and start over, or....or....or.
I could try something else. Rocker Schutz. And I just happen to have a Schutz gun from yesteryear.
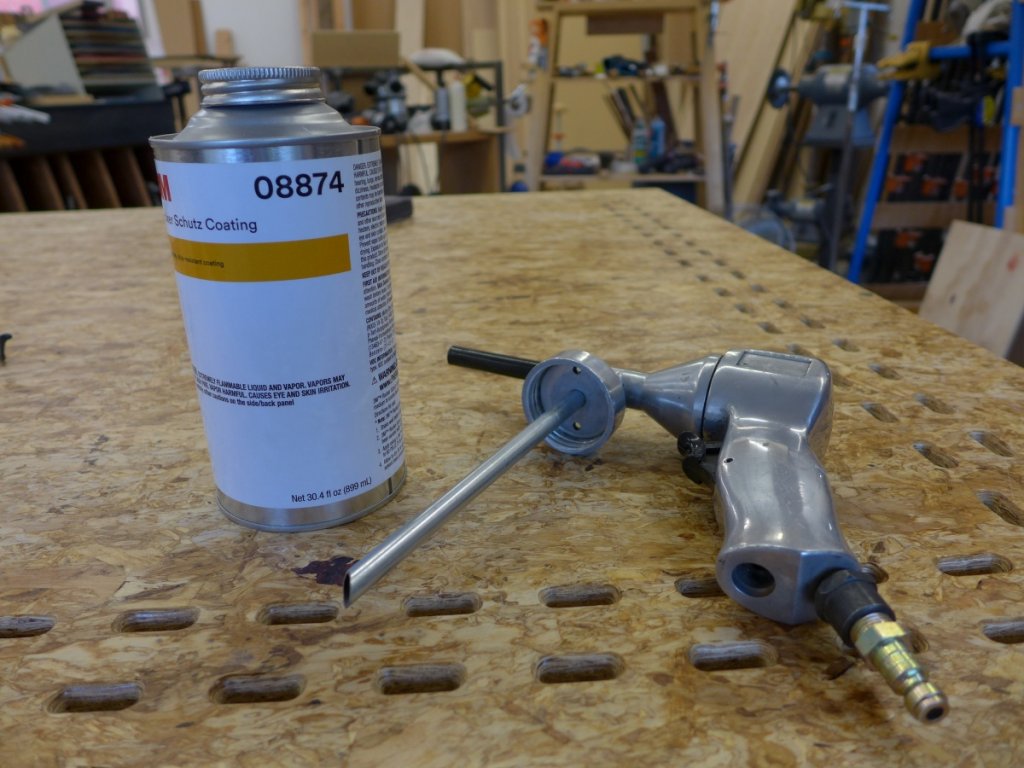
I'm on thin ice now, adding layers upon layers and wondering if I will be able to get the masking off cleanly. I pressed on with texture figuring I had nothing to lose. Sometimes the universe smiles on me. No photos of the process other than completed. I shot more black primer over texture and topcoated with clear conversion varnish.
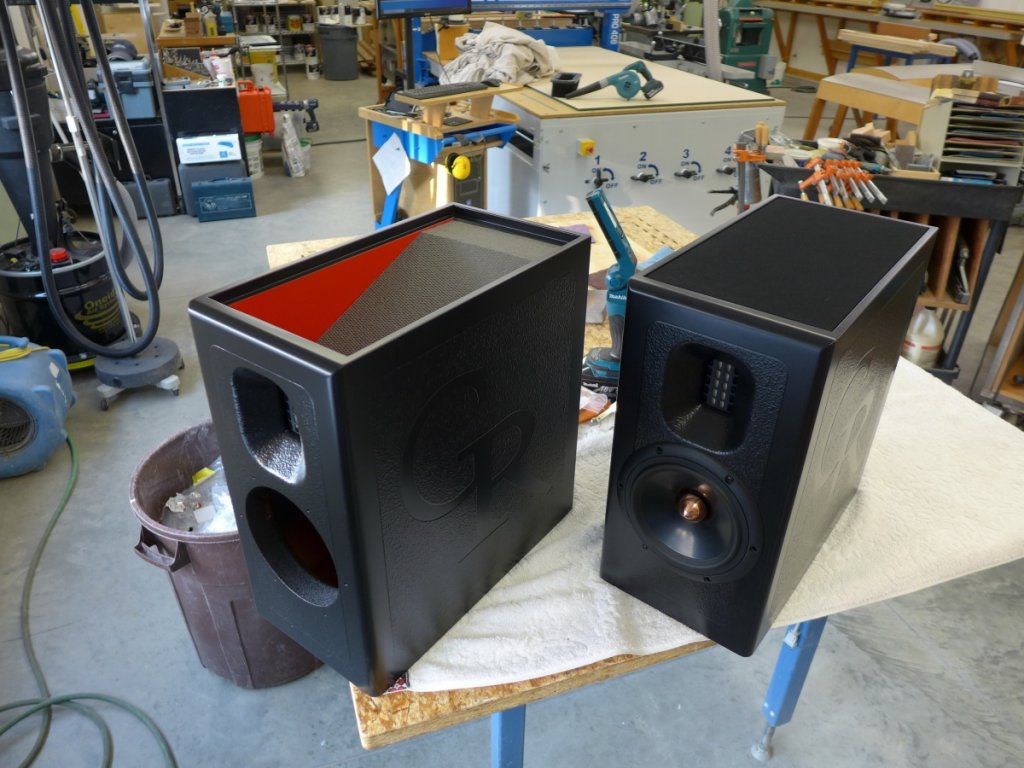
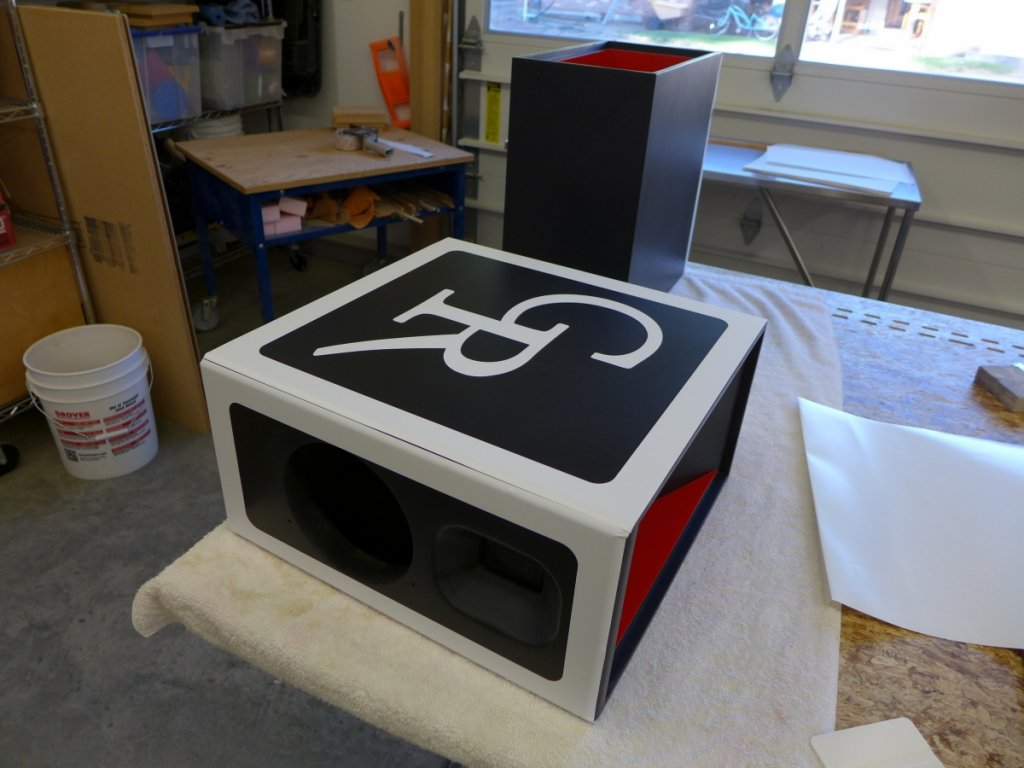
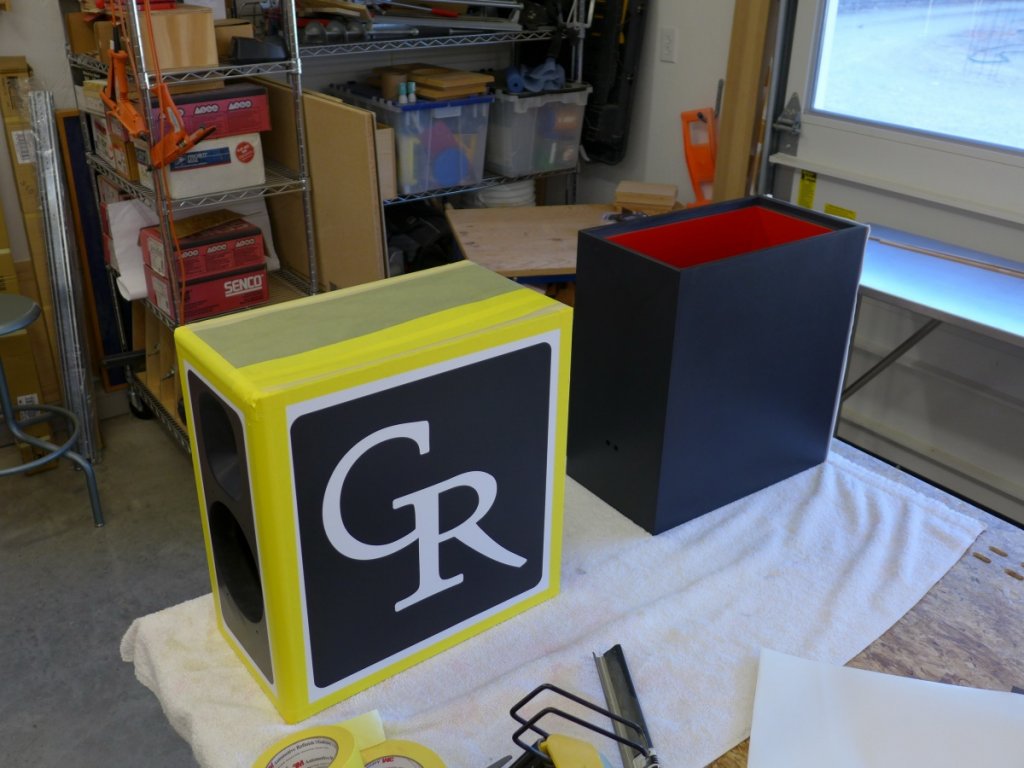
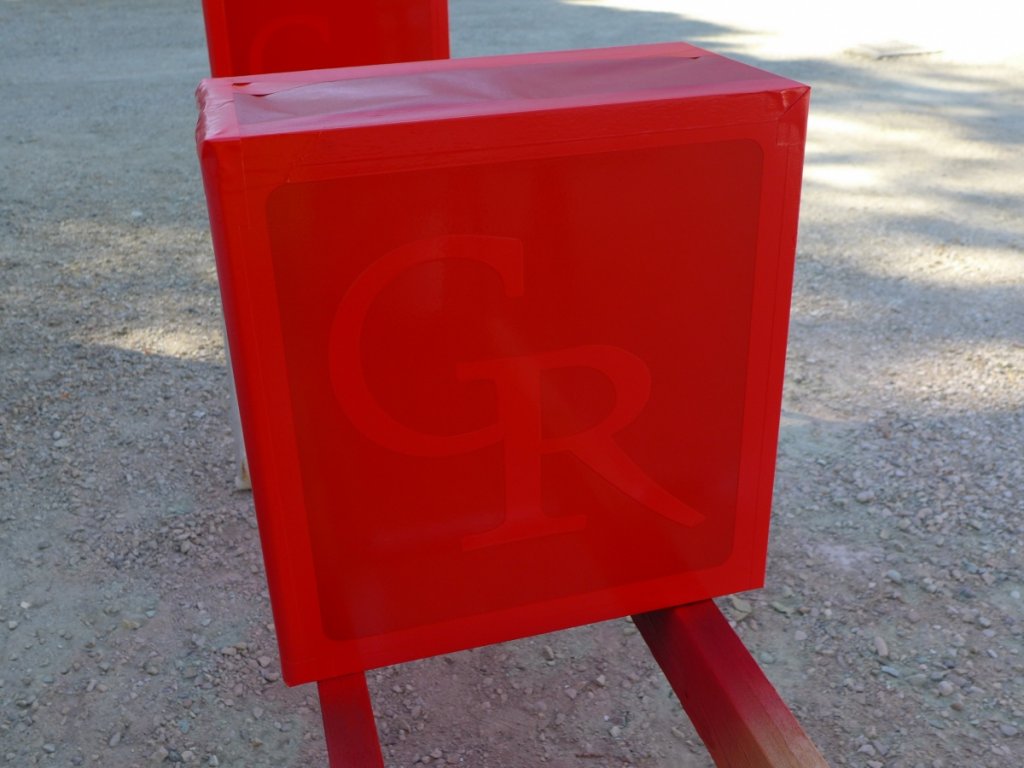
The rest of this is more informational and less dramatic.
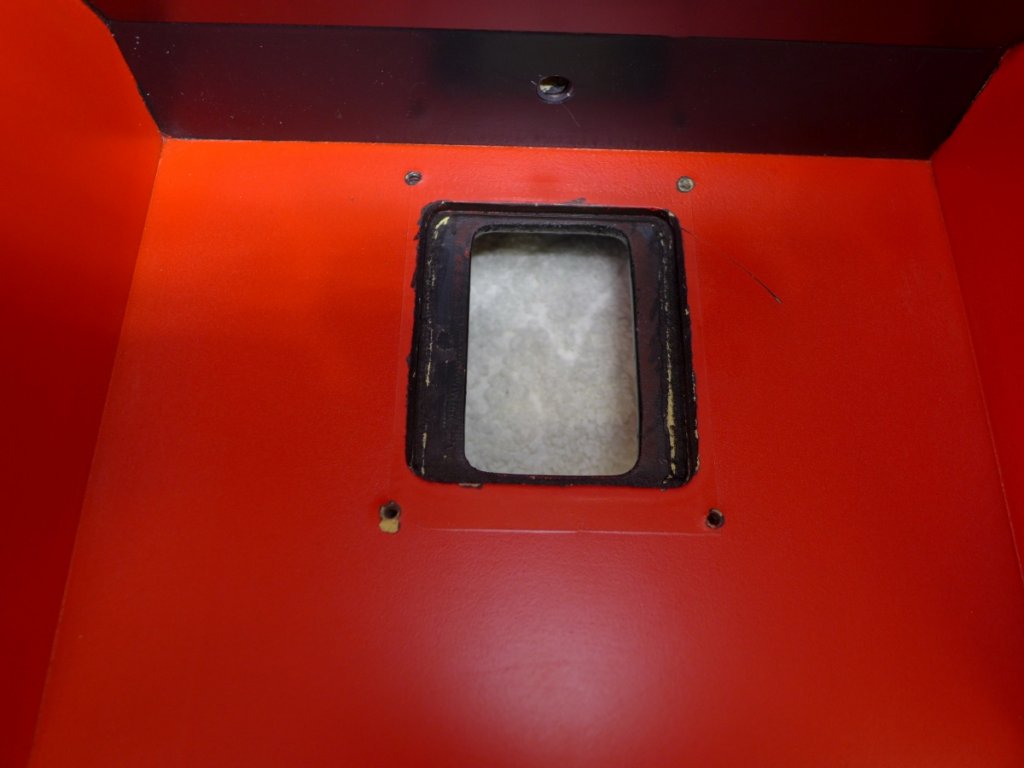
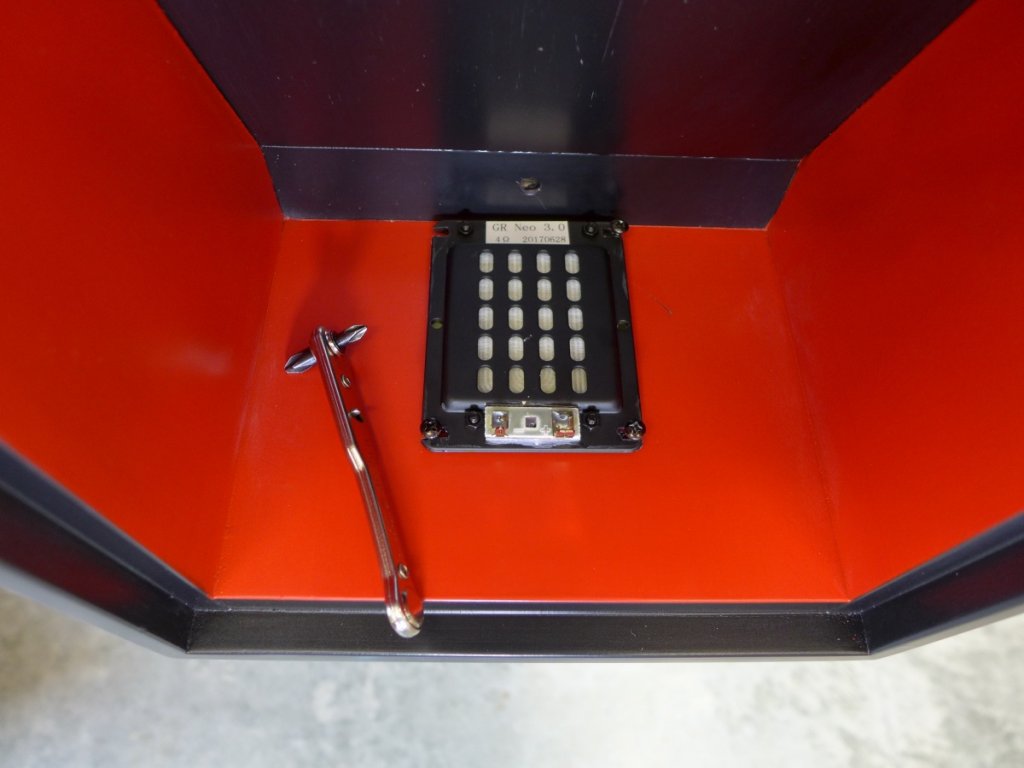
I was not happy with fit of screws in mounting slots on tweeters. The slots being about the size of screw root. Since I had already tapped the holes my fix was to open the tweeter slots a little. If you do this, be sure to mask off front an back or you'll have metal shavings inside tweeter.
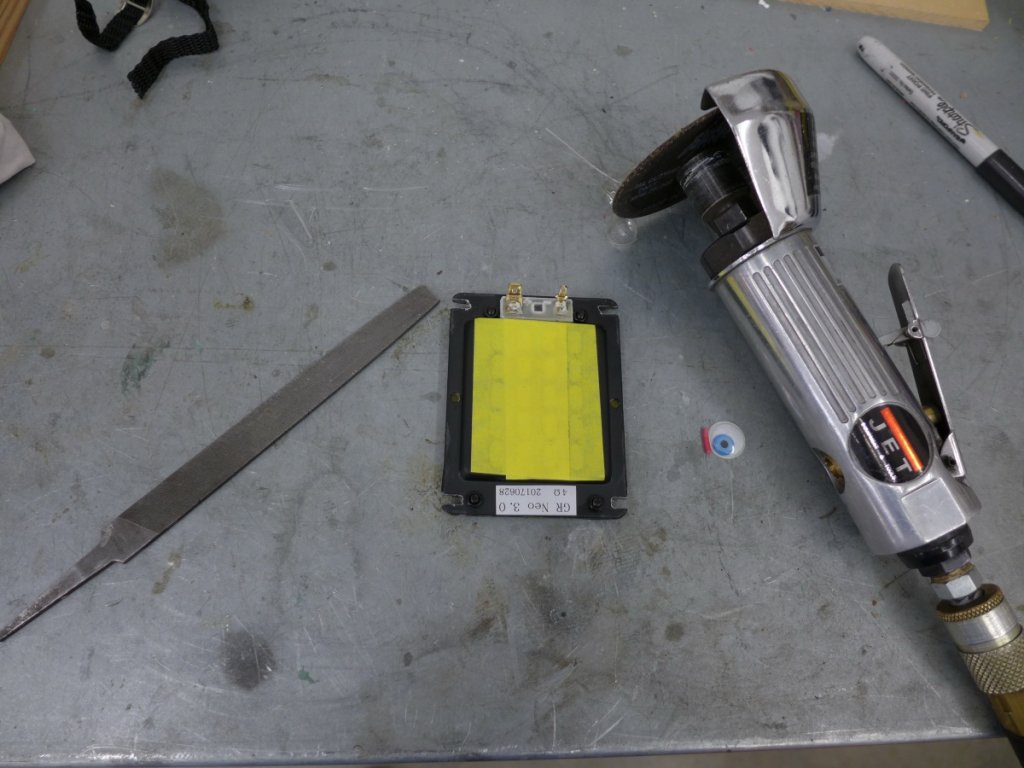
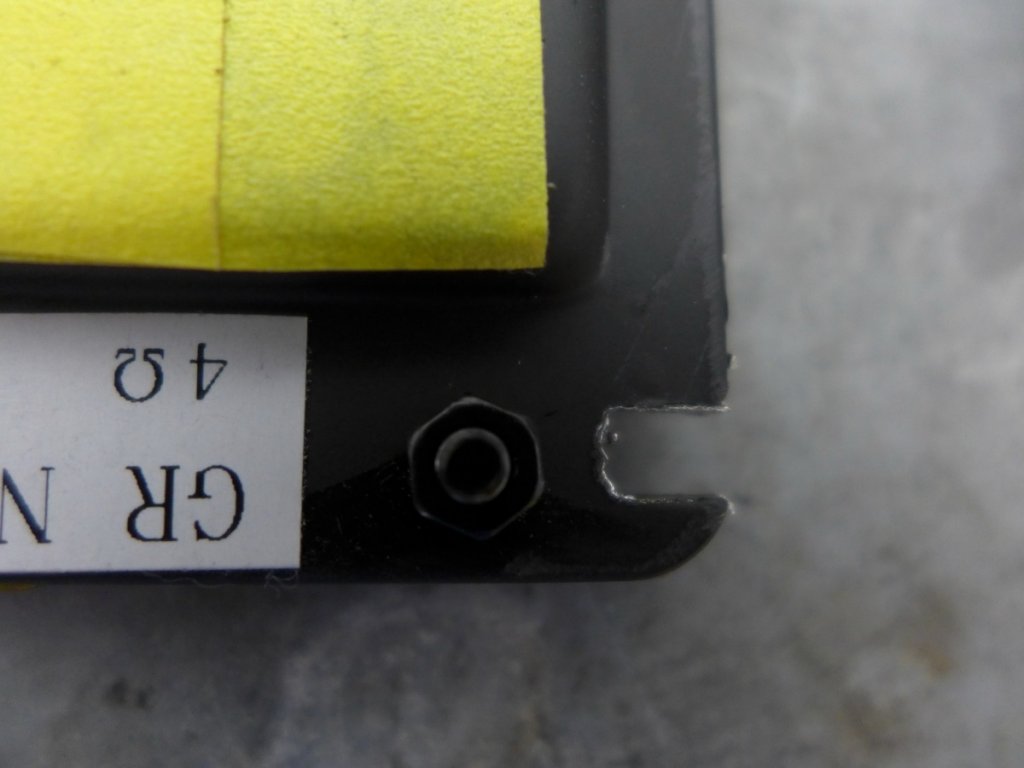
Because of paint film buildup tweeters didn't fit down against back of waveguide, so I needed to do some carving on the sides. And yes, I slipped with my chisel. Not pretty but got the job done and it's covered up by tweeter.
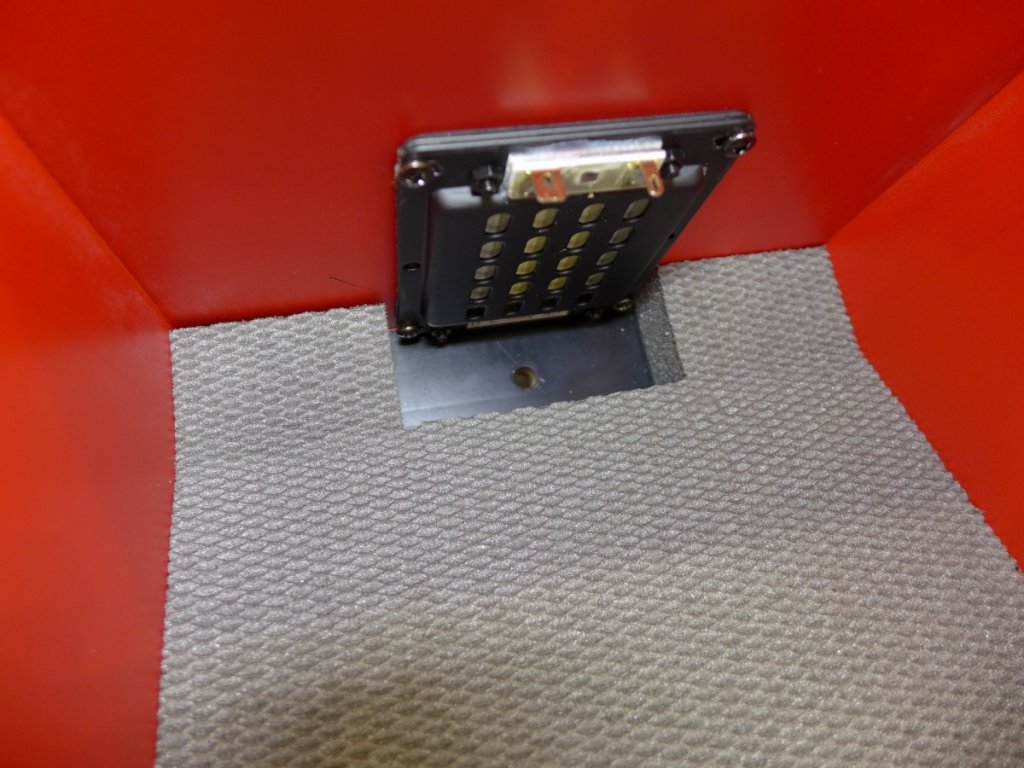
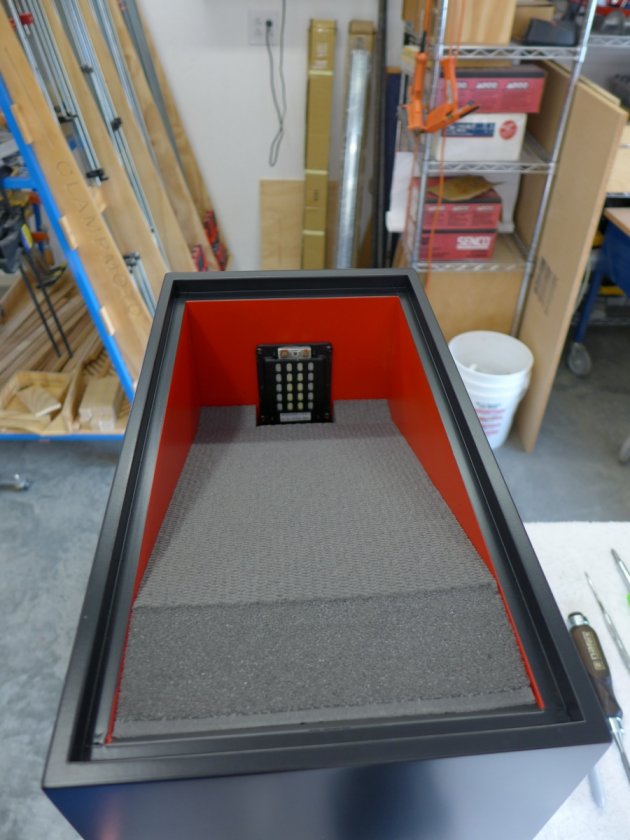
My way of getting to bottom screws
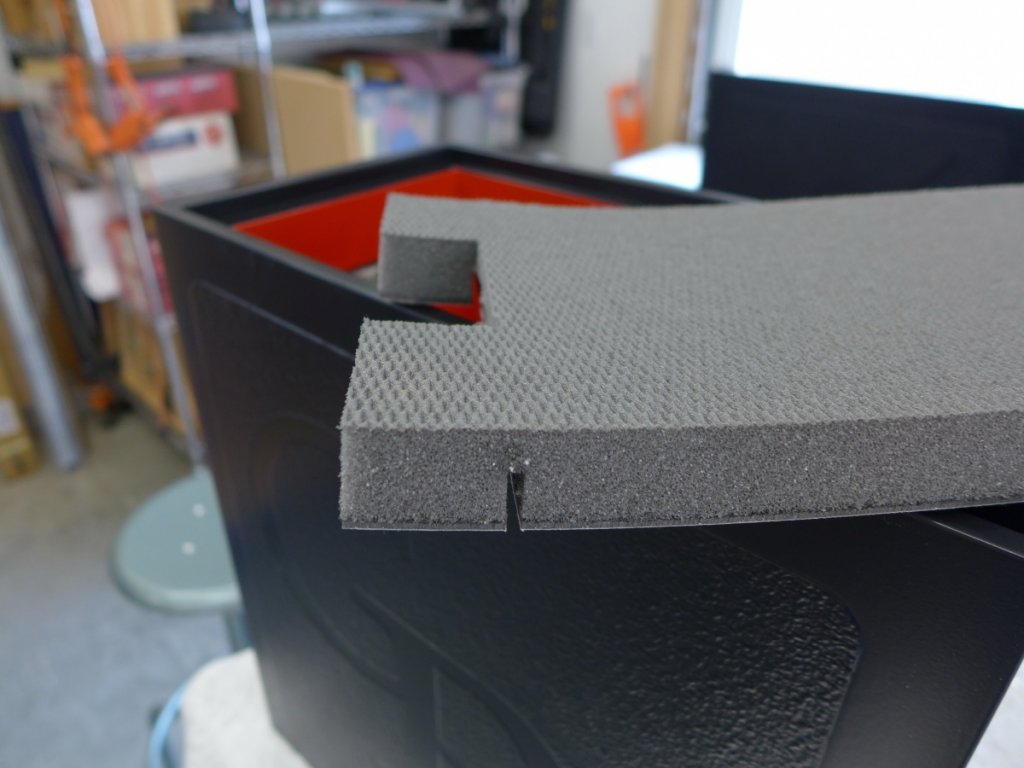
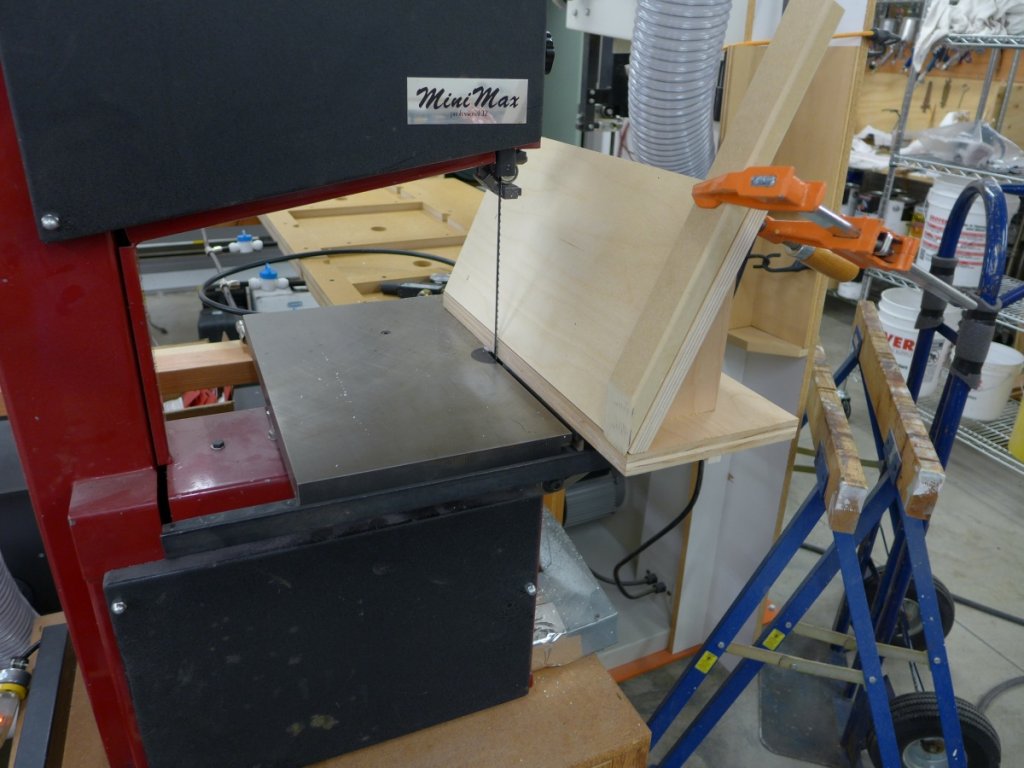
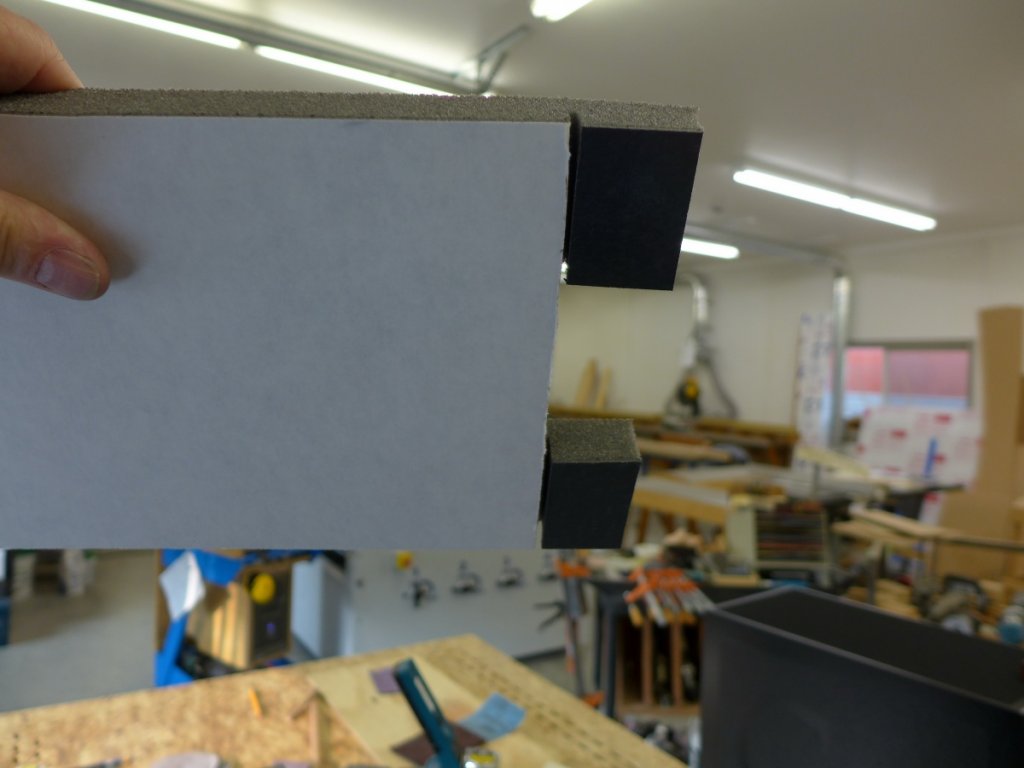
I kerfed NoRez so it would bend at miter and also built a jig to bevel at the rear
Test drive the fit
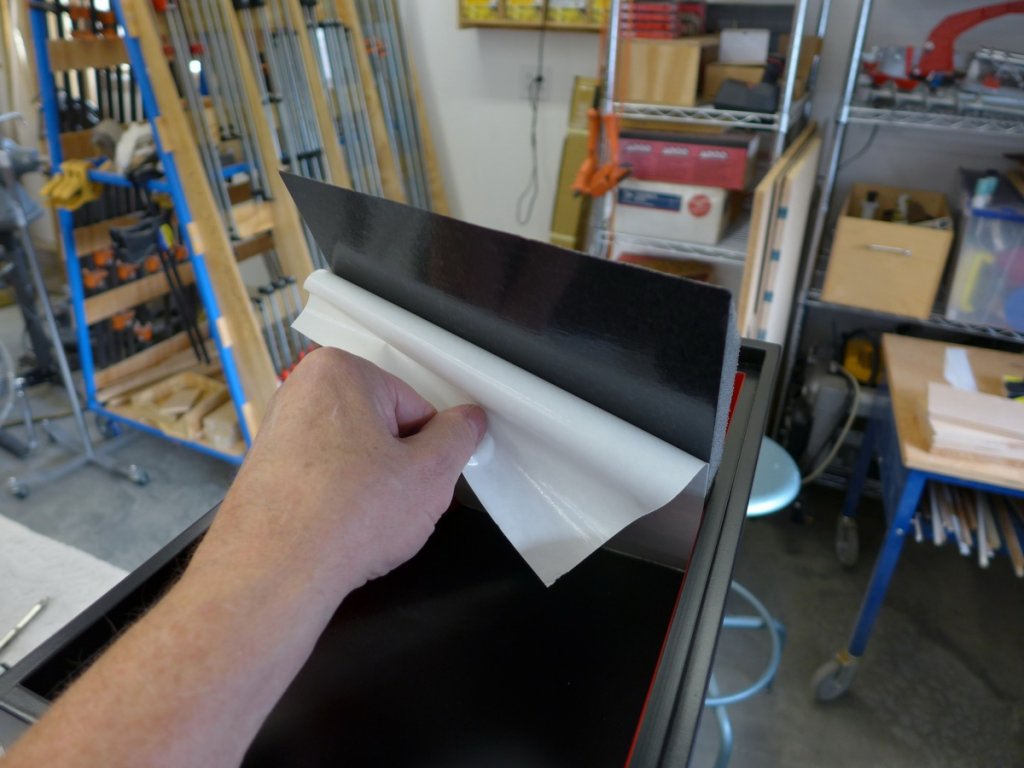
To install NoRez, I peeled release paper on front bits only, slid down back of baffle to get position right.

Then peeled the remainder
And made a "grill lifter" with Padauk
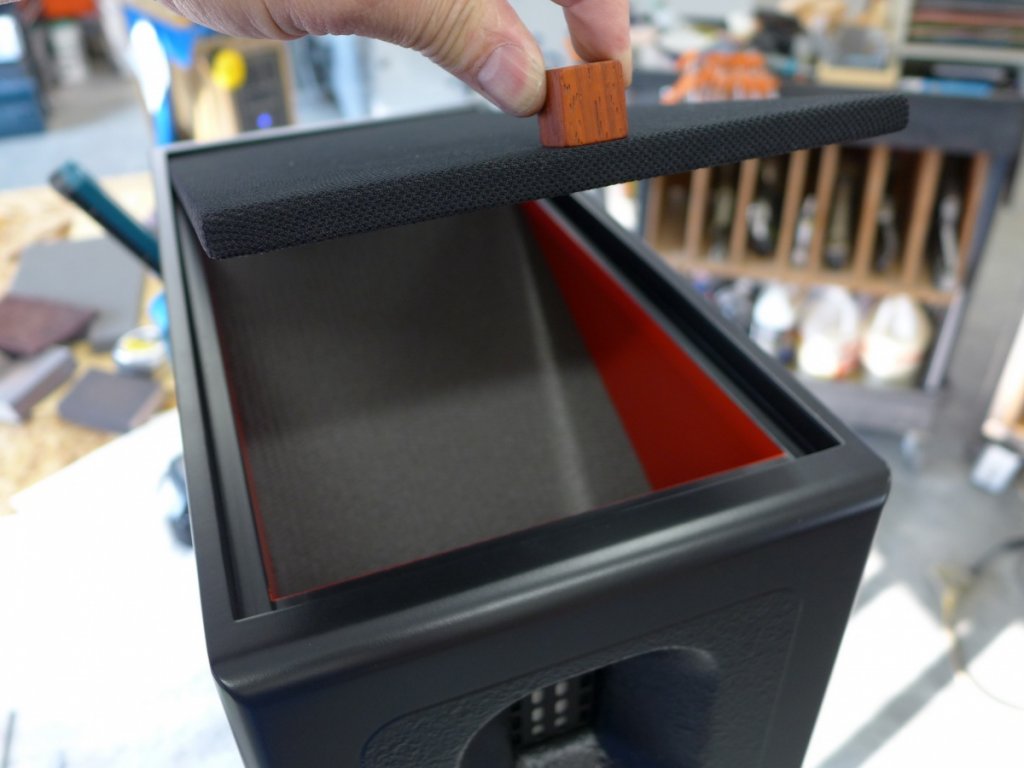
Ta Da!