Hi All
After lots of reading and an equal amount of decision changes between the AV3 or N3 kits I finally went with the N3 kit. I placed the order with Danny and had him ship the cross over components to Ron (Ron on AC) who gave me a great deal on assembling the networks for me. I personally didn't want to attempt the assembly as I'm visually impaired and didn't feel I was capable of dealing with the small components. Ron is a great option for anyone not wanting to assemble their own networks.
Anyhow, I started on the cabinets last weekend.
I picked up a sheet of 3/4" MDF from Home Depot and was able to get a fair amount of the cutting done there. I had them cut me 2 8" strips, 2 10" strips, and a 6.5" strip. From the 8" strips, I had them cut me the 4 front/rear pieces , from the 10" strips the 4 sides .
From leftovers of those pieces, I was able to cut the 4 top/bottom plates.
I must say, I asked the fellow to be extremely accurate with the cuts and he took his time and measured everything twice before cutting.
When I got home, I cut up the 6.5 " strip into the various braces I'd be needing.
Now being that I only started the weekend with 2 clamps, I decided to mark out all the bracing positions on 1 side of the cabinet. I'd have to position and glue in 2 braces at a time (using a scrap piece of MDF and the 2 clamps for pressure). It's very time consuming doing it like this but I had to work with what I had. I had a difficult time keeping the braces square when clamping them down but with some finicking around it is possible.
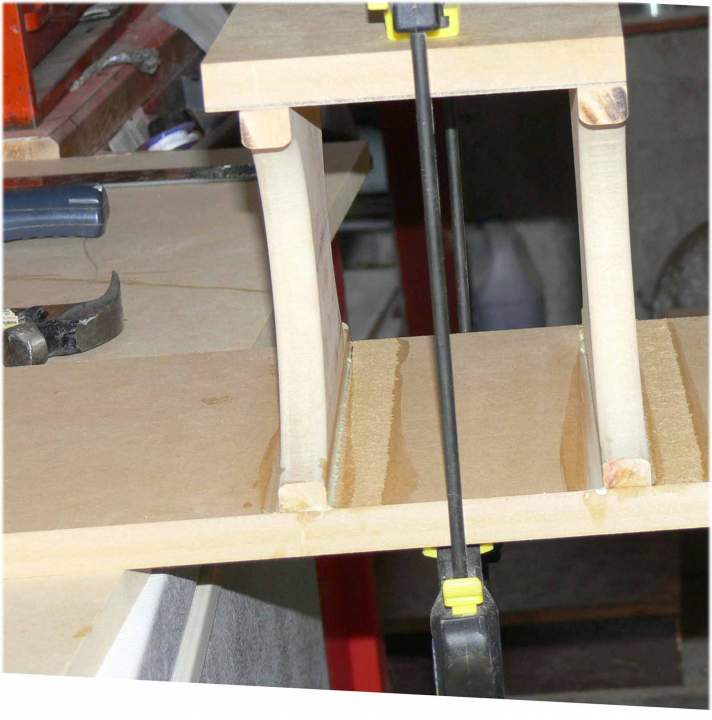
The 2 brace B's for each speaker I made from a 6.5" x 21" piece. Once the holes were routed and radiused, I cut the piece in half, then cut the excess from each end to make each of the resulting brace B's 6.5 x10" with a semi circles cut in either end.
I continued gluing in 2 braces at a time until they were all securely in position. Next I glued and screwed the top and bottom of the cabinet in place.. Now that I'm writing this, I realize that I should have taken more photos slong the way.
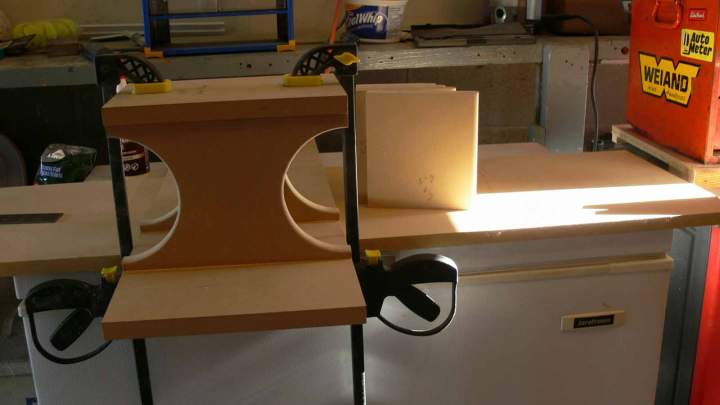
I was able to get my hands on a couple more clamps which really helped. Now I clamped the second side in place and drilled the pilot holes fro the screws. The screws are all slightly countersunk to allow for a roundover later. I also slightly countersink the holes that the screws will be tighening into making sure that the boards bind tightly. Next I applied the glue, clamps and screwws .

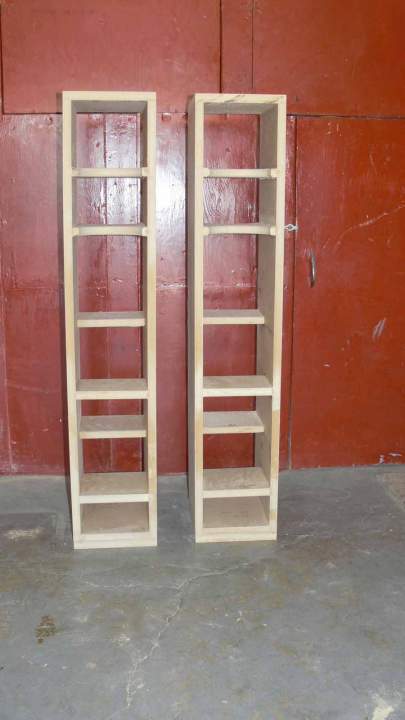
Here's how they are looking now. I'm pleased witht he results thus far. I obviously need to invest in more clamps for future builds.
As you can see, these are front vented so the TL has been flip flopped.
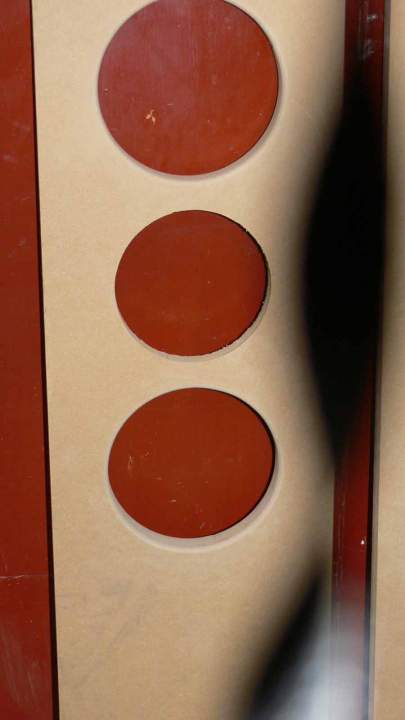
I was also able to get the front baffles cut out. The rear of the woofer holes are rounded over with a 3/8 radius.
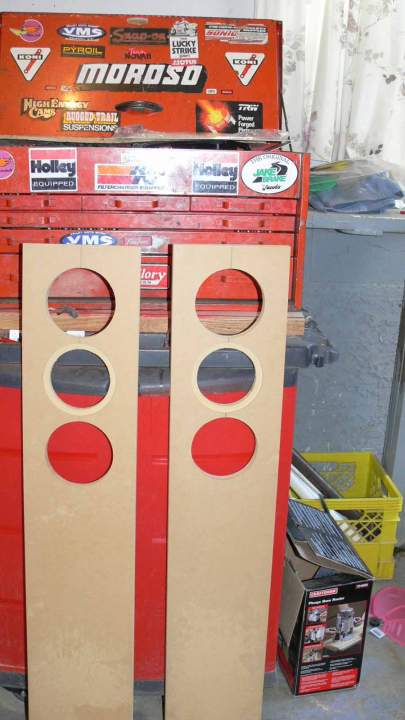
More to come.