And practice.

How hard can it be to use a template guide and router to make a small circular recess in a piece of MDF?

For some of us less talented people - 2 days...

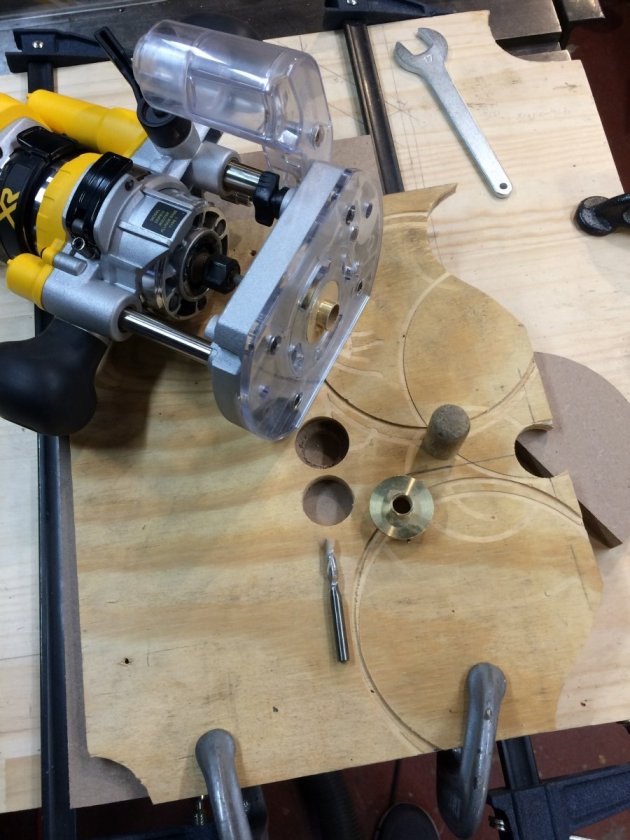
It is a good thing I am in the habit of practicing new things, even if they seem simple. I have a nice set of template guides that I got while working on the X-MTMs and never used. Here’s my chance to do something new...
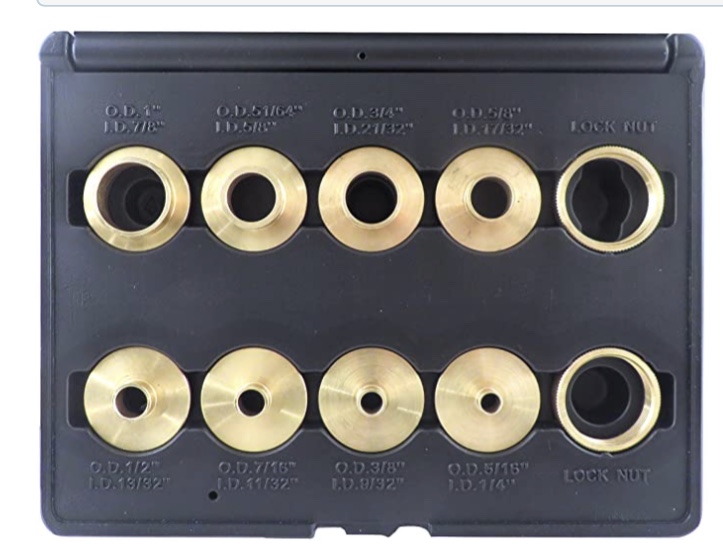
I even figured out the math for selecting the right guide...
(template hole dia) - (guide OD) + (bit dia) = recess ID....
So ... 1.25” - 0.625” = 0.625” + 0.25” = 0.875”
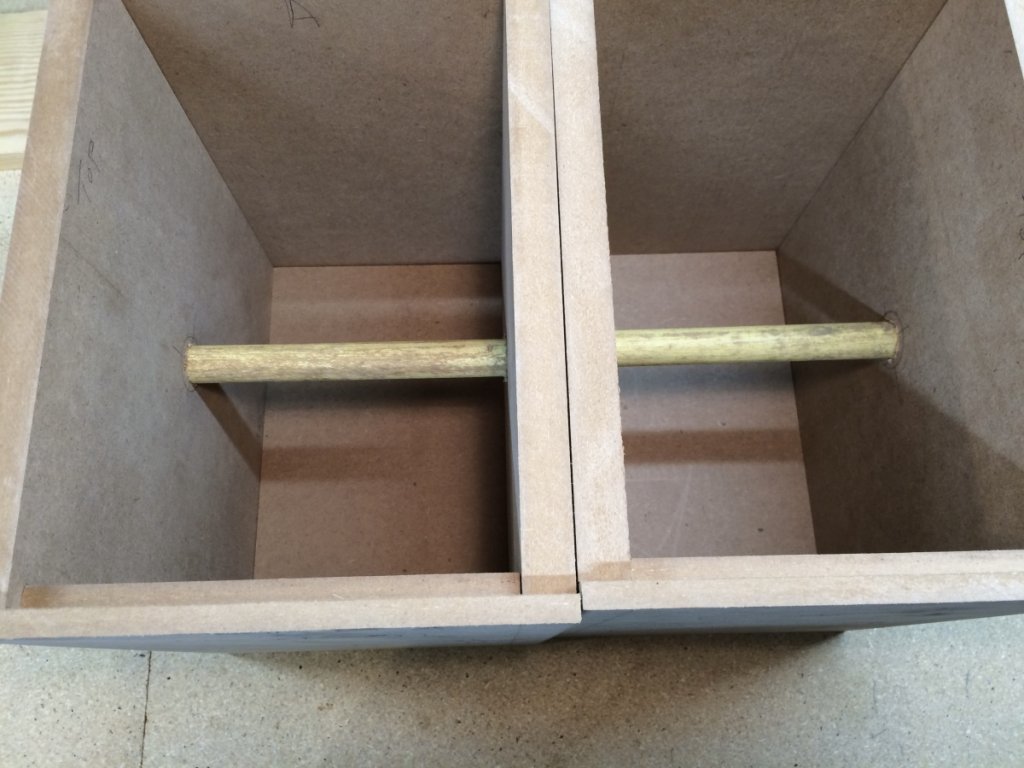
Perfect for the 13/16” dowel rod (otherwise known as an old broom handle) I had laying around. Just enough clearance for the PL adhesive, as Peter recommend.
Day 1 and an hour+ of practices. You think I could get a recess that the dowel could fit into? No.

Do you know many times I checked my math? How many times I measured the dia of the recess and the dowel rod? I even tried a different combination of template hole and guide diameters, with no success....

My wife is a very smart person... Much smarter than me. Sleep on it. It will look different in the morning. - She says....
Day 2 - Get the template out. Install the guide in the router base. New piece of scrap MDF. Take another shot at getting this right. Make my first pass and lift the router out of the way. The recess is filled with MDF dust. Not surprised as I saw this yesterday. Vacuum the dust out and take one more pass with the router. Take the router away and clean out the recess again. Try the dowel... It fits perfectly...

What’s different? Different day? No, I never thought to take that second pass with the router when I was practicing the day before.

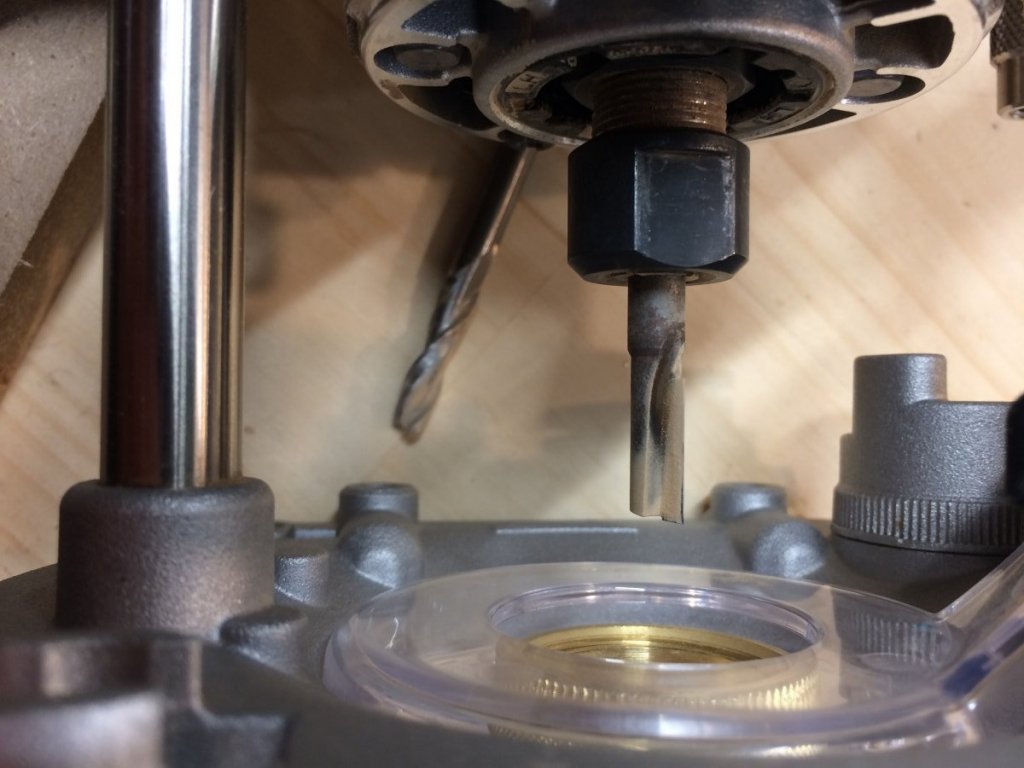
It seems that the router dust was enough to interfere with the guide and template and it was enough to prevent me from getting the right diameter recess. I had a vacuum attached to the router and was using an up spiral cutter, which I thought would be enough to keep that from happening. But apparently not.
I actually went with a straight flute cutter as it made a smoother surface at the base of the recess.
I took several shots at getting a smoother edge to the recess, but I think it is just the “cheap” MDF I am using.
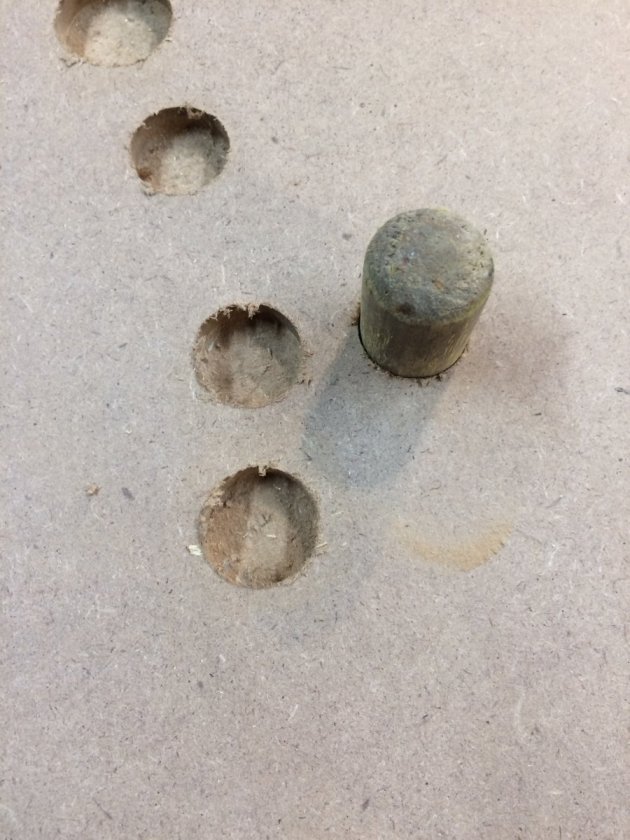
Not too worried about the edge as a little sanding will take care of that. Dry fitup and a perfect fit.
One of the things I did was to layout the location of the template hole on the side where the recess will go.
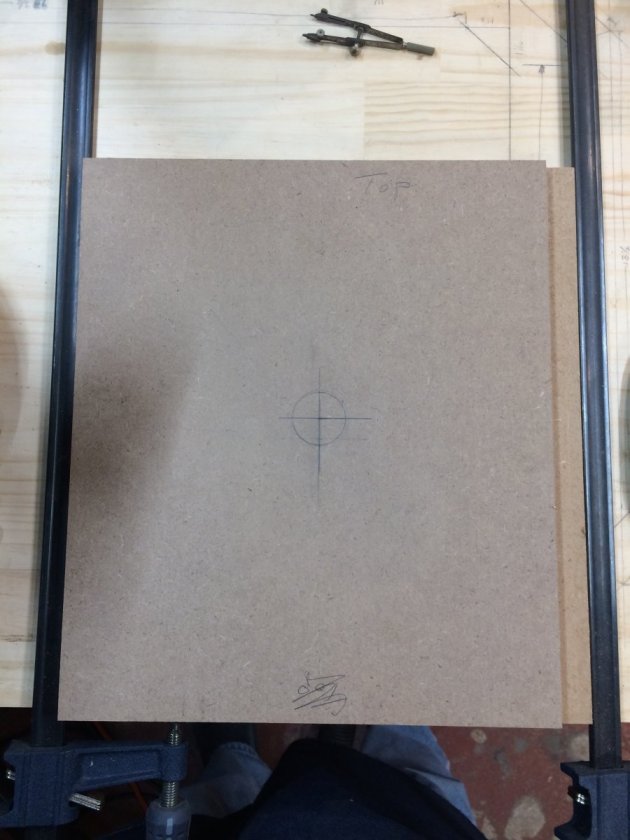
This provided me with a way to make sure the template is located correctly and that serves as a back check for doing the layout correctly. The template is a match to the sides that the recess will be in.
I should also note that per Danny’s sketches this cross brace is a little higher than center in the bottom to top direction. This makes the sides “handed” and they need to be installed correctly.
I finish the day with routing the corners of the braces for the X-CS cabinet and did a dry fit.
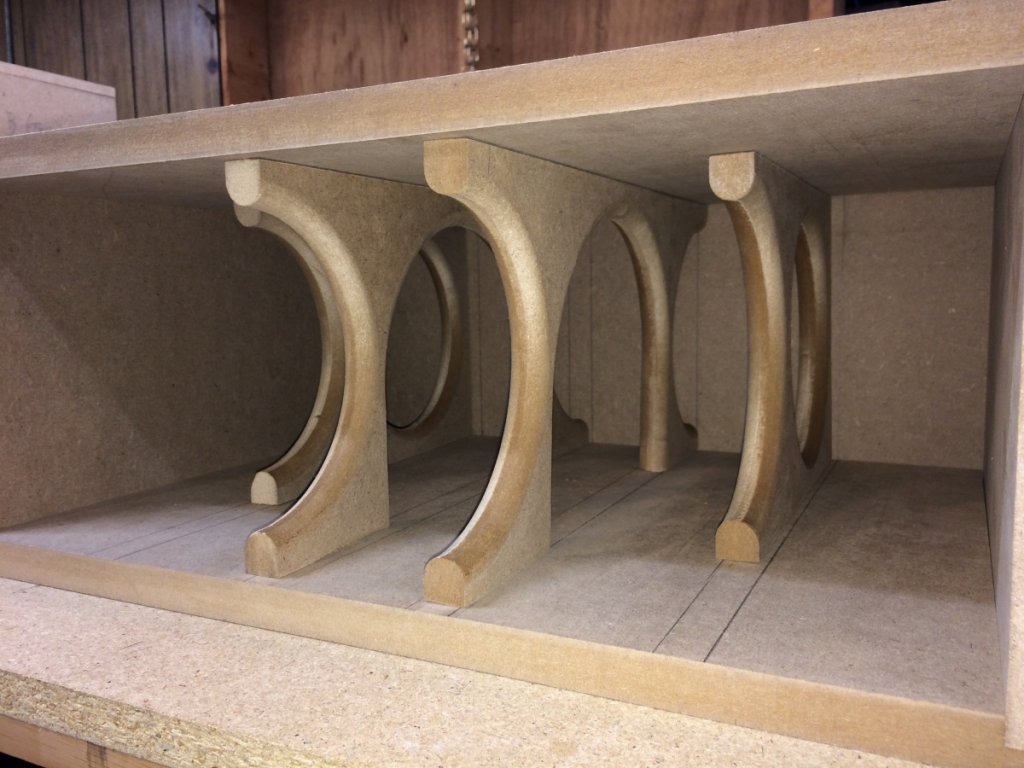
There is not a lot of room to fit the crossover board into places between the outer and inner braces. I will see what I can do with the layout of the crossover to see if I can make this fit as-is. If not, I can return the outer braces to the design shown for the X-CS.