Build process of Cherry Apollo11

0 Members and 1 Guest are viewing this topic. Read 5903 times.

Daedalus Audio

  • Facilitator
  • Posts: 974
    • http://www.daedalusaudio.com
Build process of Cherry Apollo11
« on: 7 Feb 2019, 07:20 pm »
We are building a set of Cherry Apollo11 for a repeat client. He bought a set of Cherry Apollo11 last year and now is buying a set for his twin brother! His one request was that we document the entire build process and post it on AC, well he did have one more requesst and that was that he be referred to as a reprobate or some similar term of endearment. :D  He's is actually a really nice guy and a bit of a character, kind of like someone else we know. :wink:

So here are a couple pics to start us off........


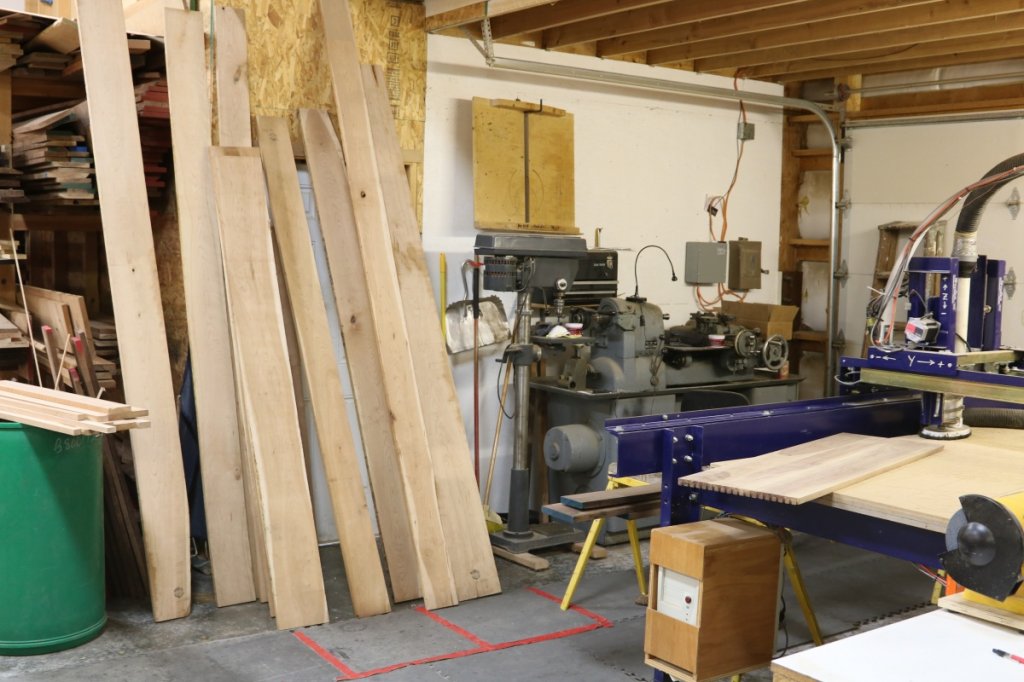
first step is selecting the wood, this can take quite a while to find the right wood that suits the client's taste.


now that the wood is picked and cut to rough length it is time to true it on the joiner then plane to thickness.


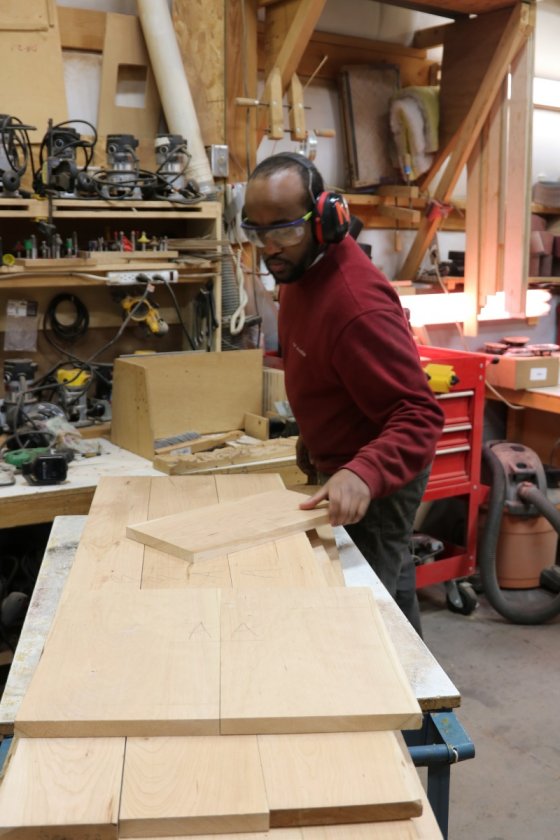
now to cut for biscuits and to glue up the panels


aldcoll

  • Full Member
  • Posts: 758
  • Champagne Taste on a Water Budget
Re: Build process of Cherry Apollo11
« Reply #1 on: 7 Feb 2019, 08:10 pm »
Nice brother, i am avaliable for adoption :banana piano:

Looking forward to the updates.

Alan

Daedalus Audio

  • Facilitator
  • Posts: 974
    • http://www.daedalusaudio.com
Re: Build process of Cherry Apollo11
« Reply #2 on: 13 Feb 2019, 10:14 pm »


Panels glued up, sanded and dovetailed.... now to assemble the basic box


Inlays glued up and off to the kiln for further drying

roadkingraw

  • Jr. Member
  • Posts: 82
Re: Build process of Cherry Apollo11
« Reply #3 on: 14 Feb 2019, 05:30 pm »
Great start Lou!  This will be interesting to watch!
Randy

Daedalus Audio

  • Facilitator
  • Posts: 974
    • http://www.daedalusaudio.com
Re: Build process of Cherry Apollo11
« Reply #4 on: 15 Feb 2019, 11:32 pm »


 sanding and first inspection of the cabinets

Daedalus Audio

  • Facilitator
  • Posts: 974
    • http://www.daedalusaudio.com
Re: Build process of Cherry Apollo11
« Reply #5 on: 11 Mar 2019, 08:27 pm »
Just some of the bracing installed....


Had to take time off the current build to finish up the set of Apollo for Axpona! Now for the 300 plus hours of breakin before we ship them to Chicago and then off for a review!


Folsom

Re: Build process of Cherry Apollo11
« Reply #6 on: 11 Mar 2019, 10:24 pm »
Beautifully done old school style!

dodgealum

  • Jr. Member
  • Posts: 141
Re: Build process of Cherry Apollo11
« Reply #7 on: 12 Mar 2019, 01:54 pm »
Beautiful Apollo's Lou! Can't wait to see how Axpona and reviewers respond to the final version of this model. Mine continue to impress the hell out of me with each new recording I pull off the shelf. The night before last was Muddy Waters "Folk Singer" MFSL. I've heard it dozens of times but with the Apollo's I am getting extraordinary insight into the recording venue and production techniques. I'm also gaining a new appreciation for the emotional power of Water's performance. There is a "you are there" quality to the Apollo's presentation that I have never before experienced. This is the whole package--everything gels and nothing stands out that might draw the listeners attention away from the musical performance. I have heard speakers costing much more that initially impress on this front or that but none at any price that "get it" the way the Apollo's do. They are a music lover's delight!

Daedalus Audio

  • Facilitator
  • Posts: 974
    • http://www.daedalusaudio.com
Re: Build process of Cherry Apollo11
« Reply #8 on: 12 Mar 2019, 05:05 pm »
Beautiful Apollo's Lou! Can't wait to see how Axpona and reviewers respond to the final version of this model. Mine continue to impress the hell out of me with each new recording I pull off the shelf. The night before last was Muddy Waters "Folk Singer" MFSL. I've heard it dozens of times but with the Apollo's I am getting extraordinary insight into the recording venue and production techniques. I'm also gaining a new appreciation for the emotional power of Water's performance. There is a "you are there" quality to the Apollo's presentation that I have never before experienced. This is the whole package--everything gels and nothing stands out that might draw the listeners attention away from the musical performance. I have heard speakers costing much more that initially impress on this front or that but none at any price that "get it" the way the Apollo's do. They are a music lover's delight!

Thank you! What you describe is what I have worked for many years to get, just have the speakers get out of the way without shortchanging any aspect of the music.  :thumb:

Daedalus Audio

  • Facilitator
  • Posts: 974
    • http://www.daedalusaudio.com
Re: Build process of Cherry Apollo11
« Reply #9 on: 12 Mar 2019, 05:07 pm »
Beautifully done old school style!

That is why  very few use real solid wood. There are not many shortcuts with that material, it has to be "old school".
Of course there are a lot of tricks in the bracing etc that we put in after those pics.... :)

Daedalus Audio

  • Facilitator
  • Posts: 974
    • http://www.daedalusaudio.com
Re: Build process of Cherry Apollo11
« Reply #10 on: 14 Mar 2019, 11:37 pm »


Cabinet built and ready for the hardwood baffle and backs. The plywood used in the baffle, back, and mid and XO chambers is the highest grade Baltic Birch void free, and very dense.


laminating the hardwood, you can never have too many clamps :wink:

chitlins-parmigiana

  • Jr. Member
  • Posts: 45
Re: Build process of Cherry Apollo11
« Reply #11 on: 21 Mar 2019, 08:03 pm »
Very nice work !

Daedalus Audio

  • Facilitator
  • Posts: 974
    • http://www.daedalusaudio.com
Re: Build process of Cherry Apollo11
« Reply #12 on: 22 Mar 2019, 11:22 pm »
Inlay now installed and time to cut the driver recesses and shape the cabinets.


Daedalus Audio

  • Facilitator
  • Posts: 974
    • http://www.daedalusaudio.com
Re: Build process of Cherry Apollo11
« Reply #13 on: 2 Apr 2019, 05:22 pm »
Inlays installed and driver recesses cut. Next up is shaping the cabinets.


Daedalus Audio

  • Facilitator
  • Posts: 974
    • http://www.daedalusaudio.com
Re: Build process of Cherry Apollo11
« Reply #14 on: 2 Apr 2019, 05:24 pm »
the shape is there, now for the edges and sanding!


Daedalus Audio

  • Facilitator
  • Posts: 974
    • http://www.daedalusaudio.com
Re: Build process of Cherry Apollo11
« Reply #15 on: 9 Apr 2019, 09:39 pm »

The first of many coats of oil/varnish.


Daedalus Audio

  • Facilitator
  • Posts: 974
    • http://www.daedalusaudio.com
Re: Build process of Cherry Apollo11
« Reply #16 on: 4 May 2019, 12:01 am »
Finish is done and cured enough so that next week we will wire these babies up.
Natural light here but too much to see the gloss, trust me they look great!

The cool thing about the cherry is that because we don't use "plastic" finishes there are no UV inhibitors to keep the cherry from aging.
In a year these will be a deep almost mahogany hue.


Brettio

Re: Build process of Cherry Apollo11
« Reply #17 on: 4 May 2019, 12:19 am »
SO much more than just a pair of speakers. Beautiful.

cheech

Re: Build process of Cherry Apollo11
« Reply #18 on: 4 May 2019, 08:52 pm »
Lou, you are a true artist and craftsman. Stunning

Daedalus Audio

  • Facilitator
  • Posts: 974
    • http://www.daedalusaudio.com
Re: Build process of Cherry Apollo11
« Reply #19 on: 18 May 2019, 12:08 am »


Installing the back access panel.


custom mounting plates ....


DONE!!!