Last night I took my new D.I.Y. RCM on her maiden voyage. And I am very pleased with her performance.
The high torque gear motor maintains RPMs when the vacuum is turned on and the VPI Typhoon spec vacuum has all the fluids off the record surface in just one revolution.
The first couple trials were with some expendable records. But the true test is cleaning one's prized possessions, in this case an original Atco pressing of
"The Lamb Lies Down on Broadway" purchased the first week of its release. All four sides "Porky mastered".
The cleaning was uneventful. But I was truly blown away upon playback. I know this recording very well but listening to sides 1 & 2 was a revelation, there is so much to listen to in this production. I look forward to many more cleaning and listening sessions.
And yes, I do have a stock of new inner and outer sleeves to replace old ones as I go along.
Anyway, here are some more pics of the build. I have a few more items to do - like attach fan to back panel and attach feet to the bottom deck and seal the top of the deck to the sides, etc.
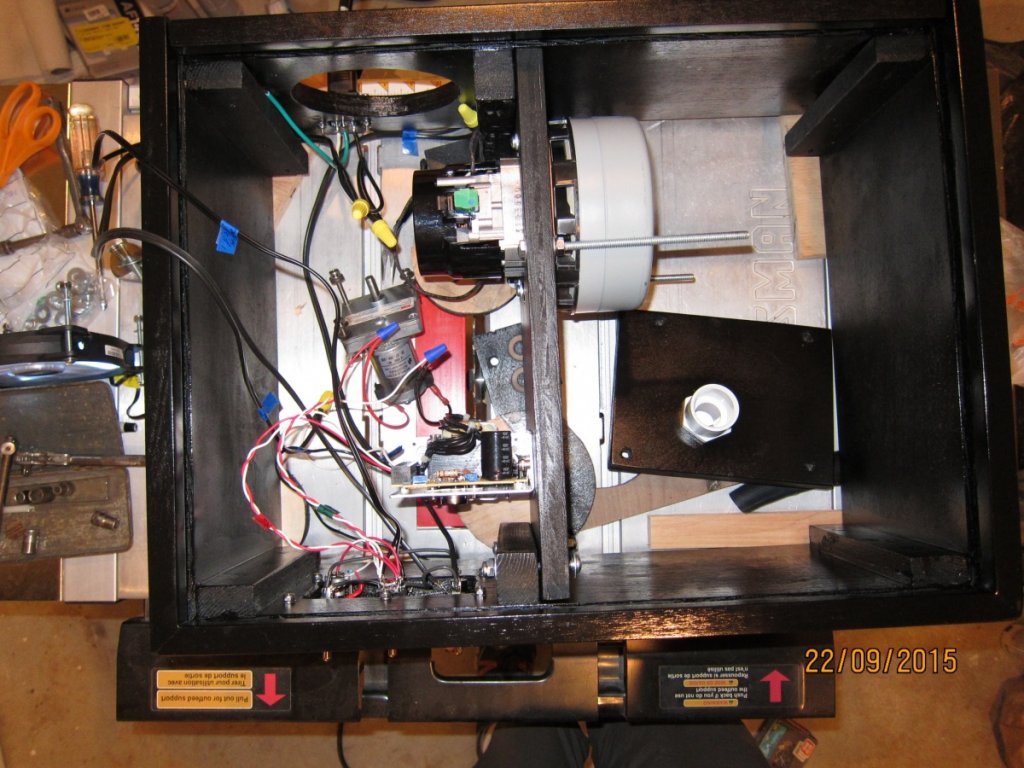
Here I am testing that switches and wiring is correct. The gear motor isn't mounted yet and the vacuum plumbing isn't installed.
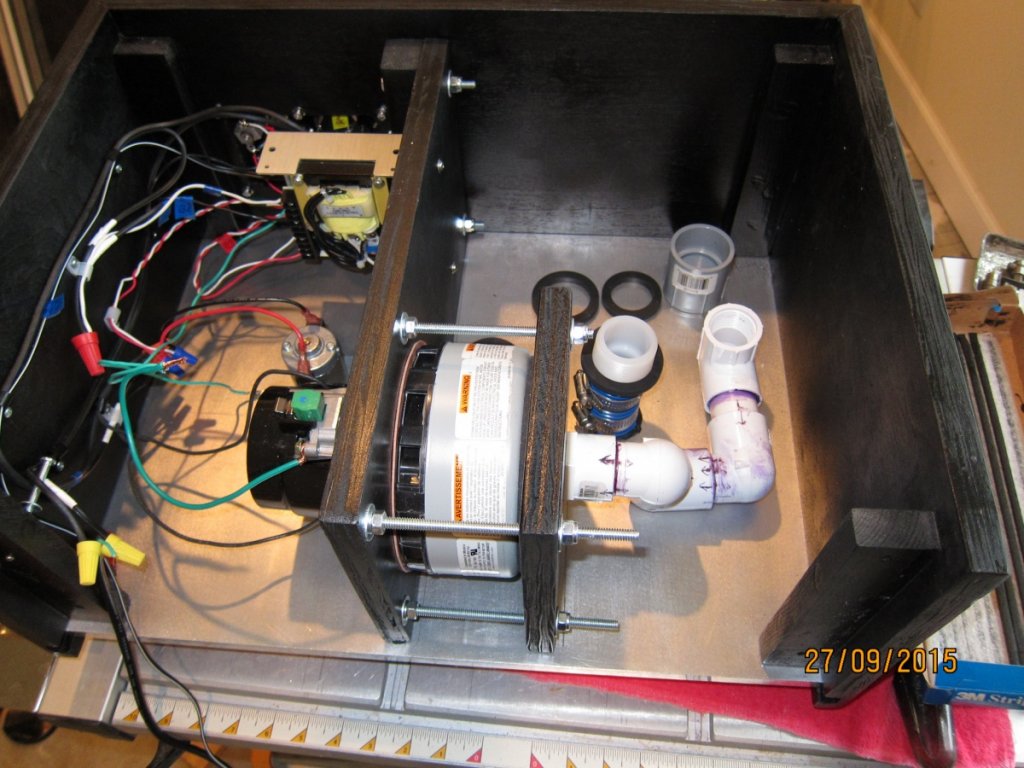
Gear motor is installed, vacuum plumbing being fitted (the purple stuff is pvc primer, used with solvent to chemically weld the pieces together. One chance to get it right!). The wiring is tucked up on the side. I left leads long because the board on which the vacuum motor and power supply mount needs to swing out of the way for assembly/dis-assembly.
I used nuts with nylon inserts for the bolts on the vacuum assembly - don't want them coming loose.
Teflon pipe dope will be used to coat the thread of the pvc screw on pieces.
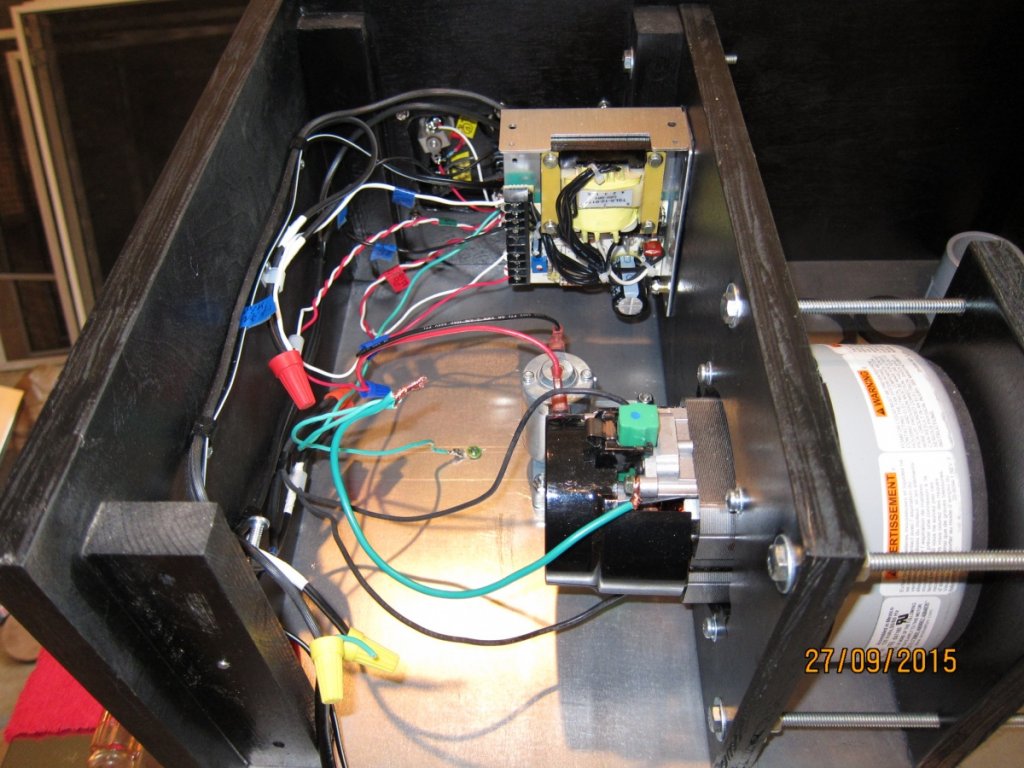
Ground wiring is green, neutral wires are tagged with white electrician's tape, and yes, the color difference of the wire nuts is meaningful. The gear motor does not have its own ground wire because it s directly attached to the aluminum deck which is grounded. I verified this with my ohm meter. The blue electrician tape are labels to remind me of what wire goes where.
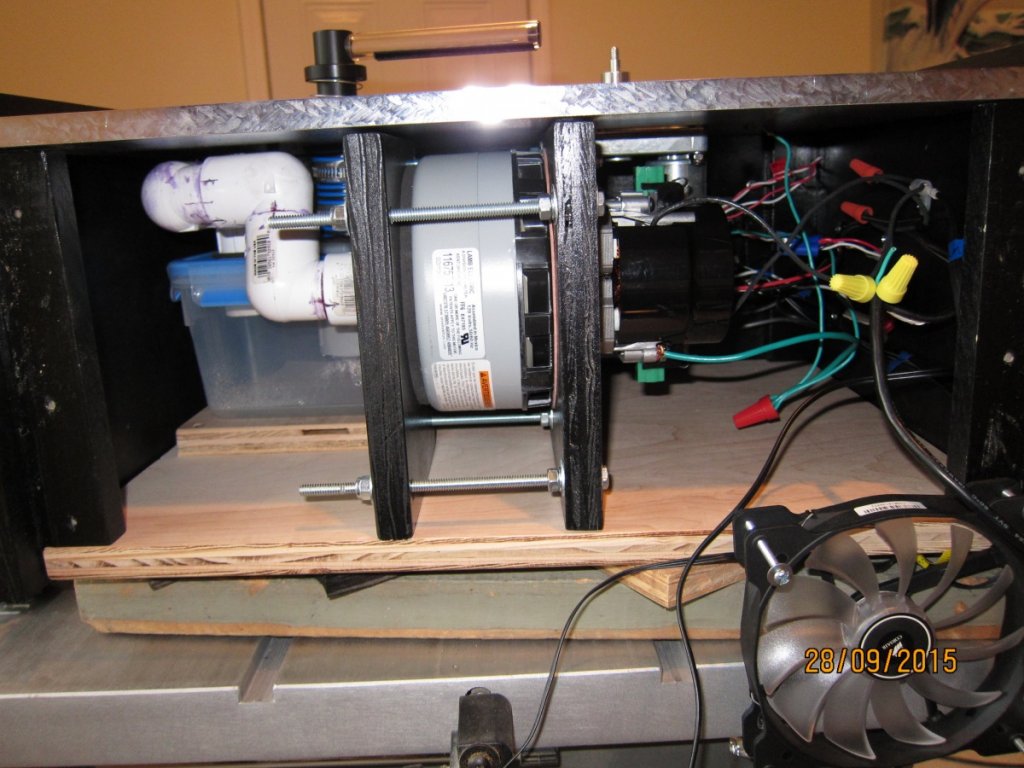
Note the foam gasket attached to the vacuum to ensure a good seal.
Right side up view of the internals. The back panel will be mounted when I am finished tuning and tinkering. The small block under the fluid capture tank exerts slight pressure, assuring the connection to the vacuum tower tail. In addition there are compression clamps, one of which you can make out on the blue tube.. Kinda like wearing suspenders with a belt.
I used 3M Strip Caulk product to create a seal between the aluminum deck and the board with the vacuum and gear motor. I will apply another strip on the bottom edge when I finalize the build. I don't plan to use any insulation. Still need to think about external exhaust for the vacuum motor. Question is bottom or back ports?
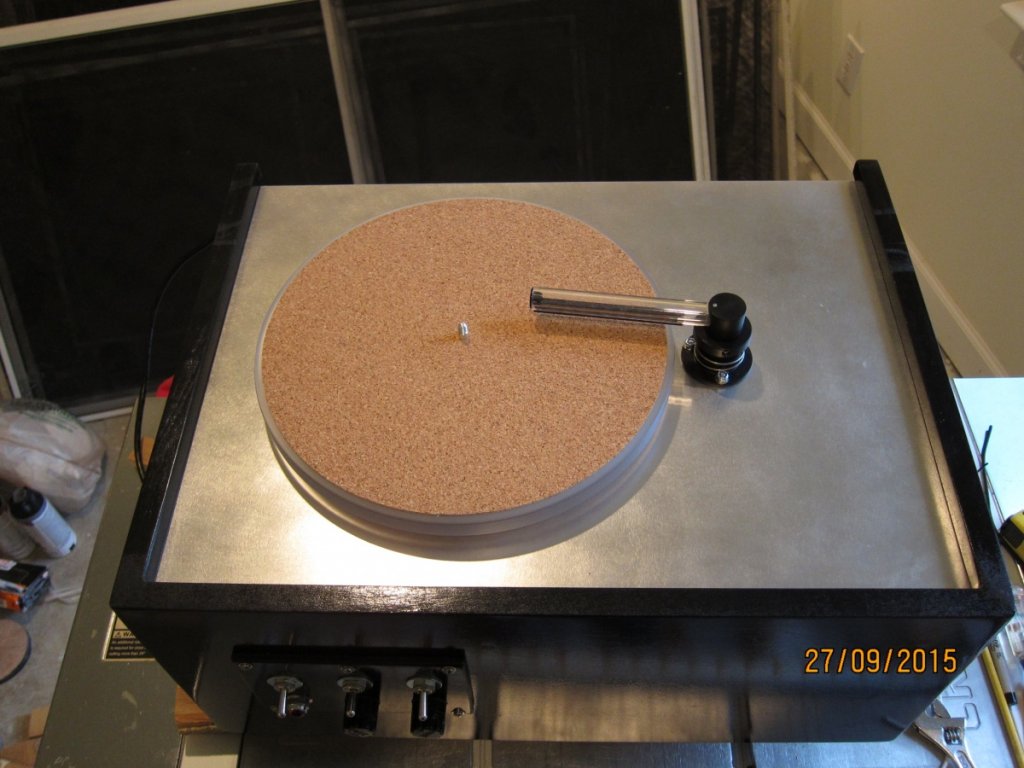
Platter is attached, cork mat on, vacuum tube in place. Time for "Switch On!"
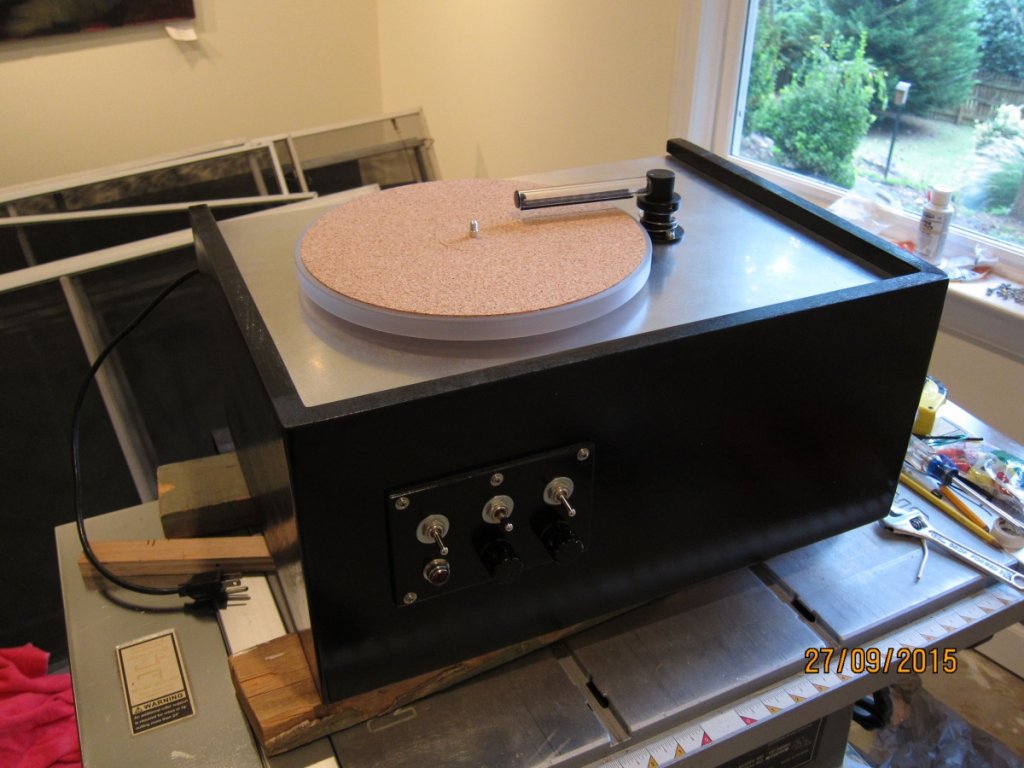
The aluminum deck was sanded extensively with increasingly finer grades of sandpaper. I think i ended with 400 grit paper, some polishing enthusiasts take it well beyond this. but I like how it looks and I was tired of sanding. I then used a Maguiars automotive product specifically for polishing aluminum wheels. The cleaning fluid beads up nicely.
And that wraps it up for another project. I realize there are other record cleaning technologies that clean even more effectively. But this was a project with reasonable chance for success based on my tools at hand and experience.
Thanks for reading.