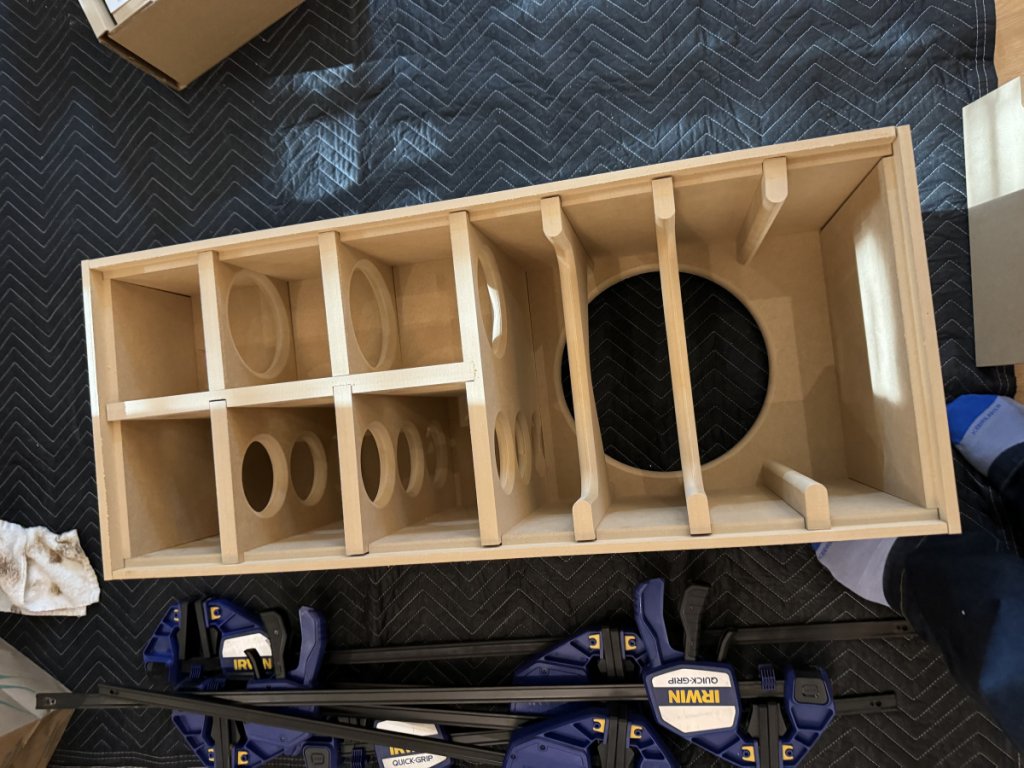
I purchased a Bully kit and flatpack as a Christmas present for my daughter (to build with her). We tried dry fitting the pieces for one of the speakers to make sure we understood how everything goes together. The cabinet construction is considerably more complicated than any of the other speakers I have built so I have some questions.
I noticed that the flatpack is a bit different than the drawings. There are two "F" braces and no "E" brace. We test fit the plate amp with the braces installed and everything fit ok. I didn't test fit the woofer, but I assume this will fit OK as well.
Also, the front baffle is not radiused along the edges. How important is this? I don't have the tools to do this myself, so if it's necessary, I will have to find someone that can do this. Is it sufficient to do a slight softening of the vertical edges using a sander, or is a bigger radius important?
What's the best strategy to glue these up? There are a lot of pieces that need to fit together. It seems like the second front baffle piece "I" should be glued to the front baffle before doing anything else. Can the internal braces be glued separately before building the rest of the cabinet, or is the best strategy to glue everything at once and work as fast as possible. I'm planning to use Titebond III which seems to have about the longest working time of any of the high quality wood glues.
I think I have read that the inside surfaces should be painted in order to prevent moisture absorption. This is going to be pretty challenging after glue up. Is this important? If so, does it make sense to paint some of the pieces before glueing (masking the glue surfaces)?
Any recommendations on which surfaces to apply no-rez? Should the sealed section for the tweeter/midrange drivers be stuffed with polyfill? Any recommendation on how much?
What's the recommended location for the crossover network? Bottom of the cabinet under the woofer?
Thanks,
Jay