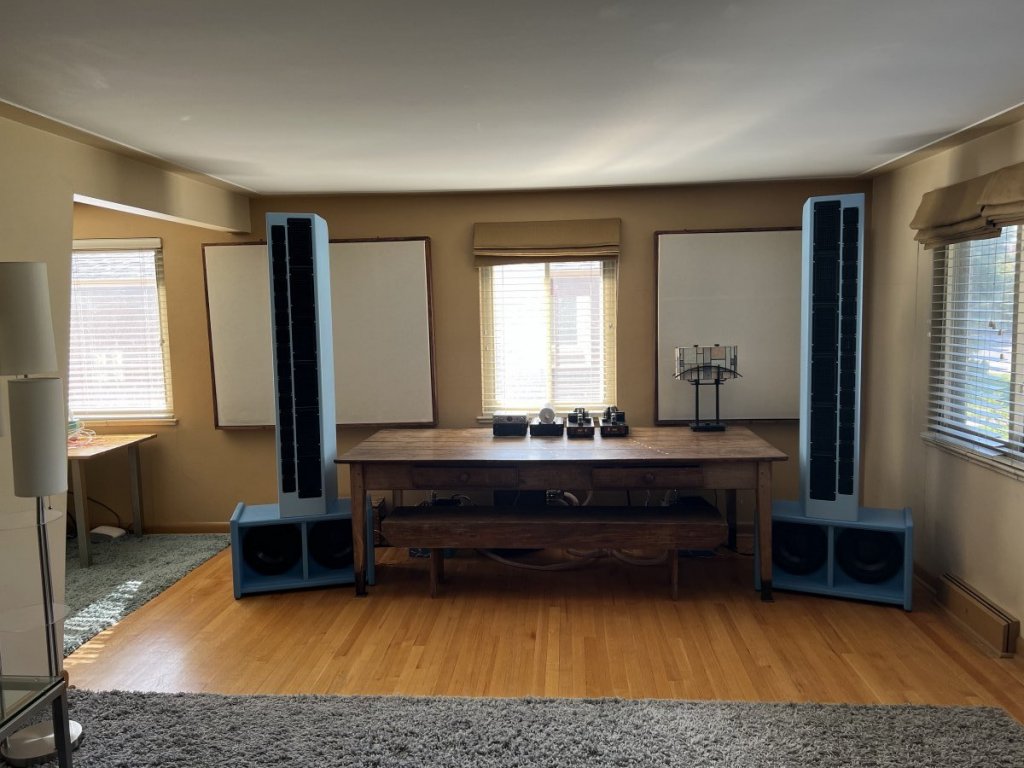
My Background Journey10 years ago I heard a pair of Super 7's at RMAF and soon after, I built myself a pair. They were the best speakers I'd ever heard, for my tastes. I was really happy with them for a long time. I change out gear a lot, but the Super 7's stayed, they were that good.
About 6 years ago I visited Danny to have him work on some Klipsch Forte's I owned at the time. While I was there he let me listen to all the GR Research designs he had in house. I really liked the NX Studios, the NX-Oticas and the NX-Tremes. But the ones that really blew me away were a pair of LineForce planar line arrays. They were the big brother of my Super 7's and they beat the 7's, by a lot.
There's a big problem. The Neo10 planar magnetic midrange drivers are no longer made. My Super 7's have 4, but the LineForce requires 6. Damn.
The Project BeginsA year ago, just on a lark, I stumbled across 4 Neo10's in good condition on the used market. Holy shit! Immediate buy!
I now had the midrange drivers needed, and I could re-use the servo subs from my 7's for the LineForce. I reached out to Danny about the tweeters and he could supply those. All we need is a cabinet.
Reached out to Jay (captainhemo) to get a custom set of cabinets made. The good news is they have the CNC plans for the cabinets still. The bad news is Covid caused the prior composite materials to become unavailable. So a new formula needs to be created. This take s a long time. Then there's a backup at the cutting shop. Jay was great to work with and I need to give him a shoutout - without you, this whole project would not have been possible - thank you!
Subs:OK, cabinets are done at the shop, and my subwoofer flat packs have arrived. Let's go:
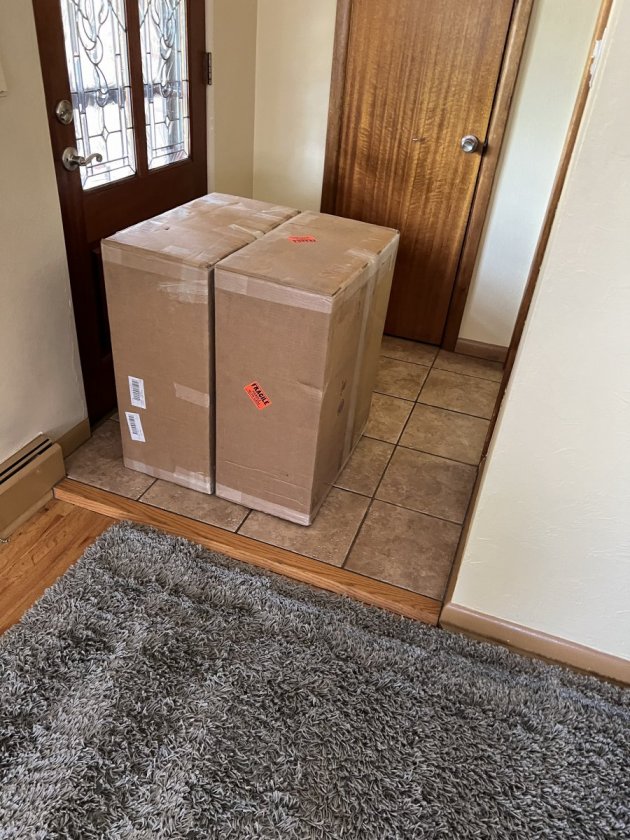
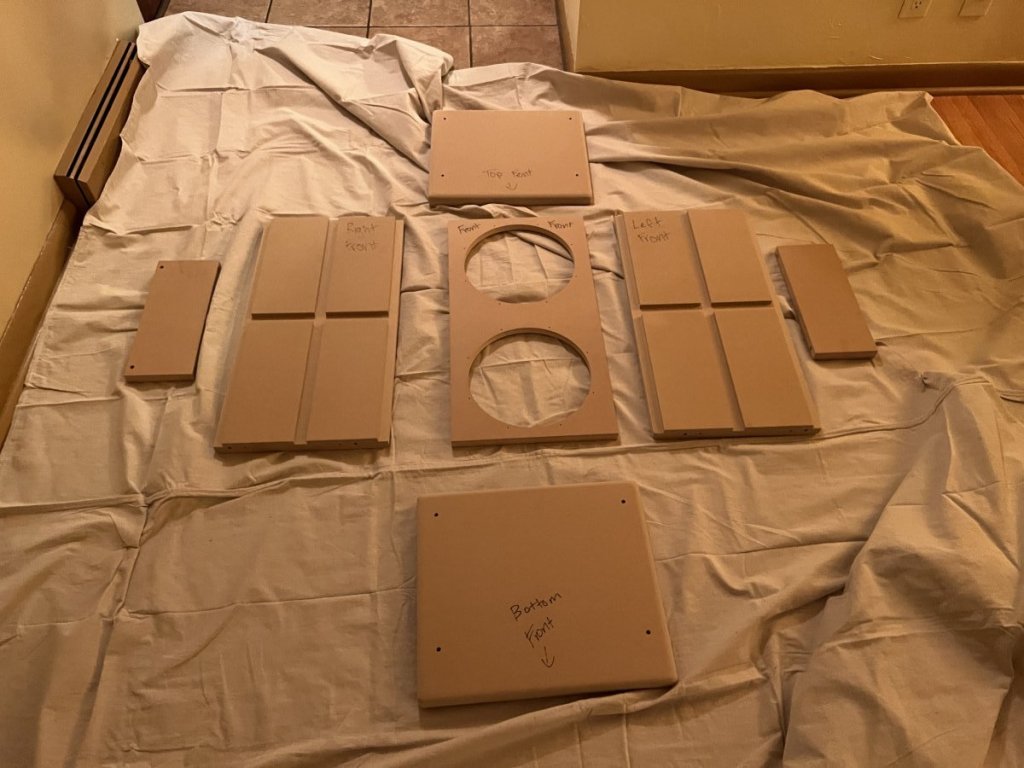
Ready to assemble. You can see Jay does meticulous work:
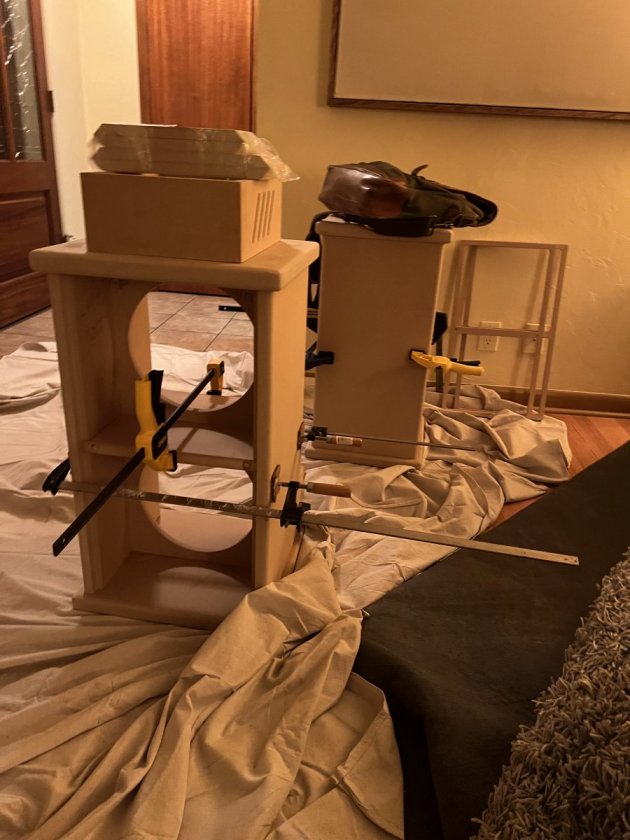
Assembled:
Amp boxes too. More first rate build quality from Jay:
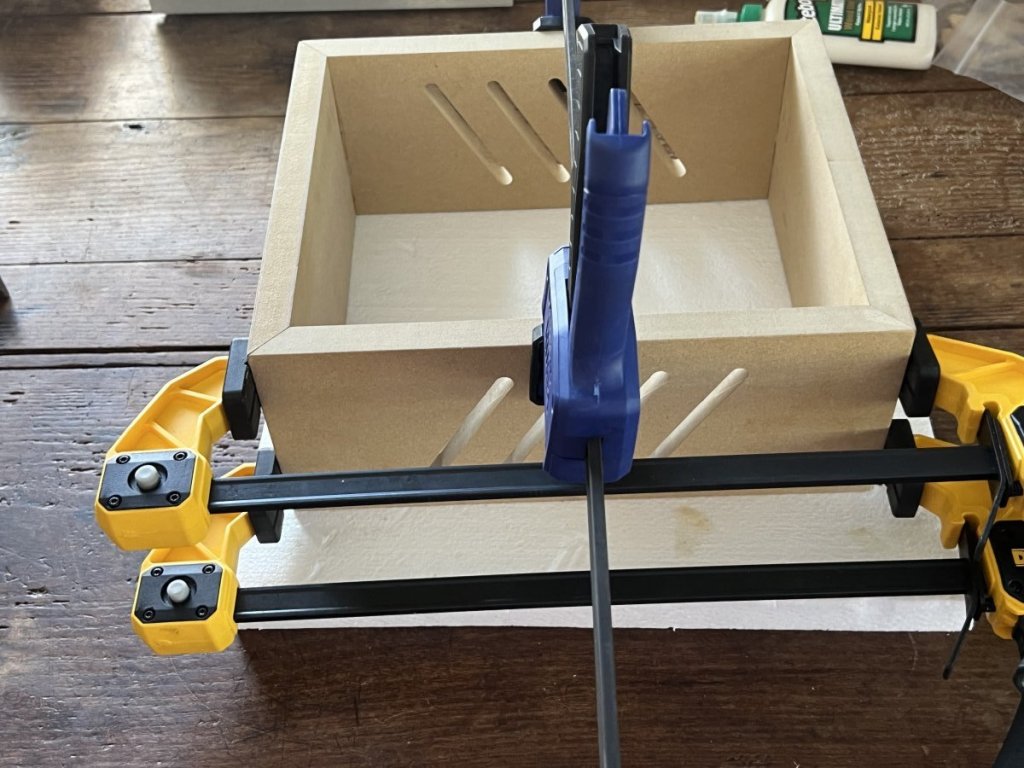
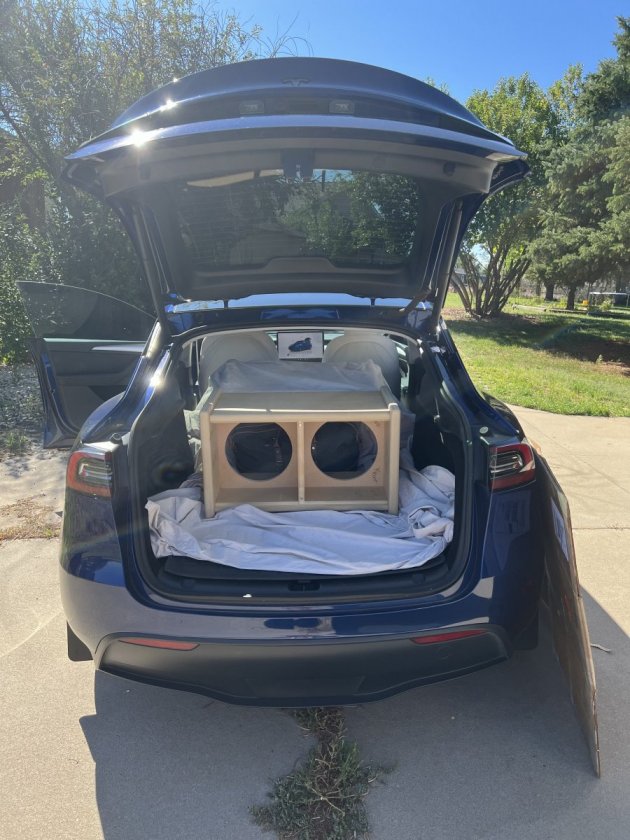
Luckily I have a friend that is willing to let us use his warehouse space to do the painting. All packed up and ready to go. Subs are getting painted first:
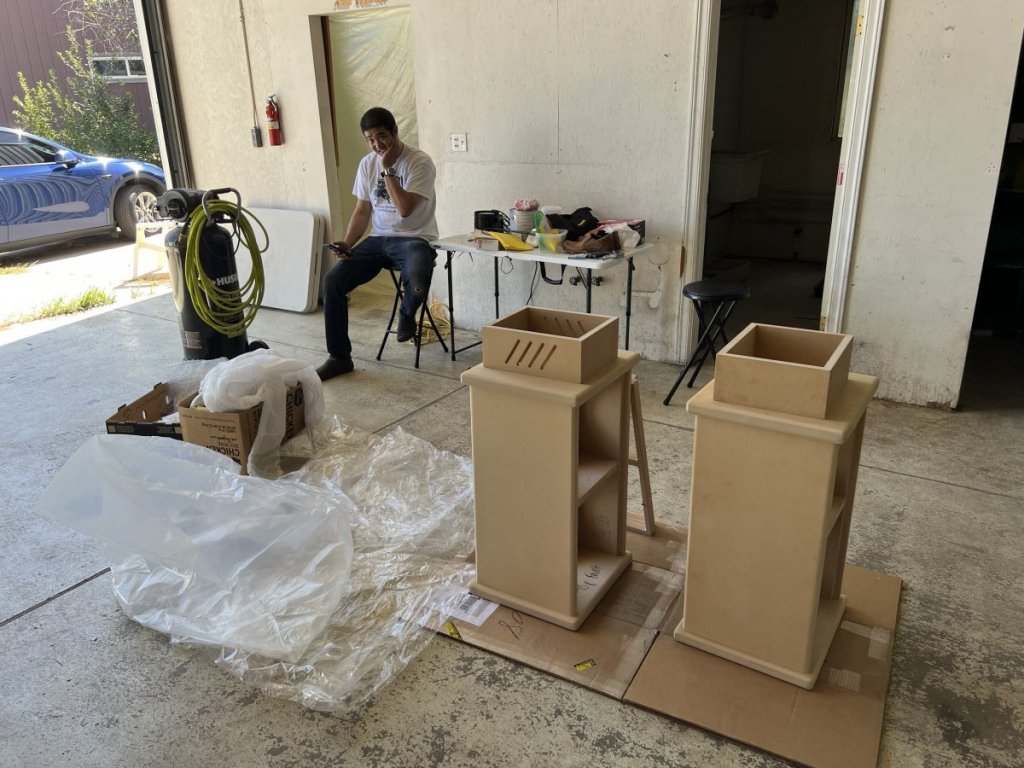
At the warehouse, with my helper! Jason (Pez) and I split the duties. I'd spray the paint in the afternoon and he'd come in and sand the next morning. I have a bad back, so I literally could not have done this without him.
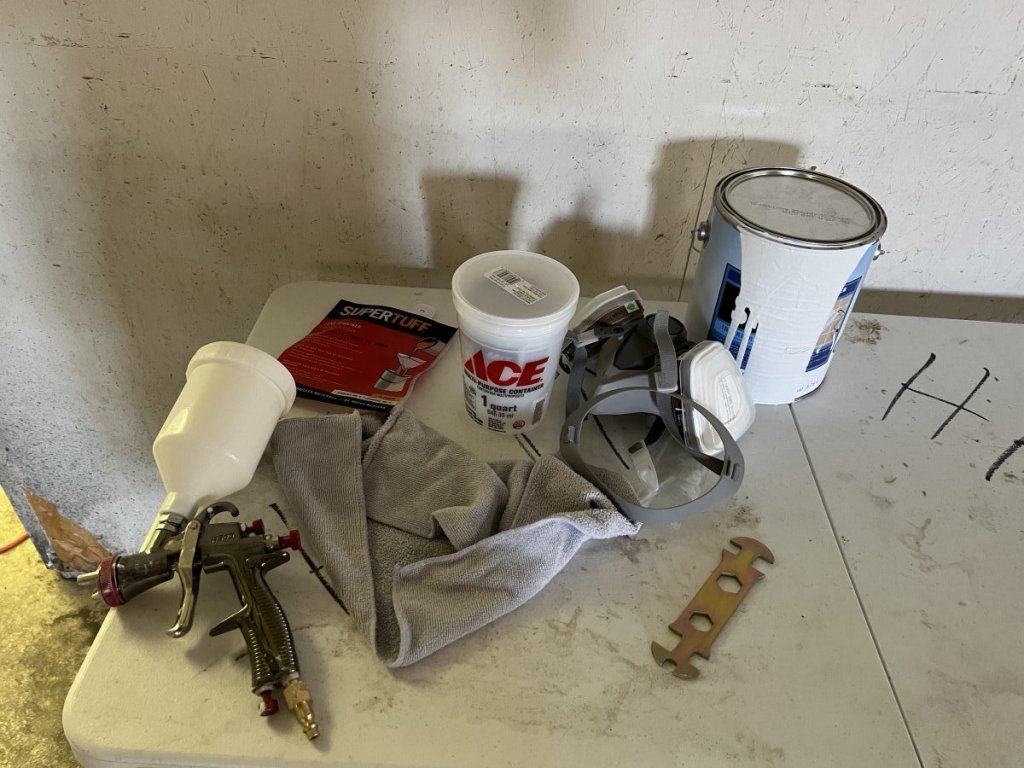
Equipment:
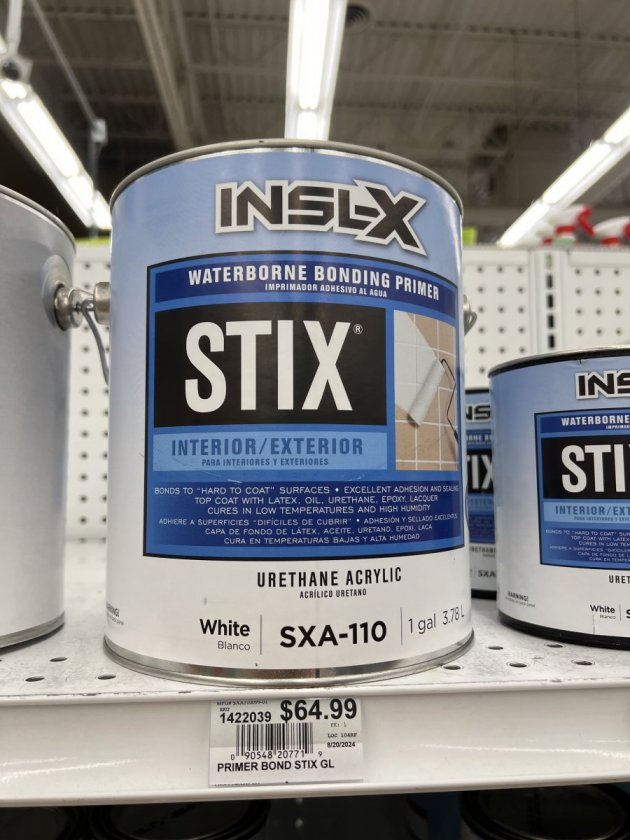
The primer we used. Based on KTS's recommendation. Also a big shout out to KTS, you're feedback and encouragment really helped get me through those initial stages of figuring out if I could even do this project at all.
First layer of primer on the subs:
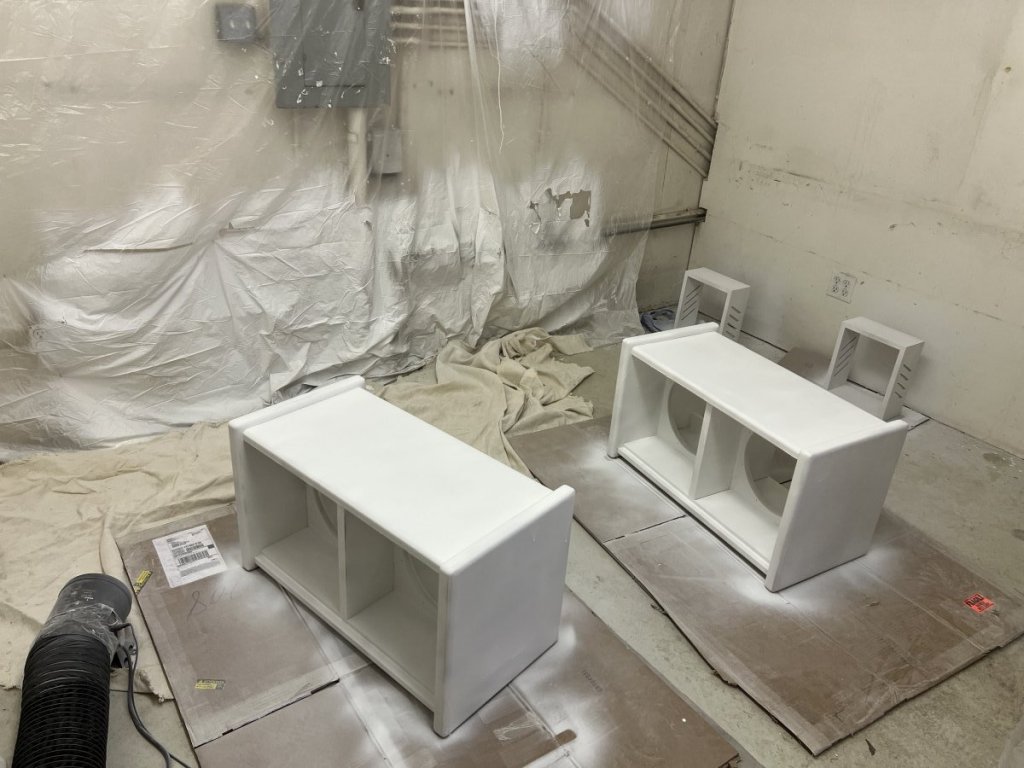
After the 3rd coat of primer, moving on to the main paint. Subs are getting a slightly darker blue than the main cabinets:
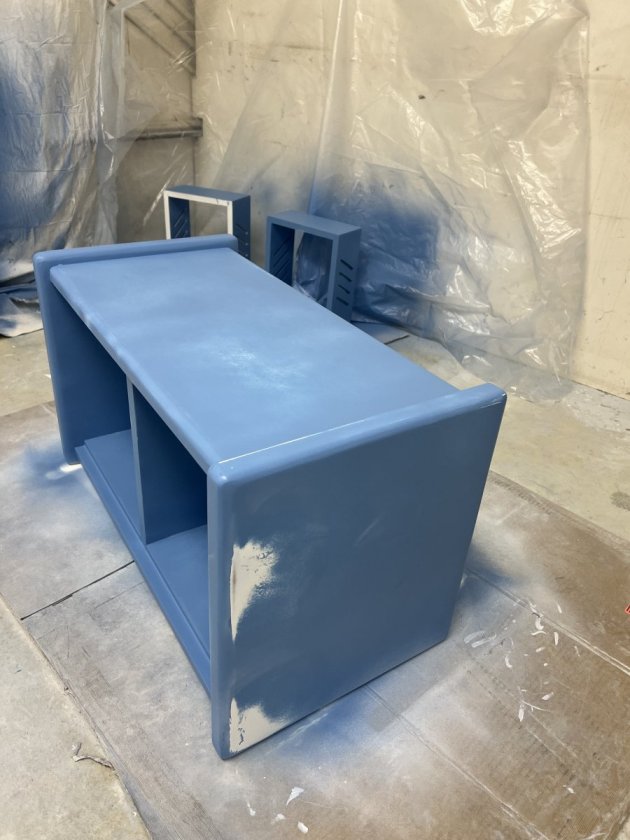
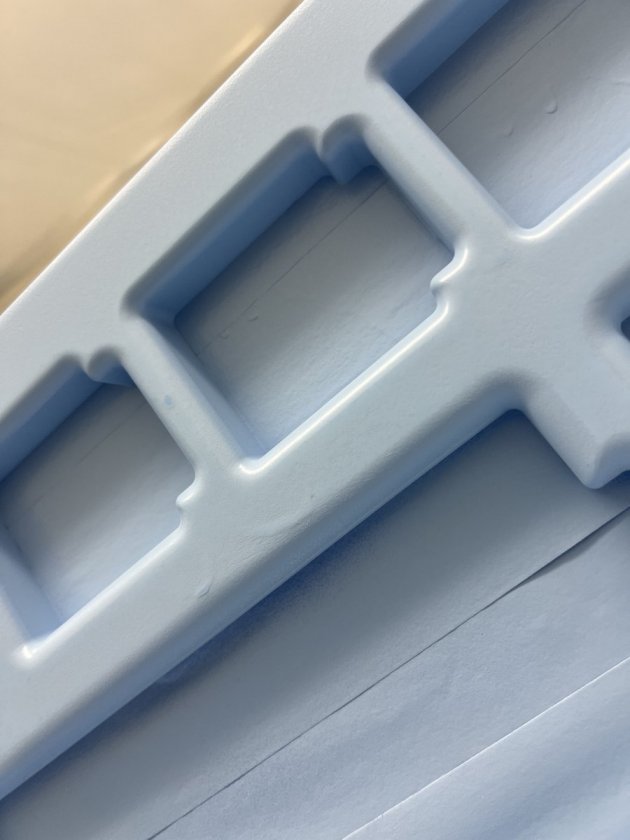
Drips. I hate drips. Because I still sucked at painting, and the subs had a lot of very difficult crevices to get into, we had a LOT of drips. Fixable by sanding down and re-painting. But still a pain:
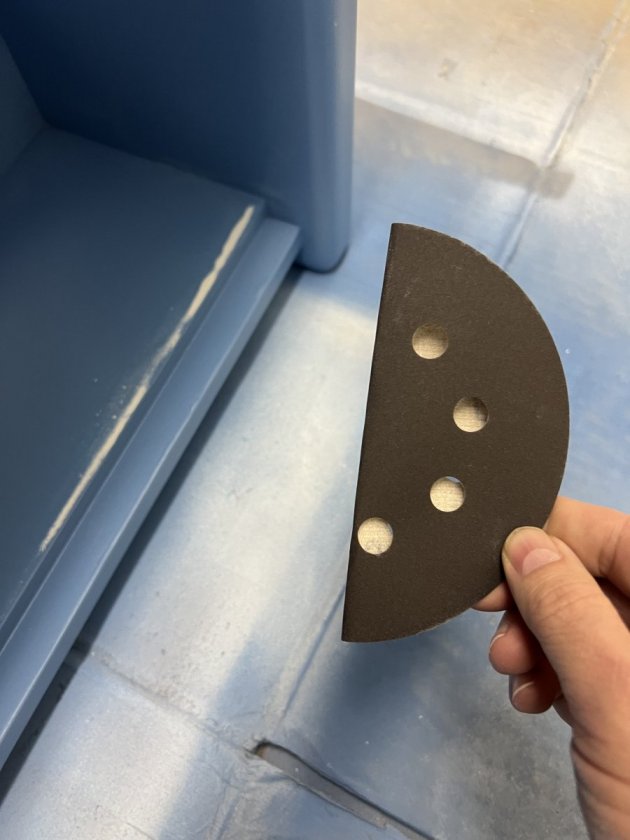
So, it took forever to finish the subs, even working ever day of the week. Because we did 6 layers before it looked right. And then we flipped the subs so we could do the bottoms. Another 6 layers. The silver lining is that by the time we finish the subs, my painting sucked less.
Safely home:
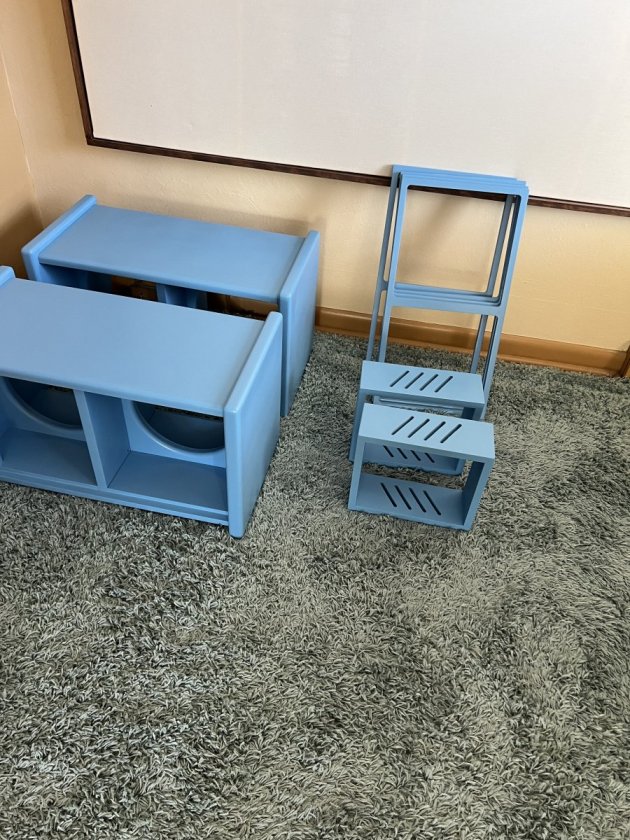 Main Cabinets
I don't have room for 4 towers in my main music area (ie, my living/dining room). So I am customizing my cabinets. I traced out on a sheet of MDF some bases that will let me bolt the main cabinets to the subs, when I am done. First need to measure them:
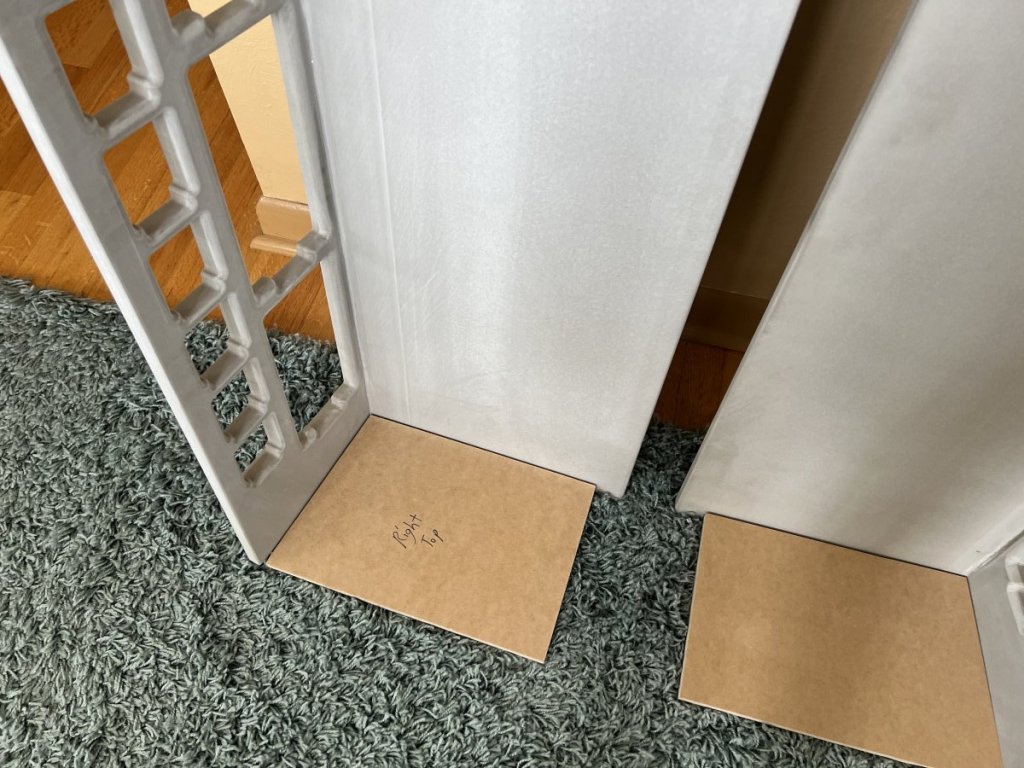
Then glue them in:
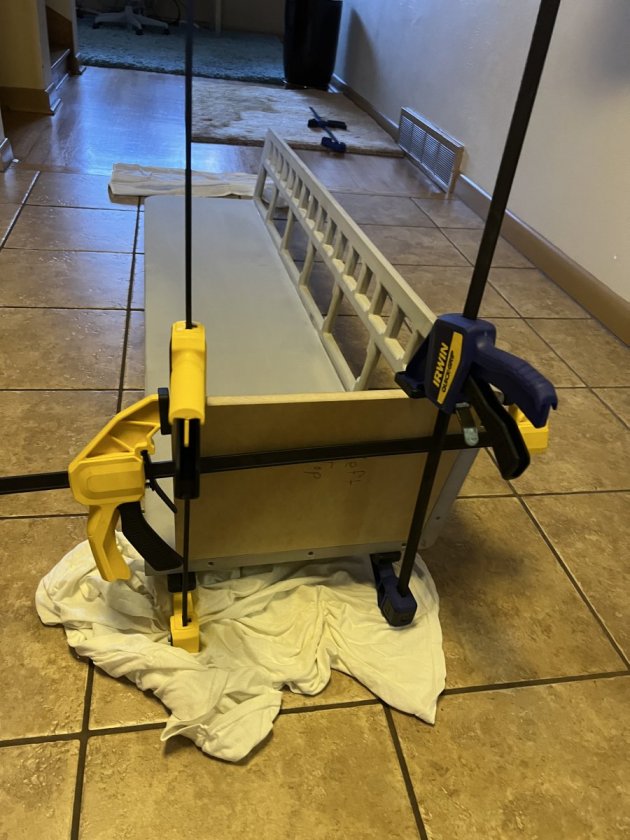
Taped up and first layer of primer:
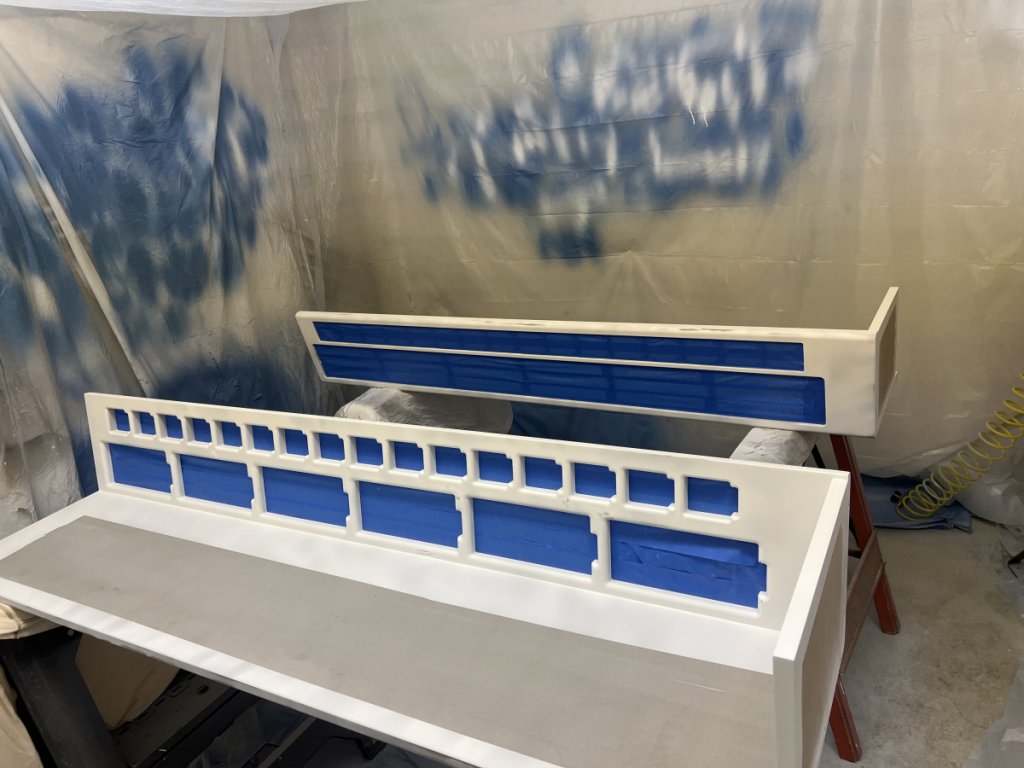
We only did 1 layer of primer because it's REALLY hard to see drips with the white color and the lighting we were using. So we moved to the main blue color pretty quickly:
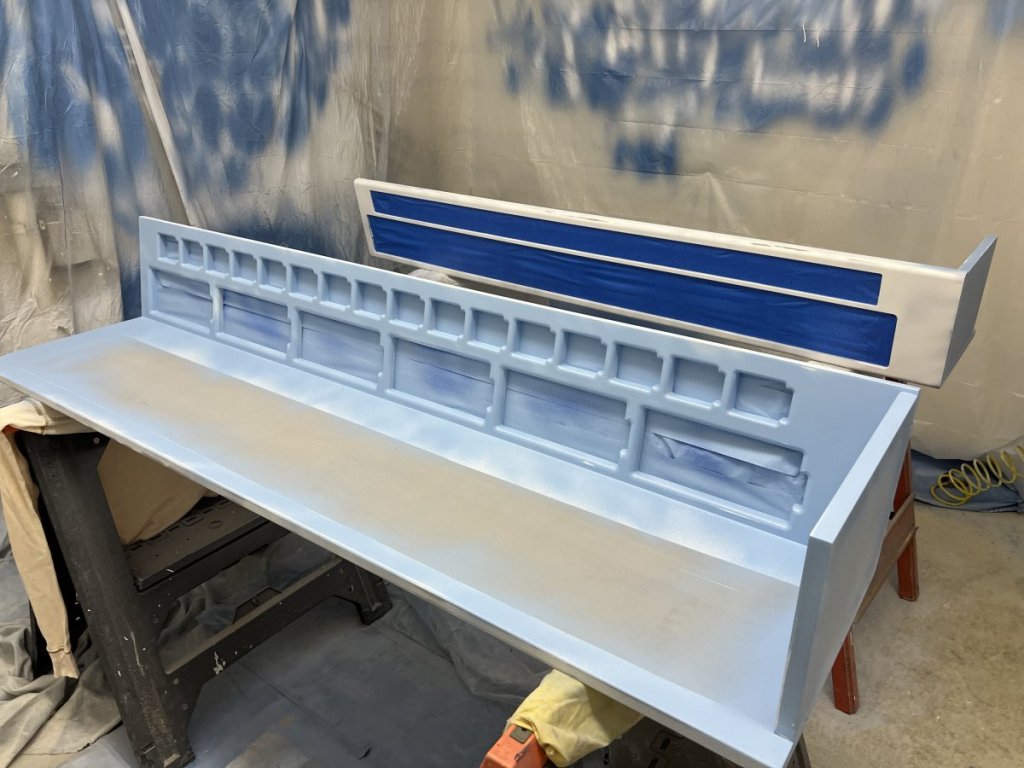
Some of the crevices we had to deal with:
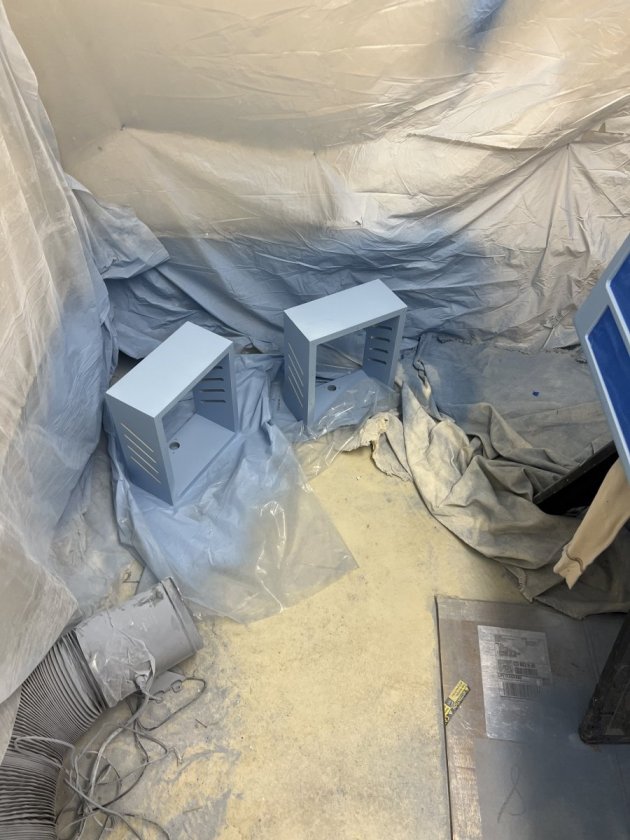
More amp boxes. These will actually be re-purposed as external boxes for the crossovers:
6 layers, then flip them over and do another 6 layers, sigh....
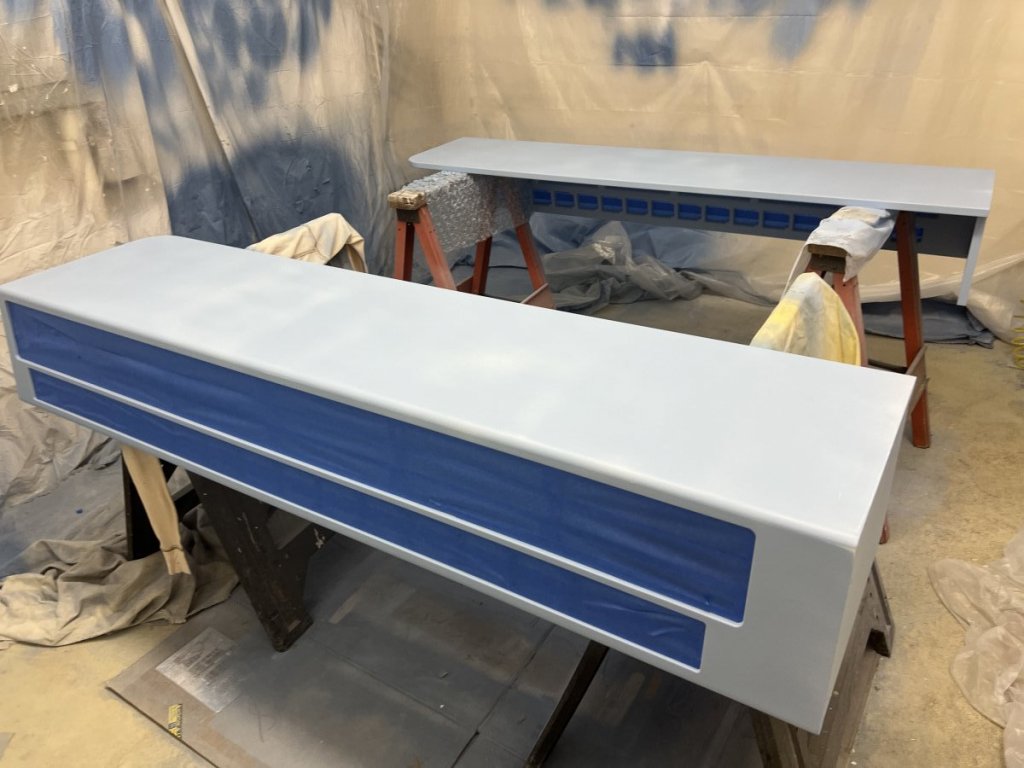
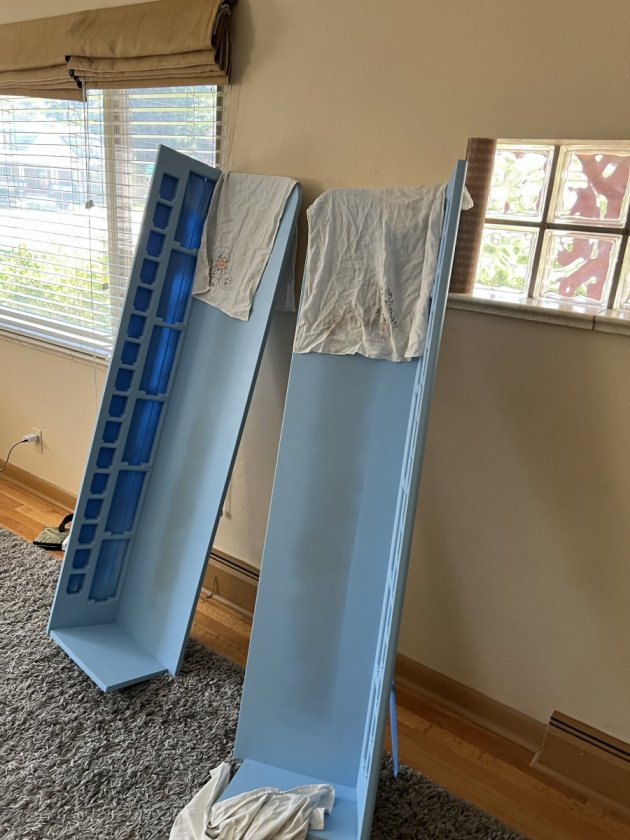
Home safe! Note we didn't paint much in the middle part of the wing because that's where the NoRez goes.
Time to start installing the drivers. So before I put in the subs, I have to drill out a hole to fit the speakon connector:
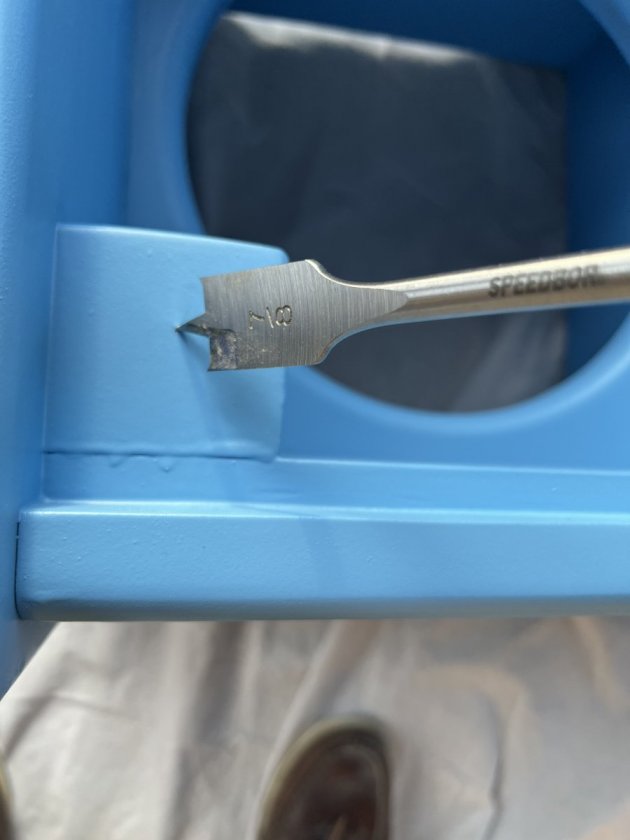
I try to fit the connector and it won't fit. I made the hole too small. I thought it was 7/8th that was needed but it's really an inch. So I get my 1 inch drill bit and this happens:
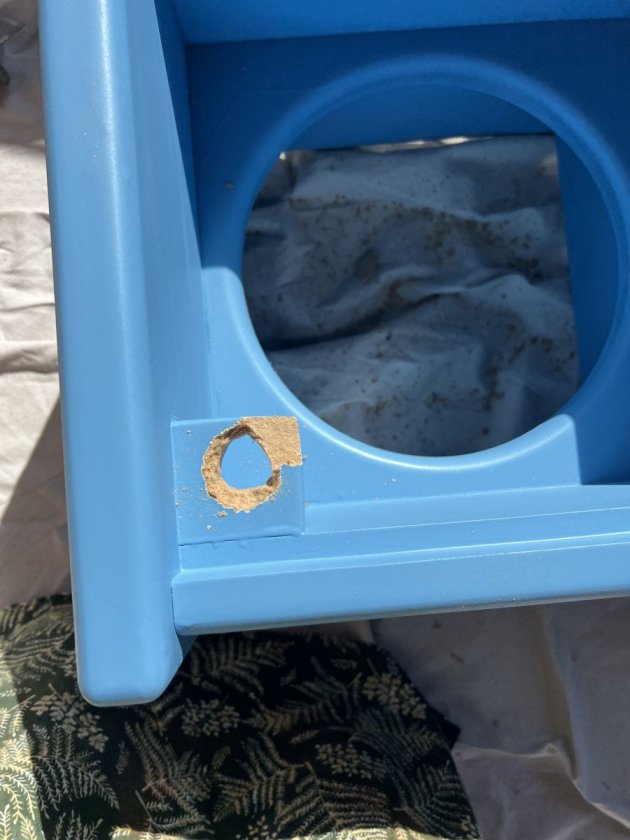
Say it with me, class: FUUUUUUUUUUUUUUUUUUUUUUUUUUUUUUUUUUUUUU
UUUUCK!!!!!!!!!!!!!!!!!!!!!!!
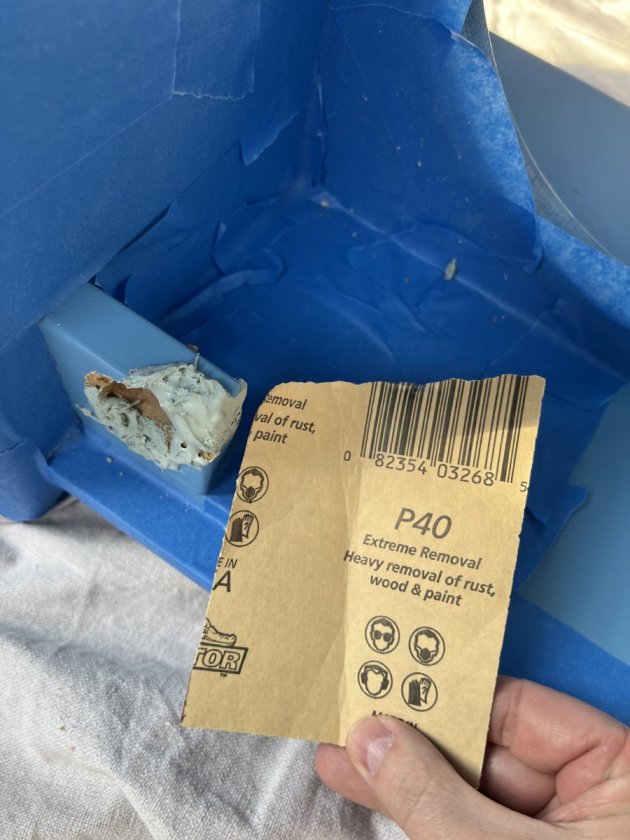
I'm not going to cut it out and replace it, mostly because I'm sure I'd just fuck it up more. So out comes the Bondo:
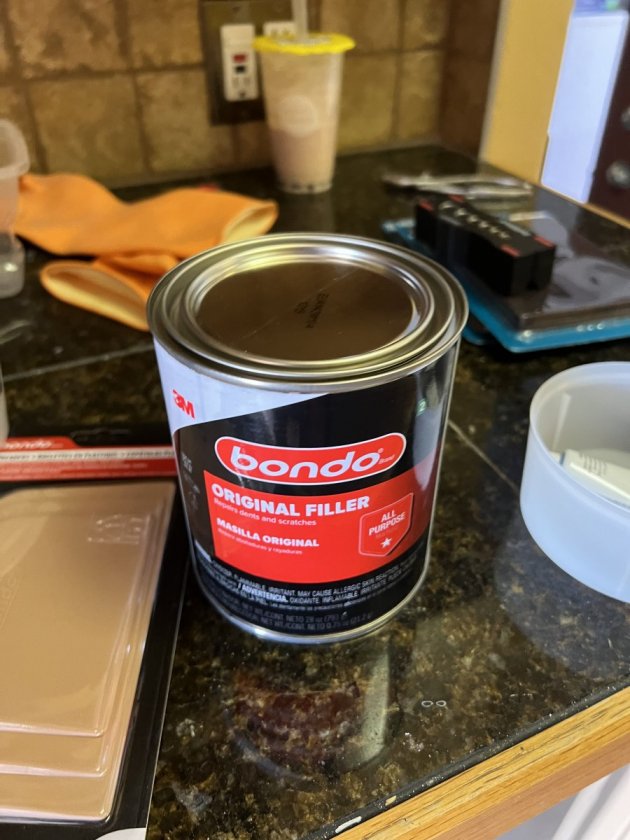
Time to sand it down. It's very hard and I was able to shape it so the speakon connector could be attached:
OK, deep breath, moving on.
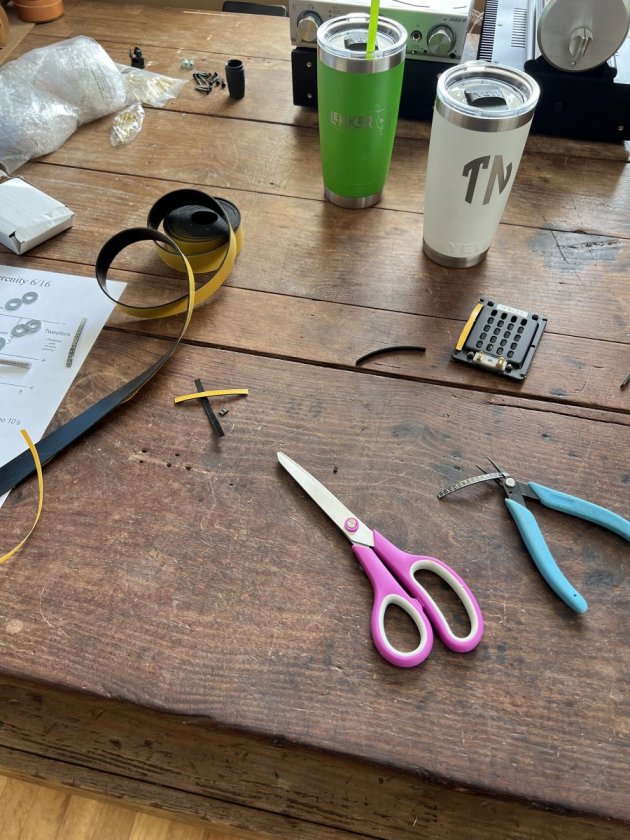
Installing the drivers into the main cabinet. Uh oh. The tweeters have gaskets on the front for mounting into a waveguide. But my speakers have no waveguide. The need gaskets on the back of the tweeters (which they don't have). So I have to cut tiny slivers of gaskets to attache to both sides of each tweeter before mounting them:
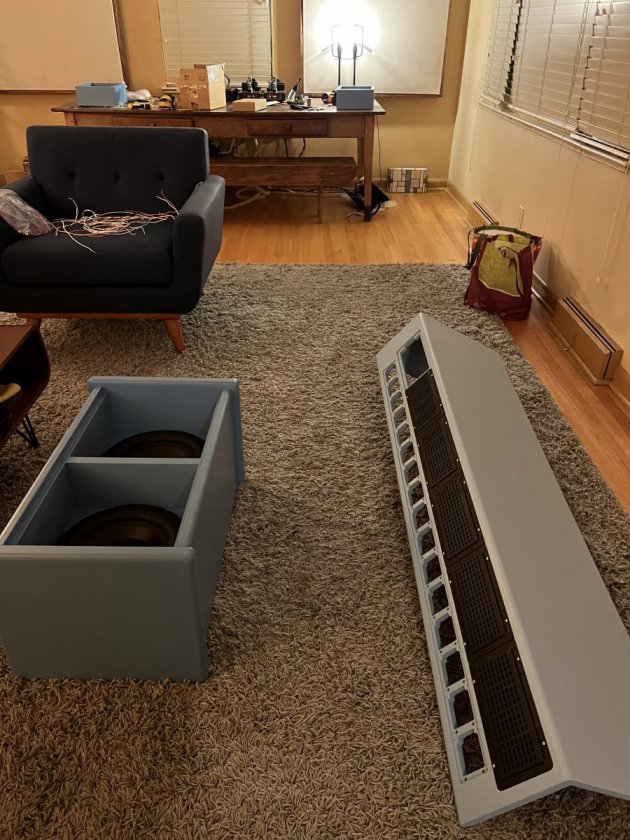
Most drivers installed:
Crossover parts gathered and the box they will go in:
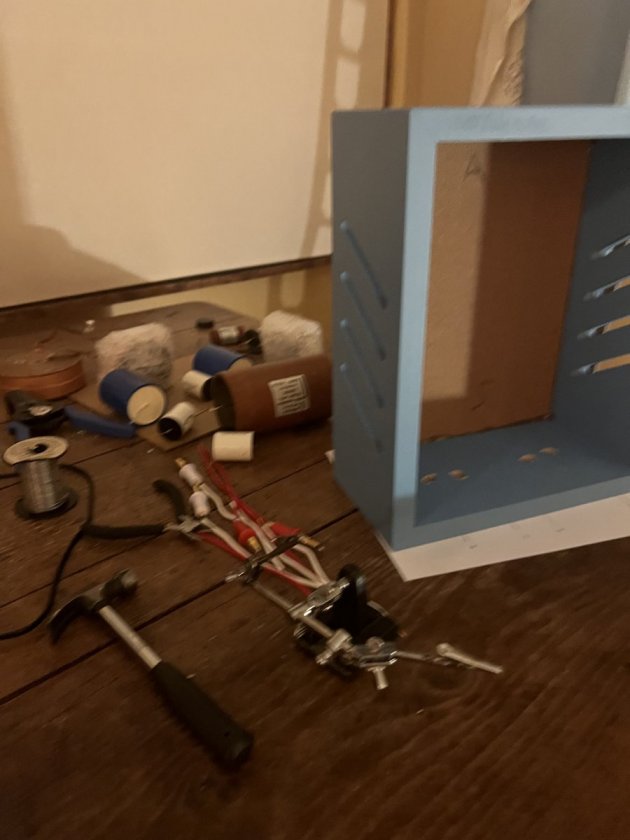
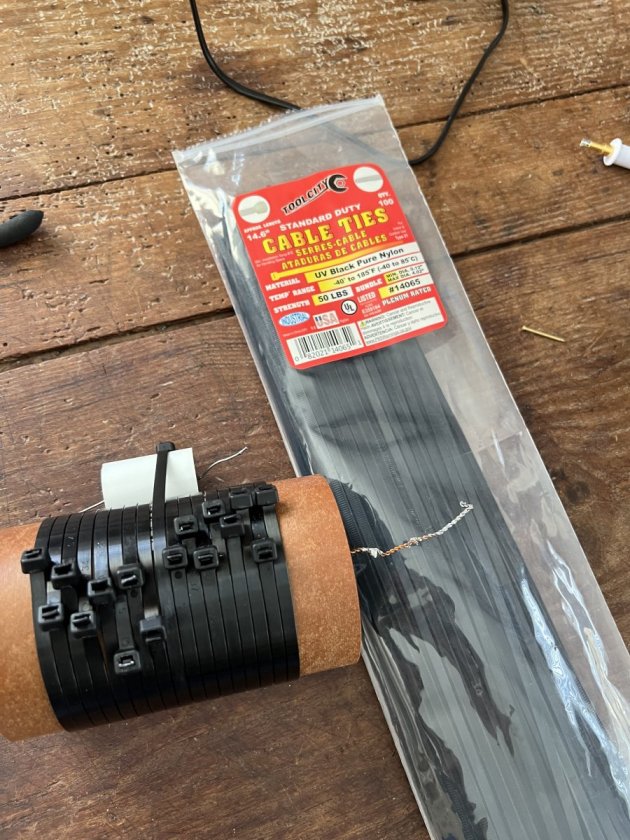
I'm using hot glue to hold the parts down, but I don't want to damage my Miflex capacitor with it's paper material. So I wrap the whole cap in zip ties so the glue only touches the plastic of the ties. And this can be reversed in the future if I need to:
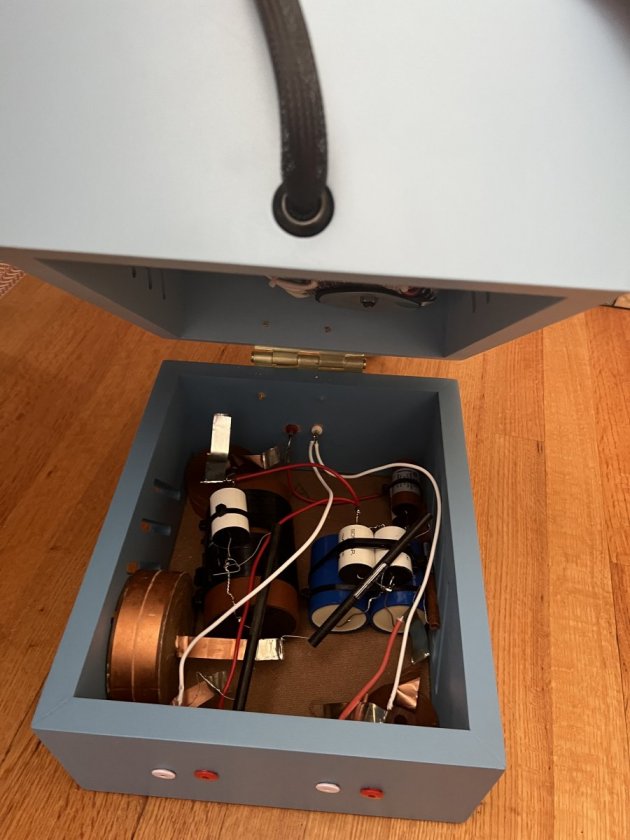
Crossover done:
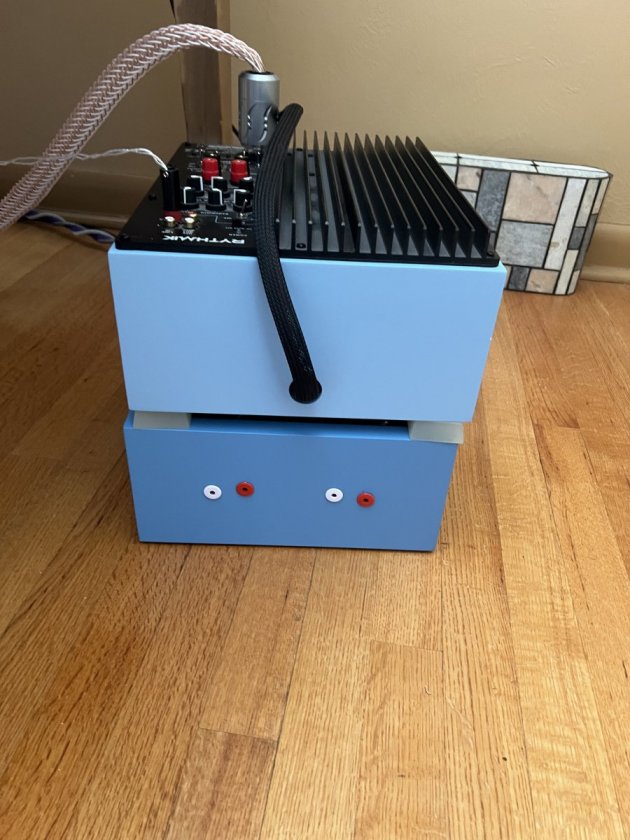
I mounted the crossover box underneath the subwoofer amp box:
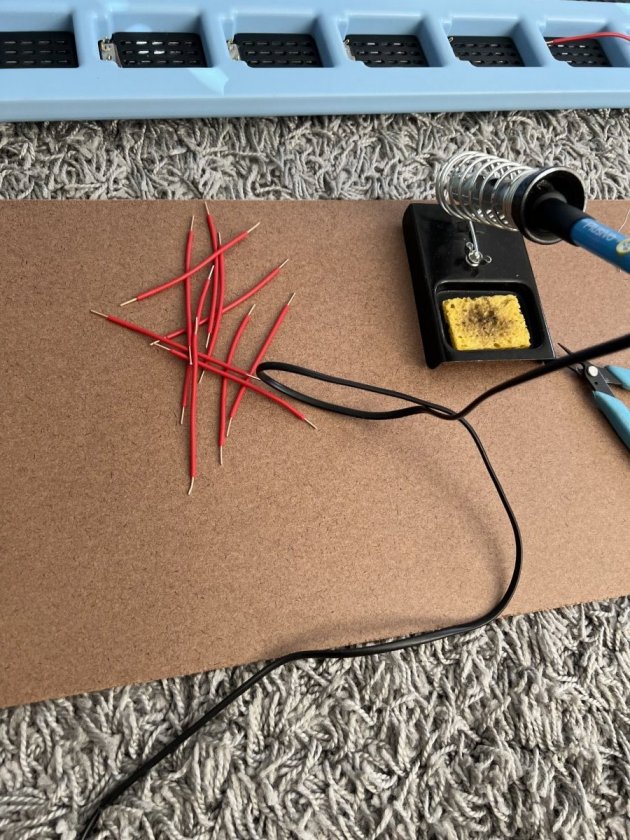
Measuring and cutting all the wiring. I wanted this to be really precise from driver to driver so I measured and cut each piece to the millimeter to get it exactly long enough. Tedious but worth it:
Installed:
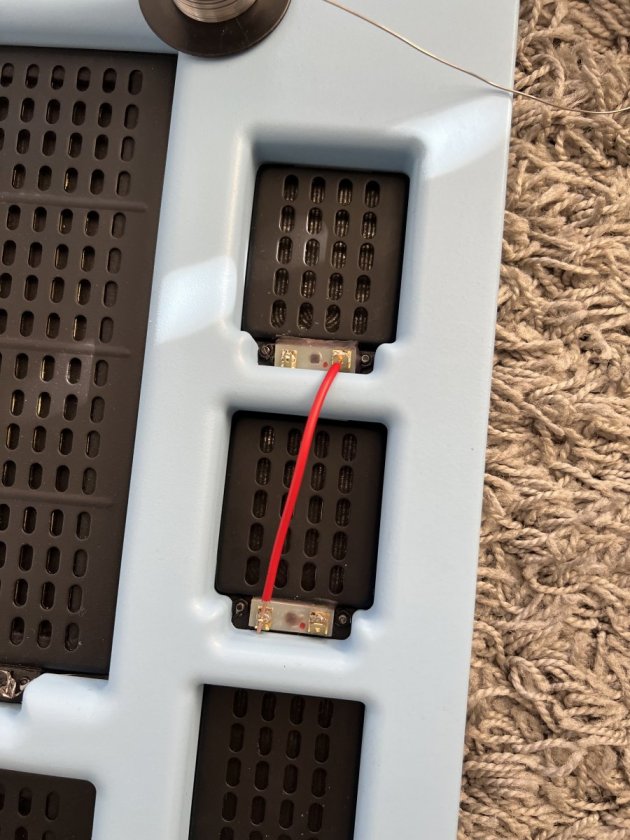
Main cabinets bolted to subwoofer box:
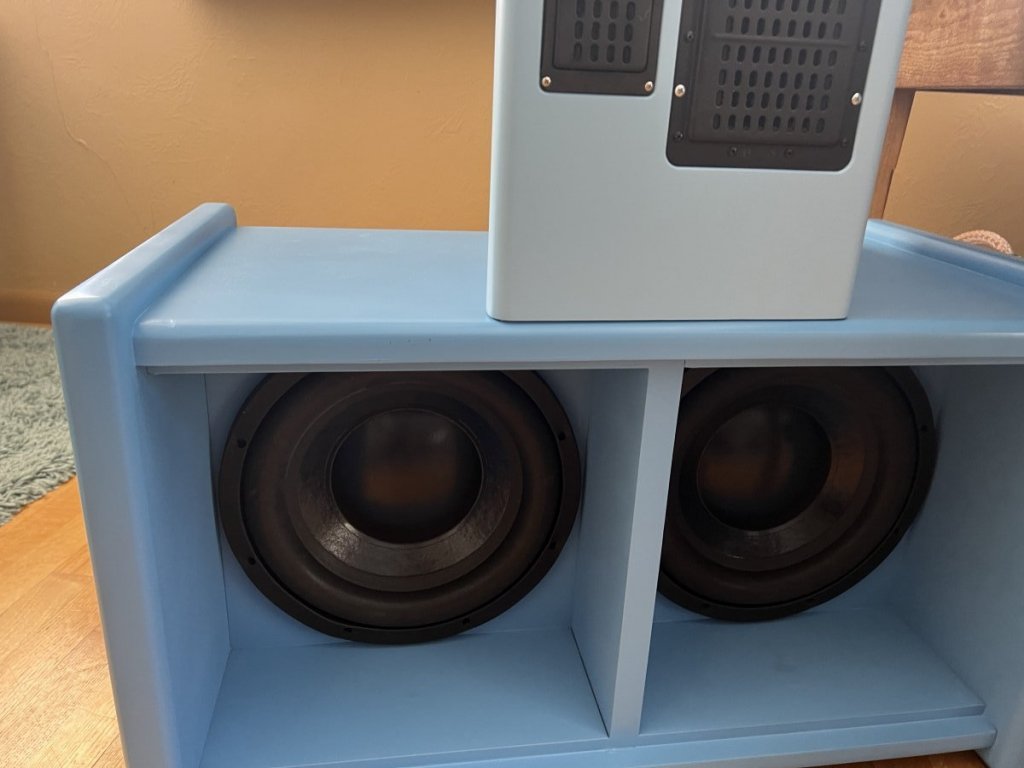
And done!:
