Subsonic's NX-Treme build (and an alternative to Heatlock Glue)

0 Members and 1 Guest are viewing this topic. Read 4439 times.

subsonic1050

Back in early May I ordered 2 sets of NX-Treme's as well as 2 sets of triple servo subs. I documented the servo sub build awhile back, and here is my NX-Treme build.

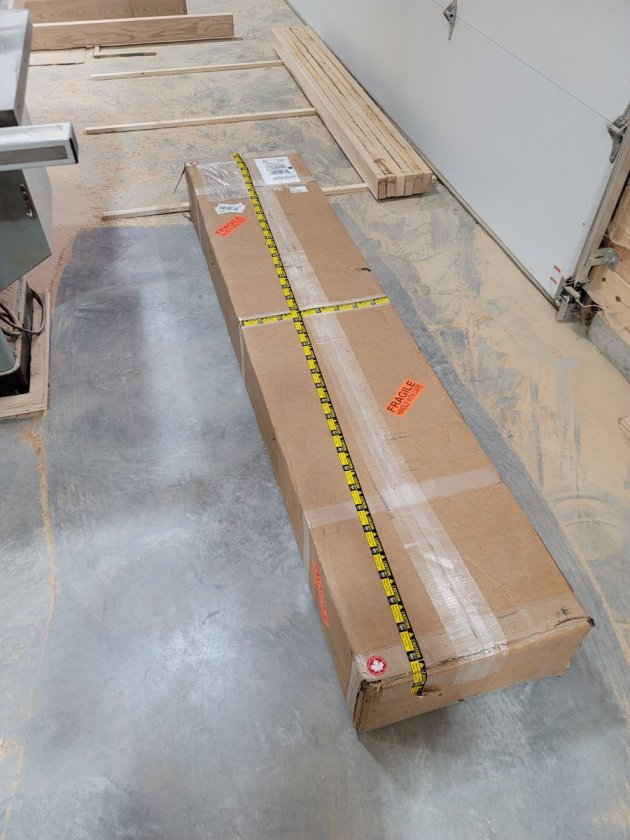
Due to a crazy amount of orders as well as the extreme weather experienced on the west coast, Jay had a difficult time getting the NX-Treme's to machine properly on his CNC. The heat from the record weather was causing the MDF to warp, twist, and expand/contract too much. Therefore, I didn't receive my first flat pack until just a few weeks ago. The packing job done by Jay (captainhemo) was fantastic! Custom boxes and custom packaging were absolutely exceptional.


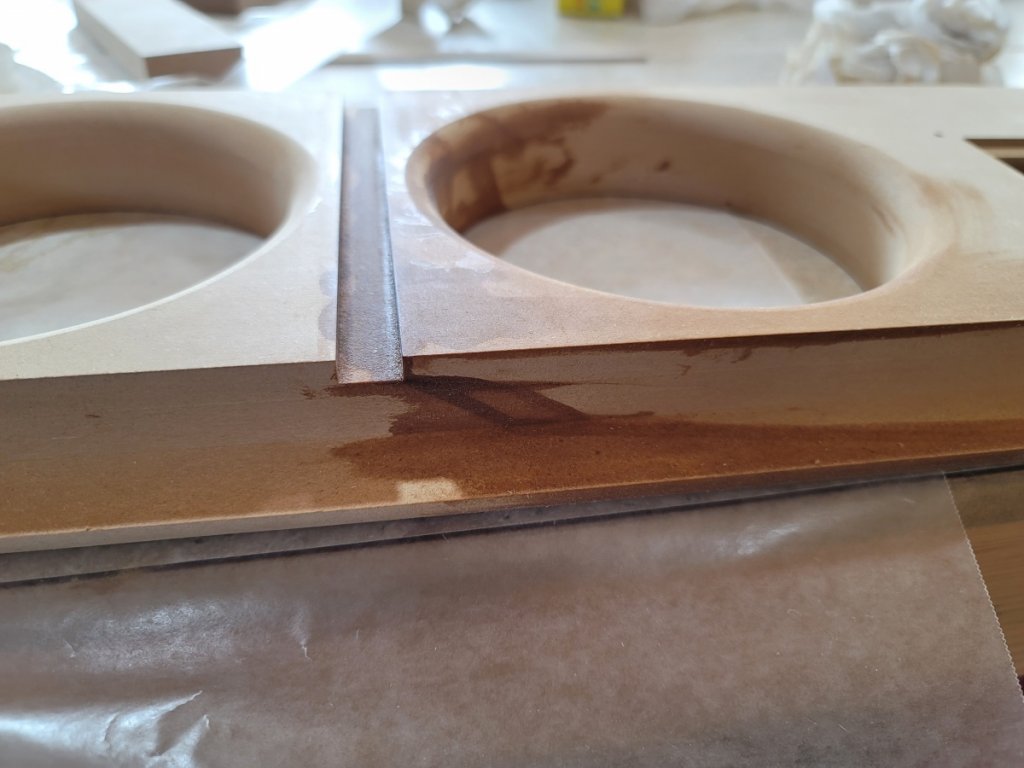
Unfortunately, despite his best efforts, UPS manages to destroy everything. Both of the front baffles were significantly cracked in the exact same spot.


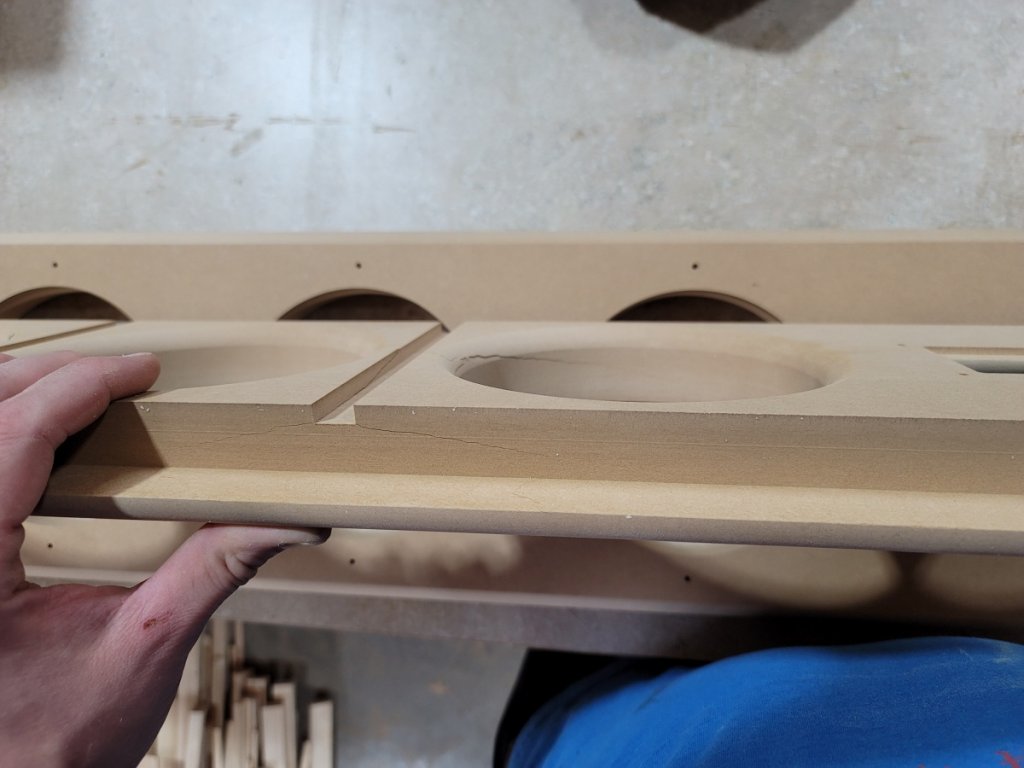
I reached out to Jay and his customer service was fantastic. He offered to send me out a complete replacement, but I told him I'd try to repair the damage if I could. I used a thin epoxy and got it fairly deep down into the cracks. The repair seemed to work so I went on to the glue up.


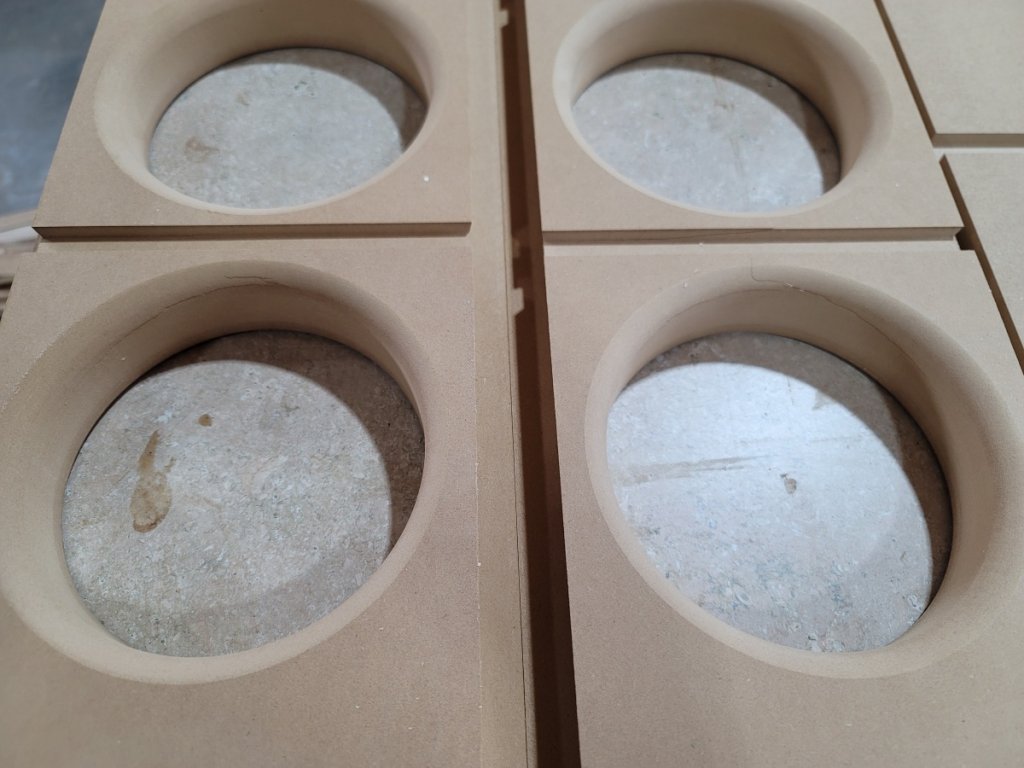
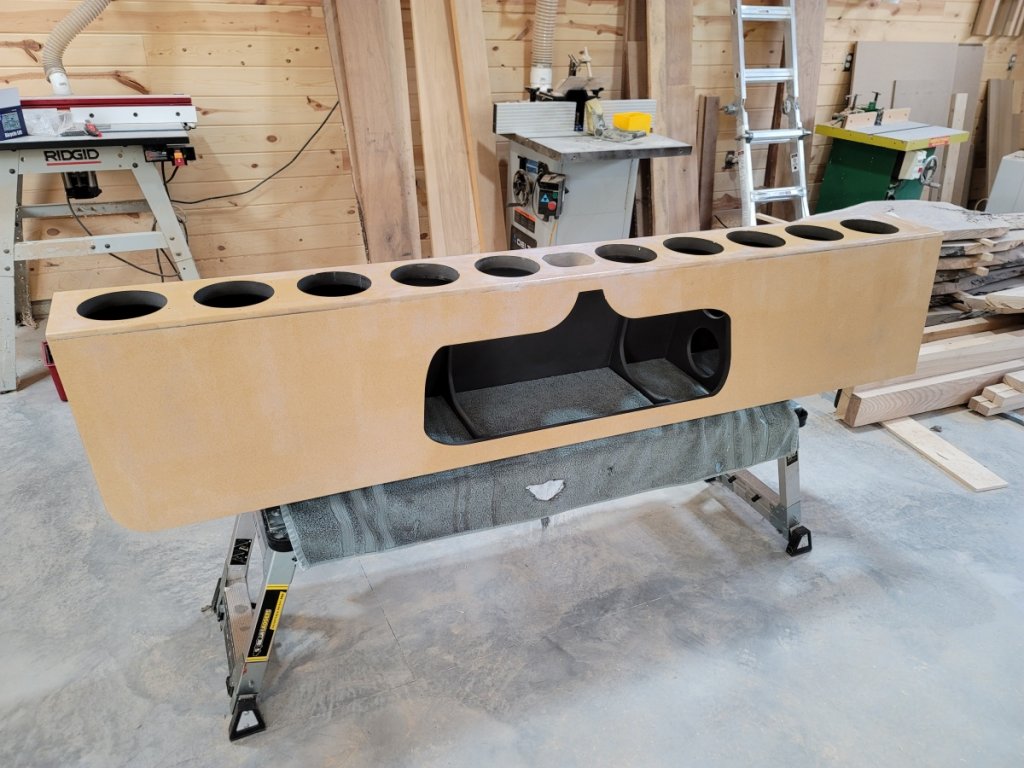
The glue up is straightforward. The machining on the flat packs was excellent. At first glance it appears that the front baffles are completely symmetrical (either end could be up or down), but that isn't the case. The top has a 5 degree cut back while the bottom has a 3 degree bevel, so make sure you have it the correct way before gluing up. I used Titebond extend to give me slightly more working time.


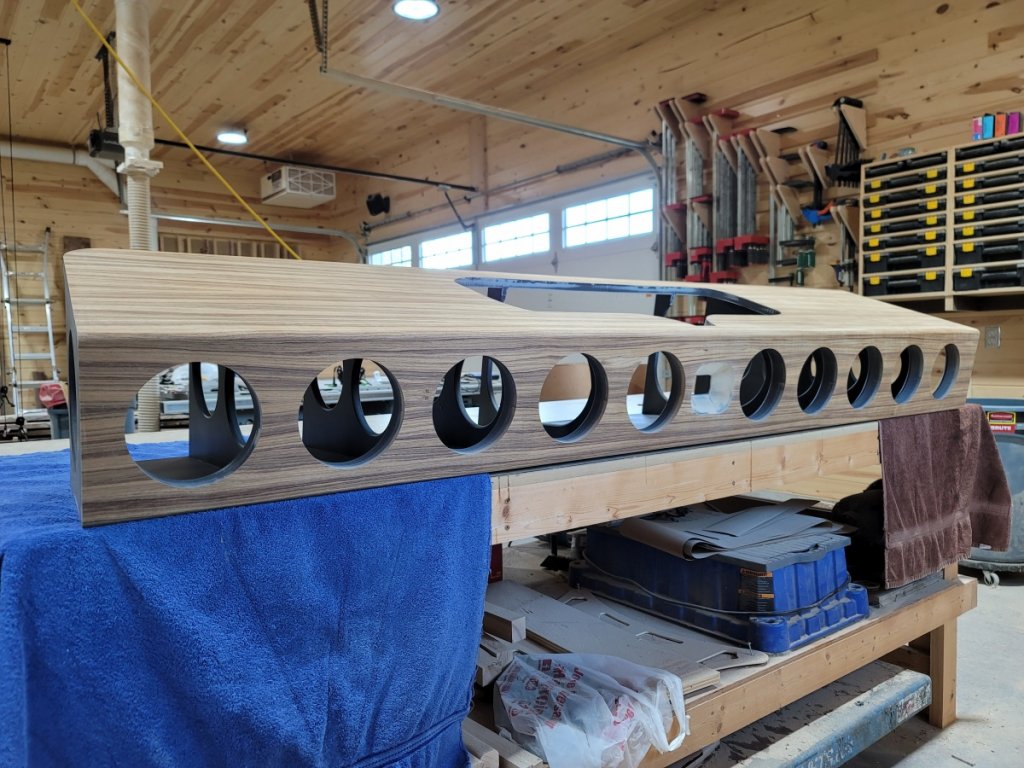
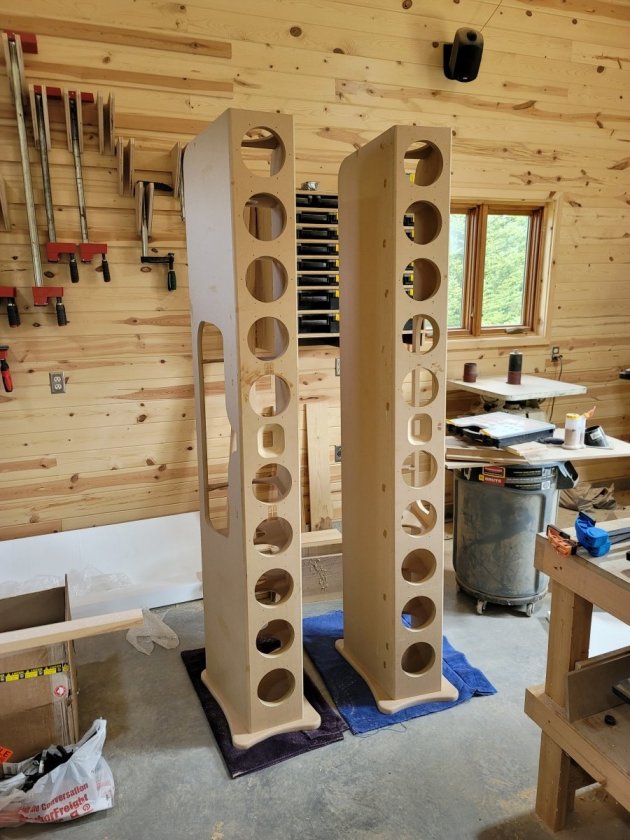
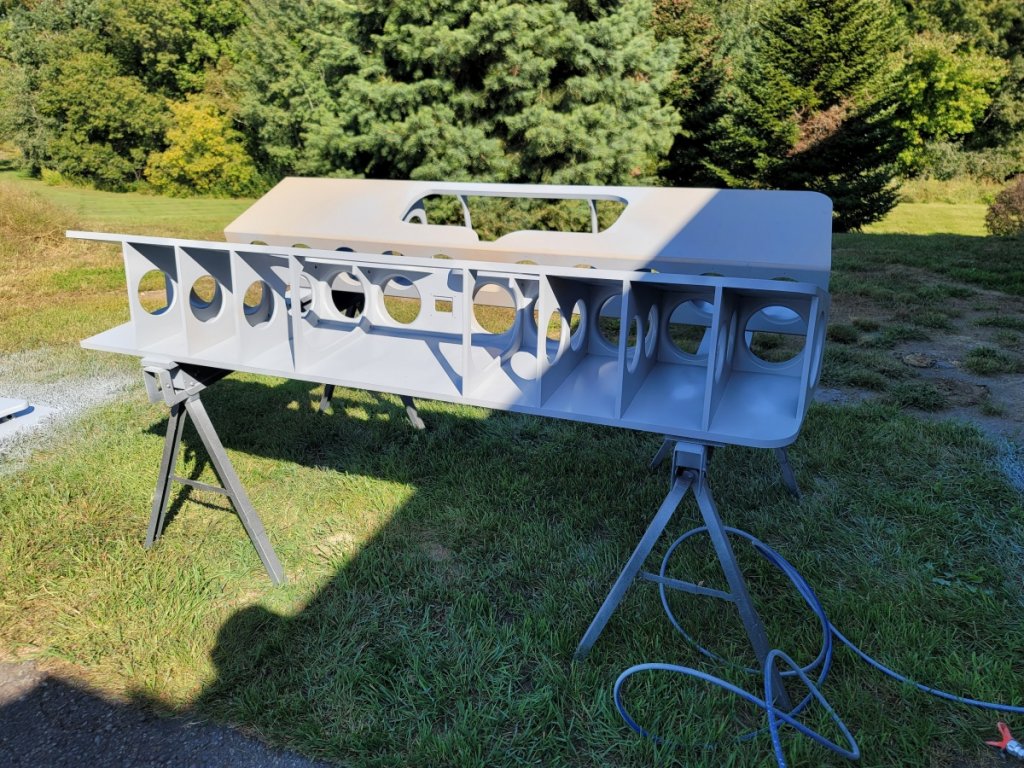
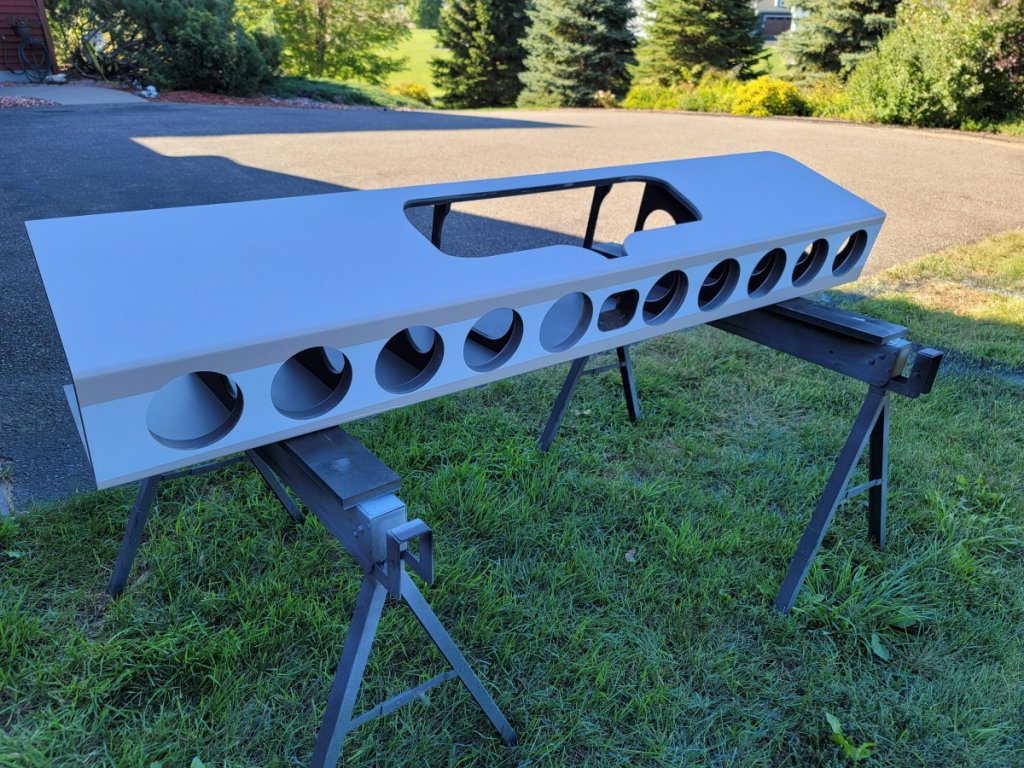
And both cabinets glued up:


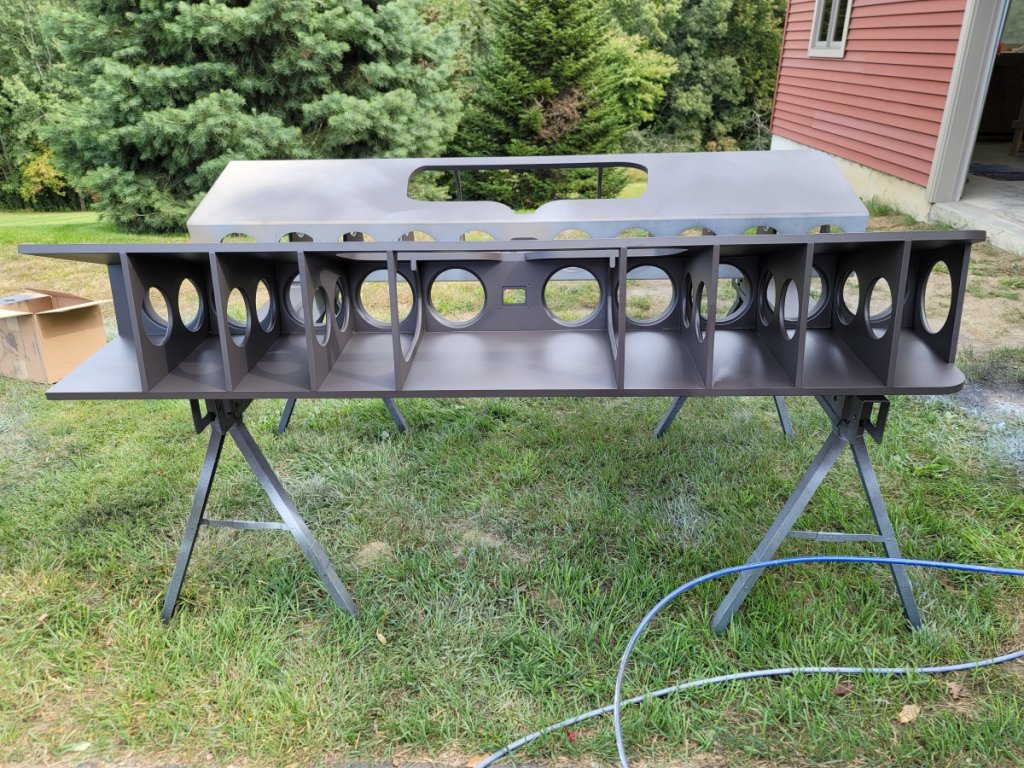
I learned my lesson from the servo subs and decided to use an alkyd enamel paint instead of normal latex paint. That was the correct choice, but unfortunately I tried again to paint first, then veneer in an attempt to not have to mask the veneer off later - despite the better paint that still didn't work. Still, here are some pictures with the primer, and then the paint.


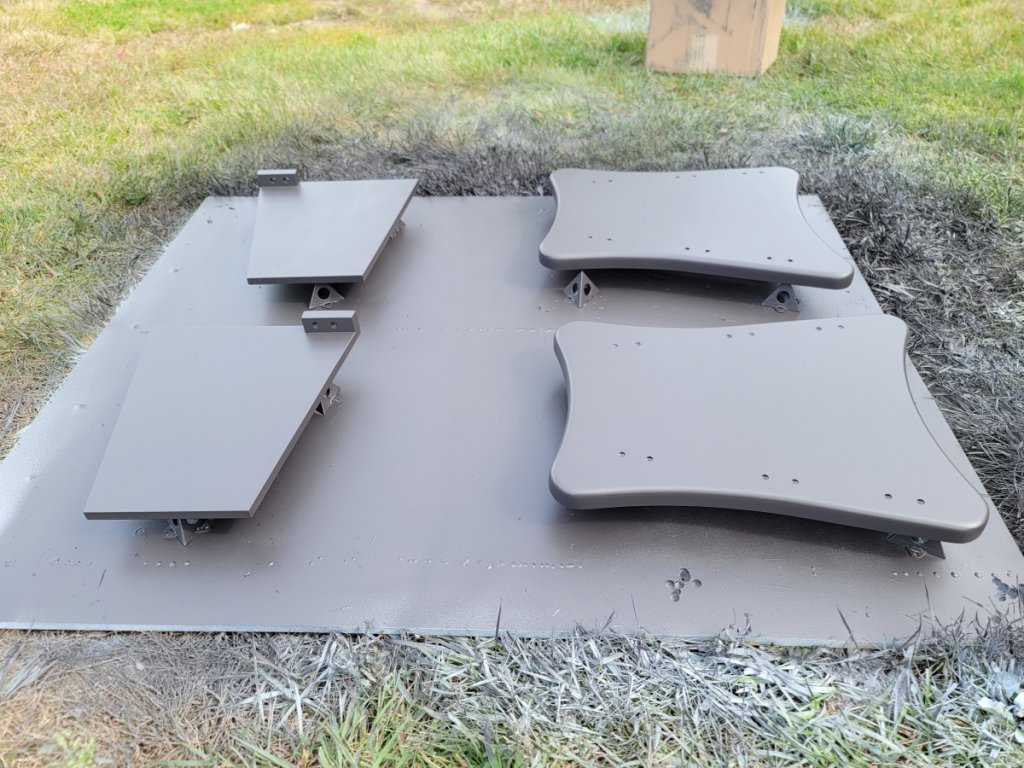
And here are the painted feet as well as the crossover boards that I made:


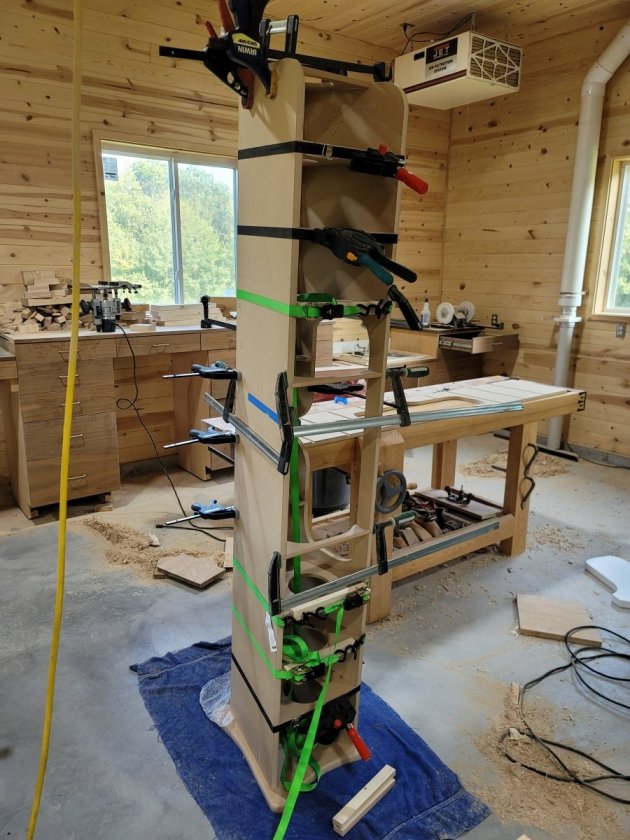
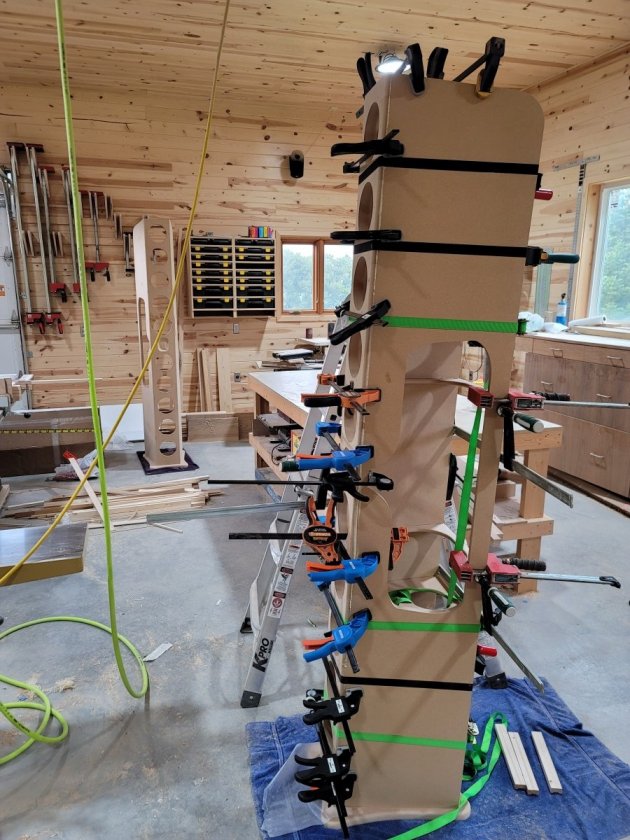
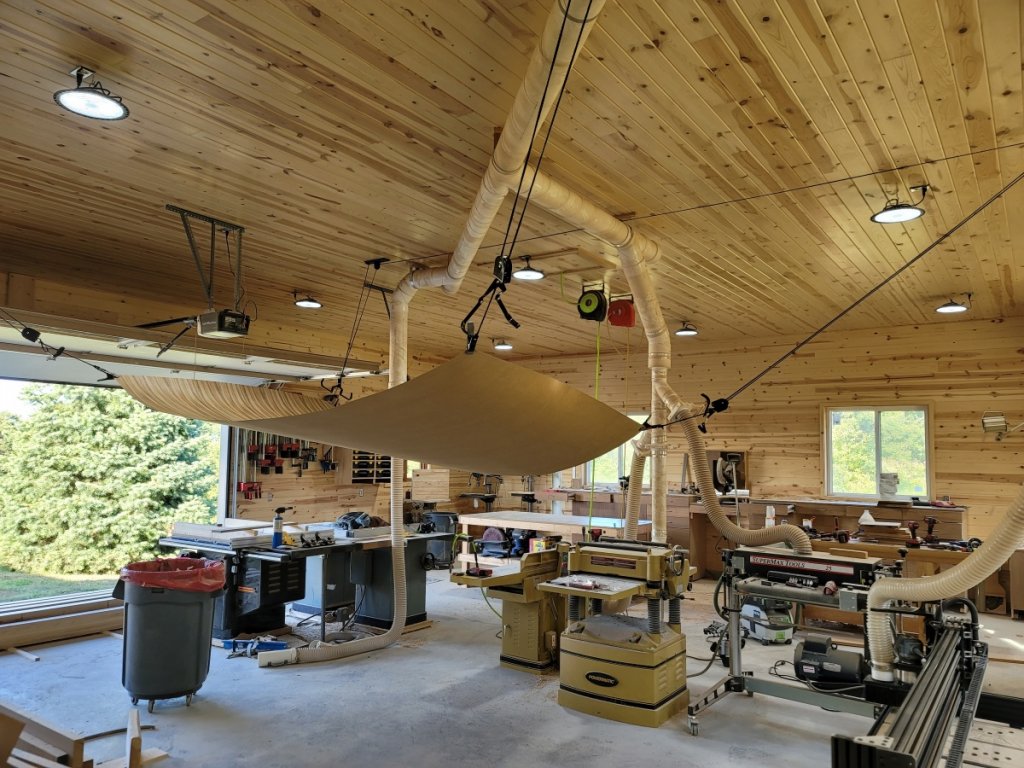
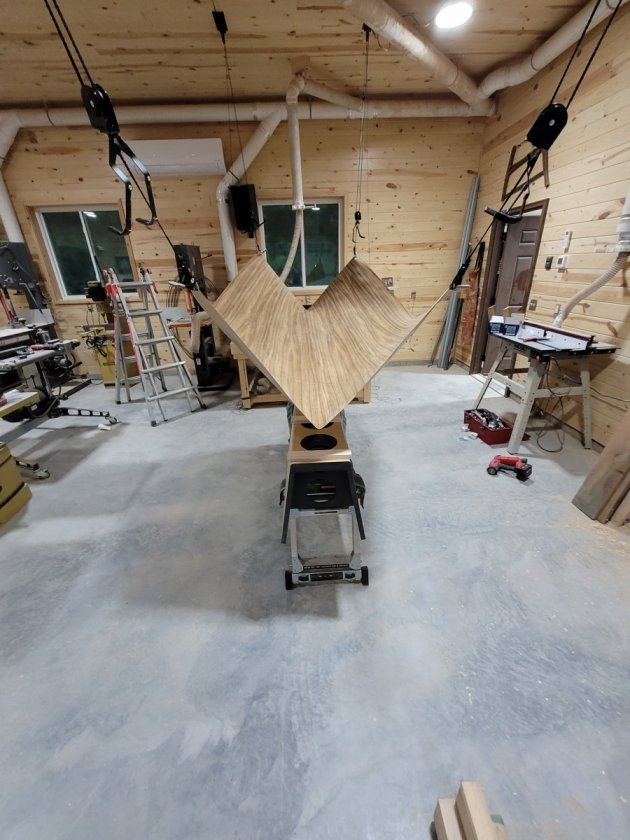
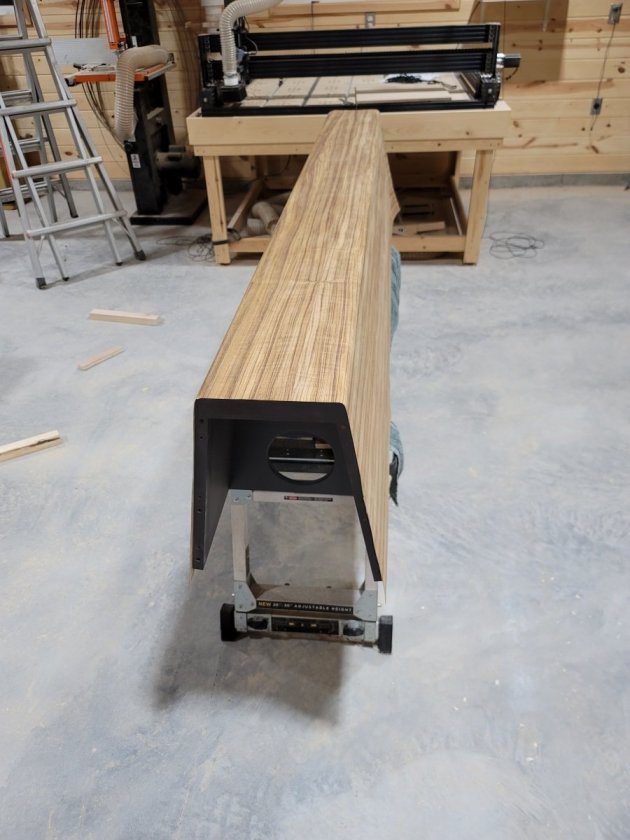
Here's where things got tricky. I wanted to veneer the entire speaker. I've had the teak veneer for months - the same stuff I used on the servo subs. Unfortunately, over the past few months all of the heatlock glue that I used to apply the veneer had sold out. Due to a shortage of some polymer used in the glue there is no expected date for more to  become available. I decided to try the TitanDX water based contact cement from veneersupplies.com. That presented a challenge as the beauty of heatlock glue is that it gives you some ability to reposition the veneer after it has been set onto the speaker. Contact cement makes an immediate bond and is extremely unforgiving. I've used contact cement (solvent based) many times, but always on flat surfaces which you can set up with spacers to prevent the veneer (or laminate) from making contact with the substrate. Because the veneer needs to curve around the speaker, this wasn't possible. I came up with a method using a pulley system to hold the veneer in place while I worked on it.


The contact cement gets applied to both surfaces with a glue roller after scuffing them with 80 grit sandpaper.


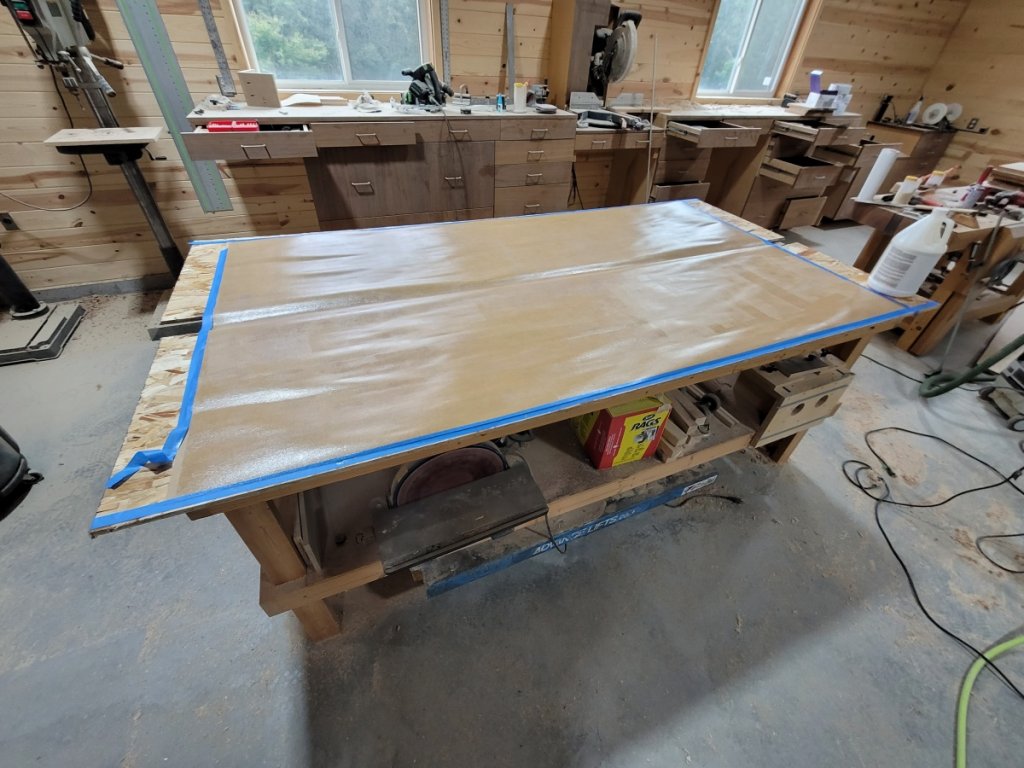
Then the contact cement is allowed to dry (they say around 30 minutes, but in my experience it was quite a bit longer) and then it is very carefully applied with a veneer scraper - making sure to not work in 2 different directs and create air bubbles. I still used spacers on the front baffle to get that well established before working down each side.


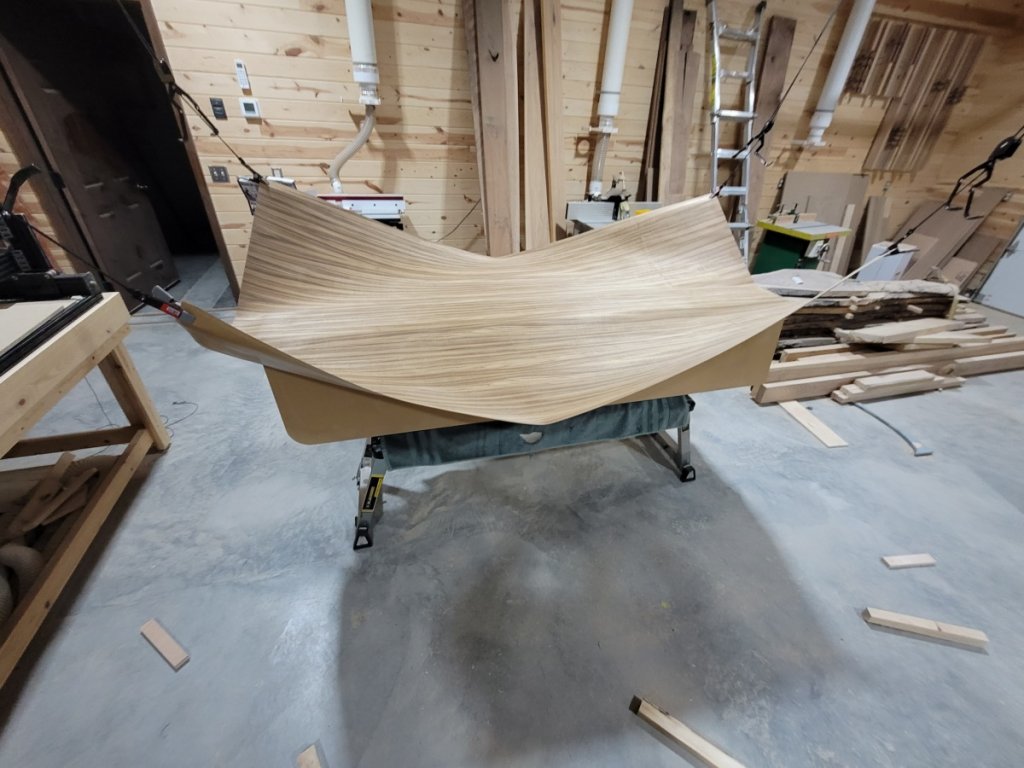
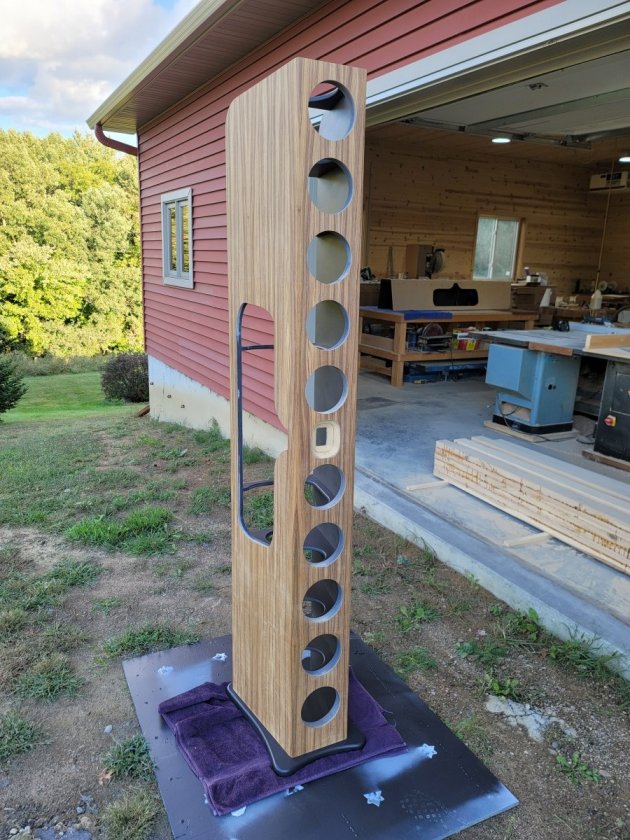
It worked beautifully - and to be honest the bond is better than I got with heatlock glue. This contact cement is very thin, runny, and generally a pain to apply on vertical surfaces - but given how secure the bond was this is the type of glue I'll be using on all future projects even when heatlock becomes available again.

Here the first one is trimmed up. As you can tell, the flush trim bit in the router damaged the paint - so ONCE again I had to mask off the veneer and paint again.


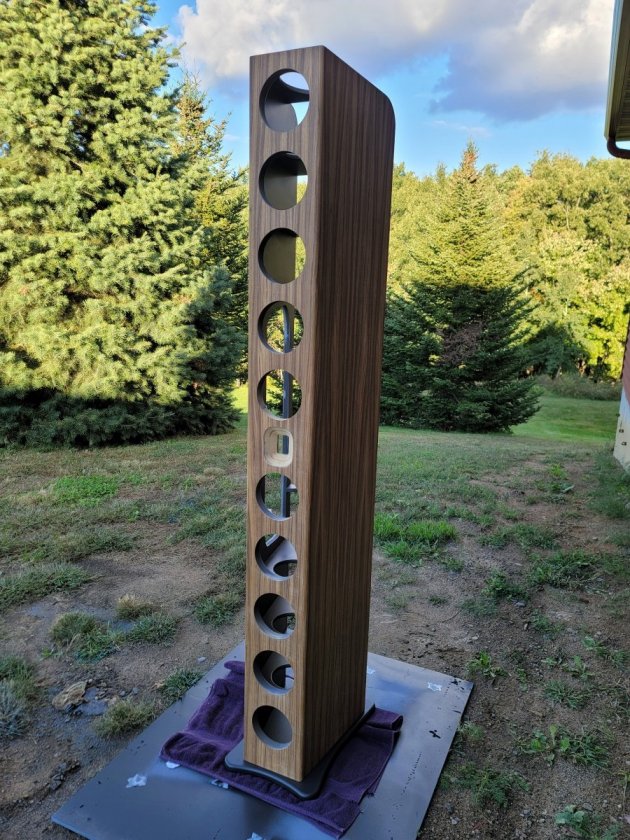
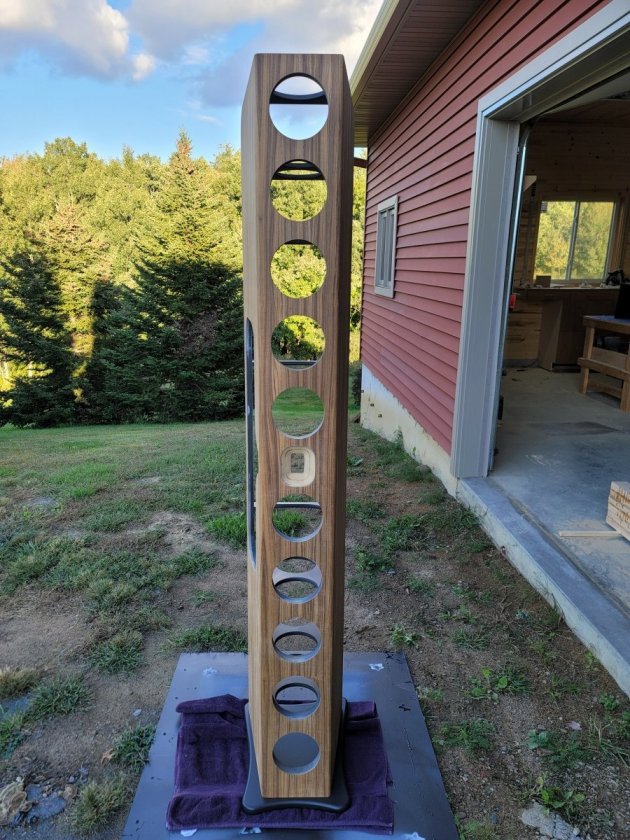
I experimented with using contact paper (adhesive sheets used for drawer linings) to mask off the veneer. It seemed to work brilliantly. I'll find out tomorrow when I peel it off whether there was any bleed through on the edges (I painted the first one again today).


And lastly, here is the 2nd one after veneer has been applied and the veneer was trimmed. I'll mask it off and spray it again tomorrow.


JWCoffman

  :notworthy:

NoahH

  • Full Member
  • Posts: 396
That veneer work is extraordinary! It also reaffirms my decision to not even try veneer as there is no chance I could pull that off

Very nice work!

Tyson

  • Full Member
  • Posts: 11103
  • Audio - It's all a big fake.
Screw the NX-tremes - I want your shop!  That has to be just about the nicest workspace I've ever seen.  Damn son!!!!!  :thumb:

Peter J

  • Full Member
  • Posts: 1876
  • Hmmmm
Not only do they look great, I have to say I admire your chutzpah for tackling the project with contact glue. The rigging is just cool and proves that where there's a will, there's a way. Kudos!

subsonic1050

Thanks everybody, as with previous builds this one has been a lot of fun so far.

NoahH - If you want to do veneer I'd encourage you to try it. This ended up working much better than I even hoped for - in fact, it was easy to apply the veneer.

Tyson - Thanks man - yes, I was lucky to be able to build a 1200 sq ft shop to feed the hobby!

Peter - Haha, yes, I sweated about using contact cement for weeks! I kept waiting for the heatlock glue to come back in stock. Veneersupplies had a notification on there (as I'm sure you saw) that they expected more Heatlock glue in late August or early September. Then, all of a sudden they changed the notification to say that it would only be in pints, and that you could only purchase one. I was going to need roughly a gallon - so that was out. I was seriously worried about the contact cement - but it worked incredibly well and I love the bond I got. Heatlock is awesome stuff, but I did find on occasion that I had a few small bubbles here and there that didn't adhere perfectly. I was able to correct those areas, but with the contact cement I haven't experienced any problem areas on either speaker.

Rock Ball

This is a fantastic post in every way.  Photos, shop, build, technique.  I can't wait to see your next steps.

When you're done, photos of these should be on GR-Research's website in a Hall-of-Fame section.

After seeing the photos of your shop, I am curious to see the room where these are going.

dallaire1

  • Jr. Member
  • Posts: 245
I'm jealous... Build, shop, scenery !

Vince in TX

  • Full Member
  • Posts: 368
Ingenious.    :thumb:

Tomy2Tone

Yeah I’m just here for the shop porn 😲

Danny Richie

Wow, nice shop, and nice work too.

jn316

  • Full Member
  • Posts: 421
That pulley system looks to be made from a couple of Harbor Freight bicycle lifts. Am I right?
I have three of them in my garage. Dirt cheap and work great.

subsonic1050

Thanks everyone! Also, it's always cool to get feedback from the man himself - thanks Danny.

Rock Ball - that's an unbelievably fantastic compliment - thank you! I suspect that my listening room may be a bit of a disappointment to you. My house is quite large, but when I bought the house it already had a theater room which is about 14x19 with stadium seating. I could set up a system in a few different places in my house, but all of the other locations are more in open living areas, whereas the theater room I could set up as a dedicated listening room and do whatever I want with it. I have extensively treated the room, but the size and poor lighting in the room mean that I'm sure your listening space is better!

jn316 - you are exactly right sir! Well spotted. I tied another rope to each of them and added a spring clamp, but other than that, it's just 2 sets of bicycle lifts.

hawkeyejw

Wow… incredible work. Can’t wait to see them all finished up in their final space alongside the subs!

subsonic1050

Thanks Hawkeye - I can't wait to get them up and running myself! I got one step closer today as the cabinets are now finished. I realized I never showed the crossover boards before - this is what I did. I decided to use speaker grill mounts to hold the board in place. I saw someone else on this forum do that very recently and it seemed like a good idea. It worked very well.


The contact paper worked extremely well to mask the veneer. I'll definitely be doing that again on the 2nd pair. I used Rubio Monocoat for the finish, as I did on the servo subs. Here you can see the transformation as the first coat was going on.


I got the finish on both speakers, waited a day, and put on a very light 2nd coat today. Then I took them outside to get some pictures, as once they are in my listening room it will be extremely difficult to get any decent photos of them. These photos make them appear much more orange than they actually are in direct sunlight.


cementhead

Those are just crazy cool! And go organize your shop, will ya? :lol:

subsonic1050

Those are just crazy cool! And go organize your shop, will ya? :lol:

Yeah... the funny thing is I cleaned it about a week before those pics got taken. I use the shop... a lot. I have about 4 different projects going at the moment, which is pretty normal for me. I try to keep it clean, but it just doesn't work out that way!


E-Zee

  • Industry Participant
  • Posts: 149
    • Diy speaker resources and crossover assembly services
I'm very impressed.  All the way around.  Thank you for sharing.

Elon

Danny Richie

Super impressive!