Hi all, I wanted to create a post to document my process of building some DIY acoustic panels in hopes that it may inspire someone to do the same.Background:I live in an apartment with a 16'x14' living room that has a nasty echo. I'm in Minnesota and found a company called Acoustical Surfaces that offered tremendous amount of help in selecting acoustic insulation. They are a large retailer but were willing to sell a small quantity of insulation to me for residential use. This was the hardest part of the build because most big box stores (HD, Lowes, Menards, etc) do not carry any acoustic insulation. CFAB was the most budget-friendly of their insulation at about $1.70/sqft for 2" thick. The CFAB is basically chopped up denim jeans that have been bonded together to make a semi-rigid panel. I was able to pick these panels up locally so I didnt have to pay for shipping. The NRC value is what you really need to look at when selecting acoustic insulation. Also, a note on the fabric selection, make sure you choose something that allows air to pass through. This means no vinyl or bonded material that would reflect sound.
Bill of Materials:2'x4' CFAB Cellulose panels
https://www.acousticalsurfaces.com/cellulose-panel/cellulose-panels.html, Qty: 4 - $60.82
1" x 4" x 8' Pine Lumber, Qty: 4 - $15.62
45 deg Bevel Router Bit, Qty: 1 - $29.97
60" width Duck Cloth Canvas from Joann Fabrics, Qty: 7 yards - $62.85
Dewalt Router (already owned) - free
Wood glue (already owned) - free
Screws & drill ( already owned) - free
Staple gun and staples (already owned) - free
White paint (already owned) - free
TOTAL COST - $169.26BTW - Sorry for the sideways photos - I took most of the photos in portrait because they fit better in the frame that way, but I can't find a way to rotate them in this post. I hope it's not too distracting!
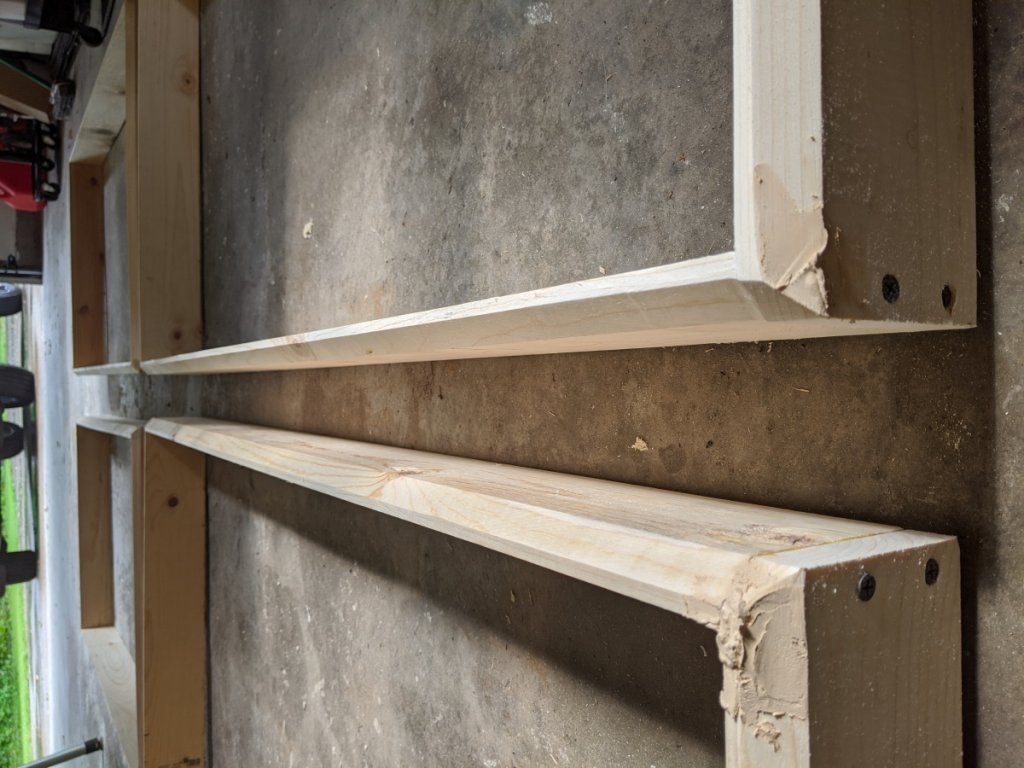
Process:1. Cut boards to length to create frames with 2'x4' interior. So the cut list is eight 25.5" cuts and eight 48" cuts. It is 25.5 because you have to account for the thickness of the boards on each side, which is 3/4". The below photo shows the frames glued and screwed together, with the edges beveled. I used wood putty to fill imperfections and mistakes and then sanded them smooth.
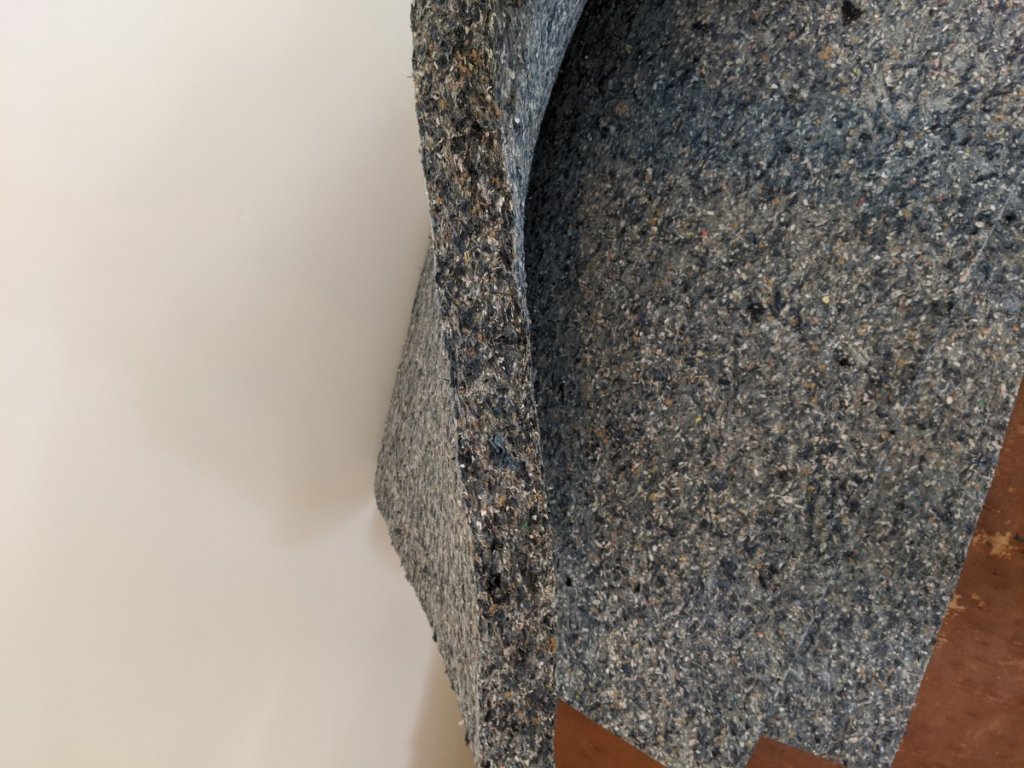
2. Here is a photo of the CFAB insulation panels, 2'x4' with 2" thickness.
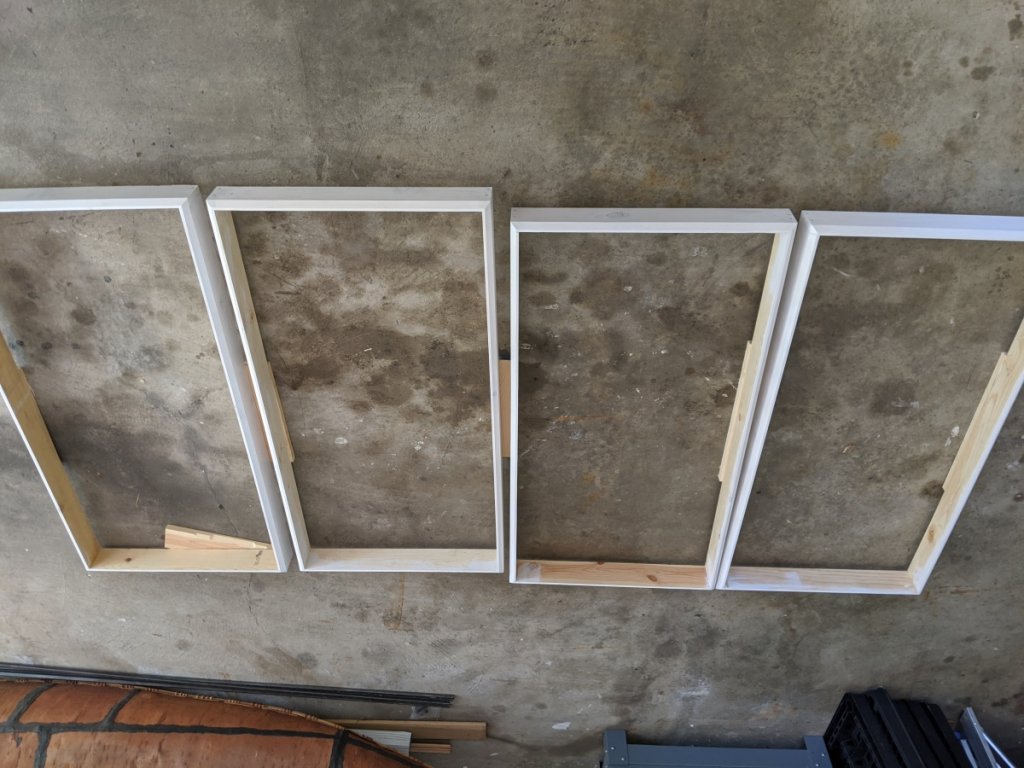
3. Because I used white duck cloth, I didn't want the wood to show through the fabric. After finishing sanding on the frames, I coated them in drywall sealer because it was the only abundant white paint I had around. It worked fine for my needs.
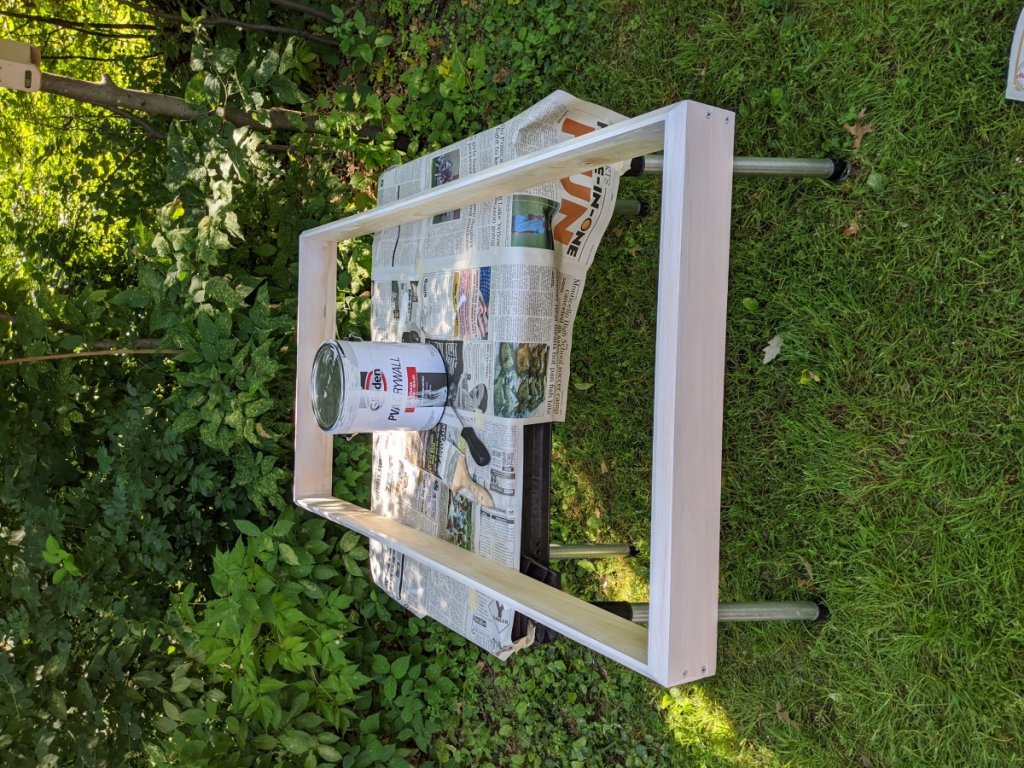
Here are all the frames drying.
4. I applied a sheet of duck cloth along the back of the frame to let the CFAB rest against while I made a retaining structure. The retaining structure stops the CFAB from curling or bending and touching the front facing piece of fabric. You want a space between the fabric on the front of the panel and the acoustic insulation.
Cutting the cloth
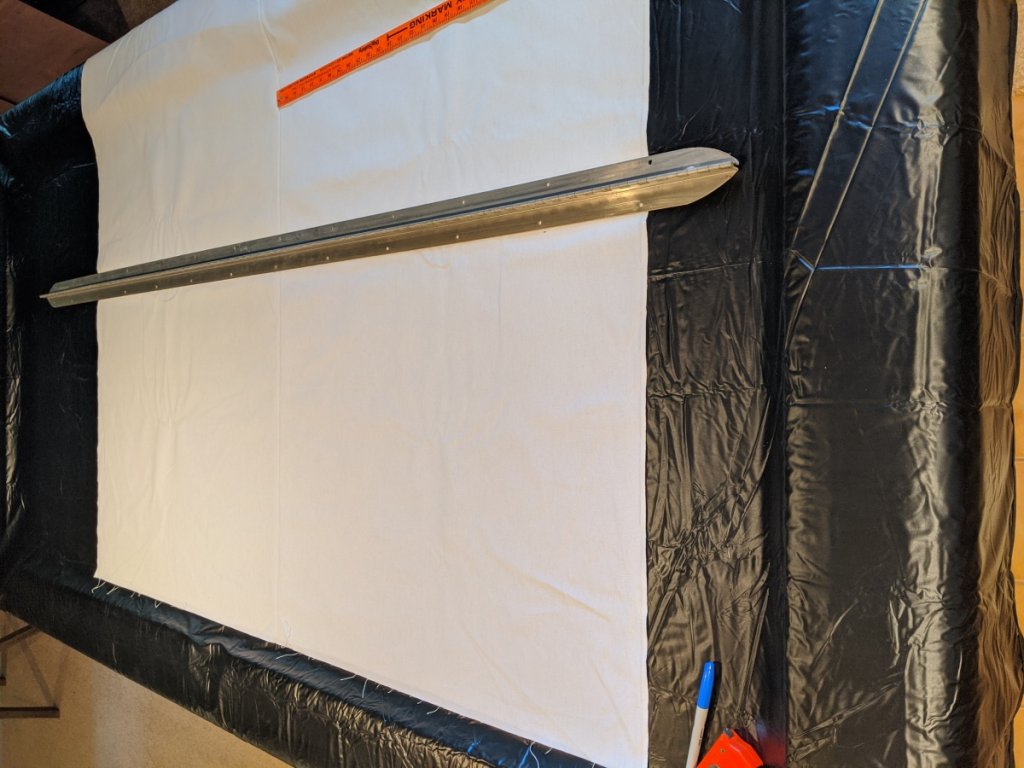
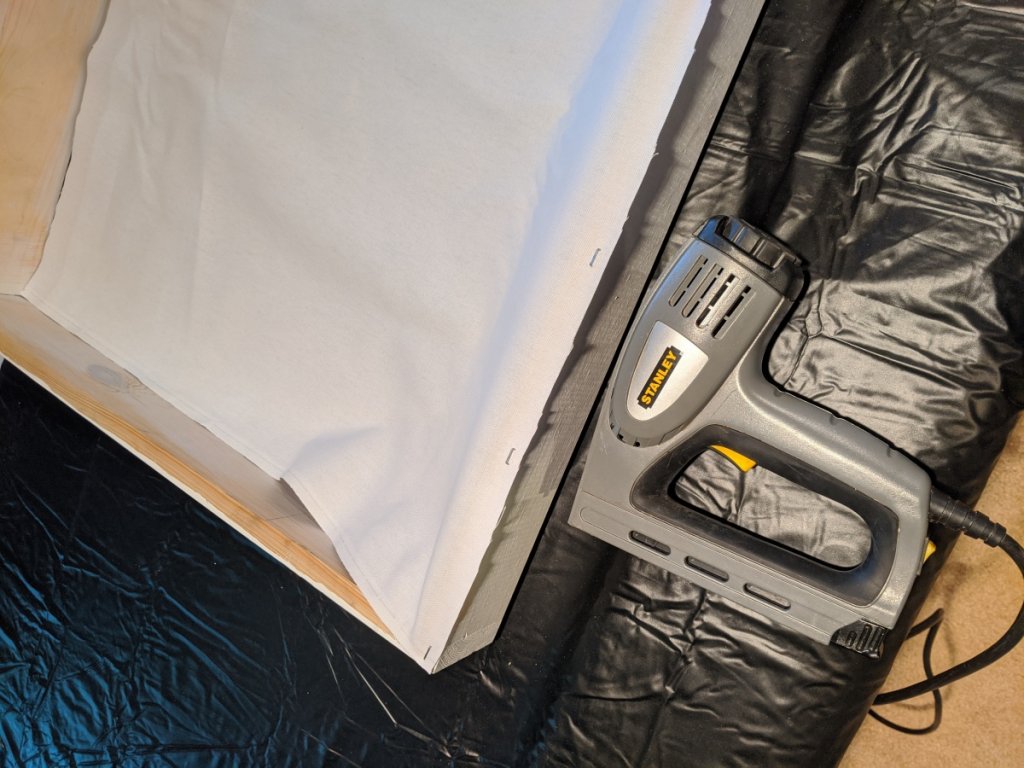
Stapling it to the back of the frame. I used an electric staple gun with T50 staples since that is what I could find in our garage.
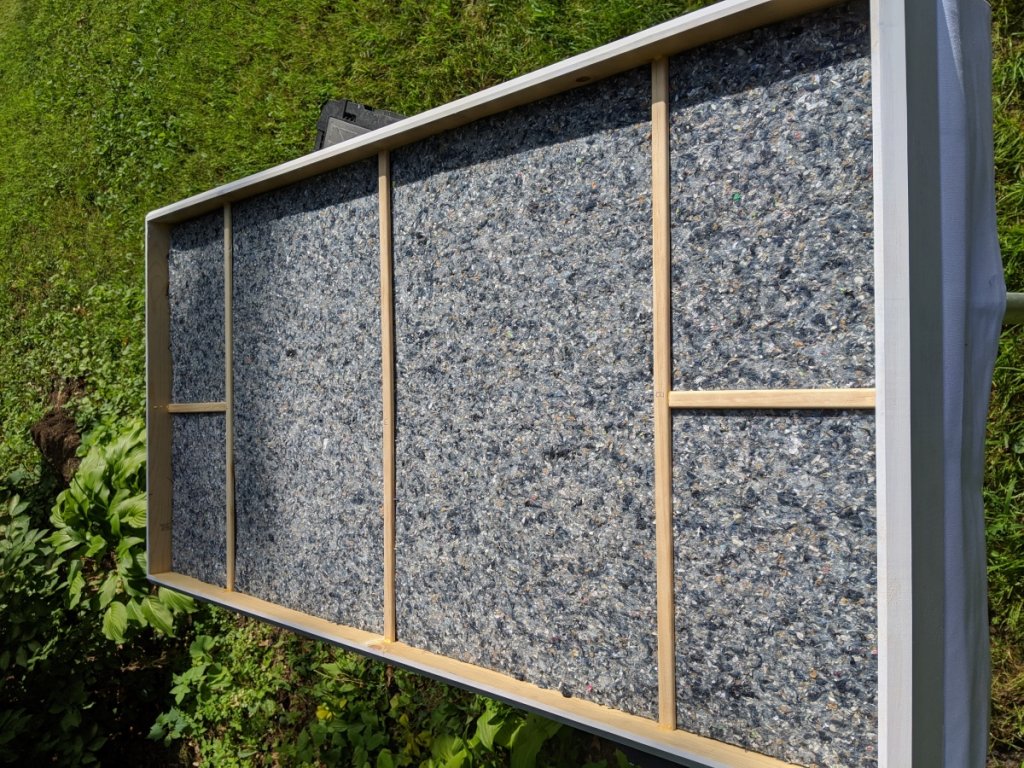
5. Now I flipped the panel over with the front side facing up (the back side was now covered in fabric) and laid in the CFAB panels. I used a little spray adhesive to keep them in there, but it didn't seem like it would hold over time, so I made a retaining structure out of thin furring strips to keep the CFAB from touching the front fabric. The furring strips are just glued in since they will not be supporting much load.
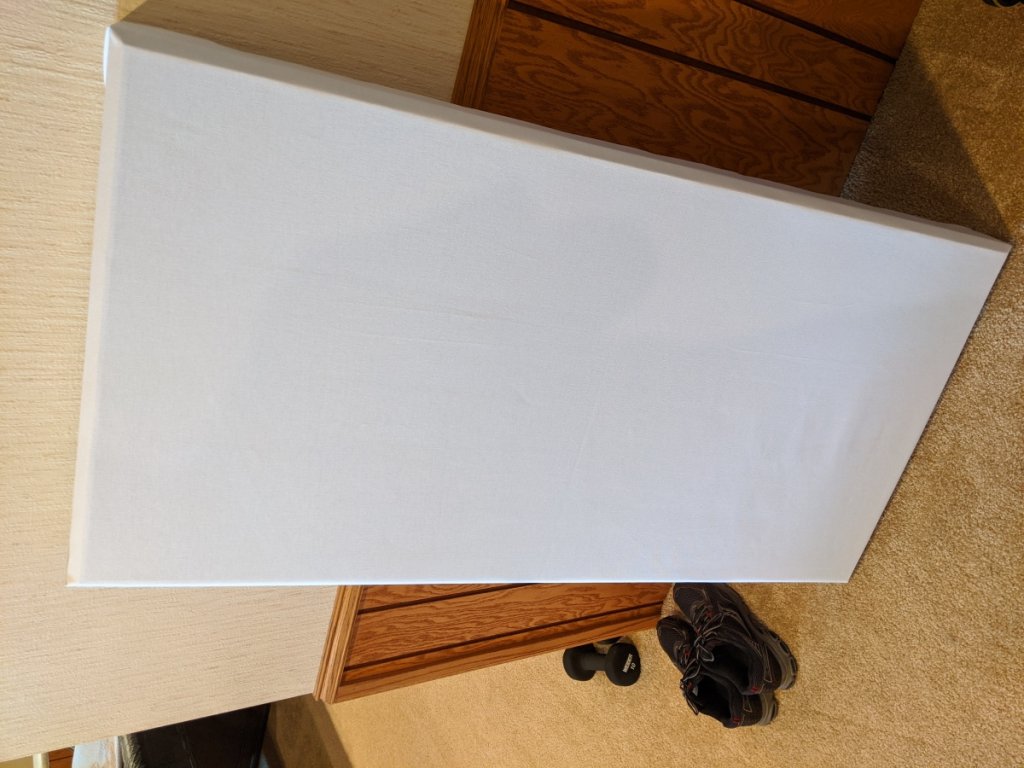
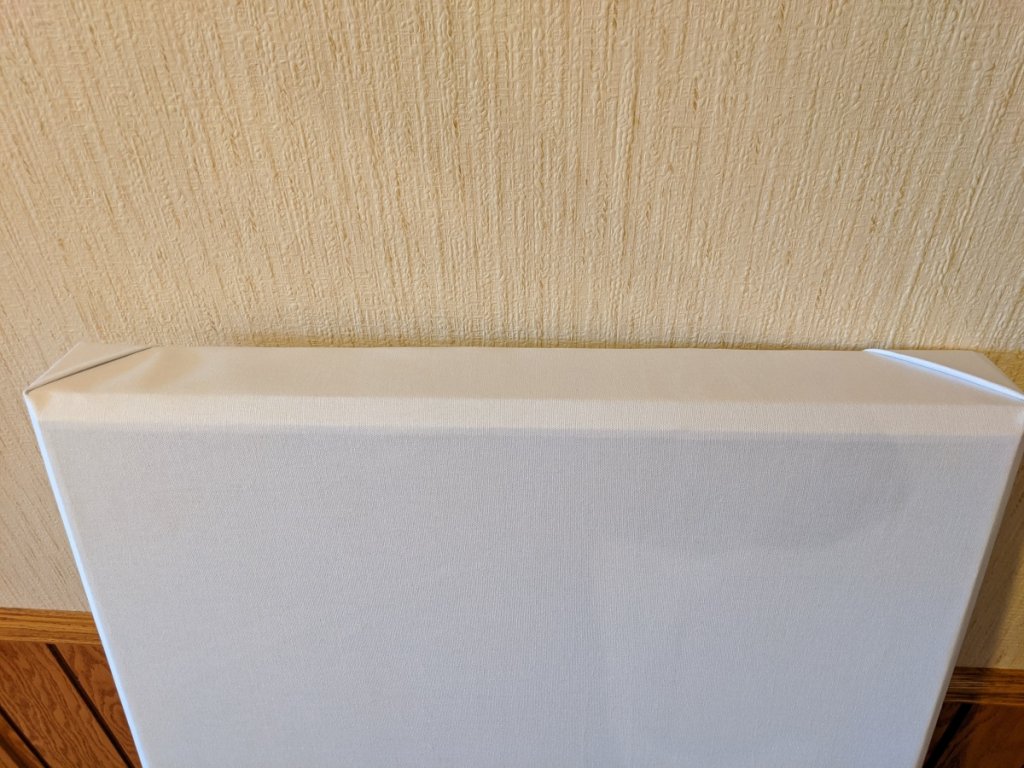
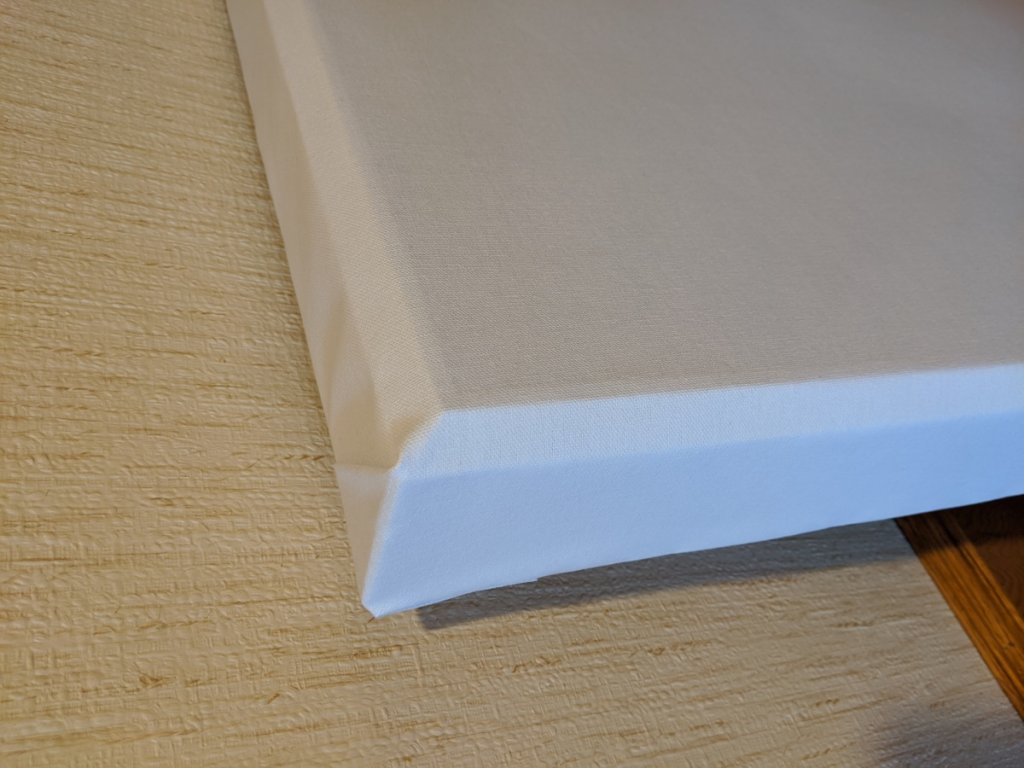
6. Now all that is left is to put the top/front fabric on! This is the finished product. I really like how the bevels showed up and the fabric is tucked nicely on the corners. I did iron the fabric before upholstery to remove wrinkles.
Room For Improvement:
I would use a stretchy fabric if possible because it makes the upholstery of this way easier. You wouldn't have to worry about wrinkles as much.
Let me know if you found this helpful, useful, or even somewhat entertaining. This is a really easy project you can do with minimal tools and save a ton of money. Also, since they are upholstered, if you ever get tired of the fabric or it gets dirty, you can rip off the front fabric and replace it with whatever you want. I will update later once I get them installed in my apartment and have time to move them around and test the affects they have on room acoustics.
Thank you for reading!