The build is now underway. At this point in time I am building a 3 piece system, X-LS Encores for L&R Fronts and an X-CS Encore for the center. Later on I will build a pair of X-MTM Encores for the front channels and move the LS's to the rear for a five speaker system. After that I will most likely add a 12" servo sub to round out the 5.1 system.
I decided to build the X-LS Encore and X-CS Encore cabinets out of 3/4" Baltic Birch. They will be stained then shellacked. I haven't decided on color or actual finish coat yet.
I am doing a fairly complete upgrade. In addition to NoRez, Sonicaps and Mills Resisters I am adding Sonicap bypass caps and Erse XQ inductors. I will also be point to point wiring the crossovers foregoing the circuit board altogether. Additionally I am replacing the straight port tube with the flared port tube used in the N1X kit. Per Danny's recommendations I am also extending the tube length a little for a more balanced bottom end.
I started out making templates out of poster board and laying them out to match the grain and best use the wood. I was able to get all pieces out of one 5' X 5' sheet of Baltic Birch. Lessn learned: after going to all the trouble to match the grain on adjacent pieces, mark said pieces with all pertinent information including which piece goes with each other

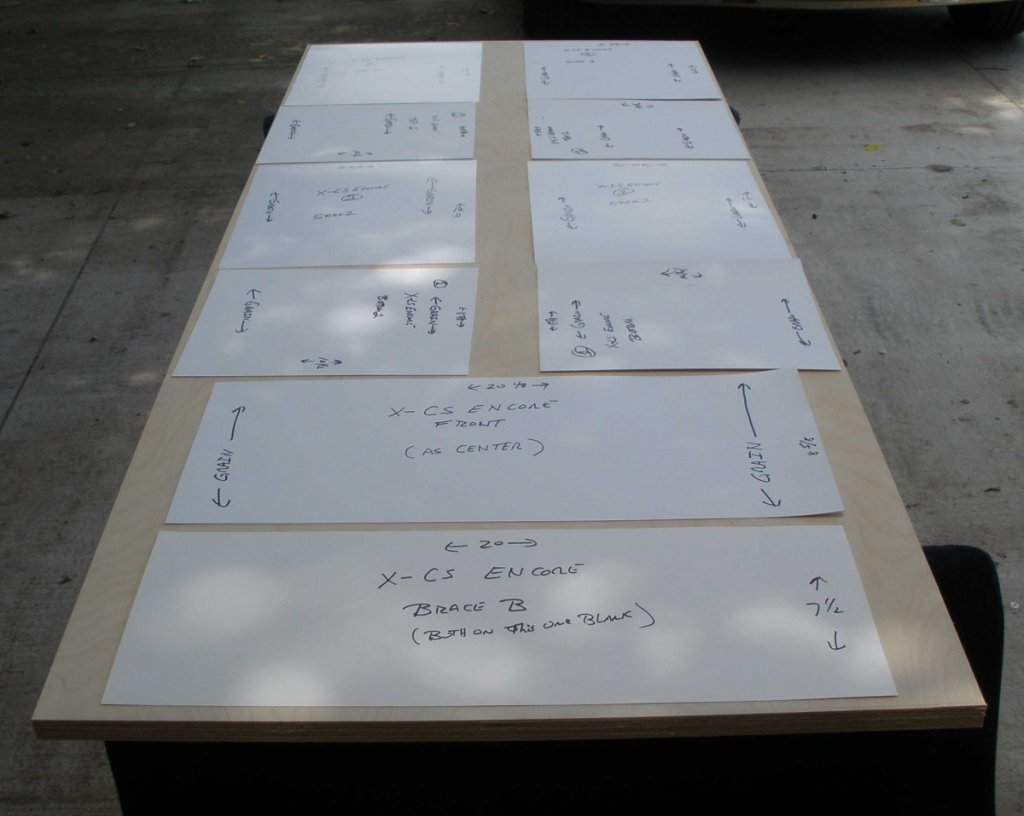
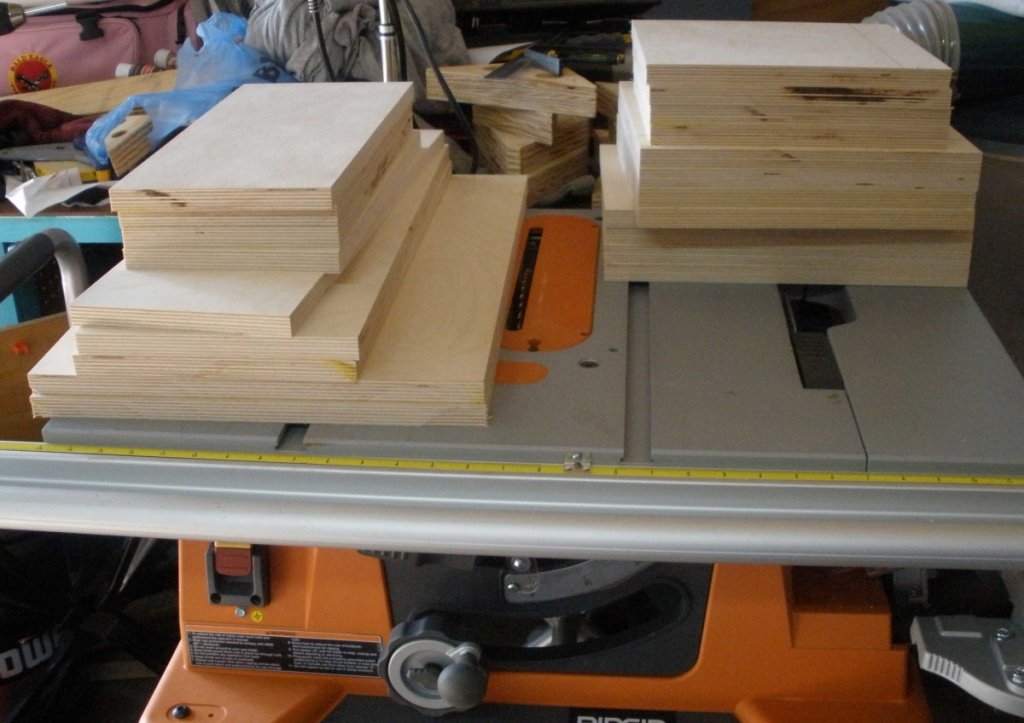
Then I cut out the pieces for all three speakers
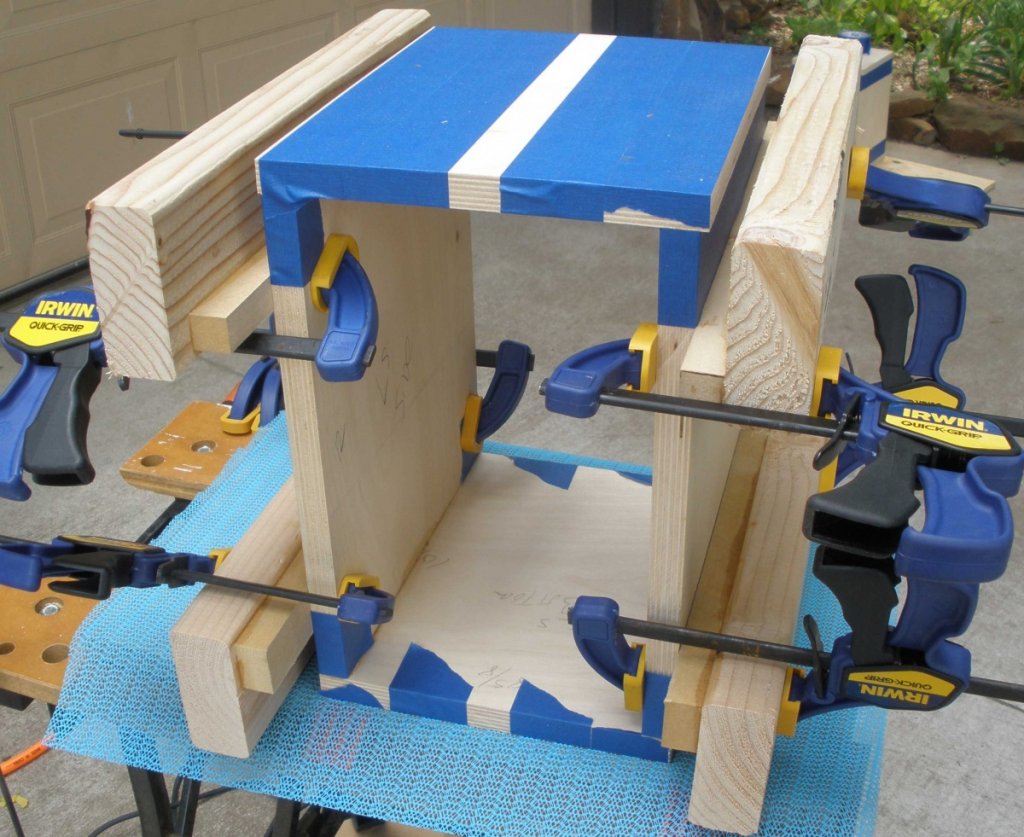
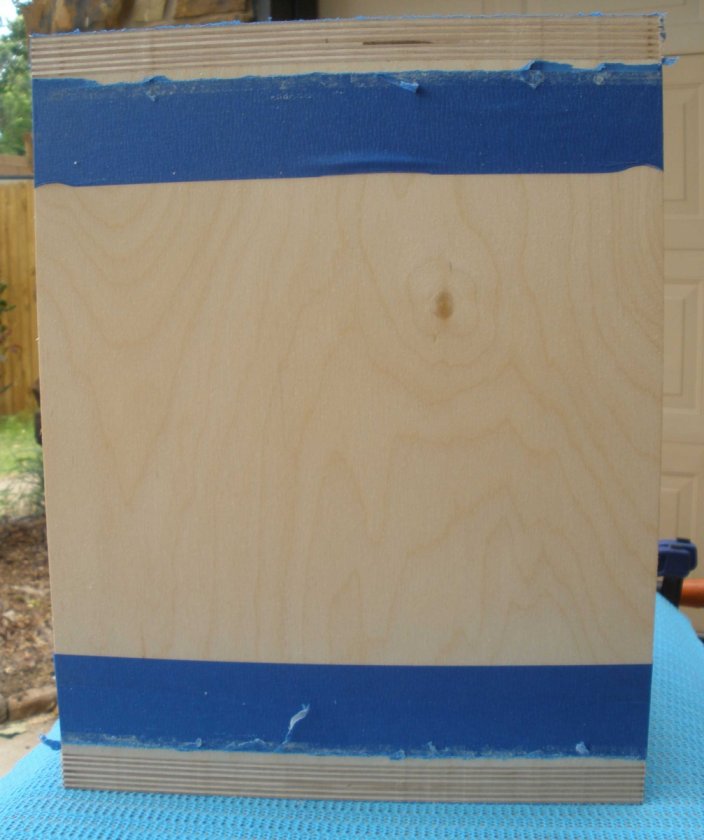
I cut the tops and bottoms a little wider to make lining things up easier then flush trimmed the overhang. Here is the jig I set up to provide more stability for the router
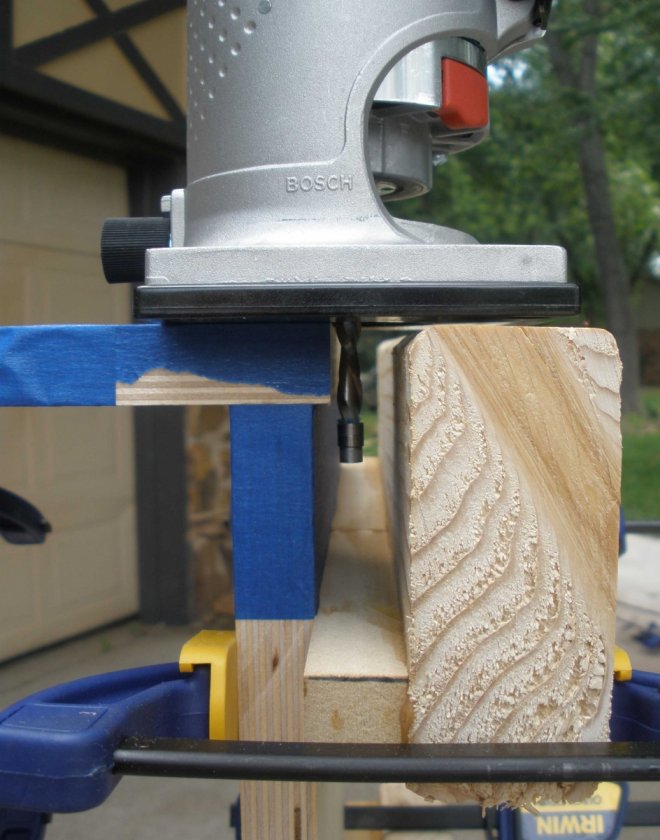
and here's after flush trimming but before any sanding. The painter's tape was to keep the bearing from marking the plywood.
Here are the X-LS Encore cabinets with the bracing installed.
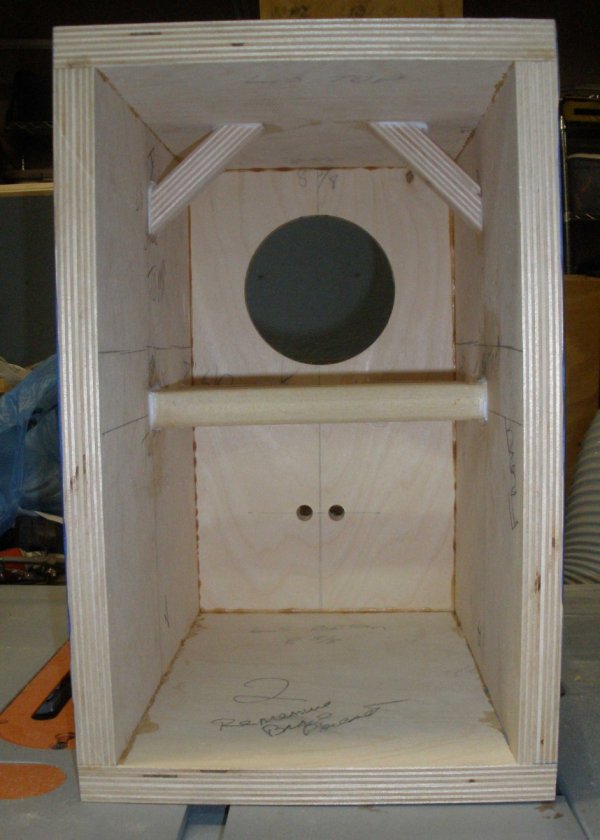
Now for a question. When installing NoRez on the sides, how close to the front baffle should it come?
Mike