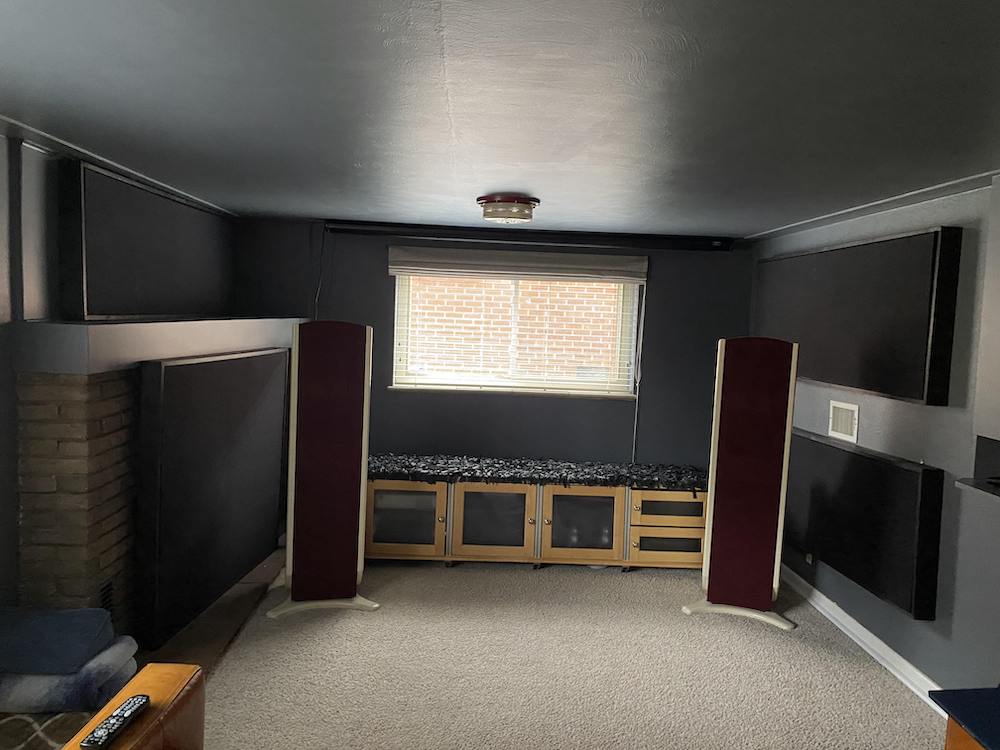
OK, one thing we talk about getting under control is the room, if you want ultimate performance from your GR Research speakers (or any speakers, for that matter). I have a dedicate 2 channel and HT setup in my basement using the Super 7 speakers.
Acoustically it's not bad, with thick carpet on the floor and a combo of wood slats (diffusion) and heavy roman shades (absorption) for the windows. I'd borrowed a friend's GIK acoustic panels as a stop-gap solution until I could build some of my own. I though it might be fun to share the acoustic panel design and build process.
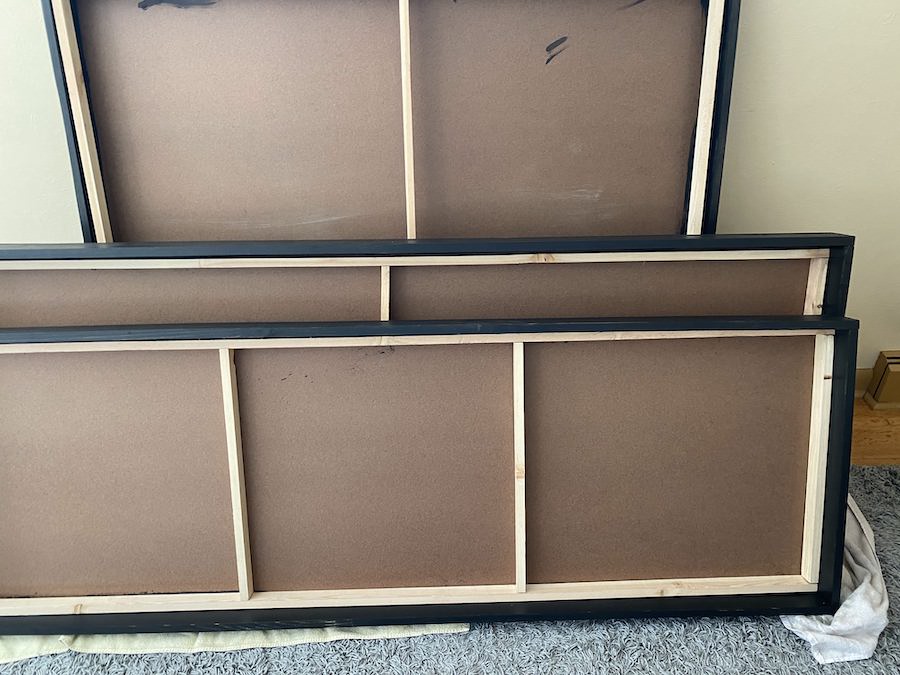
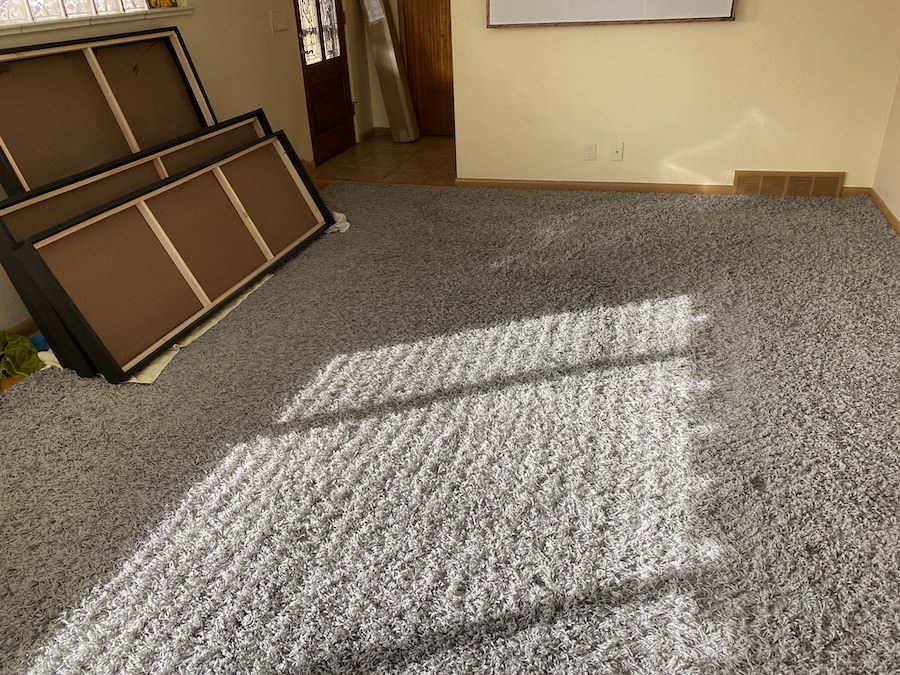
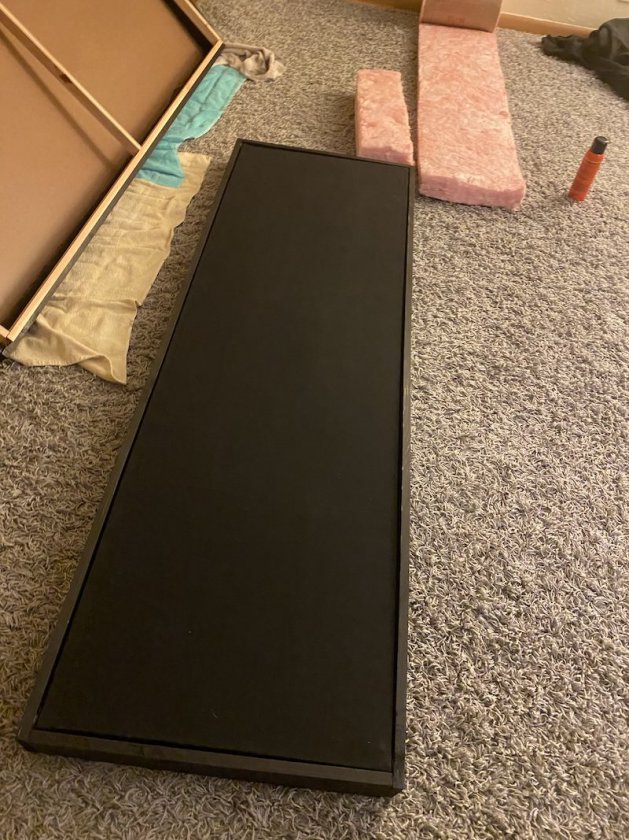
Here are the wood parts of the panels. The back is just 1/8th inch particle board from Home Depot. The black wood that makes up the frame is just 1"x 4" pine boards also from Home Depot. Obviously I measured everything and then we used a table saw to make the cuts.
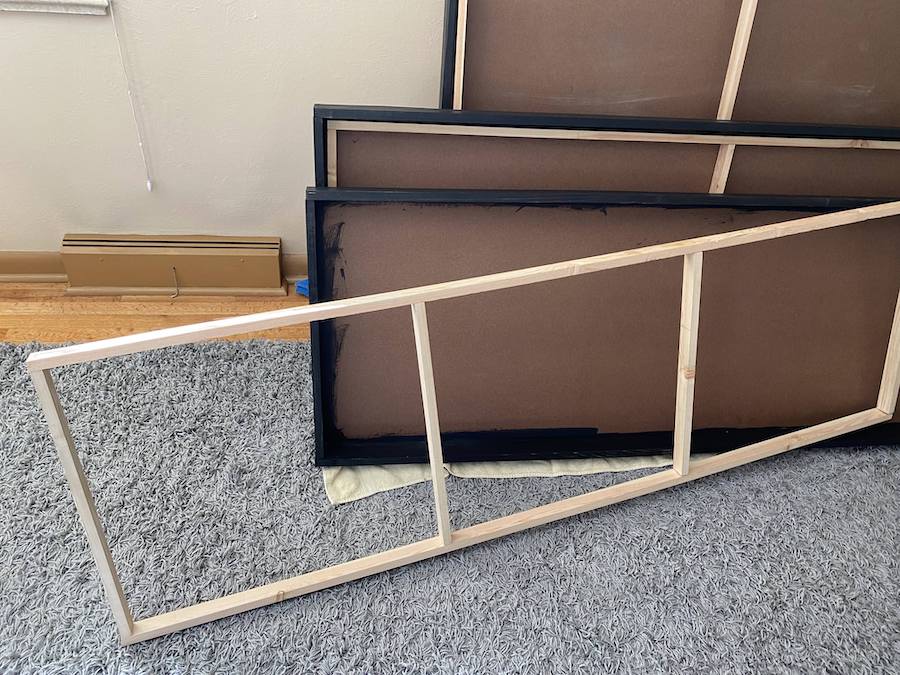
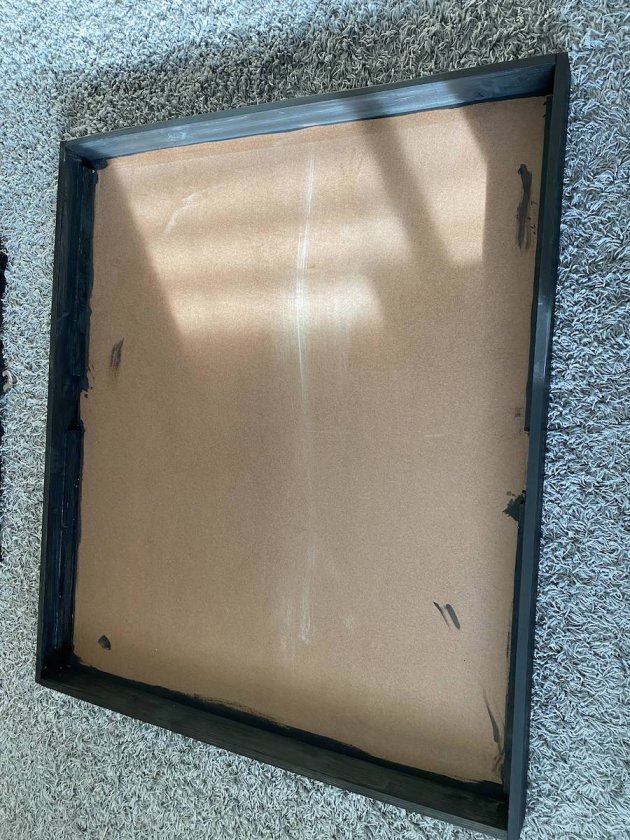
Here you can see the inner wood frame we made that will be covered in black fabric so it matches the colors in my semi-basement HT/Music room:
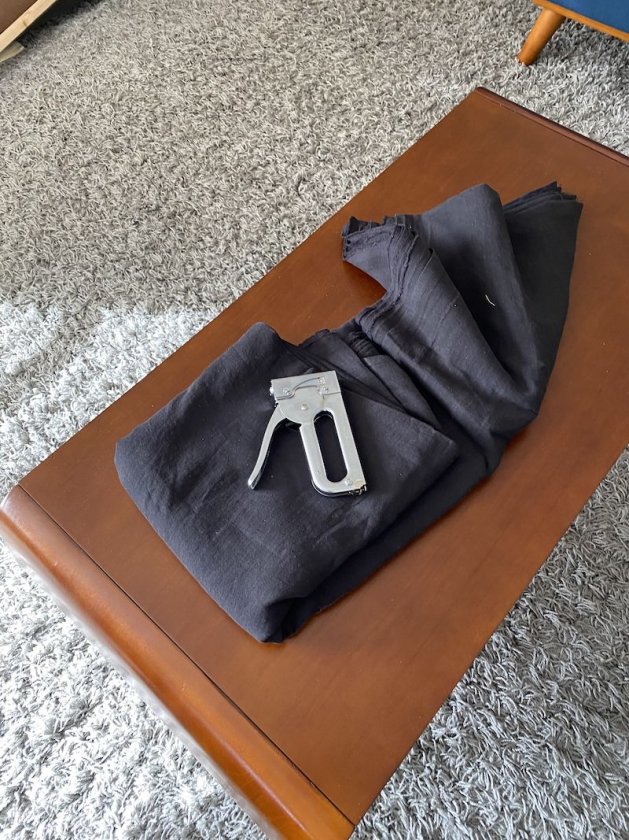
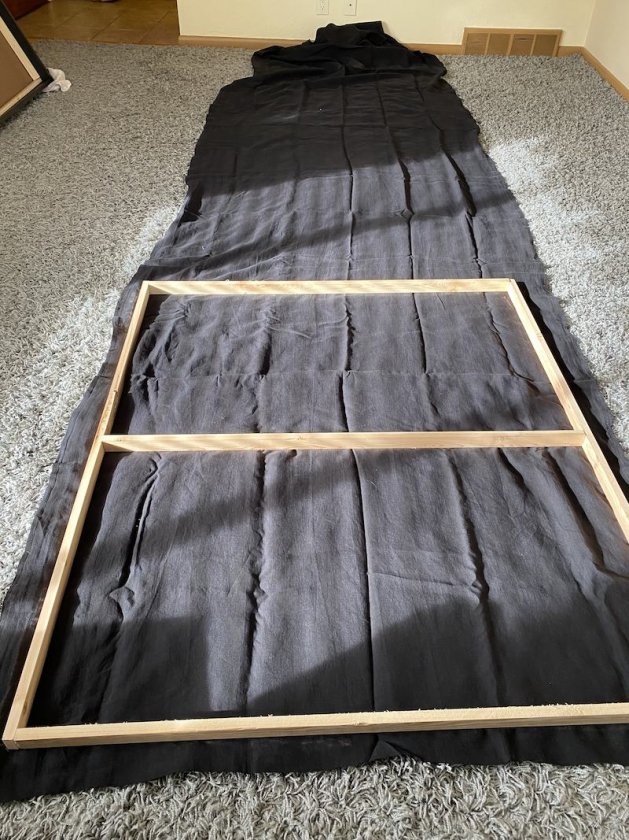
The linen style cloth and the method of attachment - staple gun!
Clearing out all the furniture from my living room so I have room to work:
Laying out the cloth and measuring it against the wood frame, and then cutting the cloth to size:
Staples. LOTS of staples:
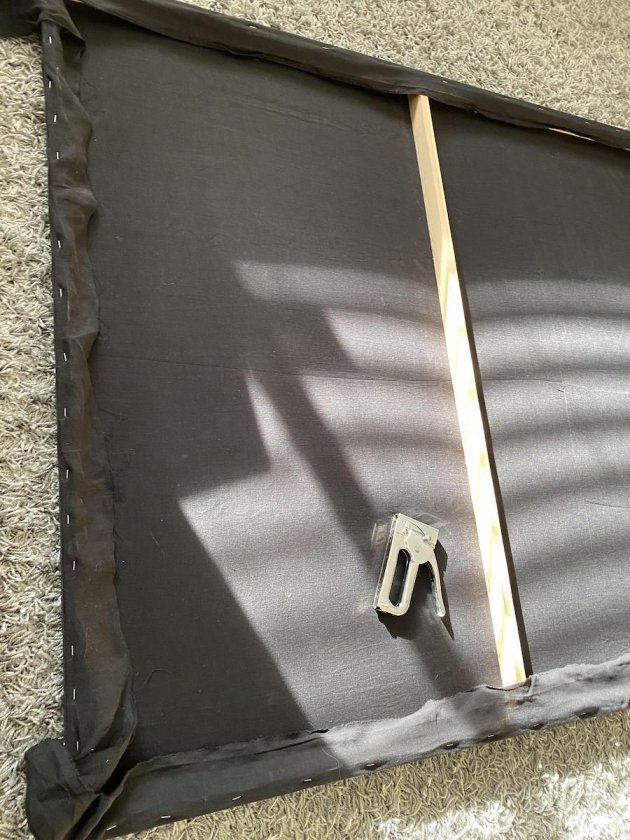
Frame is ready:
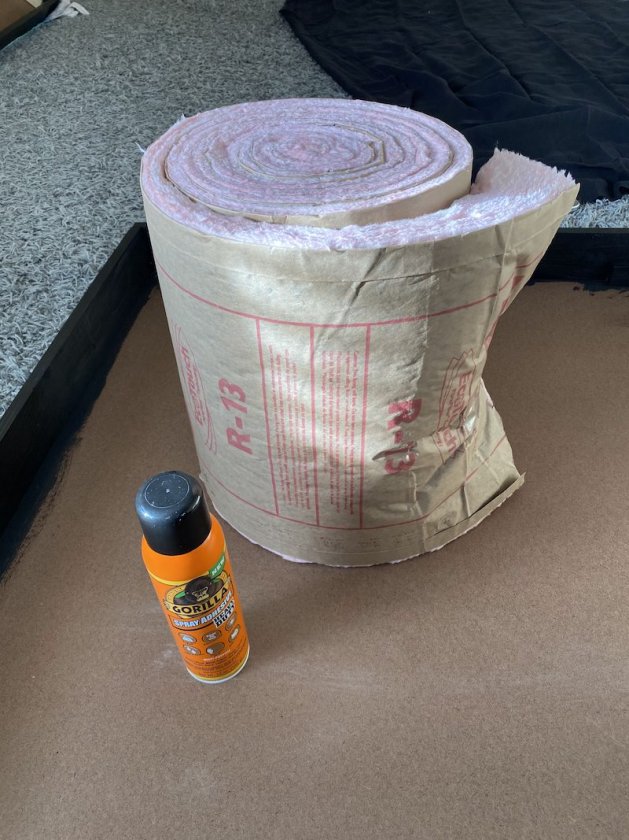
R13 pink insulation from Home Depot. It's 4 inches thick so it's perfect for my panels with their 4 inch thick side wood panels. Using spray Gorilla Glue to attach it:
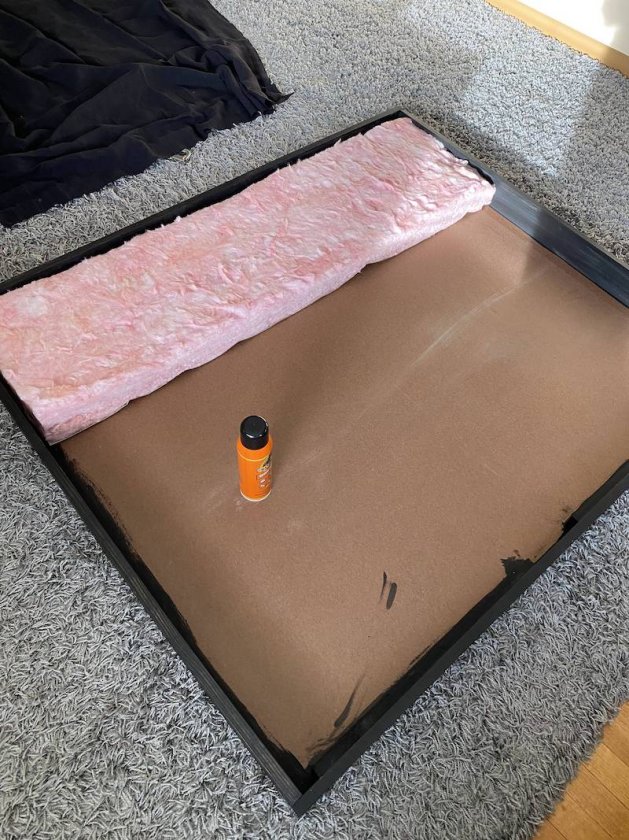
One side in:
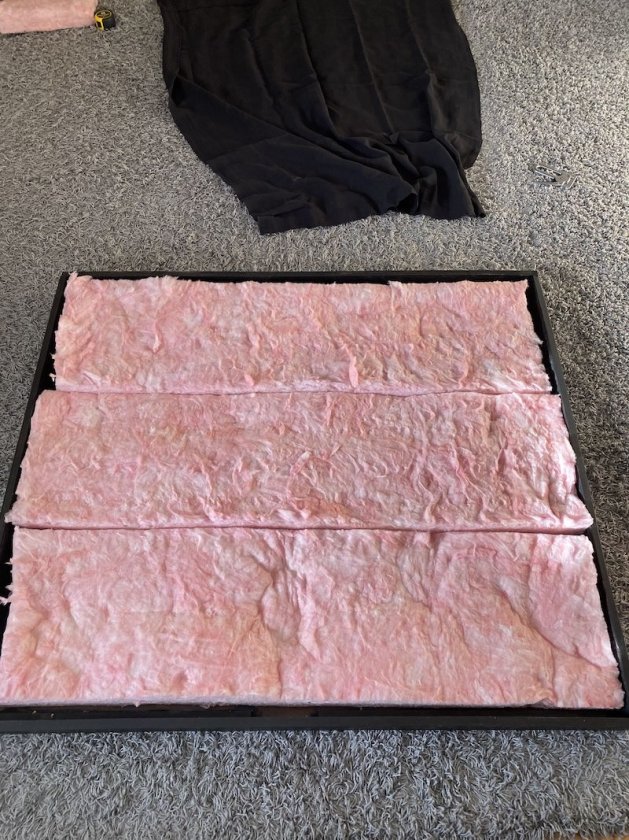
All sides in:
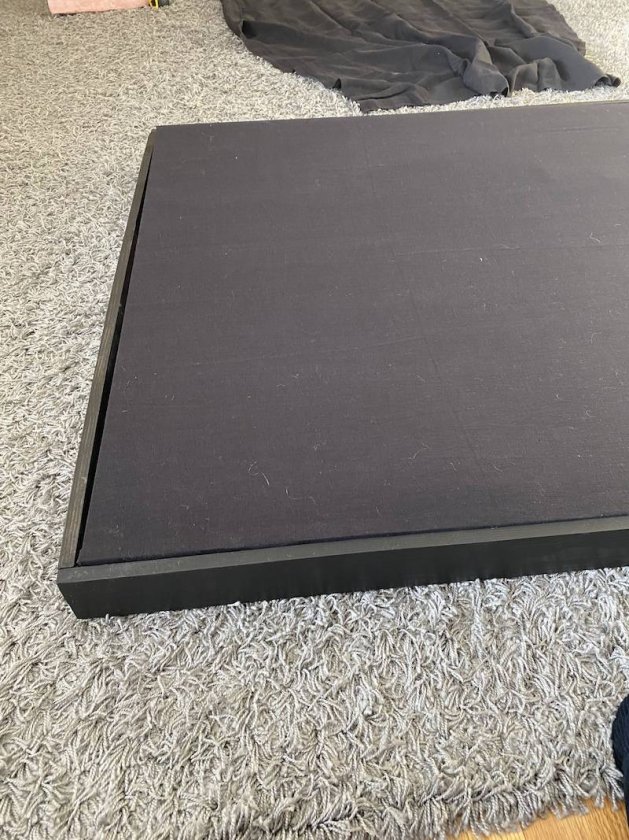
Black cloth frame inserted and looking nice. You might need to use a lint brush to get any hair/lint off before you hang it:
Second panel done. I did 4 in total:
And done!