X-Statik Build: Step by Step

0 Members and 1 Guest are viewing this topic. Read 3713 times.

kwatz

  • Jr. Member
  • Posts: 21
Re: X-Statik Build: Step by Step
« Reply #20 on: 11 Jan 2021, 02:36 pm »
1. Hmmmm, never considered that. What's the supposed advantage?
The poster claimed using a secondary metal might defeat the purpose of the all copper to copper connection, then cited some articles like this about dielectric grease's impact (or lack thereof) on conductivity. Frankly, I'm not concerned given the popularity of soldering and the lack of issues people seem to have with it.

2. I can't say I've tried going around a radius thaa small, but imagine it could be done with Veneer softener and tight grain species like cherry and perhaps others. I wouldn't introduce a bunch of moisture in any case as it will most likely surprise you when in dries out. You could also cap ends with, say, 1/4" hardwood, then veneer, then roundover.  Something that small would be hard to see the transition as long as color is close.
I'll attempt to use veneer softener and see how that goes. I'm using a paper-backed madrone burl veneer, not sure how that compares to tight grained species. I'm assuming the knotty nature of burl makes it more difficult to work with. Adding hardwood is a good solution, but is more work than I'd like to put in if I don't have to, especially given my experience level. We'll see how the softener works on a small scale first.

3. I'd screw it or at the very least use velcro. Foam on back, or some kind of standoff would also do the trick.
Good point, I can just attach some no-res to the bottom of the board and glue or velcro that to the base.

4. Most, if not all, common striper/crimpers I've seen have two as standard fare. One with a titty, as Danny describes it, and one without. Use the with, it's more fun and works better.
I'm planning to get this crimping/stripping tool. I assume these will be capable of everything I need for the tube connectors and assembling the DIY speaker cables. I asked about size because the same commenter who made the comment about the grease also said Danny should be using a larger crimping tool, one that covers more of the length of the crimping end of the tube connector for a better seal.

Tyson

  • Full Member
  • Posts: 11110
  • Audio - It's all a big fake.
Re: X-Statik Build: Step by Step
« Reply #21 on: 11 Jan 2021, 04:26 pm »
My general rule when soldering is to make sure there is metal to metal contact, then solder to hold it in place.  For something like wiring it's easy, just twist them together.  For something like tube connectors, crimping works beautifully. 

Peter J

  • Full Member
  • Posts: 1876
  • Hmmmm
Re: X-Statik Build: Step by Step
« Reply #22 on: 11 Jan 2021, 04:42 pm »
1. I think the key concern here is to somehow coat or seal bare copper to mitigate oxidation. Shrink tubing, Liquid Electrical Tape or solder could all effectively accomplish that.

2. You're right. The swirling grain of most burls will make them more difficult to work with in several ways. Only way to know for sure is to make a sample, methinks.

3. I'd probably approach differently if using No Rez. Stick it to cabinet under crossover board and use screws to attach and compress. A bit of work for little gain. I'd likely opt for stand offs glued to bottom of crossover board if I was concerned about compression of tie wraps. I have used isolation standoffs, but in all honesty, it  was probably nerdery for no good reason.

4. In a perfect world I imagine the  diameter of tube connector and that of wire would be closer in size, but again it seems like we're  splitting audiophile hairs, which often just provide circular forum fodder. But I'm probably jaded...

electronicsfanatic

  • Jr. Member
  • Posts: 46
Re: X-Statik Build: Step by Step
« Reply #23 on: 11 Jan 2021, 08:57 pm »
My fist go at it I used a circle jig and once I laid out one baffle I double sided taped them and copied it with a flush trim router bit.  My huge mistake happened with veneering the cabinets around a 3/4' round radius without veneer softener.  I used heat lock glue and the veneer cracked.  I decided to start over and this time I am spraying the cabinets and base gloss white and the front baffle will be polyurethane finished.  My crossovers are ready and I decided to double my front baffles to conceal all the wiring.  I think if you use no res  inside you shouldn't need to stuff the cabinets.  Make some progress and lets see some pics.     

electronicsfanatic

  • Jr. Member
  • Posts: 46
Re: X-Statik Build: Step by Step
« Reply #24 on: 11 Jan 2021, 09:17 pm »

My fist go at it I used a circle jig and once I laid out one baffle I double sided taped them and copied it with a flush trim router bit.  My huge mistake happened with veneering the cabinets around a 3/4' round radius without veneer softener.  I used heat lock glue and the veneer cracked.  I decided to start over and this time I am spraying the cabinets and base gloss white and the front baffle will be polyurethane finished.  My crossovers are ready and I decided to double my front baffles to conceal all the wiring.  I think if you use no res  inside you shouldn't need to stuff the cabinets.  The first go I wanted to insert some neo magnets for DIY grills but, I got veneer happy.  My second go around I don't think I'm going to worry about it as they look good without them.  Make some progress and lets see some pics.     

electronicsfanatic

  • Jr. Member
  • Posts: 46
Re: X-Statik Build: Step by Step
« Reply #25 on: 12 Jan 2021, 03:30 am »
@kwatz I’m right in your delimma but, I have built many speaker enclosures.  Mostly subwoofer related and no crossovers.  I might be lucky or unlucky to have the last of the assembled boards but, I do not get to fully assemble a crossover circuit.  Mine was just desoldering and soldering in new Sonicaps and mill resistors.  I need to start learning crossover schematics.  However, I felt abilged to take some pictures tonight of a little progress I made.  I decided to double baffle the front to hide the wires.  The back baffle just has radius left and right sides.  The front baffle is all 45 degree corners.  I now wish I had done the base in the same wood as the baffles.  MDF cabinets and basis will be gloss white and all wood grain polyurethane. 


kwatz

  • Jr. Member
  • Posts: 21
Re: X-Statik Build: Step by Step
« Reply #26 on: 1 May 2021, 09:45 pm »
Sorry for the absence y'all. I got a new job unexpectedly and have been in the process of moving across the country and getting up to speed in my new role. Had to put these on hold for a few months. Trying to finish up the carpentry work in the next couple of weeks here. Here's the progress so far.

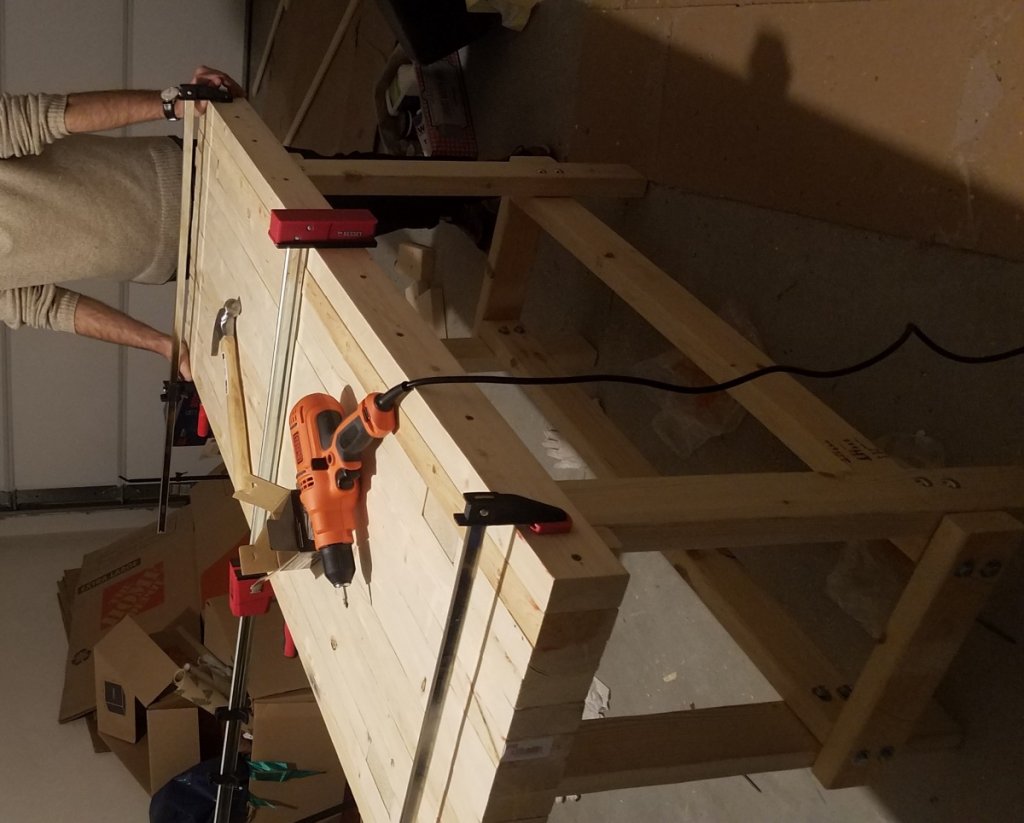
First, I built a work bench, my very first foray into woodworking:


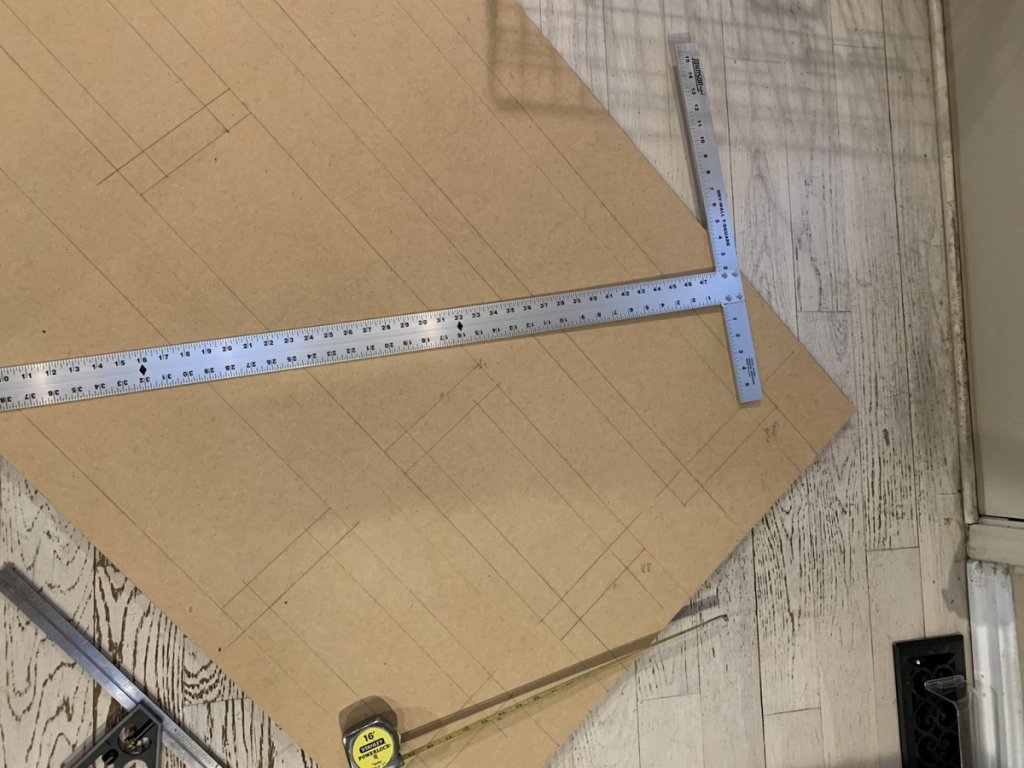
Next, I got my MDF. Three 4'x8' .75" thick boards did the trick for me. Lots of trial and error with the circular saw. Using a drywall t-square I sketched out the pieces and cut-lines:


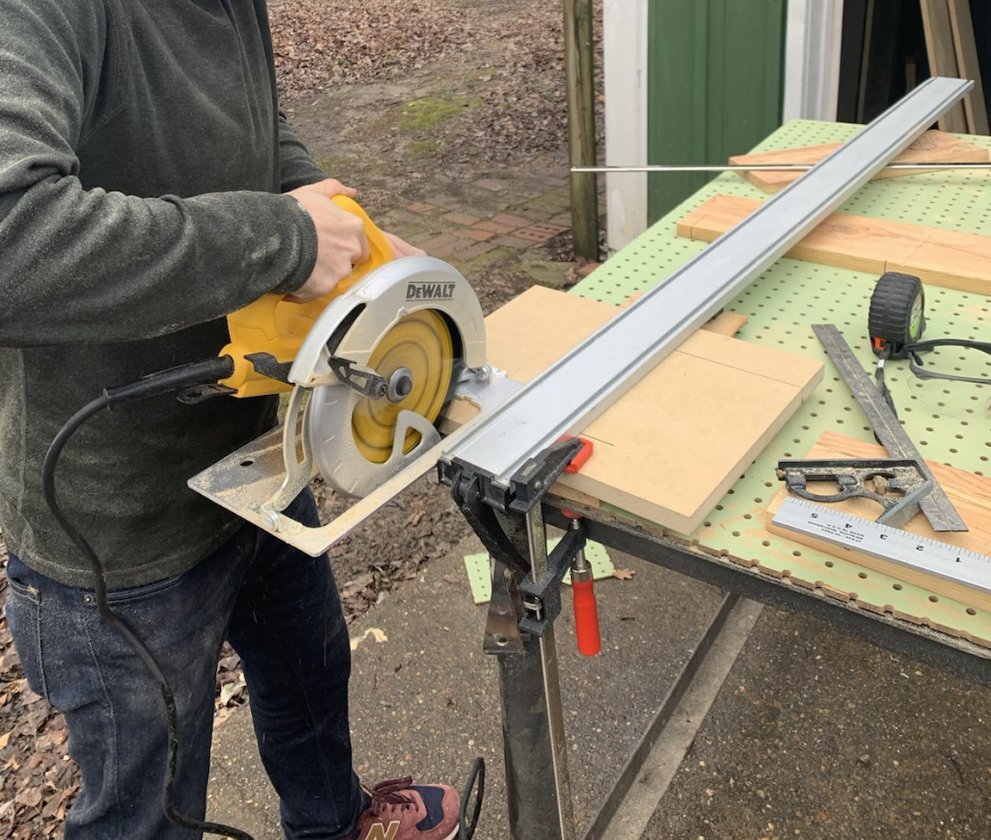
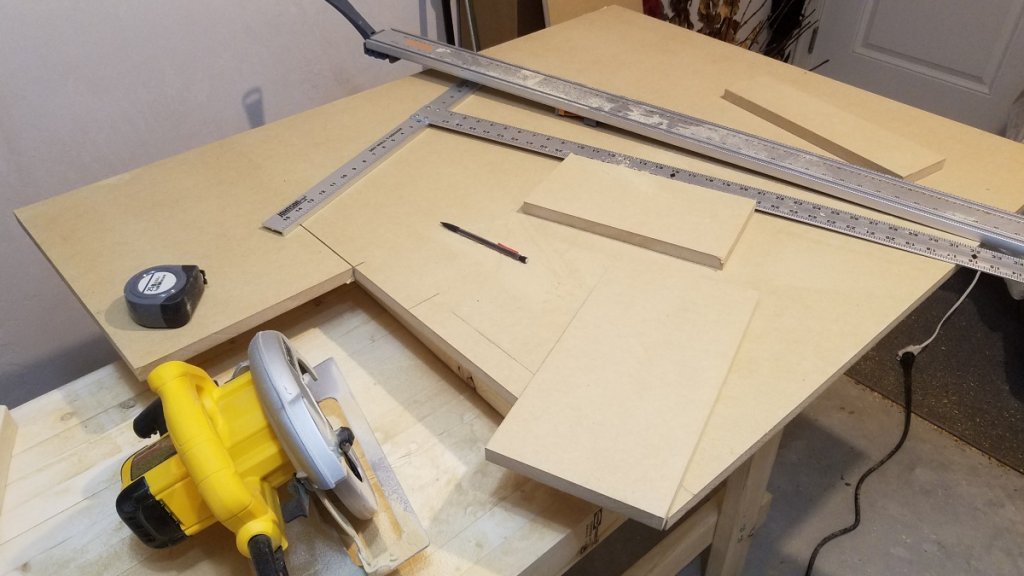
Cut my initial pieces out using a circular saw and a clamp saw guide:


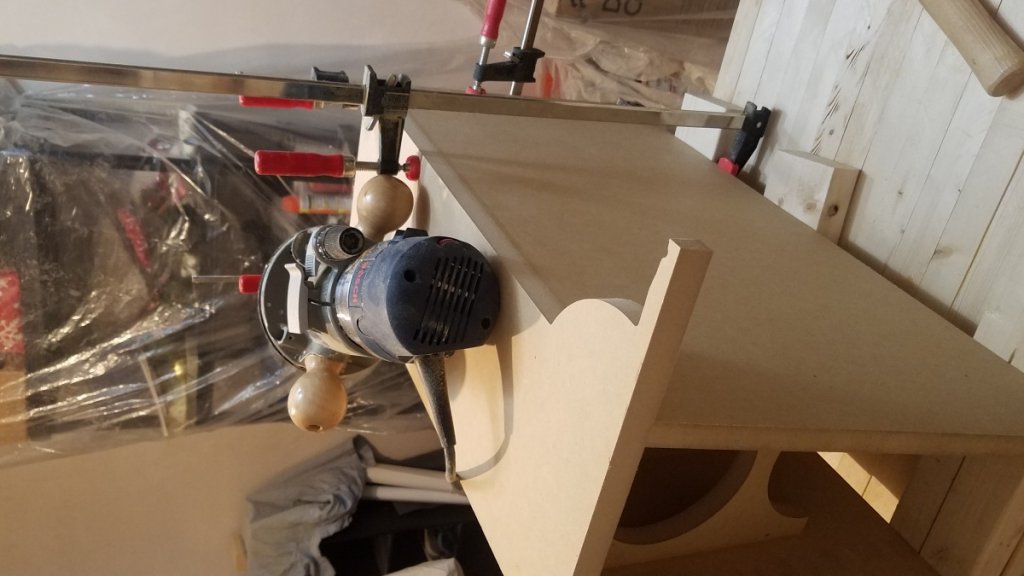
Next, the router. Never used one before, but this thing is awesome. Using a downtrim cutting bit from Whiteside and a Jasper circle, jig I made the inside braces:


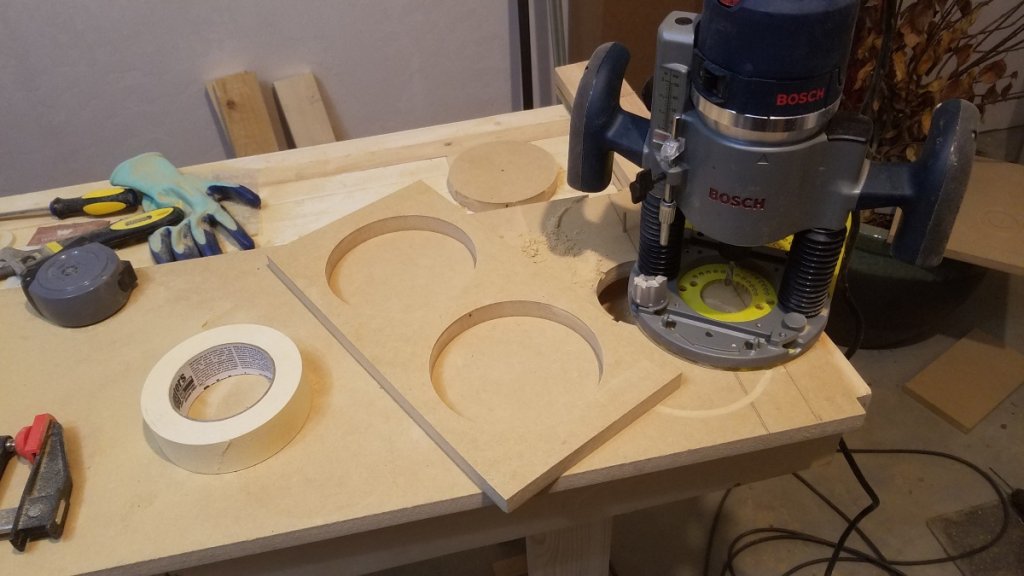
For all the pieces aside from onces with angled edges, I only cut one speaker and used the router with a sprial flush trim bit to clone for the second, cutting only the rough shape first with the circular saw. This made things so much easier:


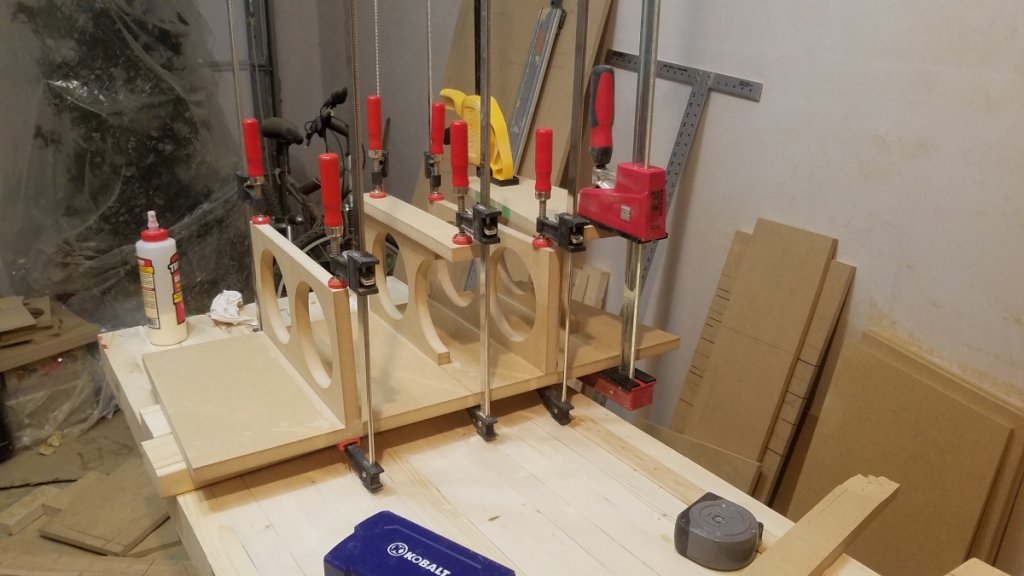
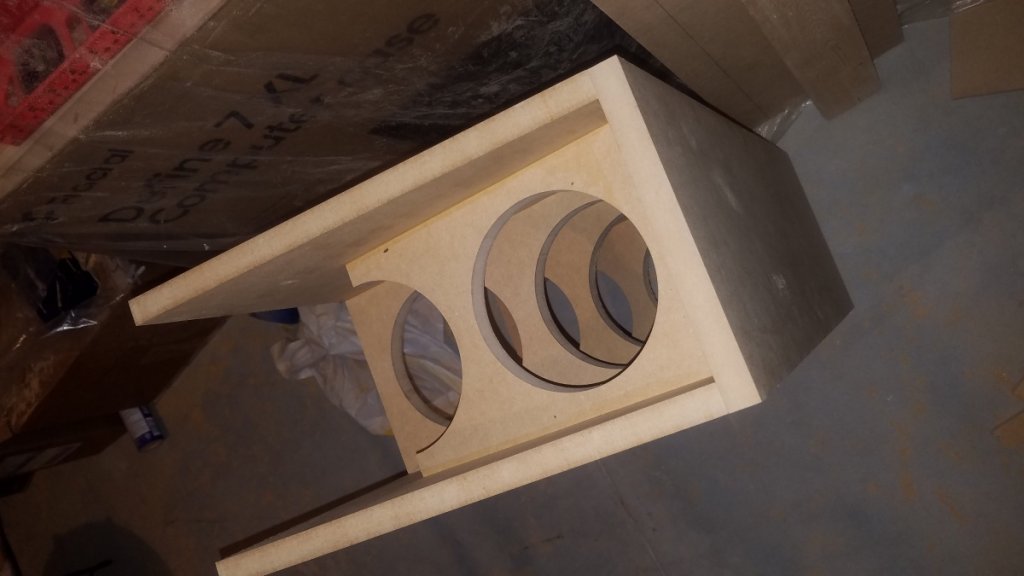
With sides and braces now cut, it was time to glue. I used Titebond original. First side was easy, making sure the second side was perfectly level with the first was a challenge. My first attempt at this I clamped a flat piece of mdf to both sides of the first side to ensure it would be level. This resulted in an ever-so-slight misalignment, but one I can deal with when I glue to the base. The second time I just clamped the two sides together and stood it up, putting pressure on the sides to make sure they were level then tightening the clamps:


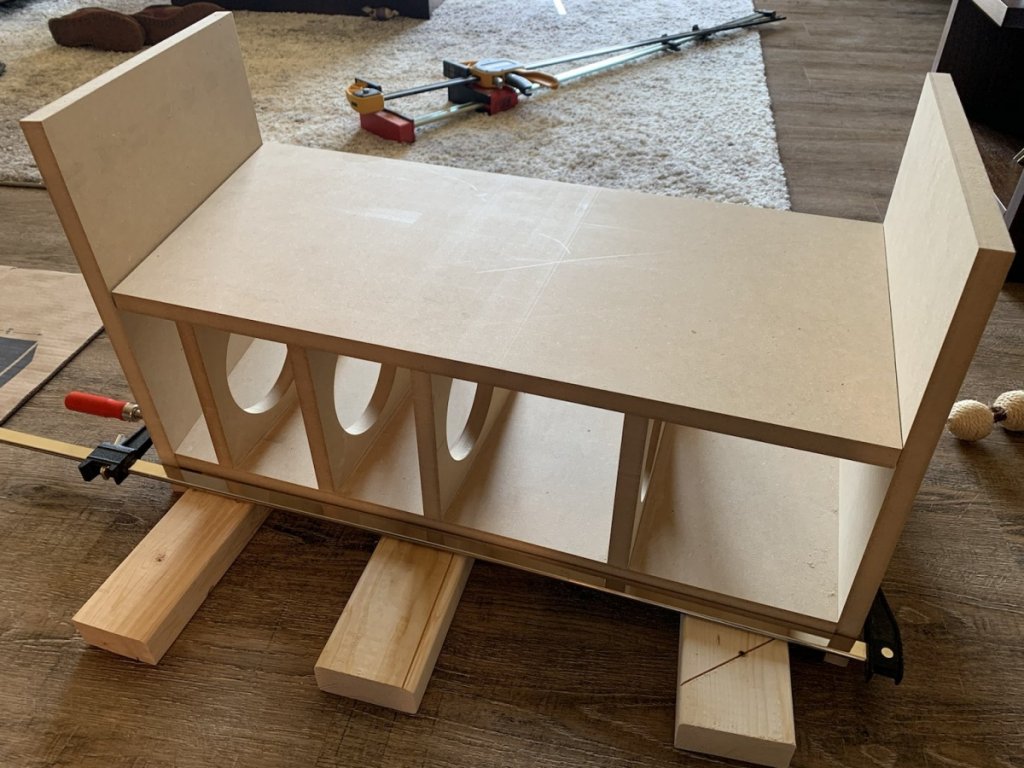
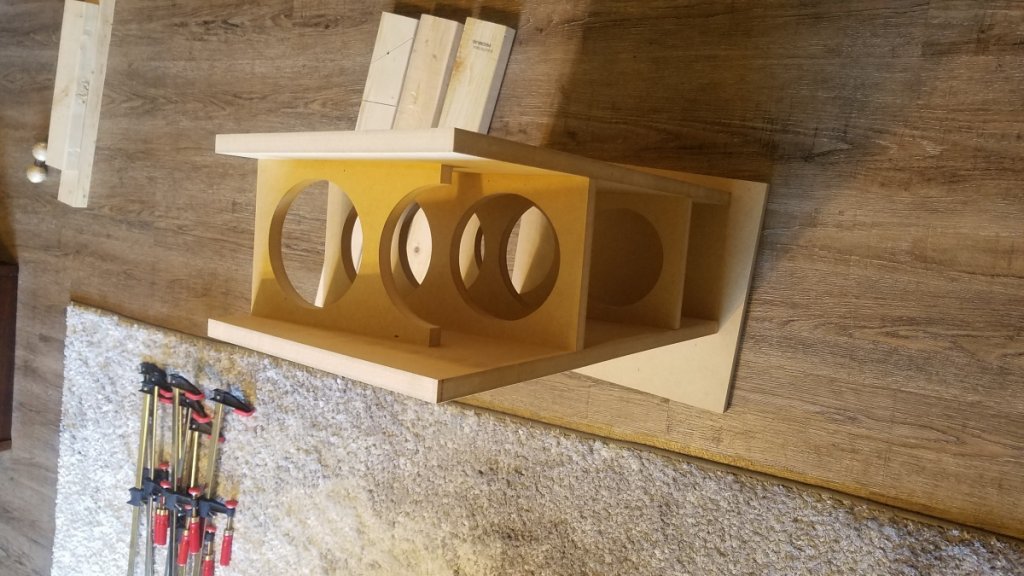
For the back, I cut the top with a 10 degree angle and made sure the rest overlapped on all sides of the cabinet. I then used the flush trim bit to trim off the edges:


That's where I'm at currently. Hope to have more updates for you soon. Not sure if/how I should make the base or front baffle removable so I can get to the crossover later if I ever need to. What do you guys suggest on that?

Hobbsmeerkat

  • Industry Participant
  • Posts: 2542
Re: X-Statik Build: Step by Step
« Reply #27 on: 1 May 2021, 11:08 pm »
That's looking absolutely gorgeous so far! :thumb:
Im really excited to see the final product!

corndog71

  • Full Member
  • Posts: 1672
  • Some people call me Rob.
Re: X-Statik Build: Step by Step
« Reply #28 on: 2 May 2021, 02:36 am »
I would make the bottom removable.  The baffle would be very heavy and you wouldn’t want to damage it.

JWCoffman

Re: X-Statik Build: Step by Step
« Reply #29 on: 3 May 2021, 04:28 pm »
Nice work so far, especially considering you are using a circular saw.  That takes patience and a lot of accurate measuring.  Your brace production scheme is exactly how I did my MTM's and it works great. 
I had only limited experience with a router before starting my project, but I found it was the tool I used most and got a lot better as the project proceeded.
Looking forward to seeing your results and how the veneer goes.