Well, it is done! For now.
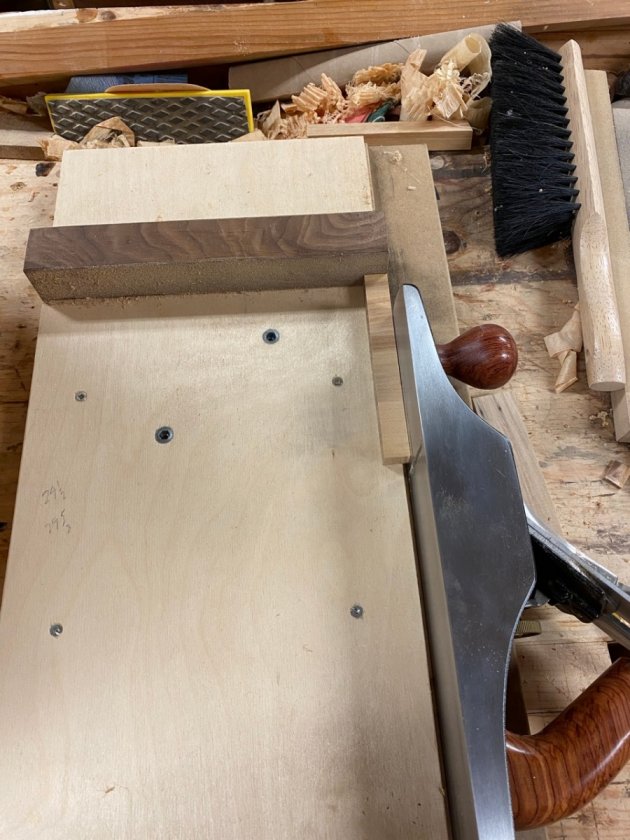
When last I left you I had made a mistake cutting the dado. Here I am getting the replacement piece down to the exact size. Normally when I do a repair I do it before sanding and finishing. The sanding and finishing often help to cover up little inconsistencies in fit. Because I pre-finished the inside parts of the H frame I had produce a fill piece that was very precise in fit. I used a shooting board and jack plane to shave off tiny little bits until it was just right. If you are looking to take your woodworking to the next level mastering the sharpening and use of a hand plane can really help to get you there.
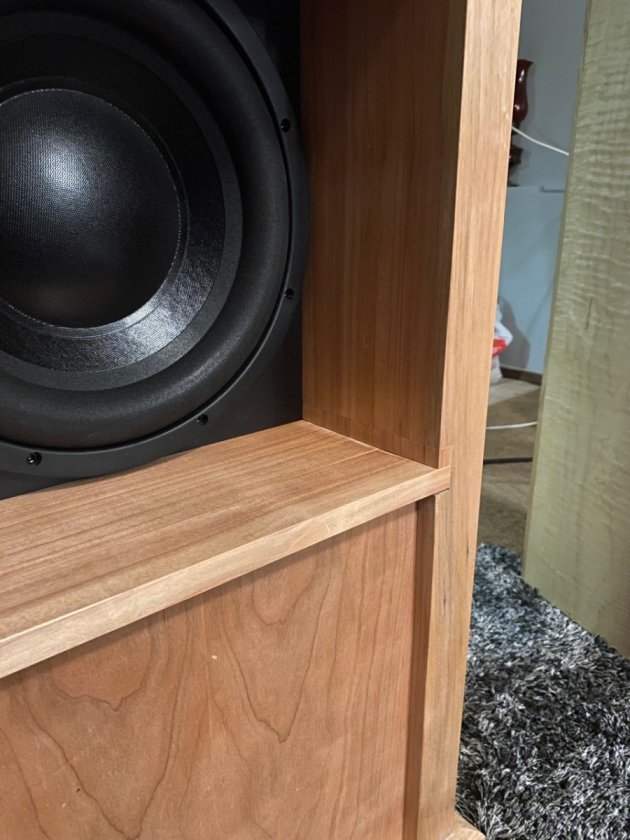
The grain doesn't line up so its not perfect but its not too noticeable.
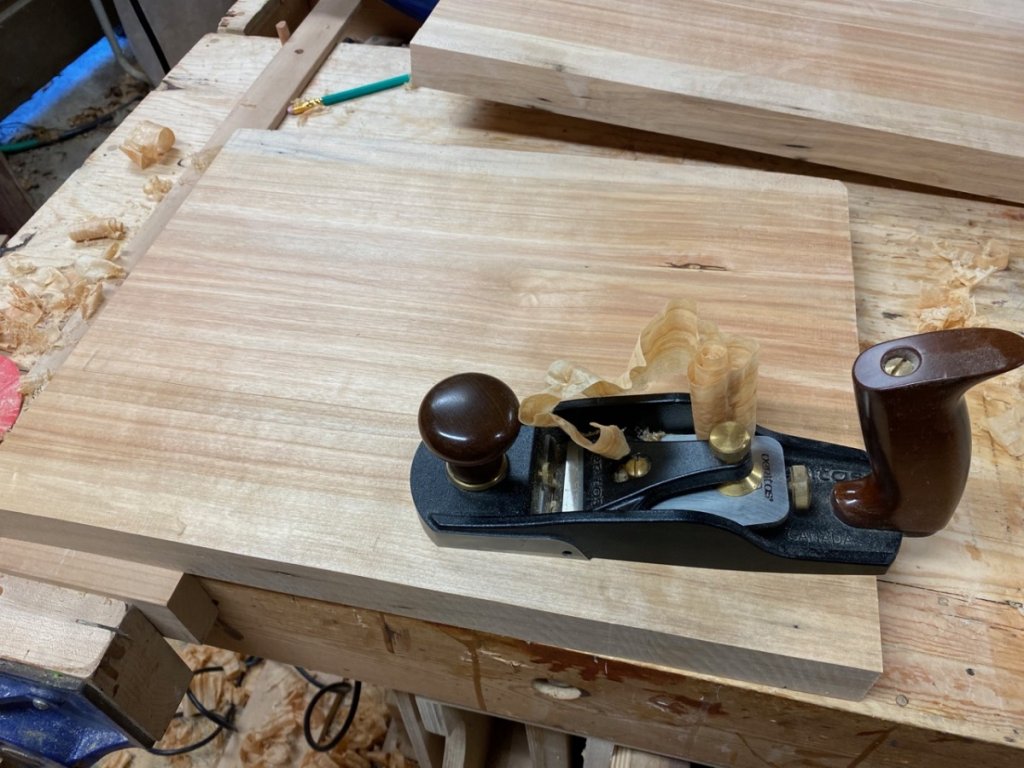
Next I had to plane the top and the bottom pieces of the H frame. They were too wide too go through my electric planer so it was a lot of hand work to get the boards flat.
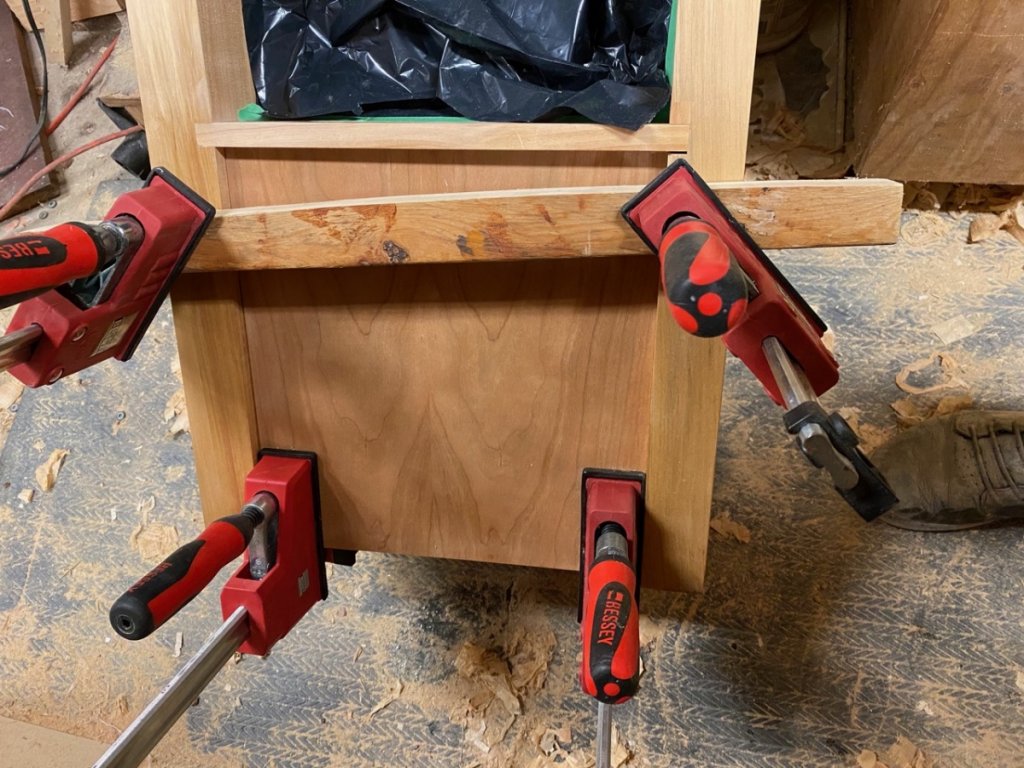
Then I glued in the front panel of the lower sub compartment. The panel is 1/4" cherry plywood glued on to 3/4" MDF. I couldn't account for wood movement going the other direction so this panel had to be inert. Something just occurred to me. I don't have any ventilation holes in the sub compartment. Is this something that is necessary? I didn't think of that at all until just now.
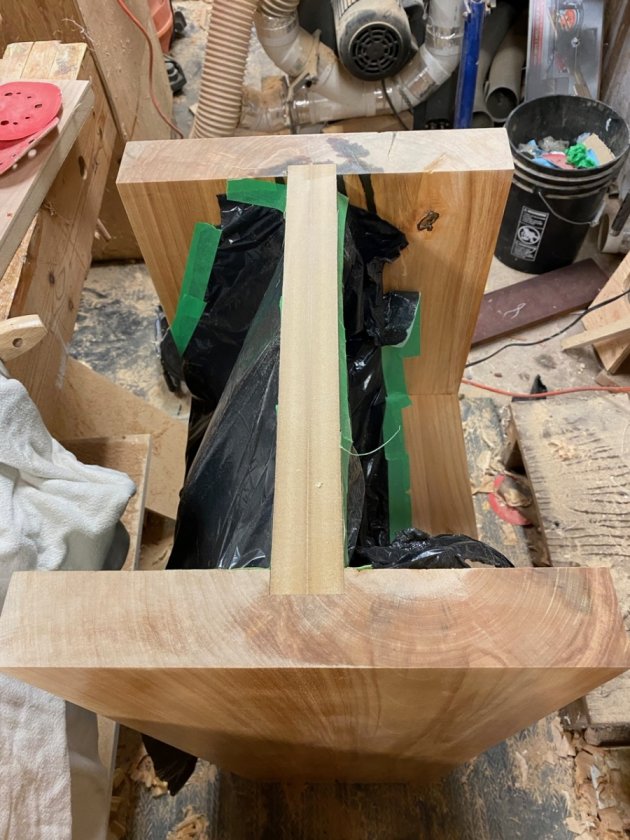
Once I had my black painted MDF baffle in I cover it all in garbage bags so that it wouldn't get dusty. Cleaning saw dust off of flat black painted MDF never leaves it looking pure black. The discolouration that you see in the ends of the side pieces is the epoxy that I used to fill the checking in my boards. That part went pretty well and with careful placement of the boards there are very few places where you actually see it, especially from the front.
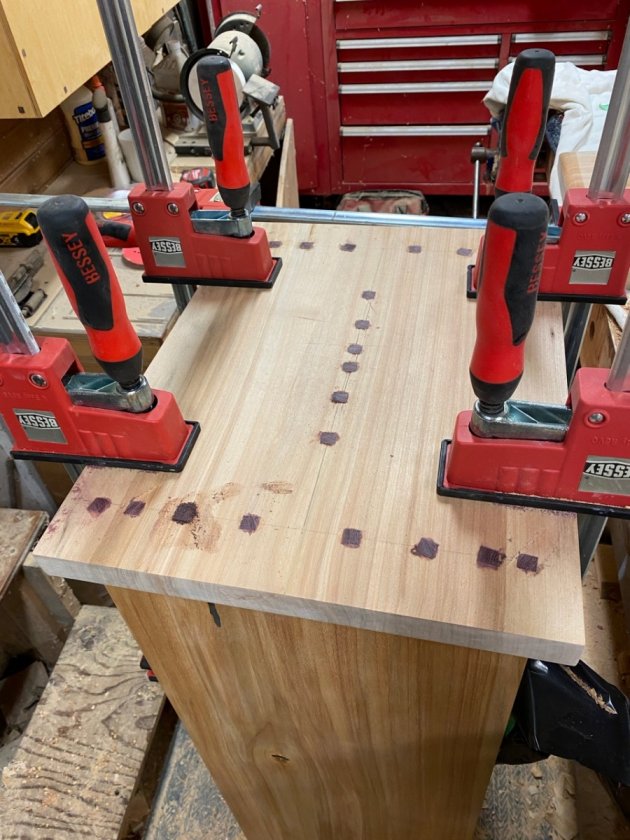
This is the part that didn't work out so great and I may change it yet. I was concerned about attaching the top in a very solid way. I wanted something super solid as I knew the sub would end up being over a hundred pounds and I didn't want to pull the top off as I was moving it around. I came up with the idea of making purple heart dowels that I would glue and pound into the frame.
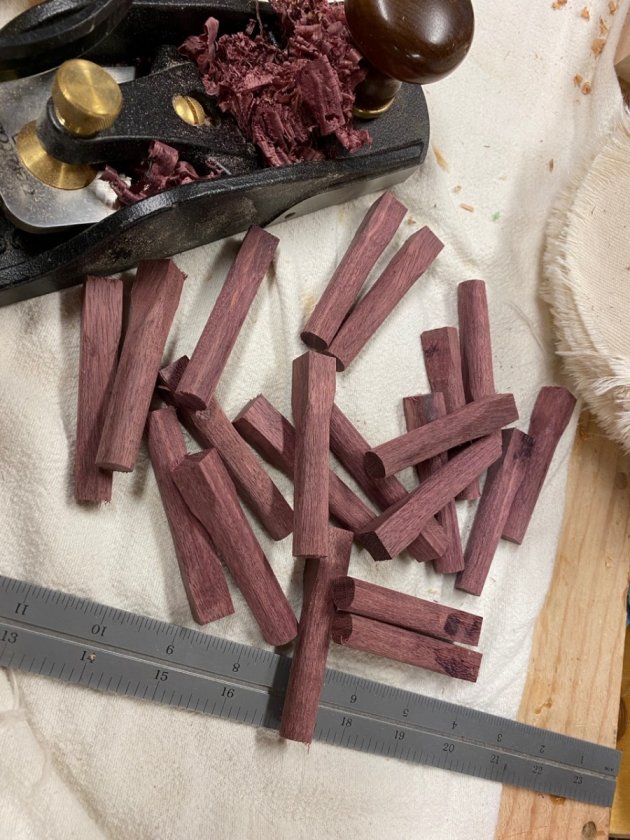
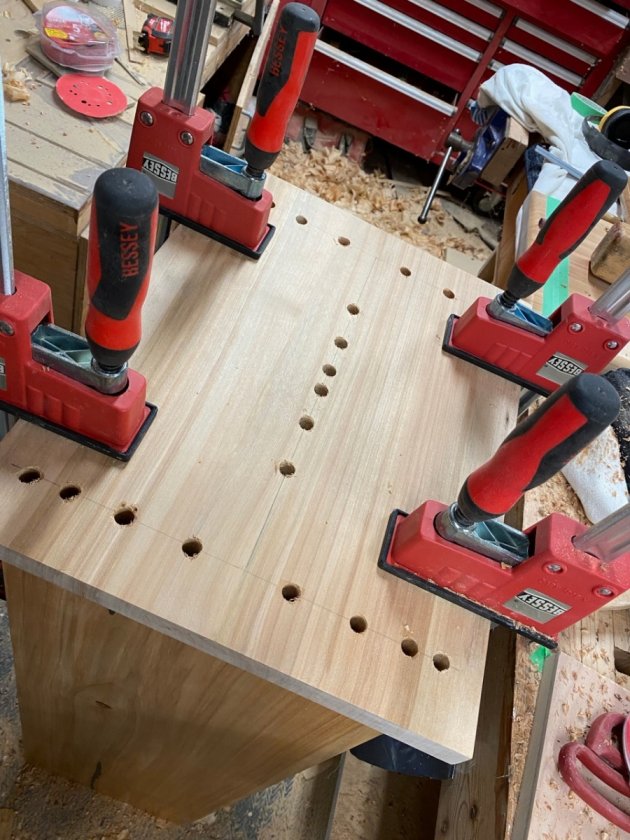
I thought it would look nicer it my pegs had square tops so I rounded off about three-quarters of the the dowel and left the tops square. When I pounded the square end into the round hole it would push the circular opening into square in the cherry.
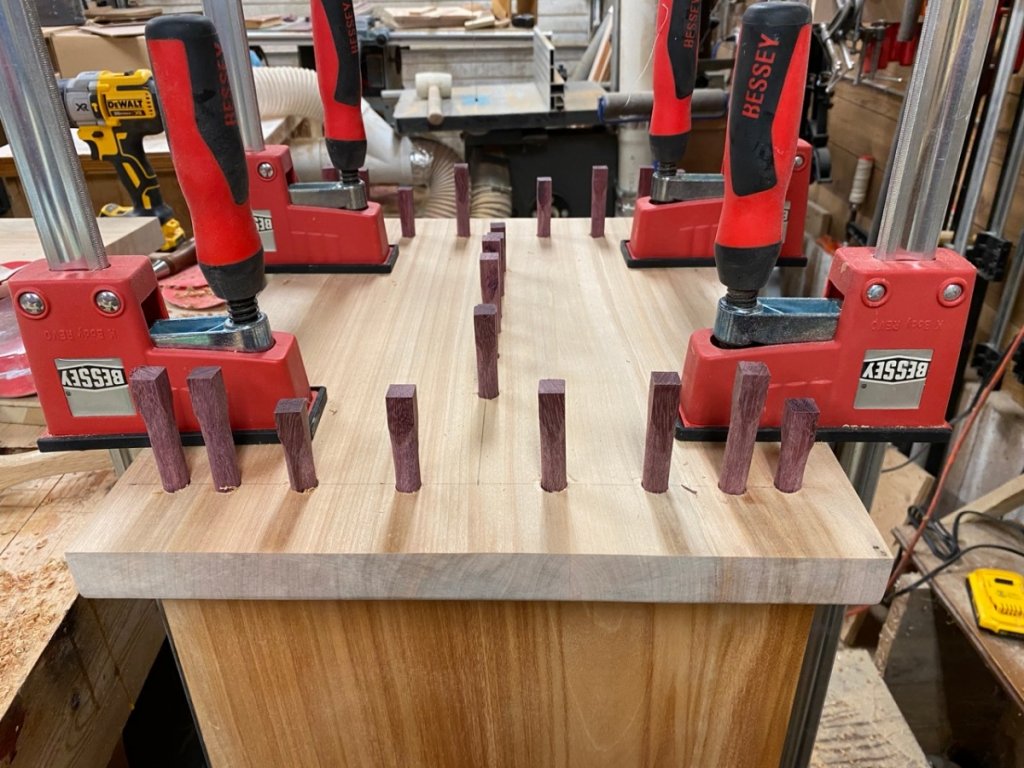
This was my dry fit. I had done a sample using the same woods and it went really well.
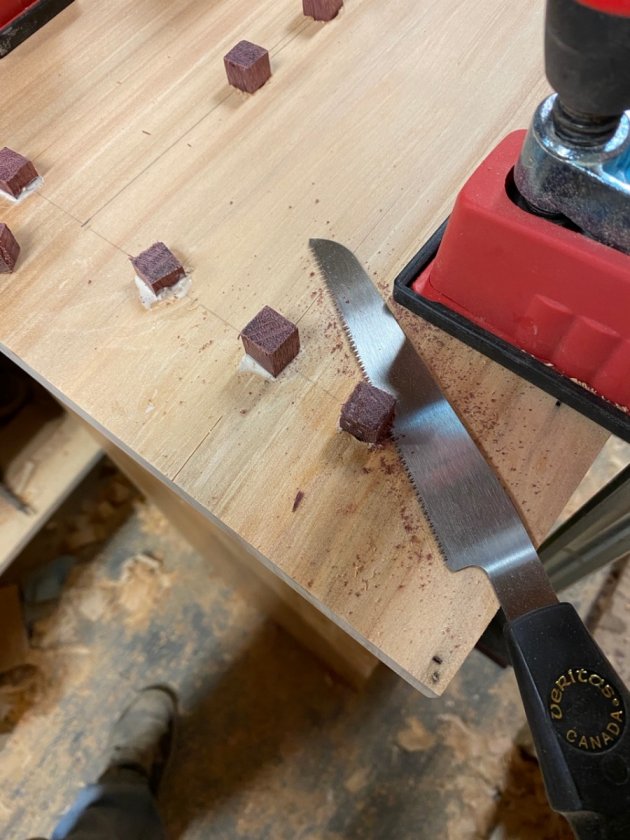
I guess the "square peg-round hole" saying has a basis in fact. Many of them worked pretty well but a lot of them twisted as I pounded them in leaving me with a result that does not look the way I was hoping. Once they were in I cut off the excess with a flush cut saw.
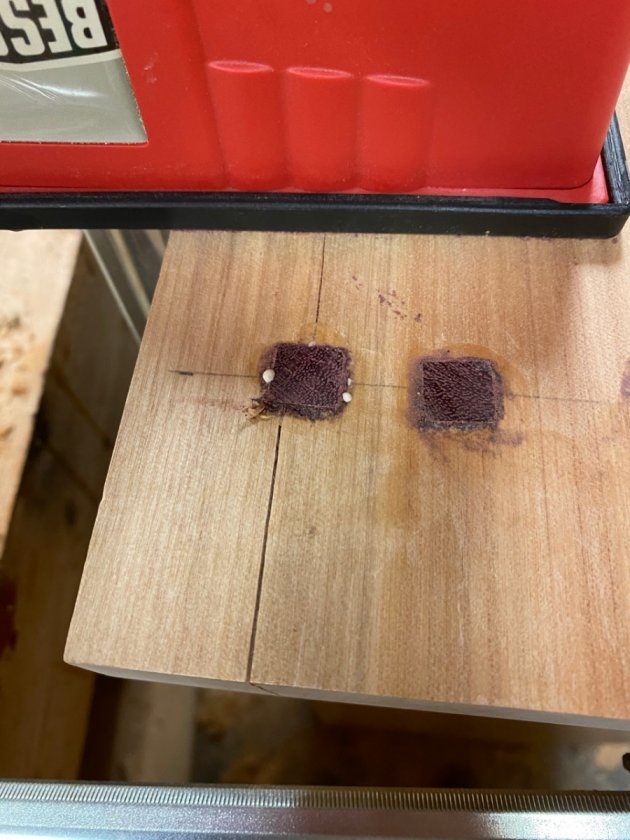
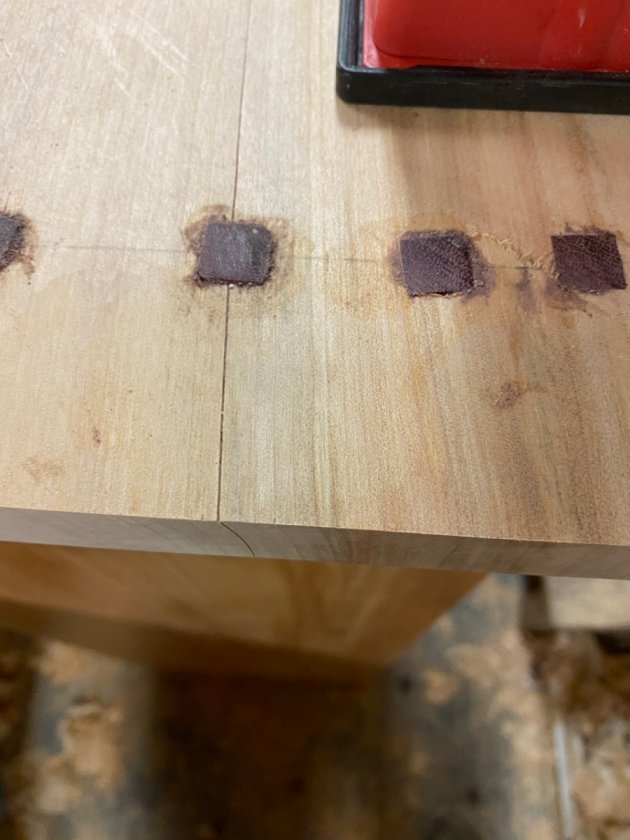
The other problem that I got was that my cherry split in some places.
I was mostly able to take care of the splitting with cyanoacrylate glue, (Krazy Glue). It will wick into a crack and then a clamp closed it up so those ended up being no too bad.
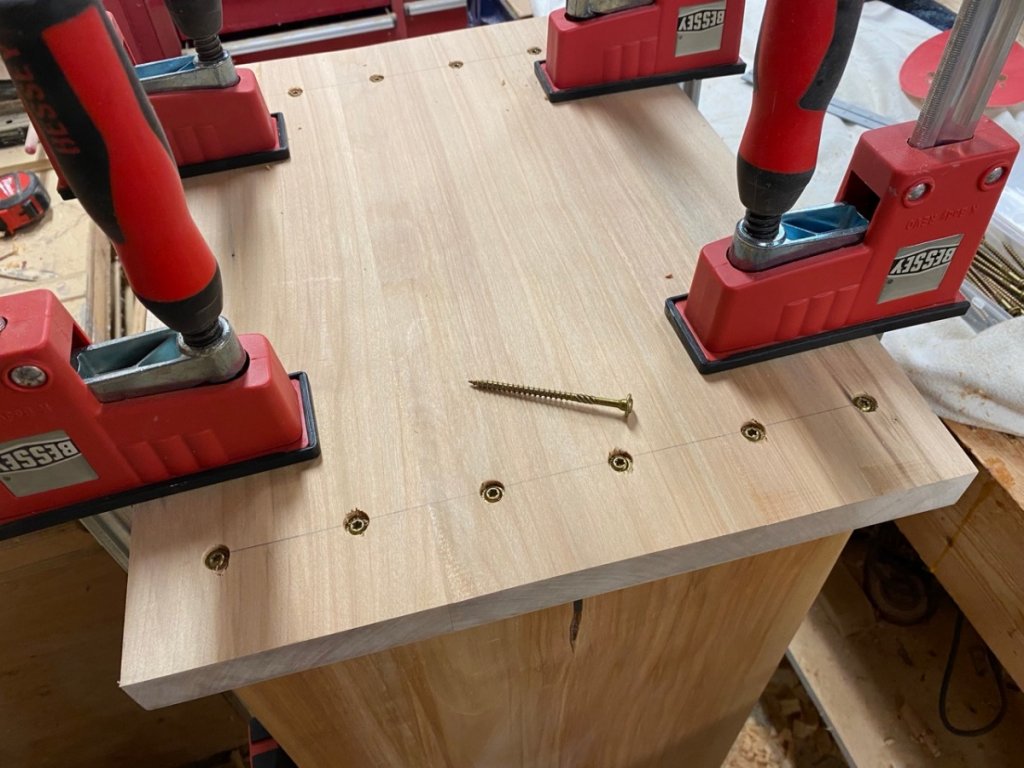
The next morning I attached the bottom using a far easier method. These are GRK screws. They are structural screws that I had used for making a deck, they hold like nothing else.
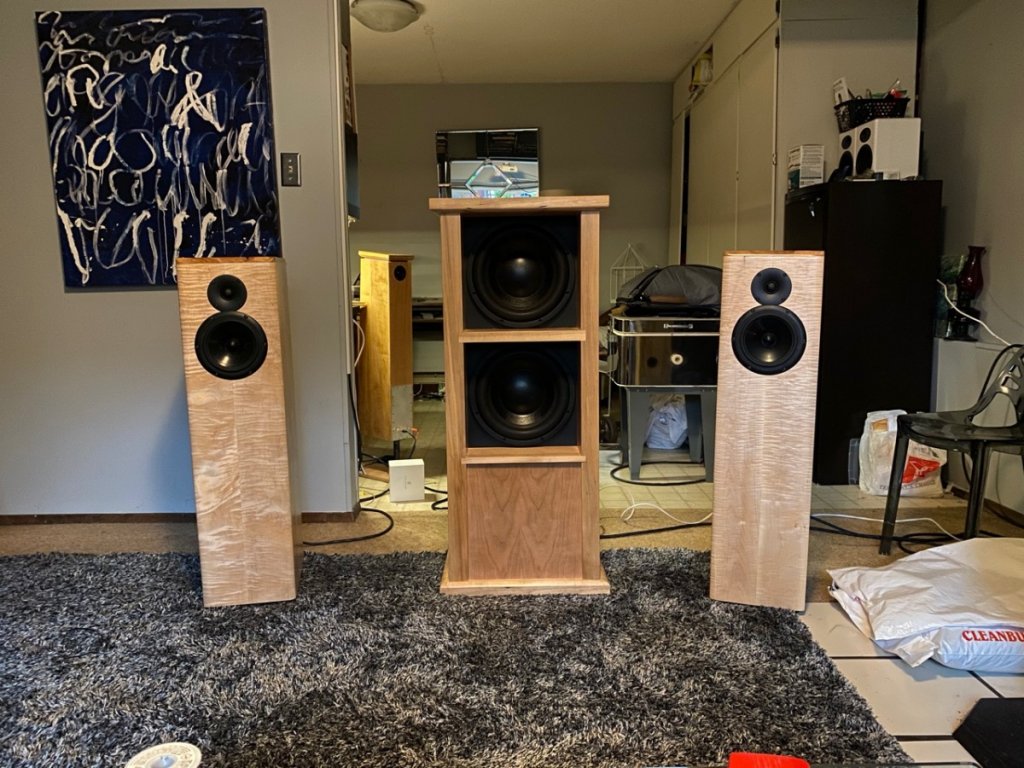
I sanded and finished the top and bottom and I could install the amp and drivers. Thanks to Captain Hemo for the wiring instructions. They were a life saver.
The quality of the bass is so much improved over my sealed sub. Far less boomy and more distinct and crisp
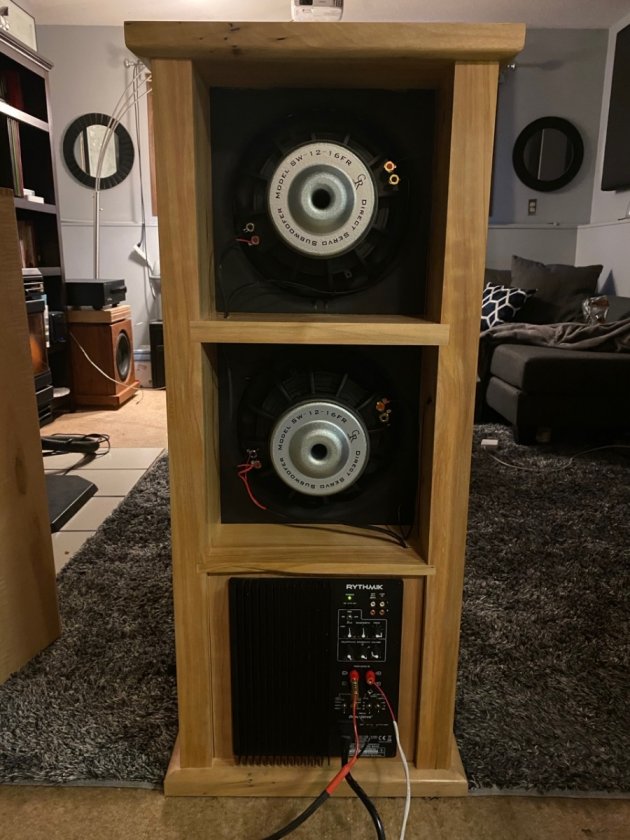
I am using the high level inputs for now. I only have one line level output on my amp and my thought was to have my sealed sub on the line level and my OB sub on the high level. I have not turned the sealed sub on yet, I want to get a sense of the OB goodness before I try to integrate the sealed sub. We'll see, I may find that I do not need the sealed sub. My thinking is to have it for when we watch movies to help pressurize the room.
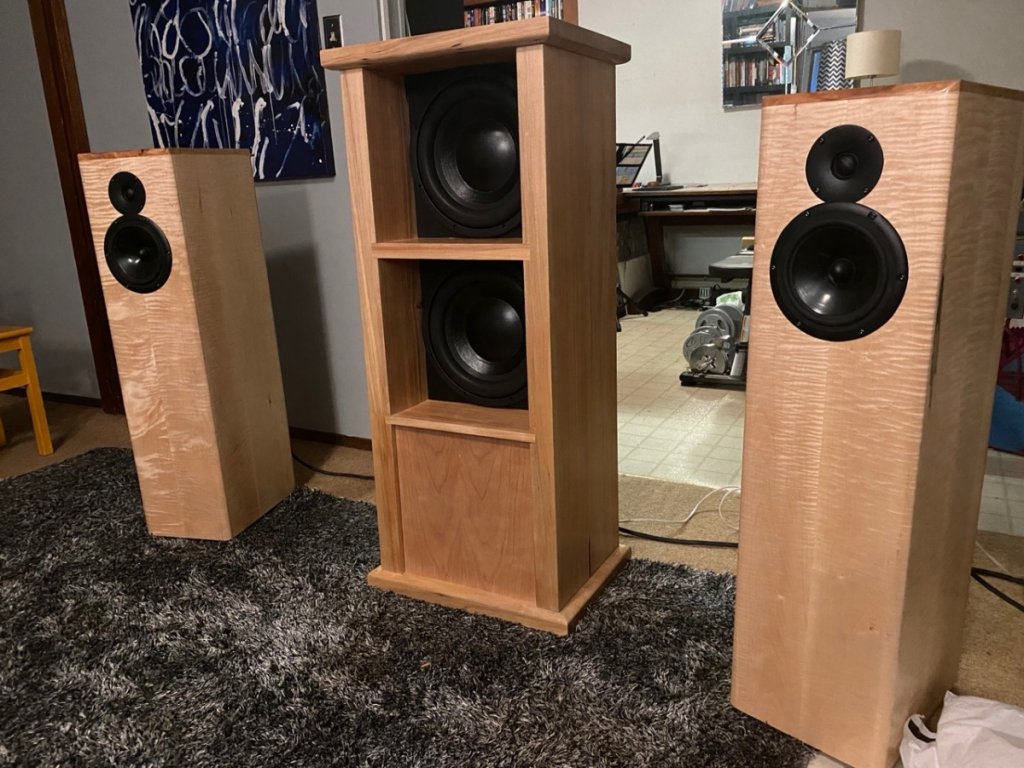
I am so happy with this combination! If you have ever wondered about the efficacy of open baffle base, set your concerns aside. It is a remarkable way to listen to music. Thanks so much to Danny and the whole community here who have helped me along the way.
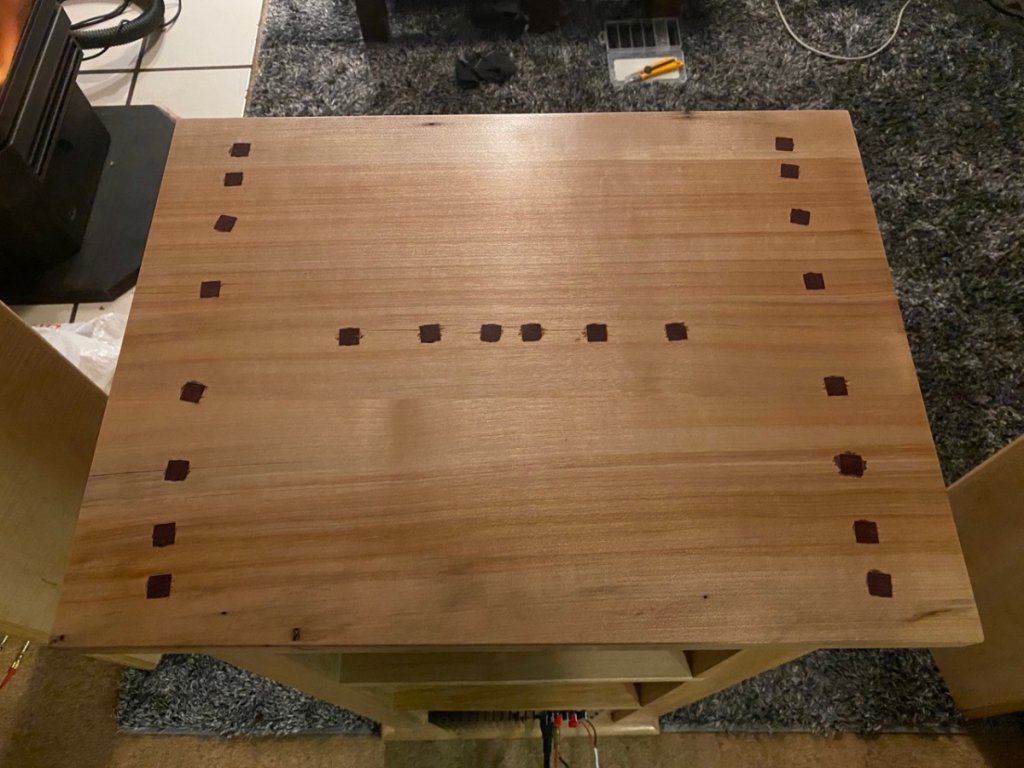
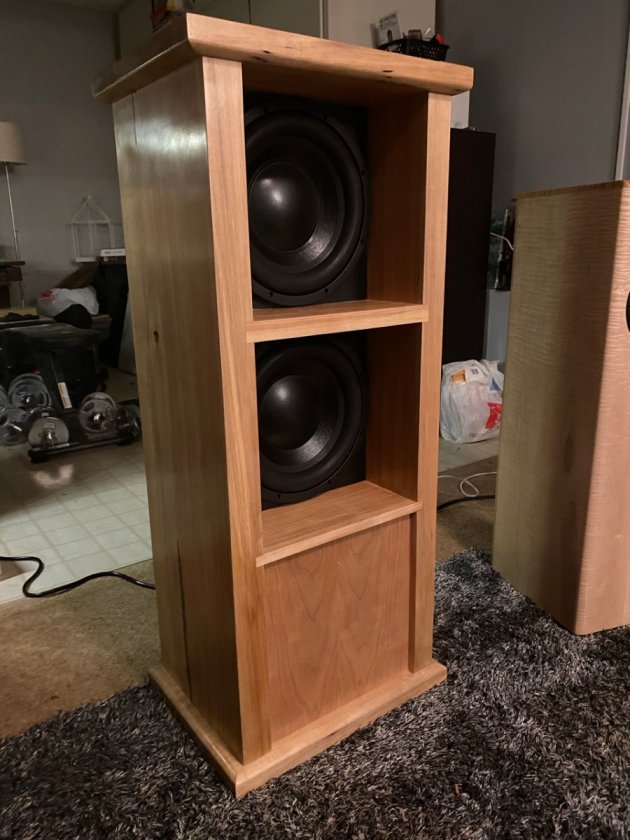
Oh yes, the top! You thought I was just going to skip over that one? Here's what it looks like. I'm not happy with the way it looks but it is rock solid. I will live with it for a bit but I may cut it off or, more likely, cover it with a thin flat piece of cherry that will cover the whole top and protrude an extra ¼" all the way around. I think it will end up looking like a piece of trim. We'll see. I wasn't happy with the legs on my first set of speakers
https://www.audiocircle.com/index.php?topic=171283.msg1831266#msg1831266 and I lived with them until I came up with good idea to replace them. Something will come to me, or one of you will have a brilliant idea
