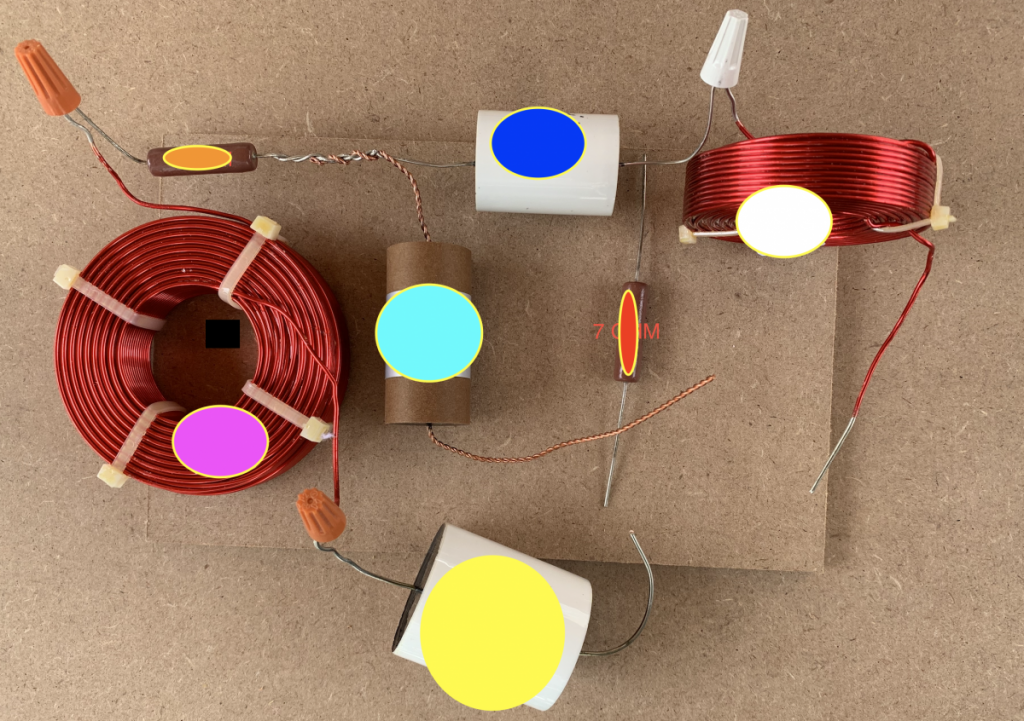
Attached is my crossover thus far for NX studio.
I have wire nuts at the ends where I will attach wires and tube connectors.
(This is to help me remember tube connectors)
Does this look correct so far?
Having trouble finishing off the rest of it.
From pics in post threads it looks like Sonicjoy and Michaelhifi had different capacitors and I can't tell from blurry pics what goes where.
Should the 7ohm resistor go in parallel with the capacitor?
or should it go perpendicular to capacitor?
I have all parts in reading orientation from left to right, is this correct?