I still have some noise, seems to be picking up the computer and makes a whine independent of the volume setting. Otherwise it sounds pretty good.
This is my content:
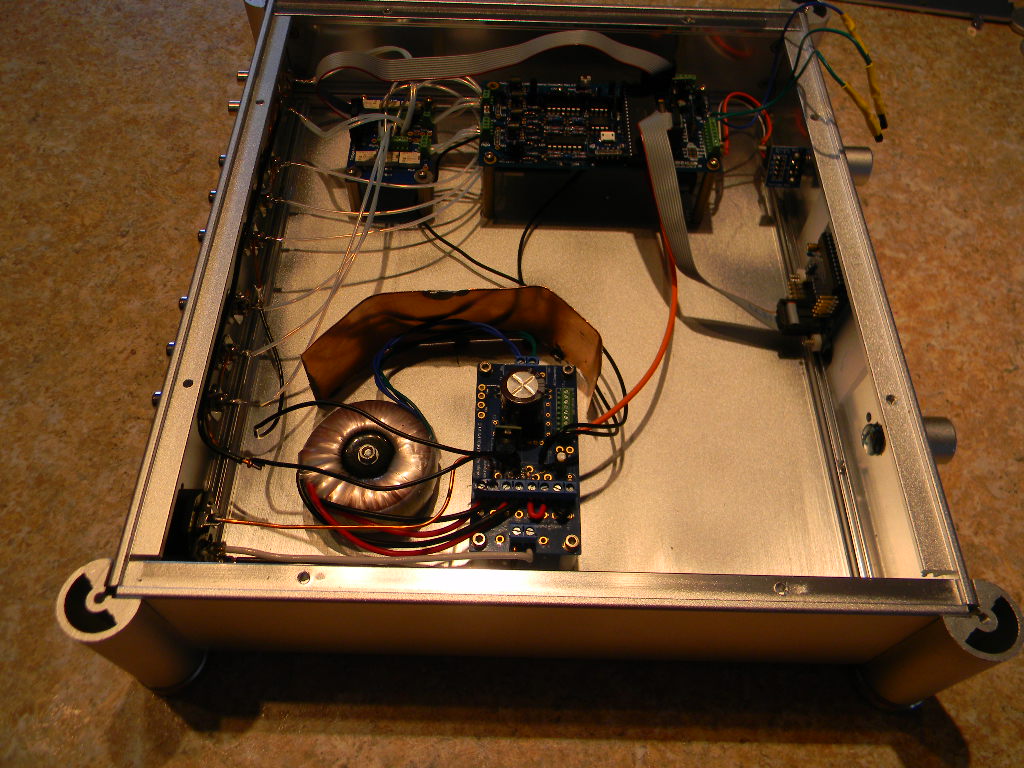
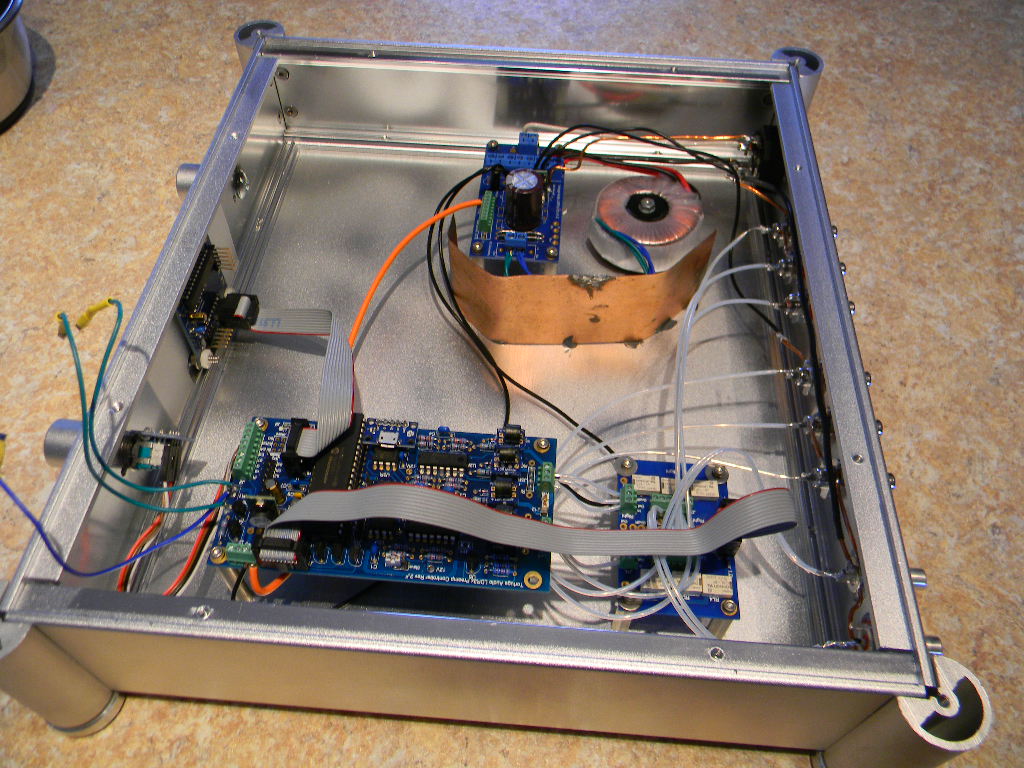
LDR3x.V2 Passive Preamp Controller
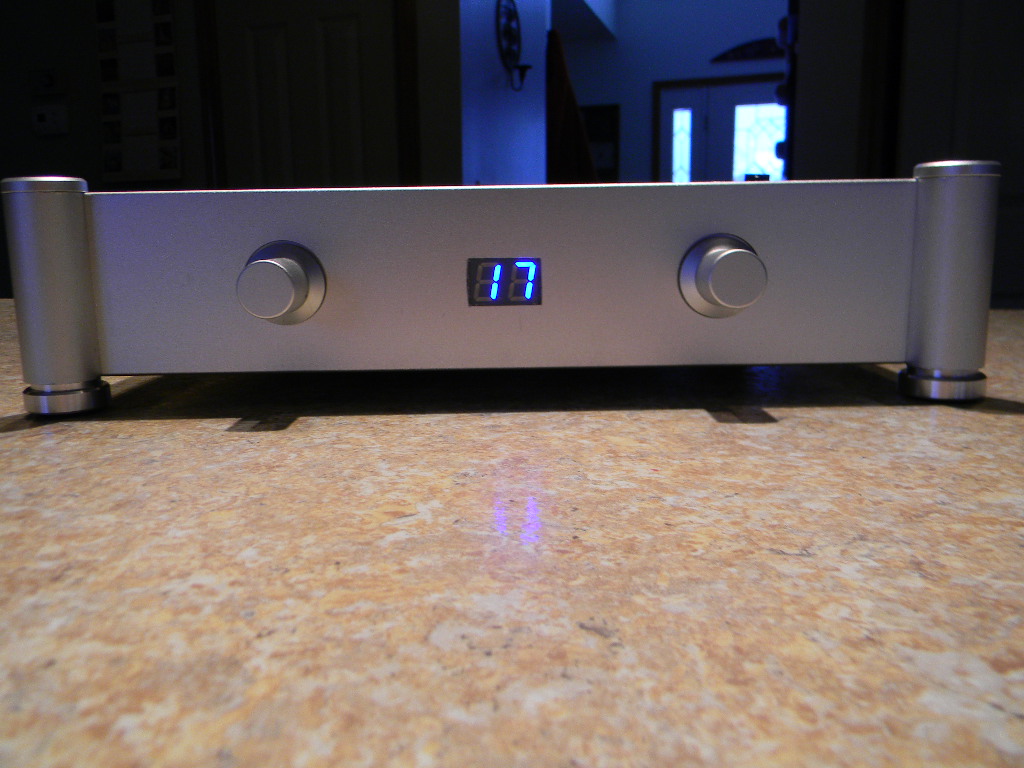
DM1 Display Module
board-type: single-display-master,
ldr3x-firmware-update: none,
DM1 Colors: Blue
IO3 Relay Board
PS12.5 Power Supply
ps12-options: 12v-400ma-single-channel
Apple Remote
Encoder Module
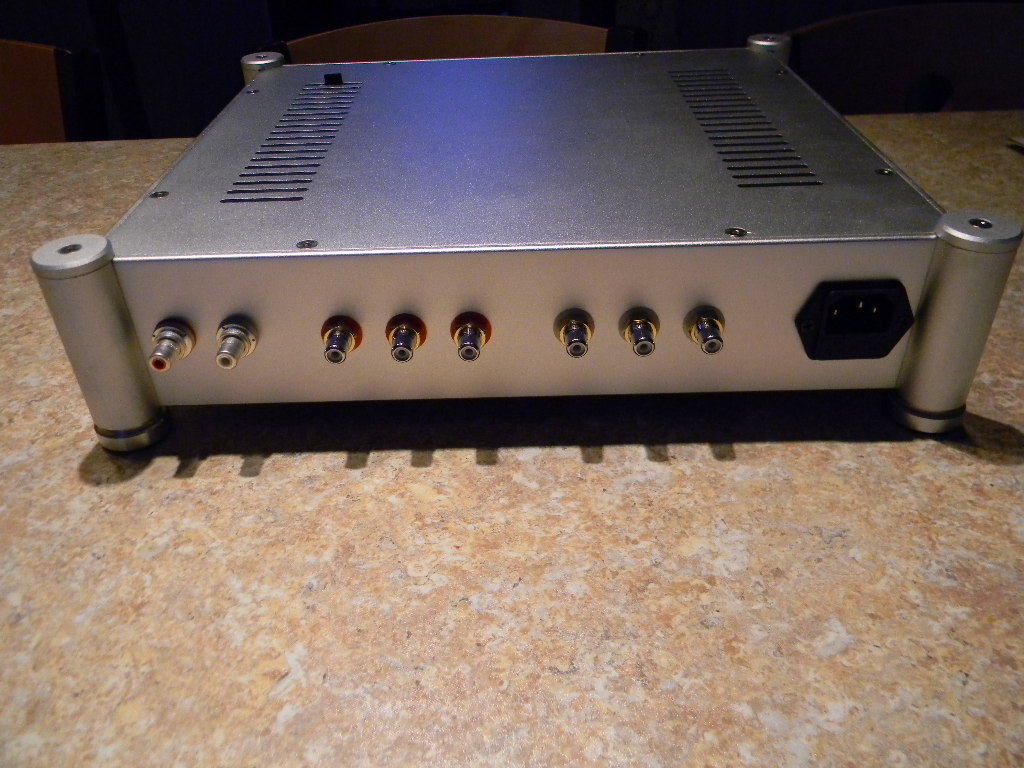
Cardas RCA Jacks
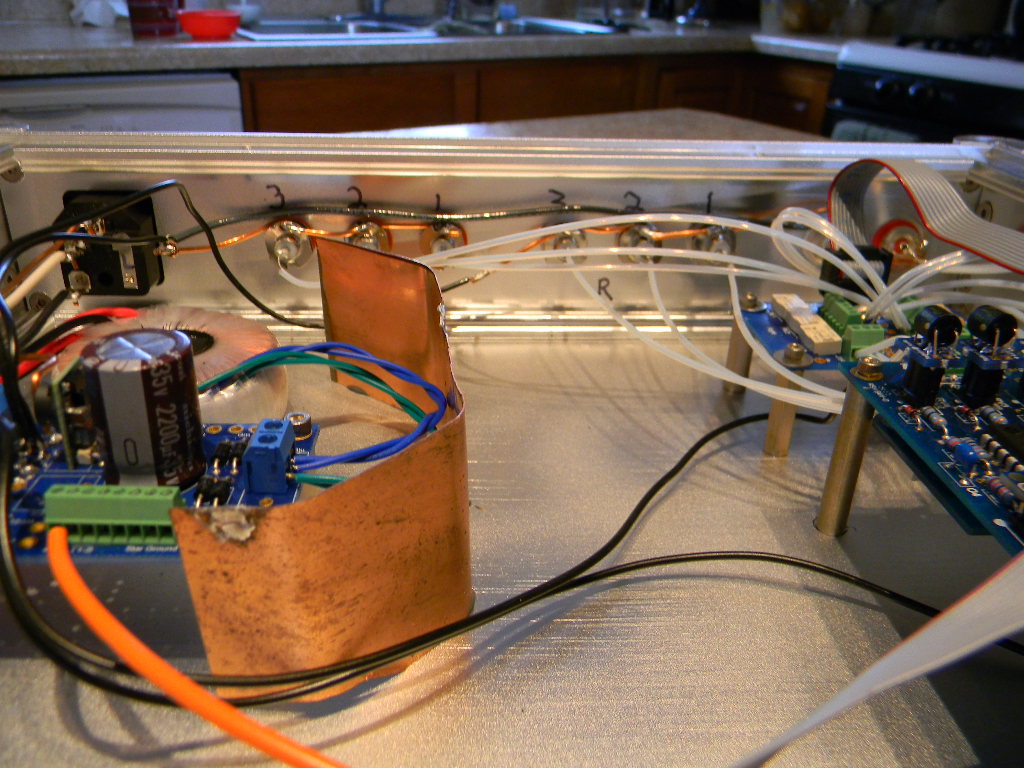
I added the Chinese case, a HiFi Tuning fuse, solid silver wire in teflon, silver plated output RCA's, a small token copper shield.
I have the remote receiver poking out the top slightly. The unit is not perfect. Some small knicks and bruises here and there. The right knob is the encoder and the left knob is a fake.