Greetings everyone. I just finished up my 2nd speaker project and thought it might be fun to share the details of my build.
My background is that I’m not an audiophile, nor a skilled woodworker, but I’m generally handy and love music. I was in the market for some speakers to add tunes to my basement workshop. A Google search turned up an X-LS build thread by lacro on this forum where he achieved a beautiful ‘piano black’ finish. Of course aesthetics should not be primary concern for an unfinished basement, but nevertheless I was inspired. I picked up an X-LS classic kit from Danny and struggled through the process using some of the great advice and techniques I learned here. In the end I fell a bit short of lacro’s benchmark, but I learned a lot, got some speakers which look half decent (for the basement, anyway), and I thought they sounded great.
For my second project, and the subject of this post, I decided to build some X-SLS as a wedding gift for my wife’s brother. I picked up the kit from Danny and downloaded the plans from his site. Using a free panel layout tool I found online, I determined I could cut all of the pieces efficiently from 2’x4’ MDF panels.
http://optimalon.com/online_cut_optimizer.htmThis, of course, simplifies transporting said material home and getting it into the basement.
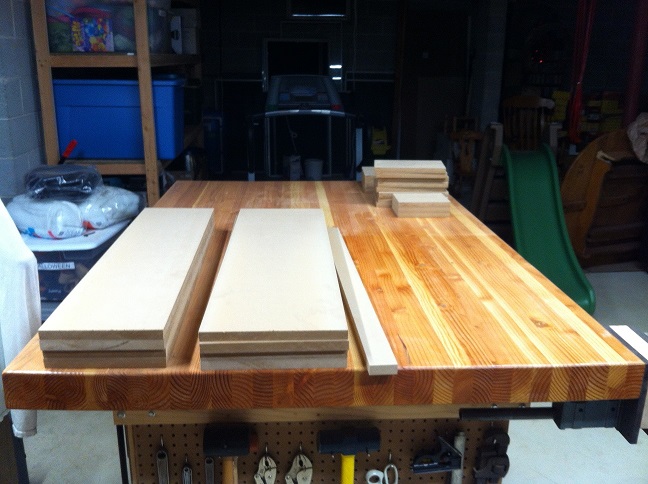
Using the ol’ Craftsmen table saw, I cut all of the panels to size. This took less time than cleaning up all the MDF dust I made and distributed everywhere. [Note to self: consider getting a dust collection system].
Unfortunately, cutting the holes in all the internal braces proved too much for my crappy early 80s B&D jigsaw. Good excuse to upgrade.

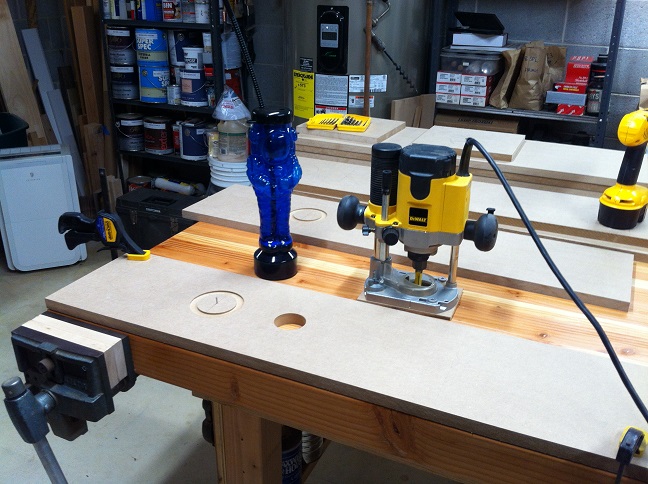
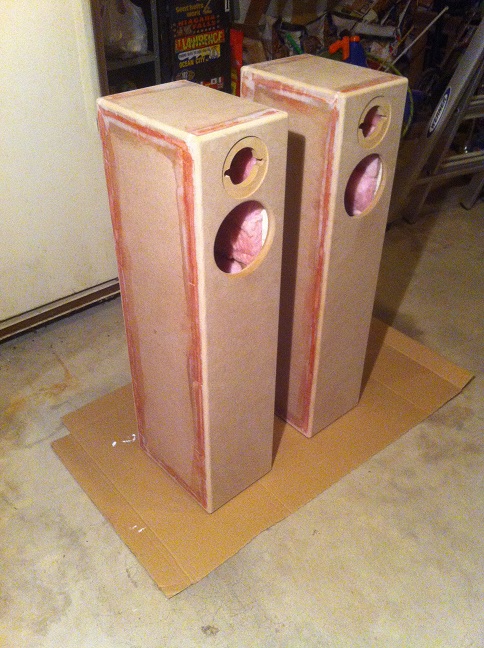
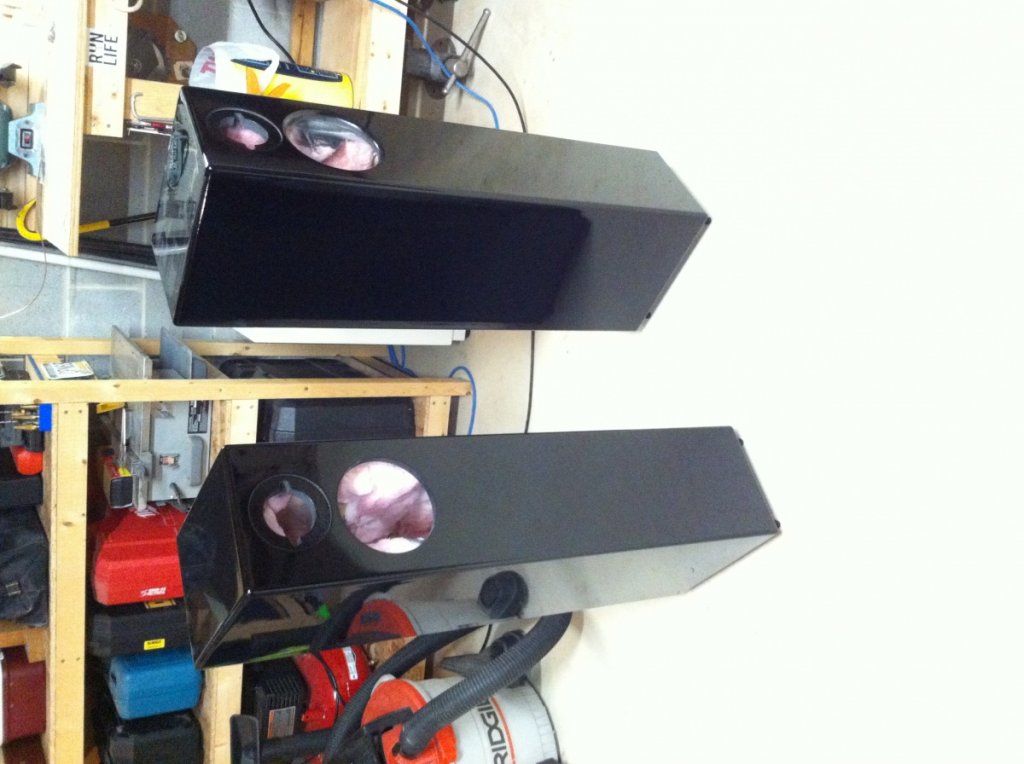
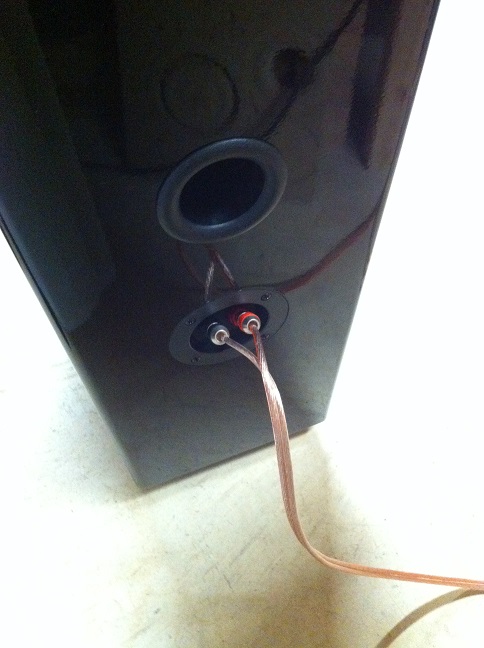
I used a 2” hole saw to make the holes for the port tubes. Then I made a circle jig for the router out of a piece of scrap ¼” MDF. The center pin is a cutoff nail which happened to be a nice snug fit in a 3/32” hole. I used this to make the cutouts and counterbores for the drivers and binding post cup. The technique for setting the cut radius took some trial and error, but the resultant holes were exact. Next time I’ll try to remember to oversize a few mils to allow for finish build up.
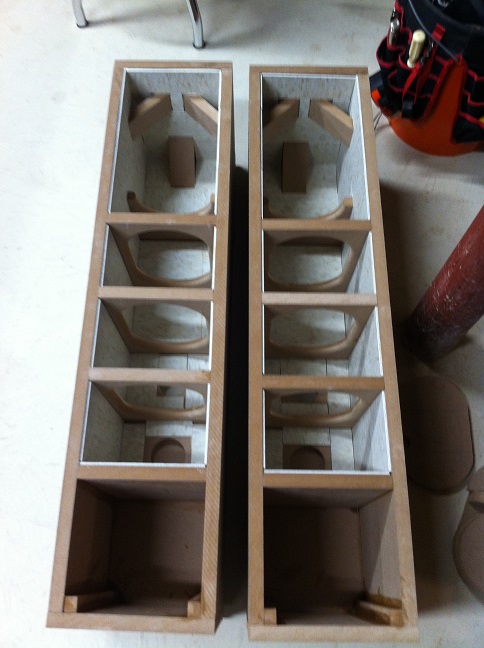
Next, I struggled to figure out the optimal sequence for gluing everything up. So I decided on gluing the back, side, and bottom with some TiteBond III. The following day I glued up the rest of the panels (except front baffle). A 23 ga pin nailer was helpful for holding the internal braces in place until sandwiched by the opposite side and clamped.

The interiors of the cabinets were lined with cheap Armstrong CVT found at the local home improvement store. It was very easy to cut to size by scoring with a utility knife and snapping. I glued the pieces in place with a ‘general purpose’ floor adhesive.
I then lined the insides with fiberglass batting, ½ thickness of some R13 I had laying around. This was stuck to the walls with some Super 77 spray adhesive.

Finally the front baffles were glued on.
I definitely used every clamp in my collection.
I’ve since learned that it makes sense to leave some of the panels a bit large then trim flush with the router bit. I wasn’t smart enough for that, but fortunately all the edges were close enough to quickly sand flat.

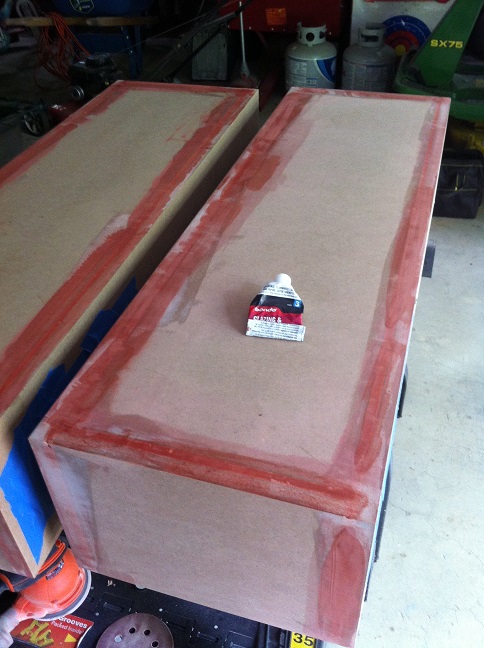
Since I wanted a ‘seamless’ look to these cabinets (and learning on my first project that the seams WILL eventually telegraph through if just painted I decided to trench the seams with a ½”R round-nose bit set to a depth of about 0.080” using an edge guide on the router. I believe the first time I heard of this technique was here:
http://techtalk.parts-express.com/forum/tech-talk-forum/58533-continuum-speakers-using-my-trench-method-on-the-mdf-seams
So after trenching the seams, they were filled back in with Bondo. Man, be careful to not build that stuff up too much as sanding it is a nightmare against the soft MDF.

Then I filled the sanding scratches and any slightly uneven spots with some glazing putty. That stuff is much friendlier to apply, and very easy to sand off.
Once sanded, I gave all cabinet edges a 3/8”R roundover.
To seal the MDF I sprayed the cabinets with some Zinsser B-I-N shellac primer. No fancy setup here, just the $10 Harbor Freight HVLP gun with a 1.4mm tip. They certainly looked better with an even white finish, however that even finish allowed me to see all sorts of defects in my ‘body work’. Back to the putty.
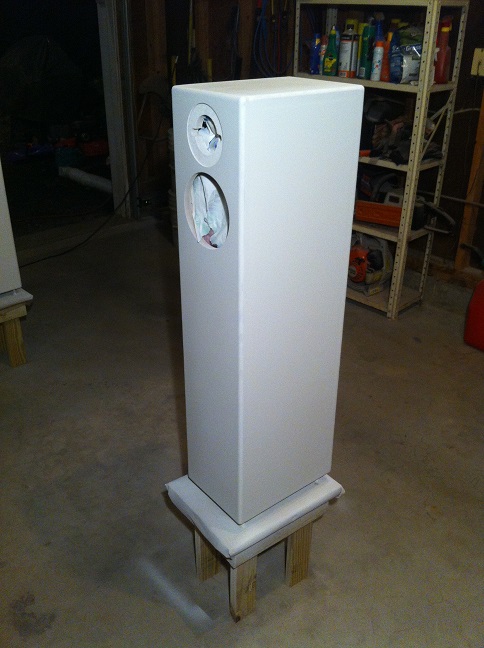
Everything was sanded to about 400 grit. I then shot 2 coats of gray automotive 2K primer. I found that I was holding the gun a bit too far away during the first coat and it left a real rough surface. The second coat was smashed on close and fast and that laid down much better. After that I misted a light guide coat of black primer.
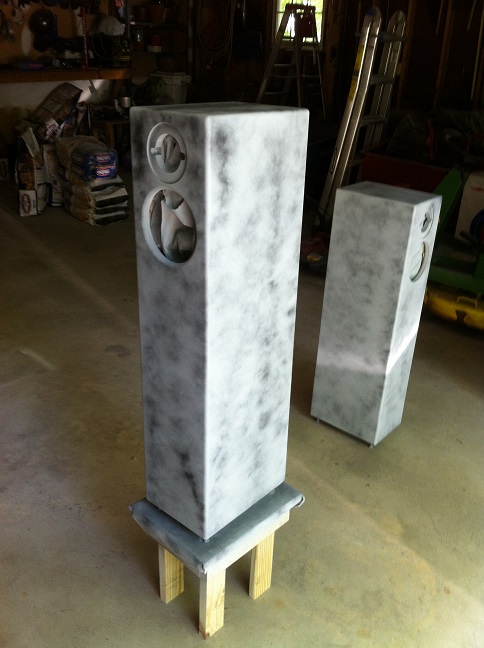
Both cabinets were then sanded smooth until I realized I still had a few low spots (where the black primer remained). Oh well, I’ll eventually get the hang of this. Just a bit more putty work then two more coats of primer.

This time I went right to a 600 grit wet sanding routine. Not perfect, but I felt it was good enough to proceed with the paint.
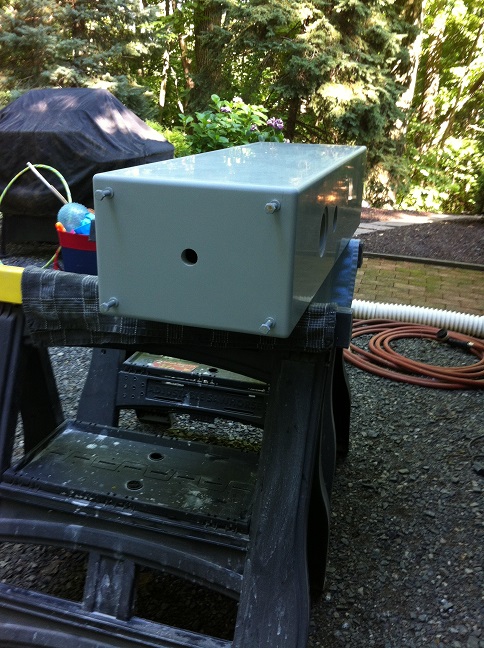
On paint day, I gave the cabinets a quick wipe with the tack cloth [note: should’ve used wax/grease remover first]. Hit them with 3 coats of jet black urethane base which was reduced 1:1 allowing about 5 minutes to flash between coats. Truthfully, I had full coverage after 2, but shot the third just because that was the original plan. Then I cleaned the gun while waiting 30 minutes for the base coats to dry enough. I then mixed up some 2K clear. Side note: Don’t forget to tighten your gun’s nozzle/air cap prior to filling the cup with paint. Will spare you the cleanup story. Anyway, shot a light tack coat, then followed it up with 2 medium wet coats where I could see it flowing out nicely. Kinda shiny!
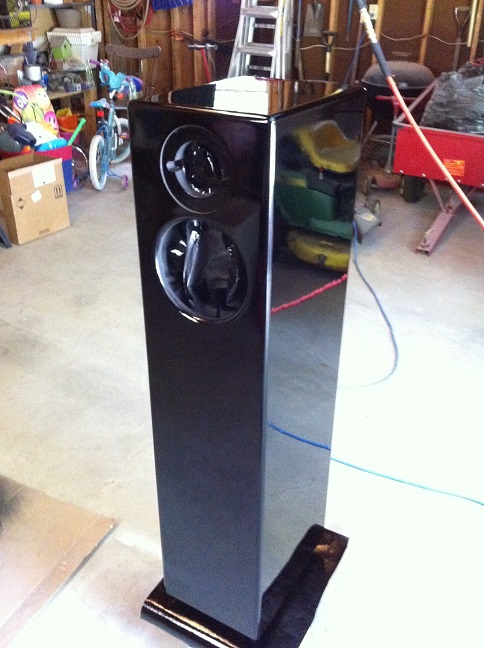
So there I was in the garage two days later, with the 1500 grit in my hand getting ready to color sand and buff them (no doubt a few hours work) and I got to looking at the cabinets. And there, absent a few thousand watts of halogen light I came to my senses and decided they looked pretty damn good as is. There was a slight orange peel, but nothing worse than your typical new car finish, and a few bits of dust from my dirty garage and the floor I forgot to wet down before painting. I took them in the house to view in ‘normal’ light and agreed with my initial good-enough conclusion.
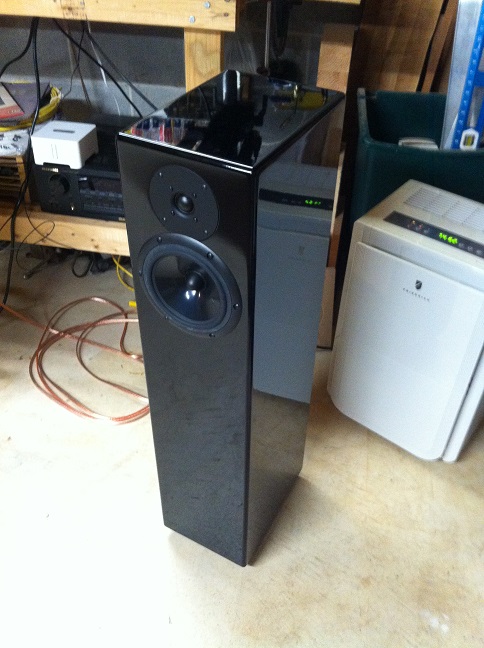
Final assembly didn’t take long at all. Only got slightly itchy from rubbing against the fiberglass while fumbling with the screws installing the crossover board. One final lesson learned would be to lightly break the edge of the tweeter counterbore before painting because I accidentally got a tiny chip in one of the sharp edges.

So I wired ‘em up to a receiver and my Sonos and proceeded to break them in. I think they sound awesome. Very 'natural'. My brother-in-law is going to love them.

Anyway, thanks for hanging in there with this long post. It was a fun project, and I’m looking forward to starting the next one. I learned a lot from the experts on this forum who so generously shared their build stories, including lacro, Peter J, mlundy57, Danny, and others. All true craftsmen. Many thanks. I even taught myself a few things in the process which I endeavored to share here in the hopes of possibly helping some other beginners.
Please feel free to share any constructive feedback you guys might have. Thanks.
-Jeff